
Most drywall patching in Queen Village fails because someone rushed the dry time or didn’t feather the edges properly. You’re left with a bump, a shadow, or a texture that doesn’t match the rest of your wall.
That’s the difference between a quick fix and actual repair work. When joint compound gets applied in thick layers without proper drying between coats, it cracks. When edges aren’t blended into the surrounding surface, you see lines through the paint.
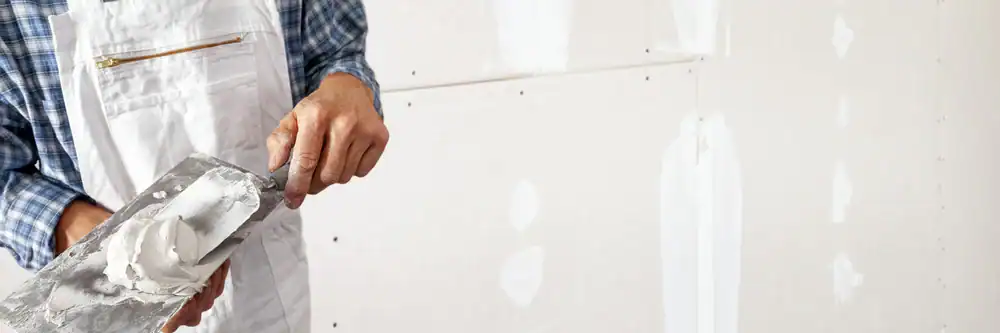
We handle drywall patching the way it’s supposed to be done. Multiple thin coats with full dry time between each application. Edges feathered out so there’s no ridge or transition point. Texture matched to your existing finish, whether that’s knockdown, orange peel, or smooth.
You’re not looking at a patched wall when we’re finished. You’re looking at a wall.
We started Sharpe Drywall because too many homeowners in Queen Village and throughout Philadelphia were dealing with sloppy work, missed appointments, and repairs that failed within months. We saw it happening to neighbors and decided to do something different.
We’re not the cheapest option, and that’s intentional. Cheap drywall patching means one thick coat, no texture matching, and paint that doesn’t quite blend. You save $50 now and spend $300 fixing it properly later.
Queen Village homes—especially the historic rowhomes built in the 1860s through 1920s—need contractors who understand how plaster walls and later drywall additions work together. We’ve worked in enough of these three-story colonials to know where moisture problems show up, how foundation settling causes cracks, and why corners near doorways always seem to take damage first.
We start by cutting out damaged drywall and checking what caused the problem in the first place. A hole from moving furniture is straightforward. A crack that keeps coming back usually means something else is going on—water damage, structural movement, or failing plaster underneath.
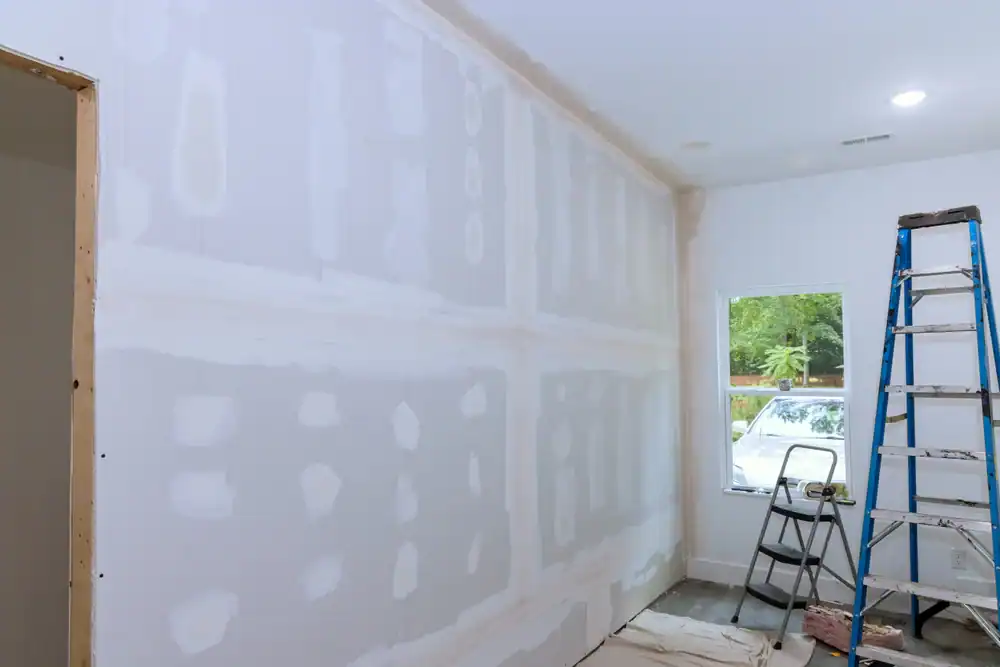
Once the area is prepped and clean, we apply the first coat of drywall mud. This fills the depression and bonds to the surrounding surface. Dry time matters here—rushing this step is where most patches fail.
After the first coat dries completely, we apply additional thin layers, feathering the edges further out each time. This creates a gradual transition instead of a visible bump. Most repairs need three coats minimum for a proper finish.
The final step is matching your existing texture. We recreate whatever finish is already on your walls—knockdown, skip trowel, orange peel, or smooth. Then we prime and paint to match your current color.
The whole process usually takes one day for standard repairs, though larger damage or multiple patches might need a second visit for final finishing and paint.
Ready to get started?
You’re getting complete repair work, not just someone smearing joint compound over a hole. That means damage assessment to identify underlying causes, proper cutting and prep of the repair area, and professional-grade materials that actually last.
We use mold-resistant drywall in areas where moisture might be an issue—common in Queen Village rowhomes where old plumbing runs through walls and basements stay damp. The joint compound we use is formulated for proper adhesion and minimal shrinkage as it dries.
Texture matching is included in every job. Your walls probably have some kind of finish pattern, and we replicate it exactly. We bring samples of different textures to confirm the match before we start the final coat.
Prime and paint are part of the service. We don’t patch your wall and leave you staring at a white square that doesn’t match. We finish the job completely, including paint color matching and blending so the repair disappears into the surrounding wall.
Cleanup is included too. Drywall work creates dust and debris, and we contain it, clean it up, and leave your space the way we found it. You shouldn’t have to vacuum drywall dust out of your furniture for the next week.
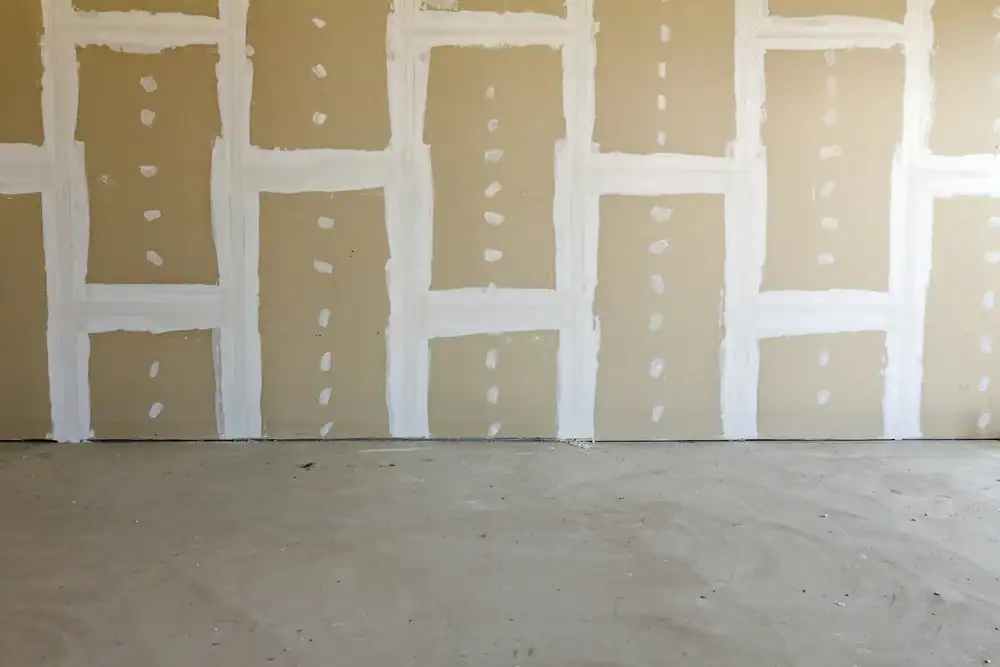
Most drywall mud needs 24 hours of dry time between coats, though that depends on humidity, temperature, and how thick the application is. Rushing this is the main reason patches crack or show texture problems later.
We typically apply three coats for a standard patch. First coat fills the hole and bonds to the wall. Second coat builds up the surface and extends the feathered edges. Third coat creates the final smooth transition and texture match.
If you’re in a hurry, we can use quick-setting compound that hardens in 20-90 minutes depending on the formula. But even with fast-setting mud, the final coat still needs overnight drying before priming and painting. There’s no way around proper dry time if you want results that last.
Yes, texture matching is part of every drywall patching job we do in Queen Village. Your walls probably have knockdown, orange peel, skip trowel, or some variation of those finishes. We recreate whatever pattern is already there.
The process involves applying joint compound in a specific way—either with a trowel, roller, or spray texture gun—and then knocking it down or leaving it raised depending on your existing finish. We practice the pattern on scrap material first to make sure it matches before touching your actual wall.
Smooth walls are actually harder to match than textured ones. Any imperfection shows up under light, so the feathering and sanding have to be perfect. Textured finishes are more forgiving, but they still require the right technique and tools to blend properly. Most DIY patches fail here because people don’t have the equipment or experience to replicate the original texture.
Recurring cracks in Queen Village rowhomes usually mean movement—either from foundation settling, seasonal expansion and contraction, or structural issues. Patching the crack without addressing what’s causing it just means you’ll see it again in six months.
Cracks around door frames and windows are common because those are stress points where the wall flexes. Ceiling cracks often come from roof leaks or upstairs plumbing problems. Corner cracks can indicate foundation movement or improperly secured drywall.
We check for the underlying cause before we patch anything. Sometimes it’s as simple as adding blocking behind the drywall for better support. Other times it means fixing a moisture problem first or using flexible caulk instead of rigid joint compound in areas that move. If there’s a structural issue, we’ll tell you that too—because patching over a foundation problem doesn’t help anyone.
Most homeowners in Queen Village spend between $200 and $400 for standard drywall patching—that’s for holes up to about 12 inches, including all coats of mud, texture matching, priming, and paint. Smaller repairs might run $150-$200. Larger damage or multiple patches cost more.
The price depends on the size of the damaged area, how many coats it needs, whether there’s underlying damage to fix first, and how complex your texture is to match. A smooth finish takes more labor than knockdown texture because the sanding and blending have to be perfect.
We give you a clear price upfront after seeing the damage. That quote includes everything—materials, labor, finishing, cleanup. No surprise charges when we’re done. If we find additional problems once we open up the wall, we discuss that with you before doing extra work.
We handle water damage, but the drywall replacement is only part of fixing the problem. If your wall got soaked from a burst pipe or roof leak, the drywall needs to come out. But we also need to make sure the framing dried completely and there’s no mold growing behind the surface.
Water-damaged drywall loses its structural integrity. It might look okay on the surface, but it’s weakened and will eventually crumble or support mold growth. We cut out the damaged section, check the studs and insulation behind it, and replace everything that got compromised.
Queen Village rowhomes often have water issues because of old plumbing, shared walls with neighbors, and flat roofs that develop leaks. We’ve seen plenty of ceiling damage from upstairs bathrooms and wall damage from pipes running through exterior walls that freeze in winter. The key is addressing both the drywall damage and whatever caused the water problem in the first place.
Small nail holes and minor dings are manageable DIY projects if you’re comfortable with basic tools. Anything larger than your fist, or damage in a visible high-traffic area, usually benefits from professional work. The difference shows.
The main issues with DIY drywall patching are uneven surfaces, visible seams, and texture that doesn’t match. You can watch videos and buy the right materials, but feathering edges properly takes practice. So does matching texture and blending paint so the repair disappears.
Most homeowners who call us tried patching it themselves first. They spent a weekend and $50 at the hardware store, and now they’re looking at a lumpy patch that’s more obvious than the original hole. We’re not saying that to be discouraging—we’re saying it because drywall finishing is a skill that takes repetition to get right. If the wall is somewhere you see every day and you want it to look correct, professional work usually makes sense.
Other Services we provide in Queen Village