
You walk into a room and the walls just look good. No visible seams catching your eye. No uneven patches that make you wonder what you paid for. Just smooth, clean surfaces that blend with your home’s character instead of fighting against it.
That’s what happens when drywall installation in Queen Village is handled by people who’ve worked in these homes before. Your century-old rowhouse has quirks—uneven framing, plaster transitions, settling that happened decades ago. A drywall installer who doesn’t know how to work with that will leave you with cracks, gaps, and a finish that looks cheap no matter how much you spent.
You’re not looking for the fastest job or the cheapest bid. You want someone who shows up, assesses what your specific walls need, and executes without turning your home into a construction zone. That’s the difference between installing drywall and doing it in a way that actually protects your investment.
We’ve spent over a decade working in Montgomery, Bucks, and Philadelphia County homes—including plenty of Queen Village rowhouses with all their quirks. We’re licensed, insured, and we don’t treat your home like a quick flip.
Your neighbors have different needs than someone in the suburbs. Tighter spaces. Historic materials. Higher standards. We get that because we’ve done the work here, not just talked about it.
When you’re investing in a home where the median value is pushing $600,000, you don’t want a contractor learning on your dime. You want someone who’s already figured out how to integrate modern drywall with old construction—and who won’t leave your place looking like a job site when we’re done.
First, we come out and actually look at your space. Not a five-minute glance—a real assessment of what your walls need, what’s behind them, and what challenges we’re working with. You get a clear estimate with no surprises buried in the fine print.
Once we start, we prep the space to protect your floors and belongings. Then we measure, cut, and hang the drywall with attention to how it meets your existing walls and ceilings. This is where experience with historic homes matters—knowing how to shim, adjust, and account for settling that happened before you owned the place.
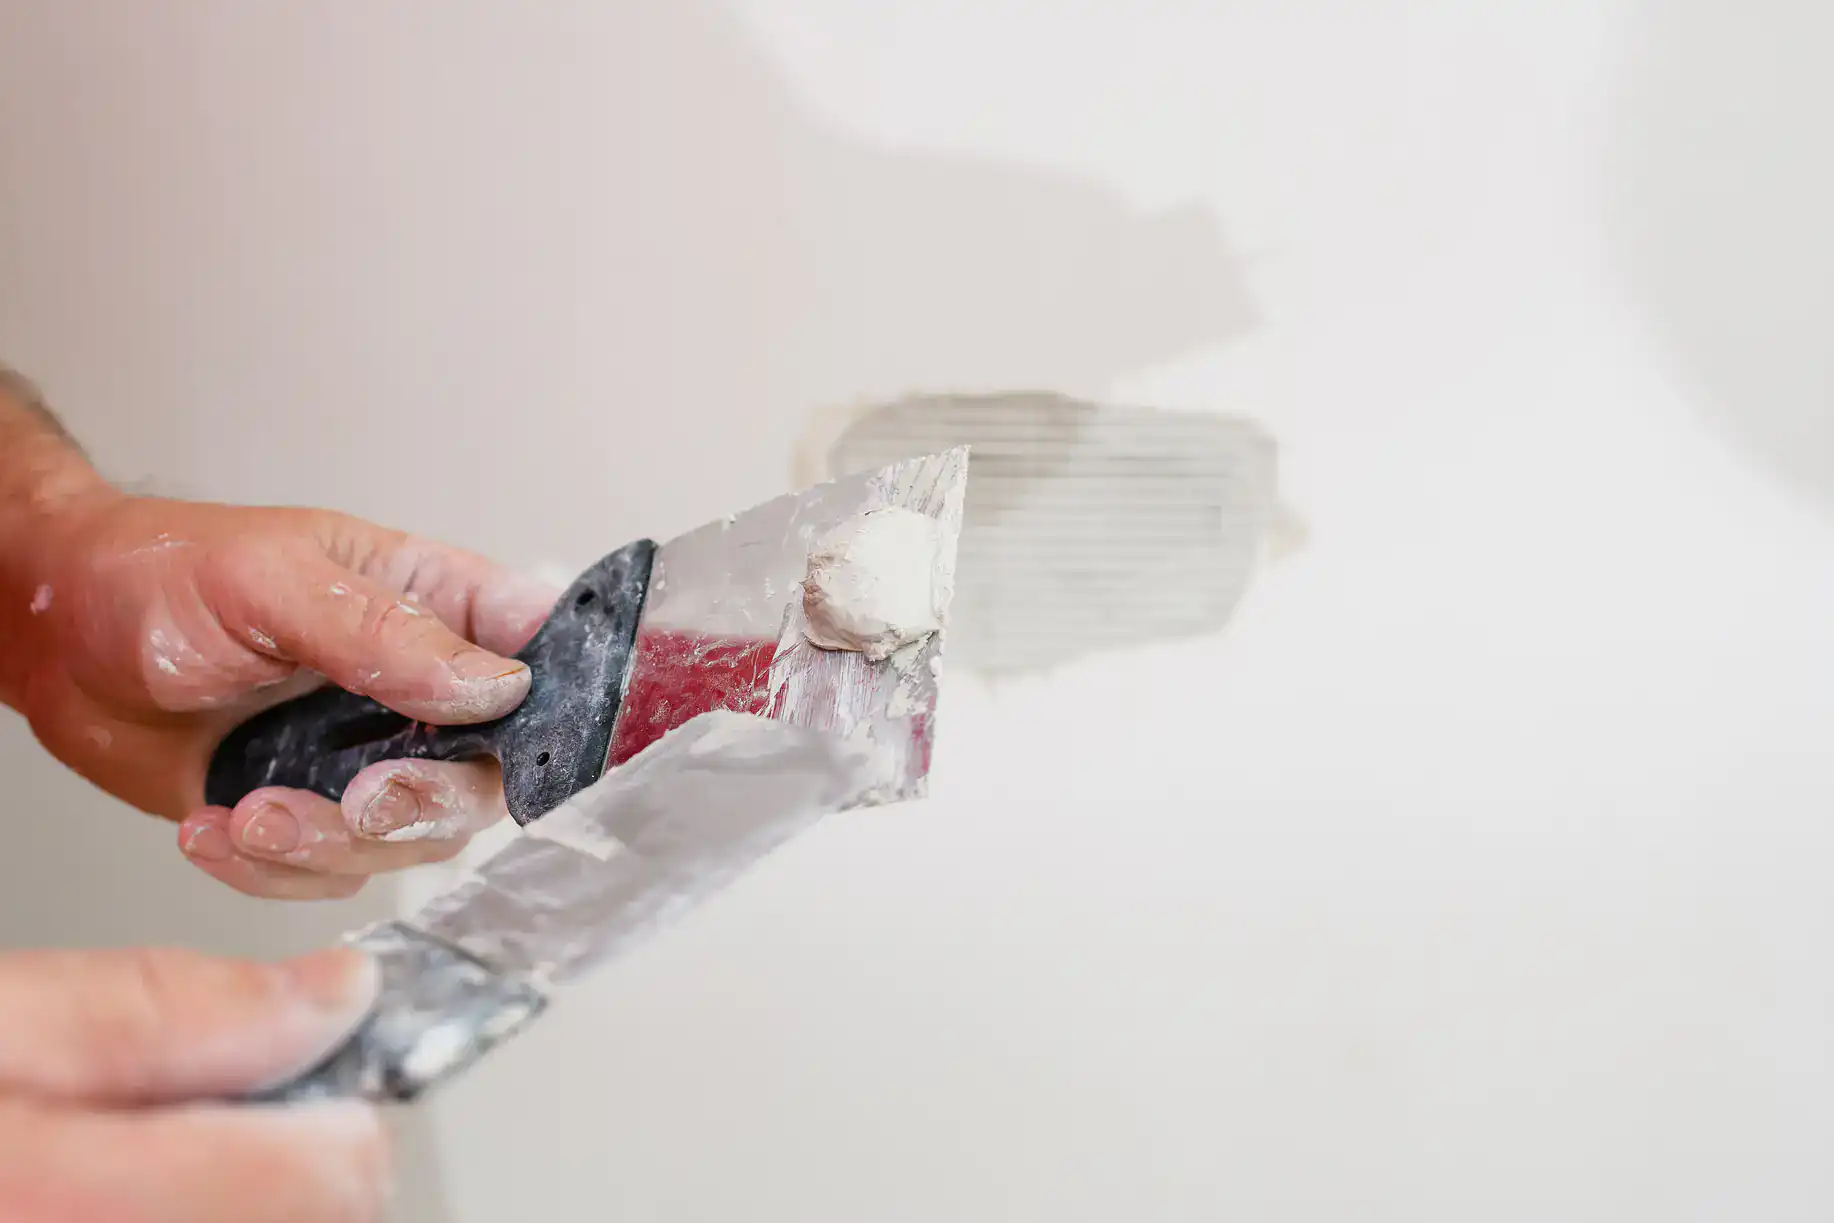
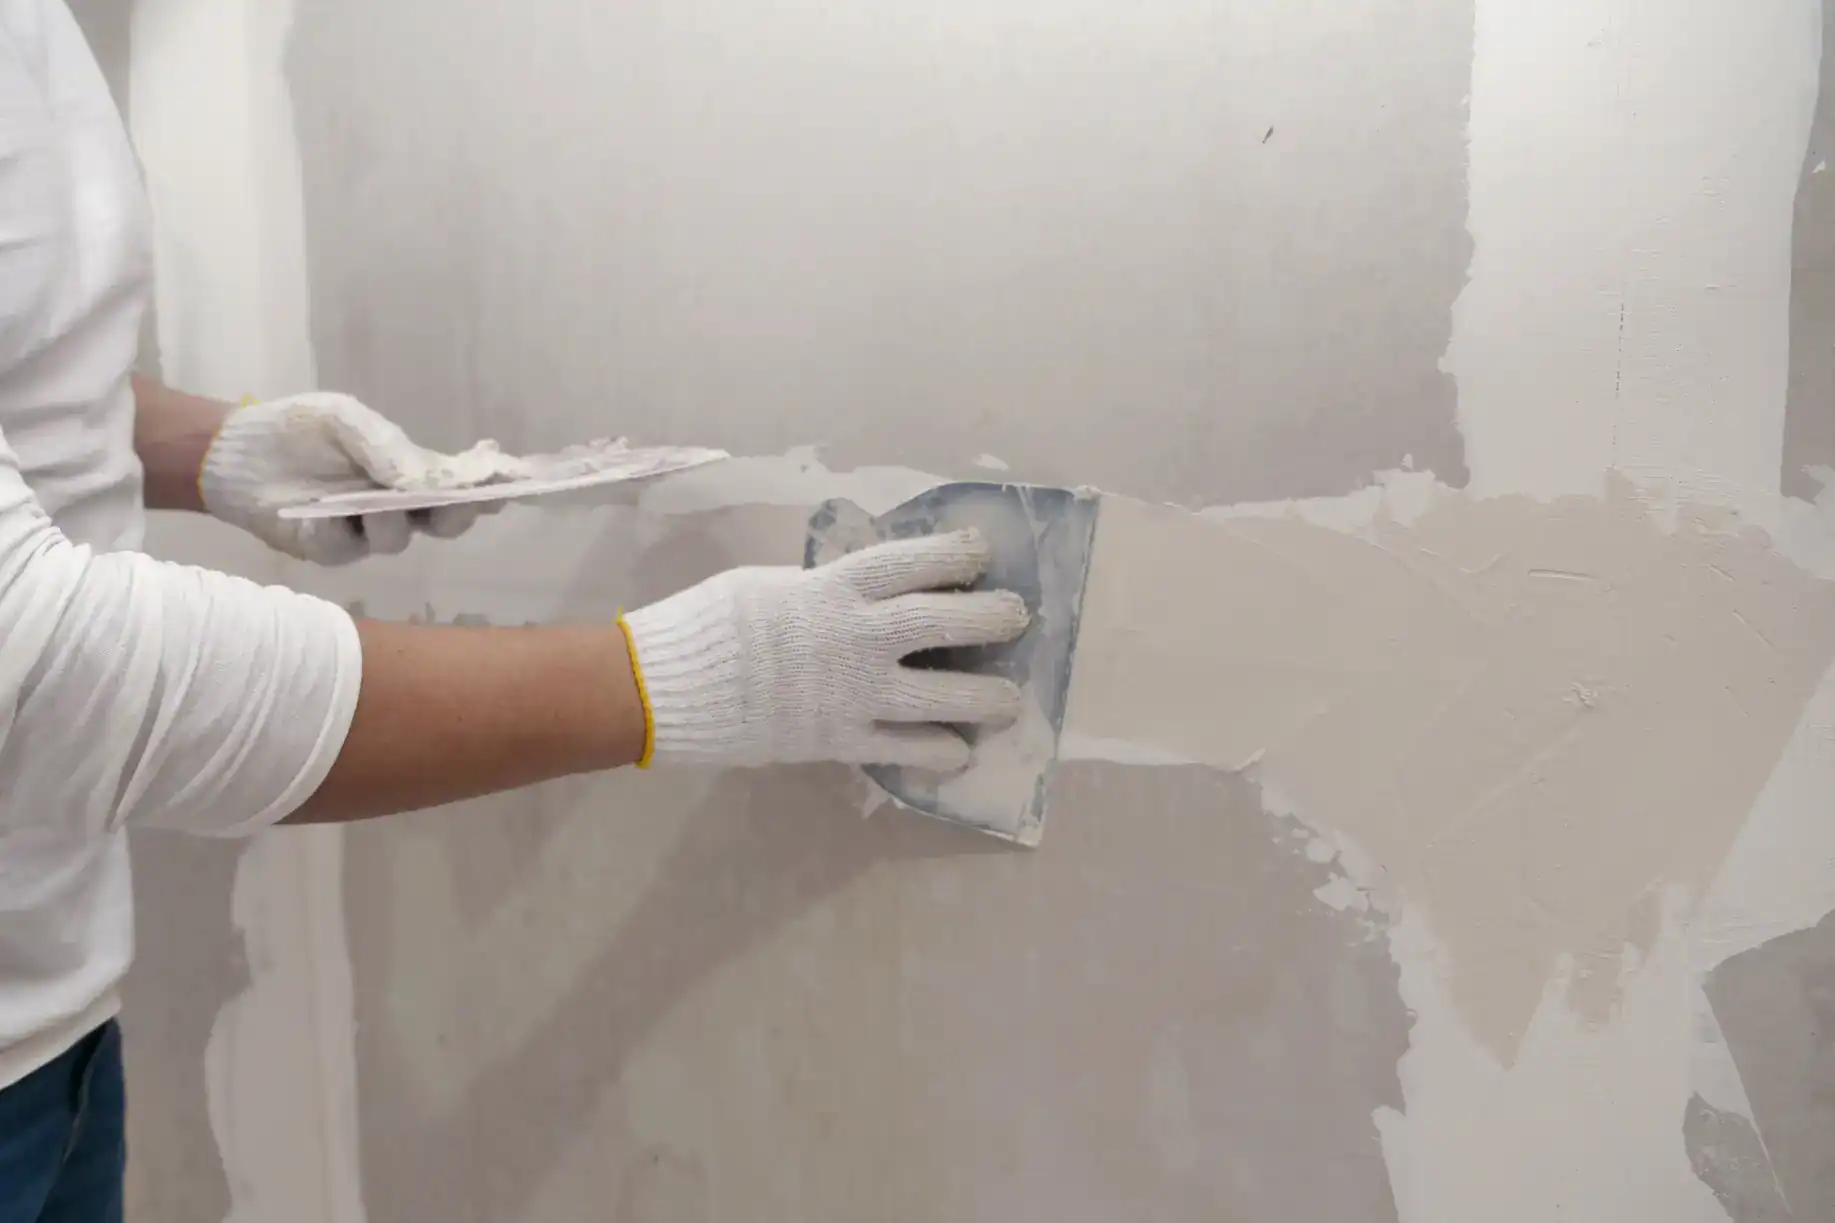
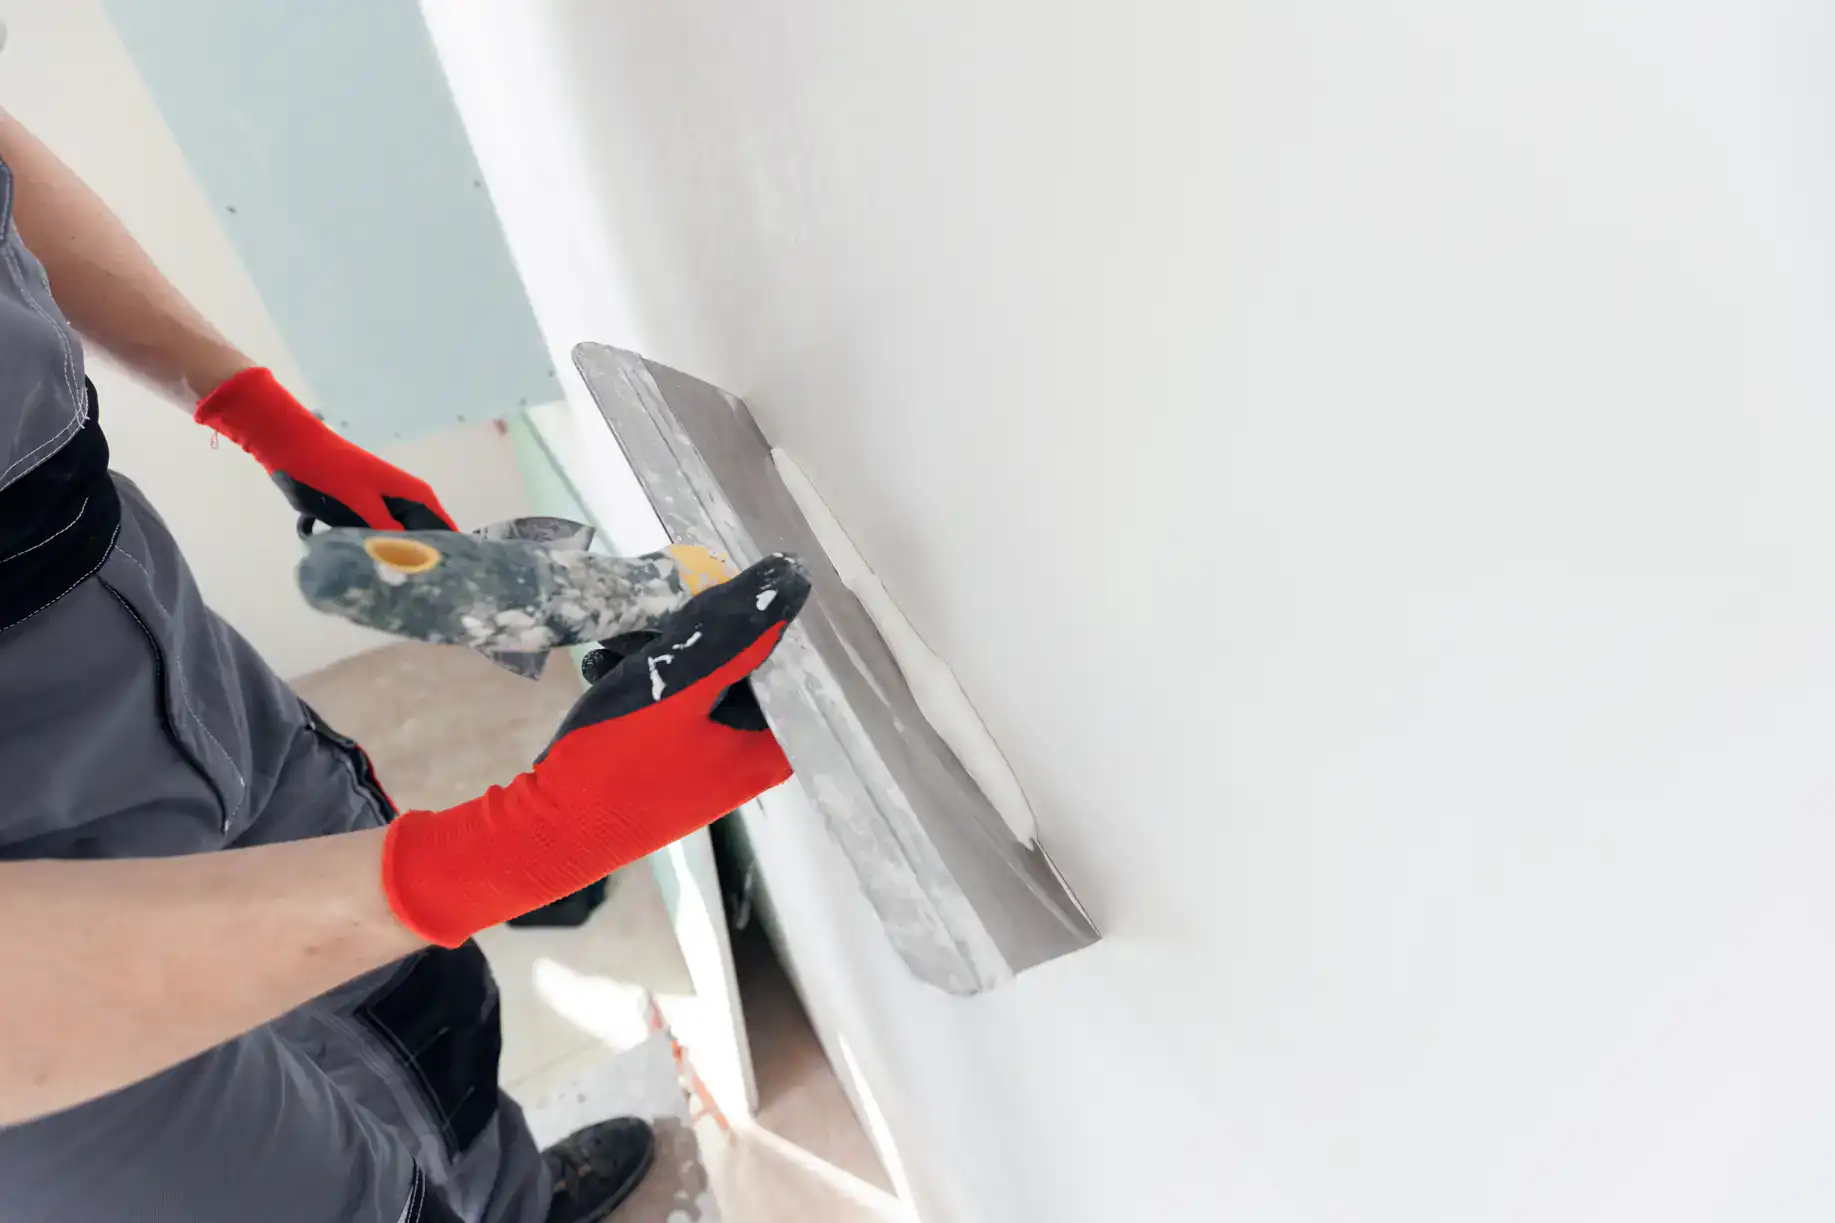
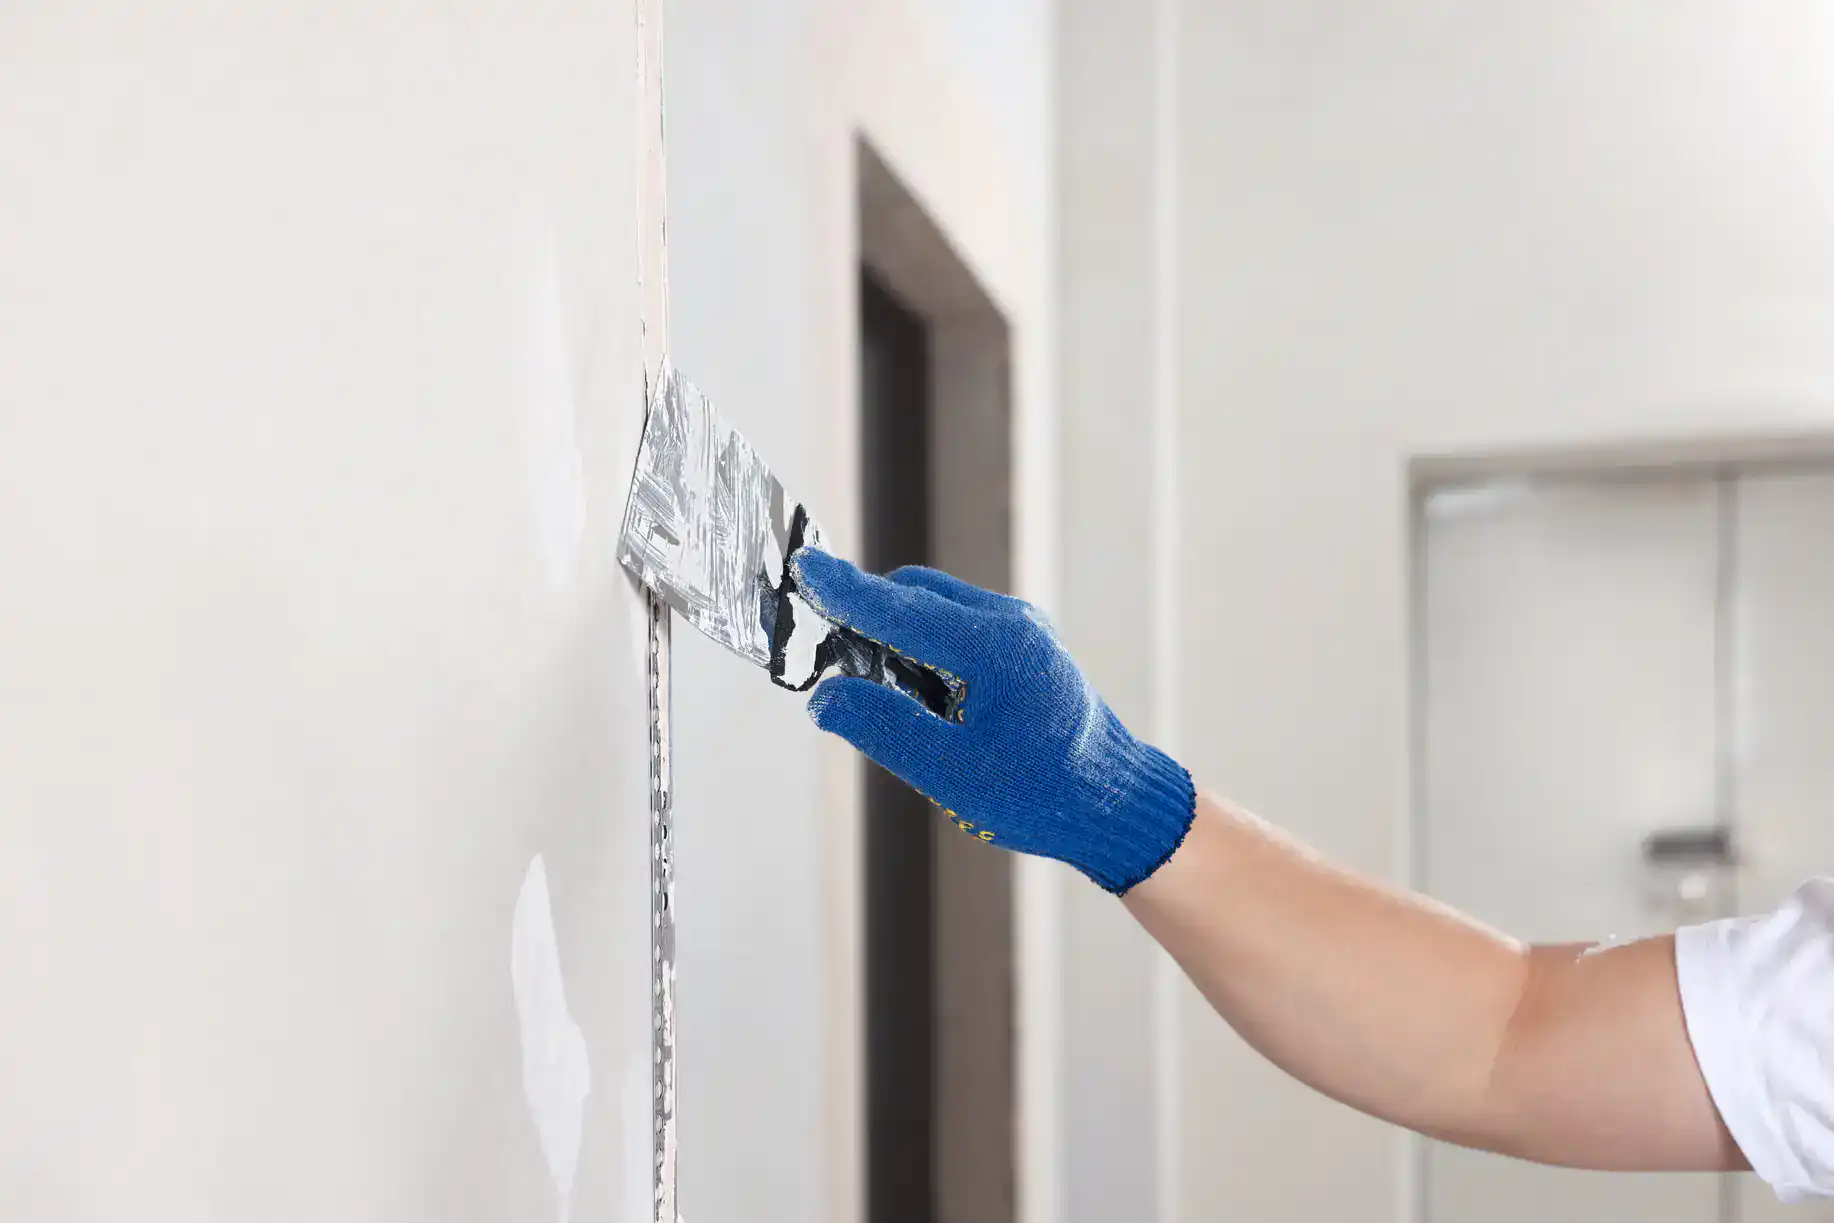
After the sheets are up, we tape, mud, and sand until the seams disappear. We’re not talking about “good enough”—we’re talking about a finish you won’t notice because it looks like it’s always been there. Our Quality Control Supervisors inspect daily, so issues get caught and fixed before we ever call the job done.
You’re left with walls that are ready for paint or whatever finish you’re planning. No punch list. No callbacks. Just the result you expected when you hired a professional drywall installer in the first place.
Ready to get started?
When you hire us for drywall installation in Queen Village, you’re getting more than just sheets hung on studs. We’re using premium materials designed for durability—not builder-grade stuff that’ll show every imperfection. That includes moisture-resistant options if your project needs it, which matters in older homes where humidity and ventilation weren’t part of the original design.
The cost to install drywall in Philadelphia typically runs between $0.90 and $2 per square foot, with most projects averaging around $2,095. Your actual number depends on the scope—are we working around existing plaster, dealing with high ceilings, or integrating soundproofing? We price based on what your specific job requires, not a one-size-fits-all formula.
You also get our zero-mess commitment. We contain dust, protect your space, and clean up daily. For Queen Village homeowners juggling work and life in tight quarters, that’s not a luxury—it’s a necessity. And because we’re fully licensed and carry $1 million in general liability coverage, you’re protected if anything goes sideways. Not that it will, but you should know it’s there.
What you won’t get is a crew that treats your home like a quick flip. We’re installing drywall in a neighborhood where homes are investments, not commodities. That changes how we approach the work.
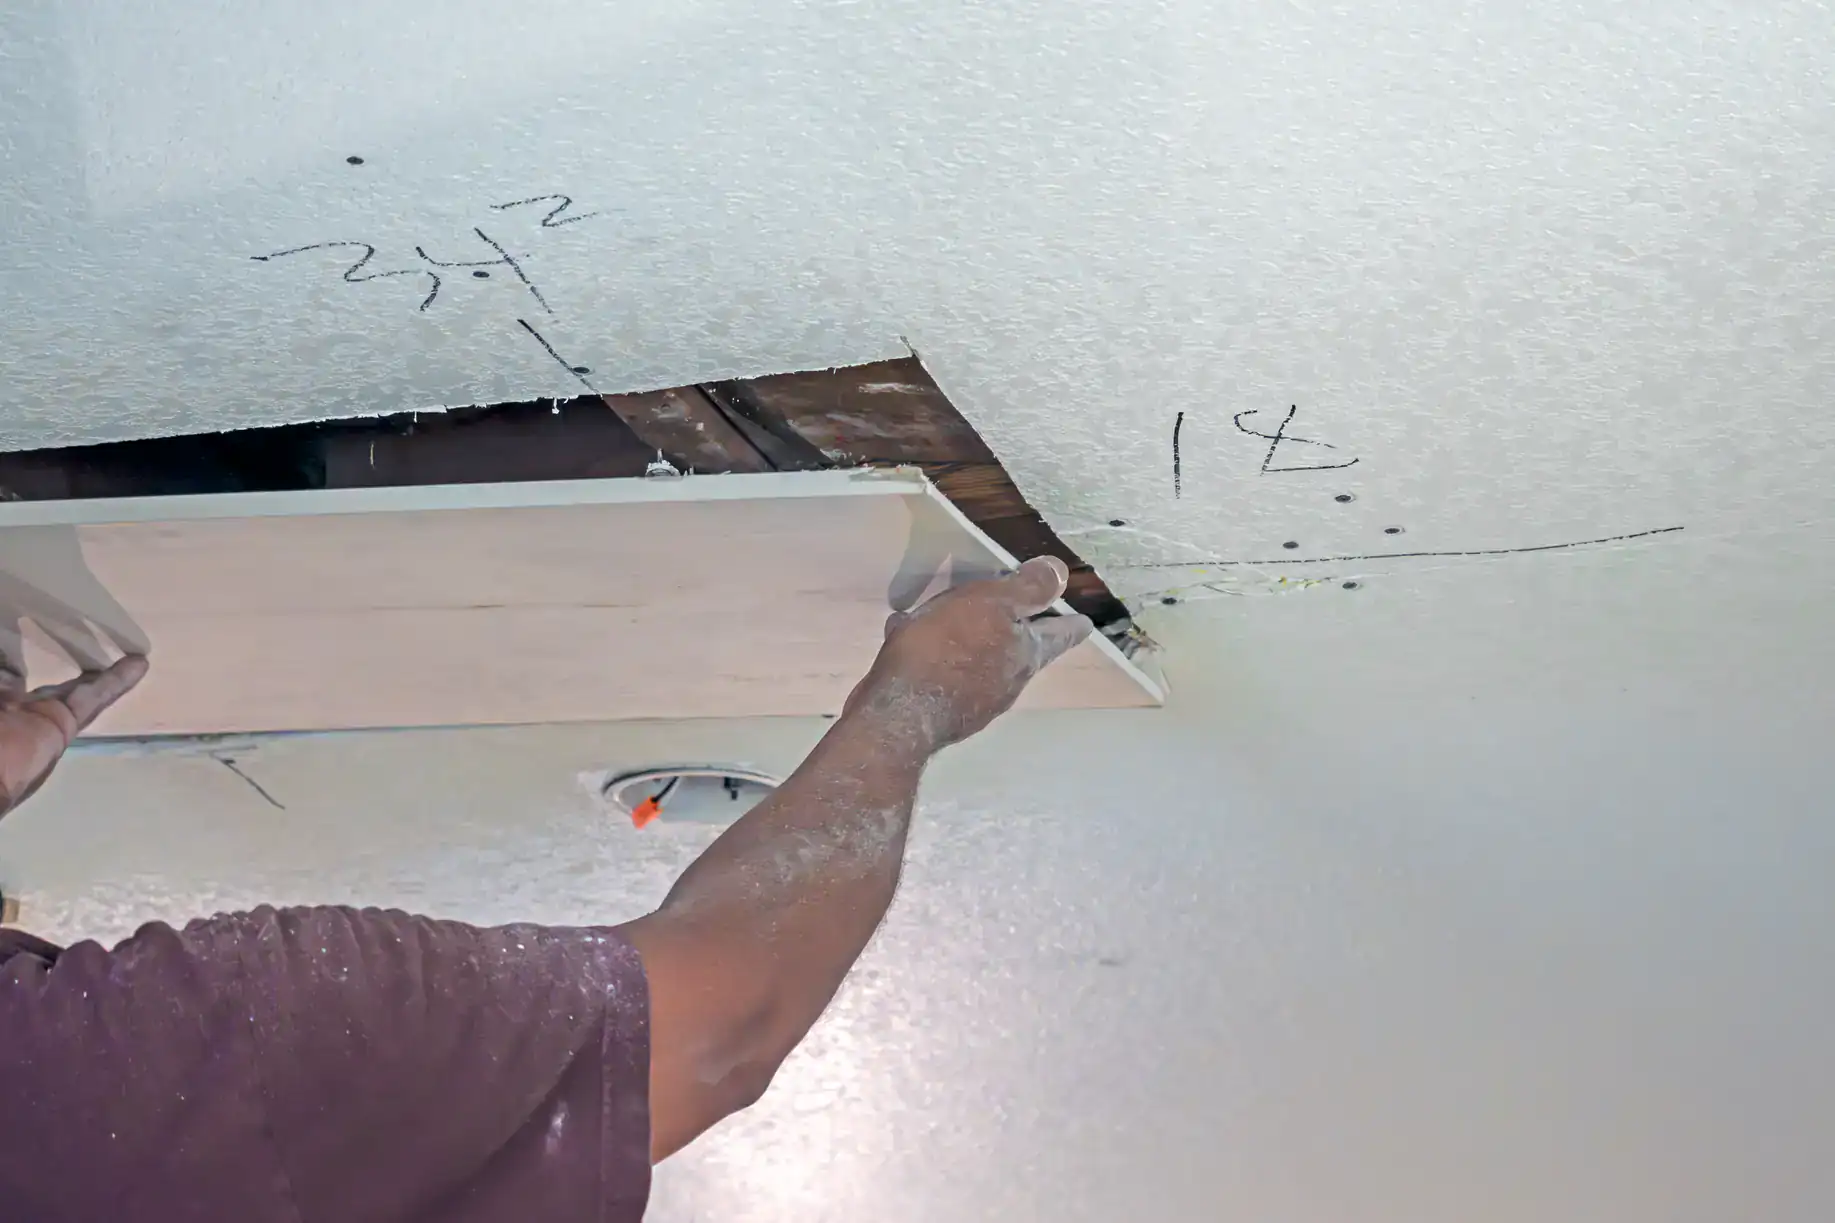
Most residential drywall installation projects in Queen Village take between three and seven days, depending on the size and complexity. A single room might be done in two to three days. A full floor or multiple rooms with high ceilings and detailed work can stretch closer to a week.
The timeline isn’t just about hanging sheets. It’s about proper drying time between coats of joint compound, sanding without rushing, and making sure the finish is actually ready for paint. If someone promises you a full installation in a day or two, they’re either cutting corners or not accounting for the realities of working in a historic home.
We’ll give you a realistic schedule upfront. And if we hit an issue—old wiring that needs attention, unexpected water damage behind a wall—we’ll tell you immediately, not after we’ve already made it worse.
Yes, and this is one of the most common requests we get in Queen Village. Your home likely has original plaster in some areas, and you need new drywall to blend seamlessly. It’s doable, but it requires more than just slapping up a sheet and hoping for the best.
We build out the framing or use thicker drywall to match the depth of your existing plaster. Then we feather the transition so you don’t have a visible edge where old meets new. The finishing work is what makes or breaks this—getting the texture right so it doesn’t look like a patch job.
This is why experience matters. A drywall installer who’s only worked in new construction won’t know how to handle the transition. We’ve done it enough times in these homes to make it look like it was always there.
Standard drywall works fine for most interior walls—bedrooms, living rooms, hallways. Moisture-resistant drywall (often called green board or purple board) is designed for areas where humidity is higher, like bathrooms, kitchens, or basements. It has a treated core and facing that resists mold growth and holds up better when exposed to moisture.
In Queen Village’s older homes, we often recommend moisture-resistant options even in areas you wouldn’t expect. Poor ventilation, old foundations, and settling can create moisture issues that weren’t a problem when your home was built. Spending a bit more on the right material now saves you from dealing with mold or deterioration later.
We’ll assess your specific situation and recommend what makes sense for your project. If standard drywall is fine, we’ll tell you. If you need an upgrade, we’ll explain why.
For most residential projects in Queen Village, you’re looking at $0.90 to $2 per square foot for professional drywall installation, with total project costs typically ranging from $1,500 to $3,000 depending on scope. A standard bedroom might run $800 to $1,200. A full-floor renovation with multiple rooms, ceilings, and detailed finishing can push $4,000 or more.
What drives the cost? Square footage, ceiling height, complexity of the space, and whether we’re working around existing materials like plaster or brick. If you need soundproofing, moisture-resistant materials, or custom texturing, that adds to the total. We also factor in the condition of your framing and whether repairs are needed before we can even start hanging drywall.
We give you a detailed estimate upfront so you know exactly what you’re paying for. No line items that don’t make sense. No surprise charges when the job’s done. Just clear pricing based on what your project actually requires.
Yes, clearing the room makes the job faster and protects your belongings from dust and damage. We can work around some furniture if moving everything isn’t possible, but the more space we have, the cleaner and more efficient the installation will be.
If you’re doing a full room or multiple rooms, plan to relocate furniture to another area of your home. For smaller projects—like repairing a section of wall or ceiling—we can often work with minimal disruption. We’ll cover and protect what stays, but drywall work generates dust no matter how careful we are.
We’ll walk you through what needs to happen during the estimate. If you’re concerned about moving heavy pieces, let us know. We can adjust the plan or recommend solutions that work for your situation. The goal is to get the work done without turning your life upside down.
We stop, document it, and talk to you before moving forward. Hidden damage—water stains, mold, compromised framing, old wiring issues—isn’t uncommon in Queen Village’s historic homes. It’s also not something you want covered up with new drywall and ignored.
If we find something that needs attention, we’ll explain what it is, why it matters, and what it’ll take to fix it properly. Sometimes it’s minor and we can handle it as part of the job. Other times you’ll need a plumber, electrician, or structural repair before we continue. We’ll give you options and let you decide how to proceed.
What we won’t do is hide a problem to stay on schedule or on budget. You’re investing in your home, and that means doing it right—even when it’s inconvenient. We’ve been in this business long enough to know that shortcuts come back to haunt you, and we’re not interested in being part of that story.
Other Services we provide in Queen Village