
You’re looking at walls that need work. Maybe it’s a renovation that exposed brick and old plaster. Maybe it’s water damage from last winter. Maybe you’re just tired of looking at seams that show through every coat of paint.
Here’s what matters: when drywall finishing in Queen Village, PA is done right, you don’t see gaps, lines, or texture inconsistencies. You see a smooth surface ready for whatever finish you choose. No callbacks. No touch-ups three months later when everything settles.
That’s the difference between acceptable work and professional drywall installation and finishing. Your walls either look right or they don’t. There’s no middle ground when the light hits them at an angle.
We’ve worked in Queen Village long enough to know what you’re dealing with. These historic rowhouses weren’t built with drywall in mind. They were built with plaster applied directly to brick, wood lath systems, and construction methods that predate modern materials by decades.
Your home has character. It also has challenges—uneven surfaces, moisture issues, walls that need modern functionality without losing their integrity. We handle those transitions daily because we’ve been doing this for nearly 50 years across Philadelphia.
You’re not hiring someone who learned drywall finishing last year. You’re working with contractors who understand how old materials interact with new ones, and how to make both work together without compromise.
First, we assess what you’re working with. Historic homes in Queen Village need different approaches than new construction. We look at existing plaster, moisture levels, structural considerations, and what kind of finish you’re after.
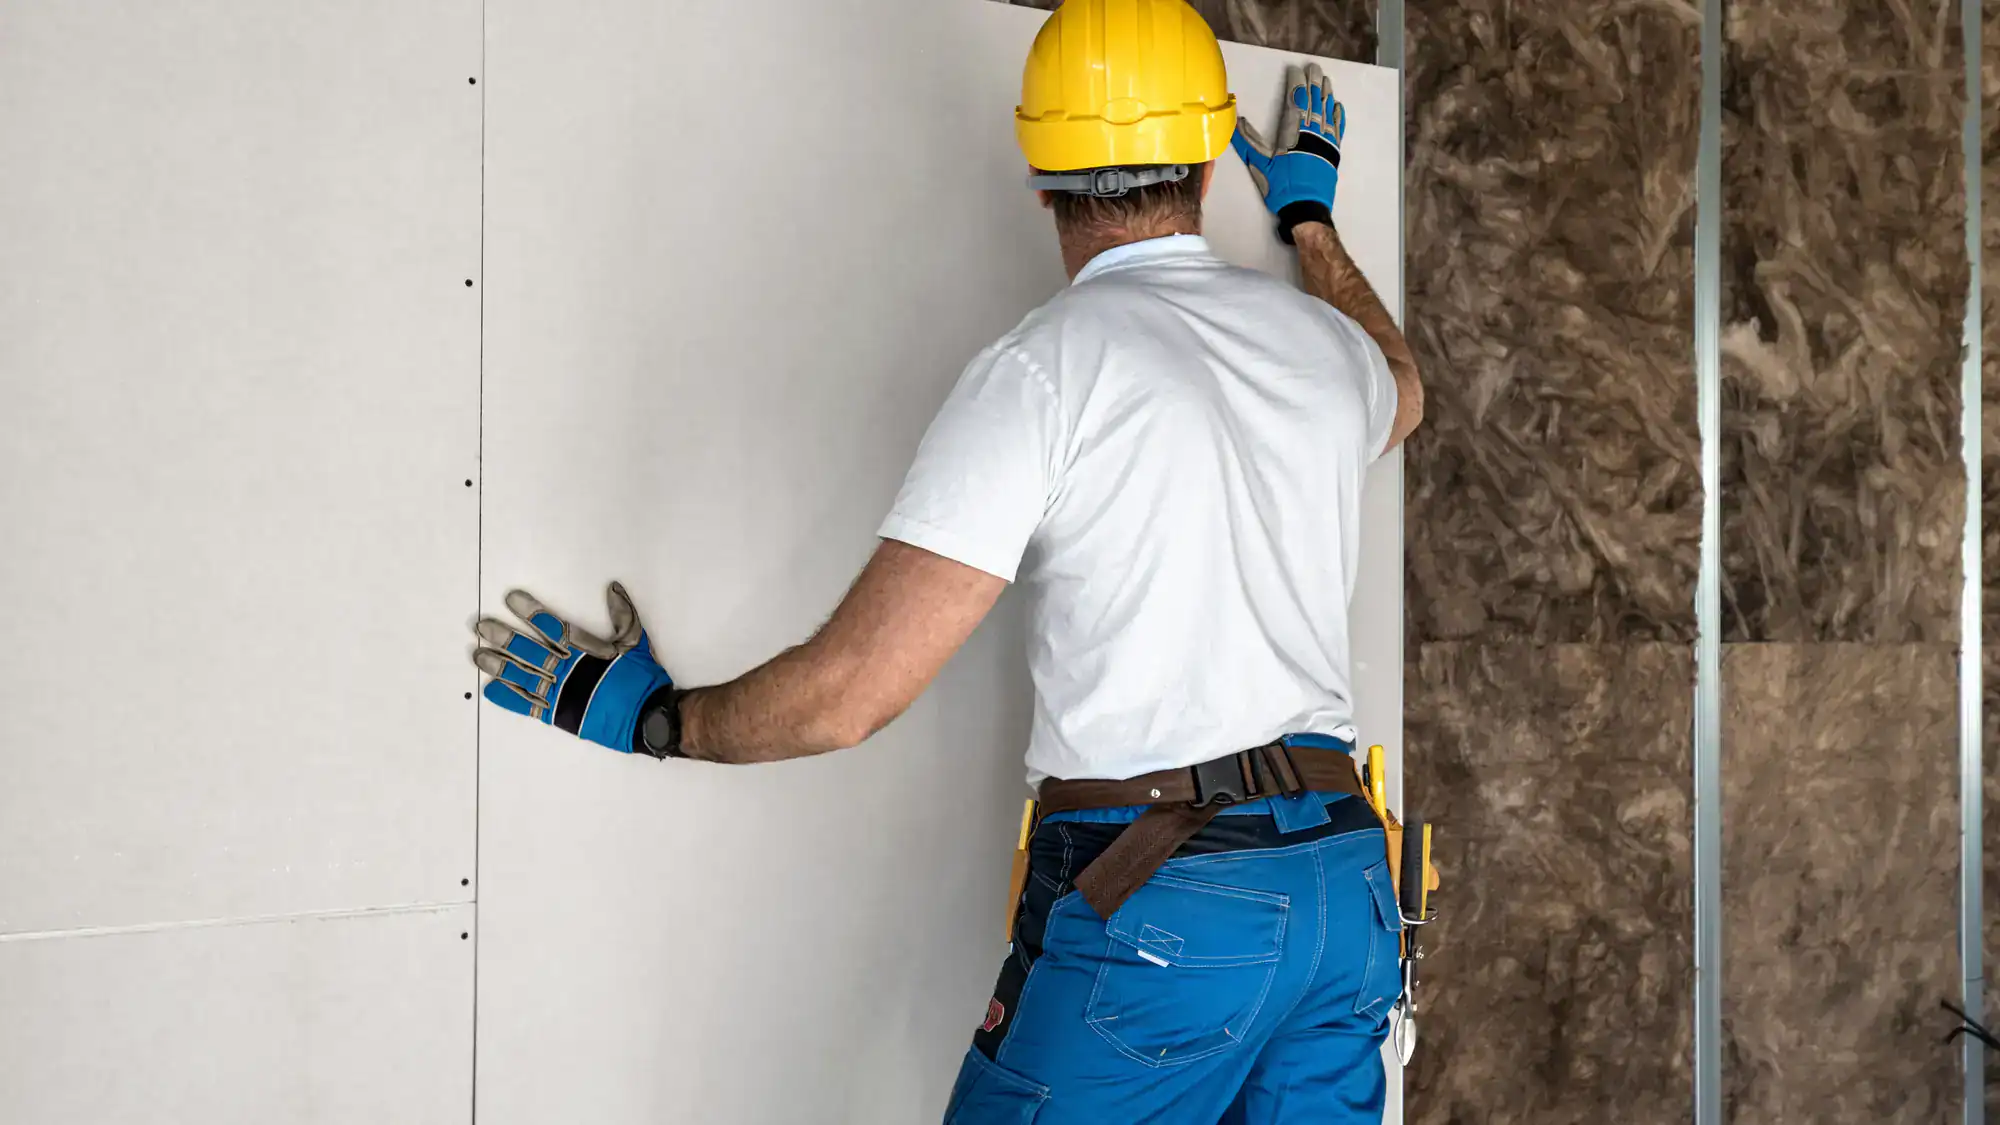
Then comes installation or repair. If we’re working with existing walls, we prep surfaces properly—no shortcuts that show up later. New drywall gets hung with attention to how your home settles and moves. Everything gets measured for your specific space.
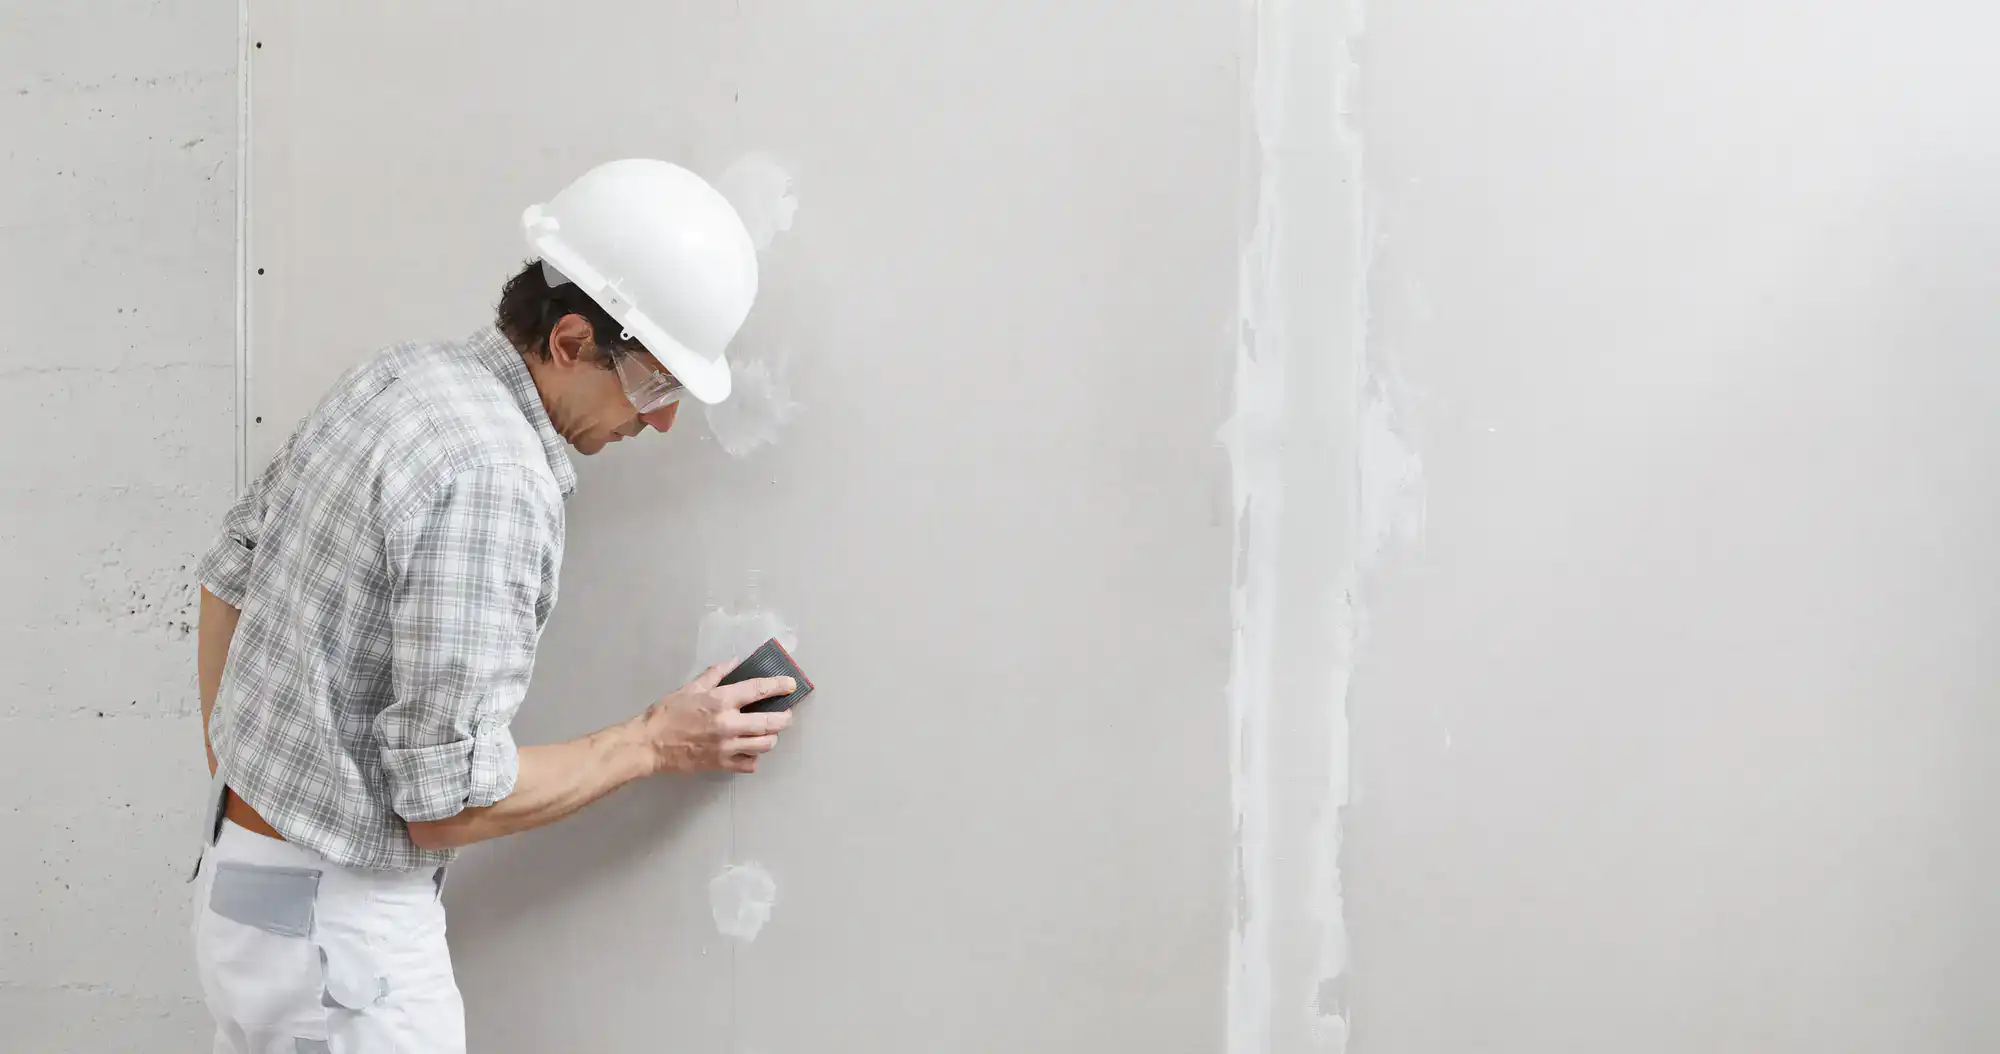
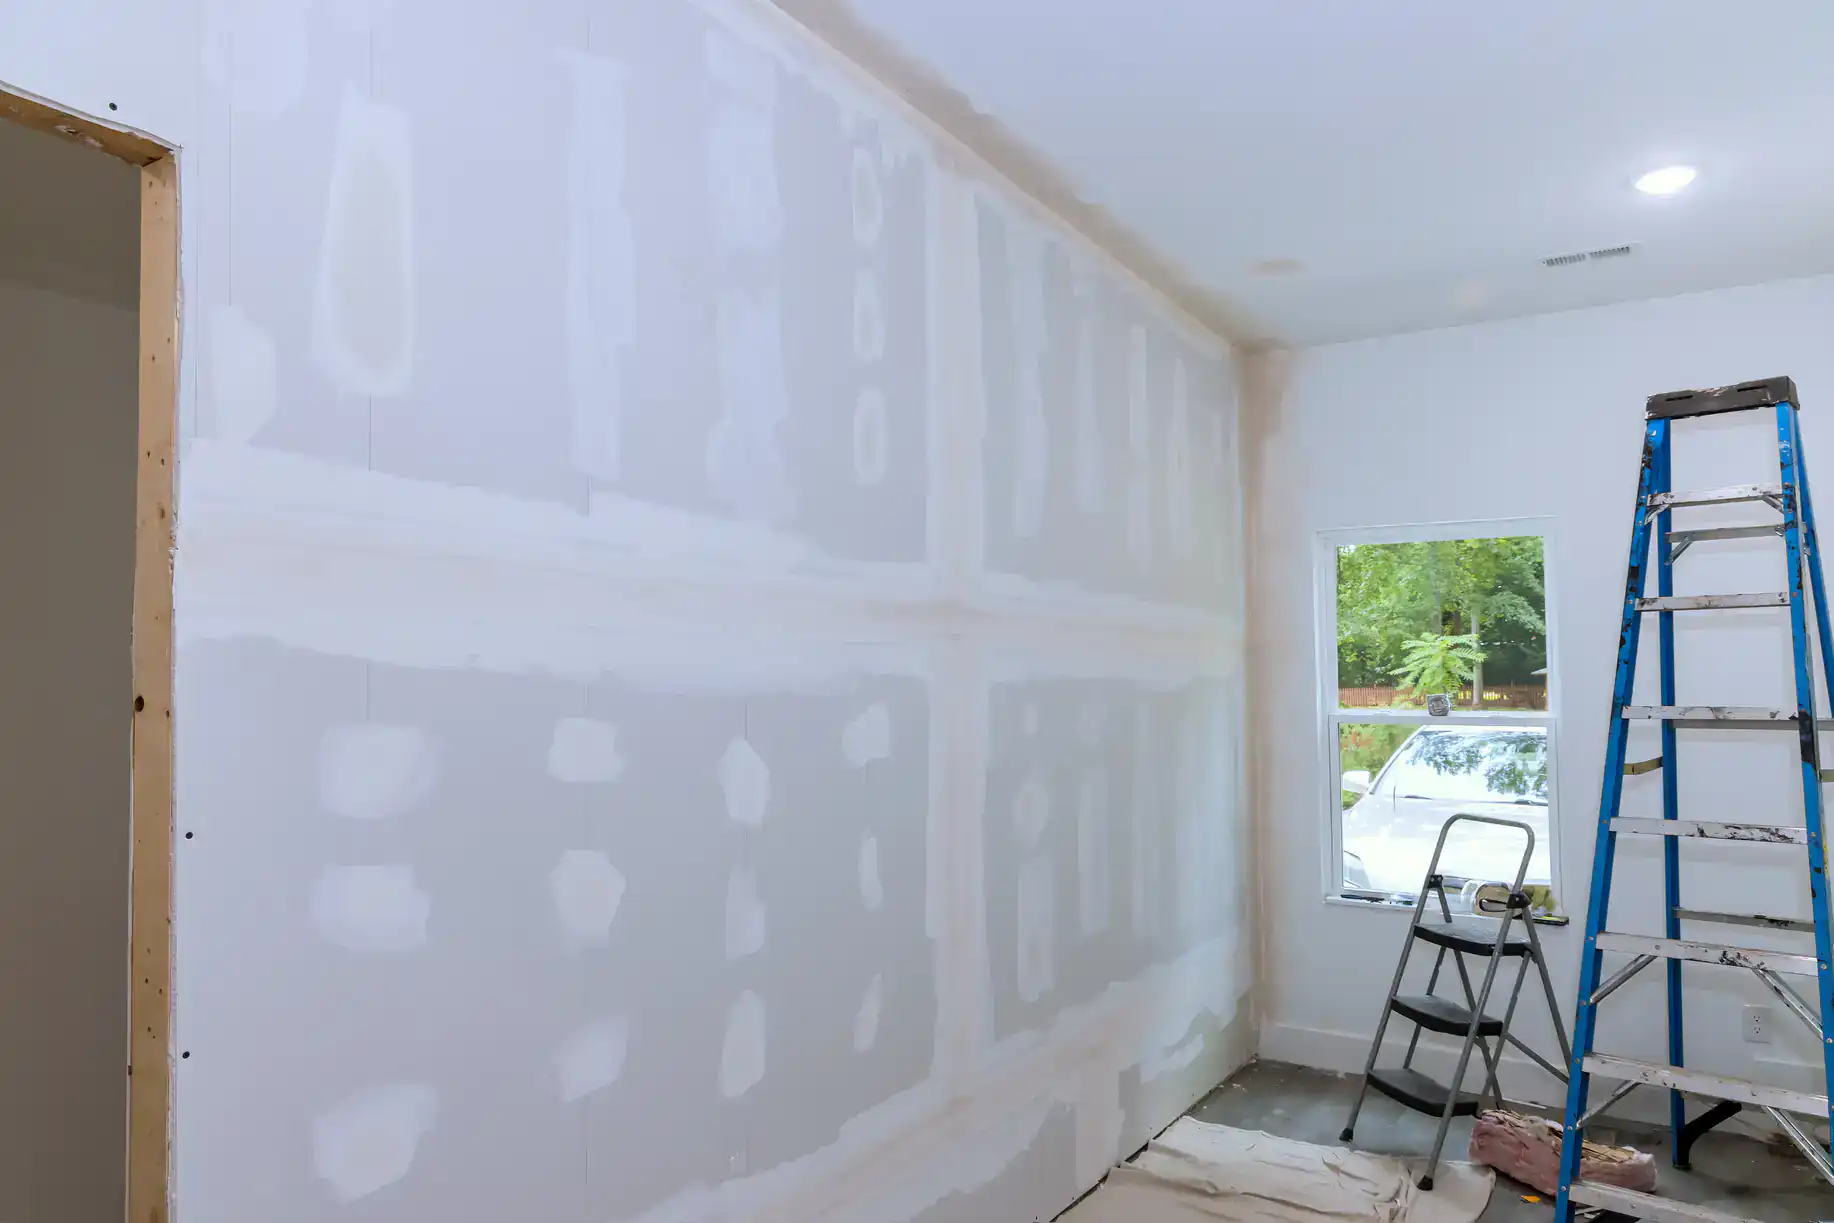
Taping and mudding comes next. This is where drywall finishing separates average work from professional results. We apply joint compound in layers, sanding between coats until surfaces are completely smooth. Corners get reinforced. Seams disappear.
Final finishing depends on your needs. Level 4 finish works for most paint applications. Level 5 finish is what you want if you’re using flat paint or need absolutely flawless surfaces. We handle both, and we’ll tell you honestly which one makes sense for your project.
Cleanup is included. You shouldn’t have to deal with drywall dust for weeks after we leave.
Ready to get started?
You get complete drywall finishing services in Queen Village, PA—not partial work that requires you to hire someone else to finish. That means installation, taping, mudding, sanding, and final finishing all handled by the same crew.
We use premium materials designed for durability in older homes. Queen Village properties deal with humidity, temperature fluctuations, and structural movement that cheap compound can’t handle long-term. The materials we use are selected specifically for how Philadelphia homes behave.
Historic home integration is part of the service. If you’re transitioning from plaster to drywall, we handle that properly. If you’re repairing sections while preserving original walls, we match textures and thicknesses so you can’t tell where old ends and new begins.
You also get transparent pricing from the start. No surprise fees when we discover your walls aren’t perfectly straight—we already know they’re not. That’s factored in. Most Queen Village homes have quirks. We price accordingly and stick to what we quote.
The work comes with proper licensing and insurance. You’re protected if something goes wrong, and you’re working with contractors who meet Philadelphia’s requirements for this type of work.
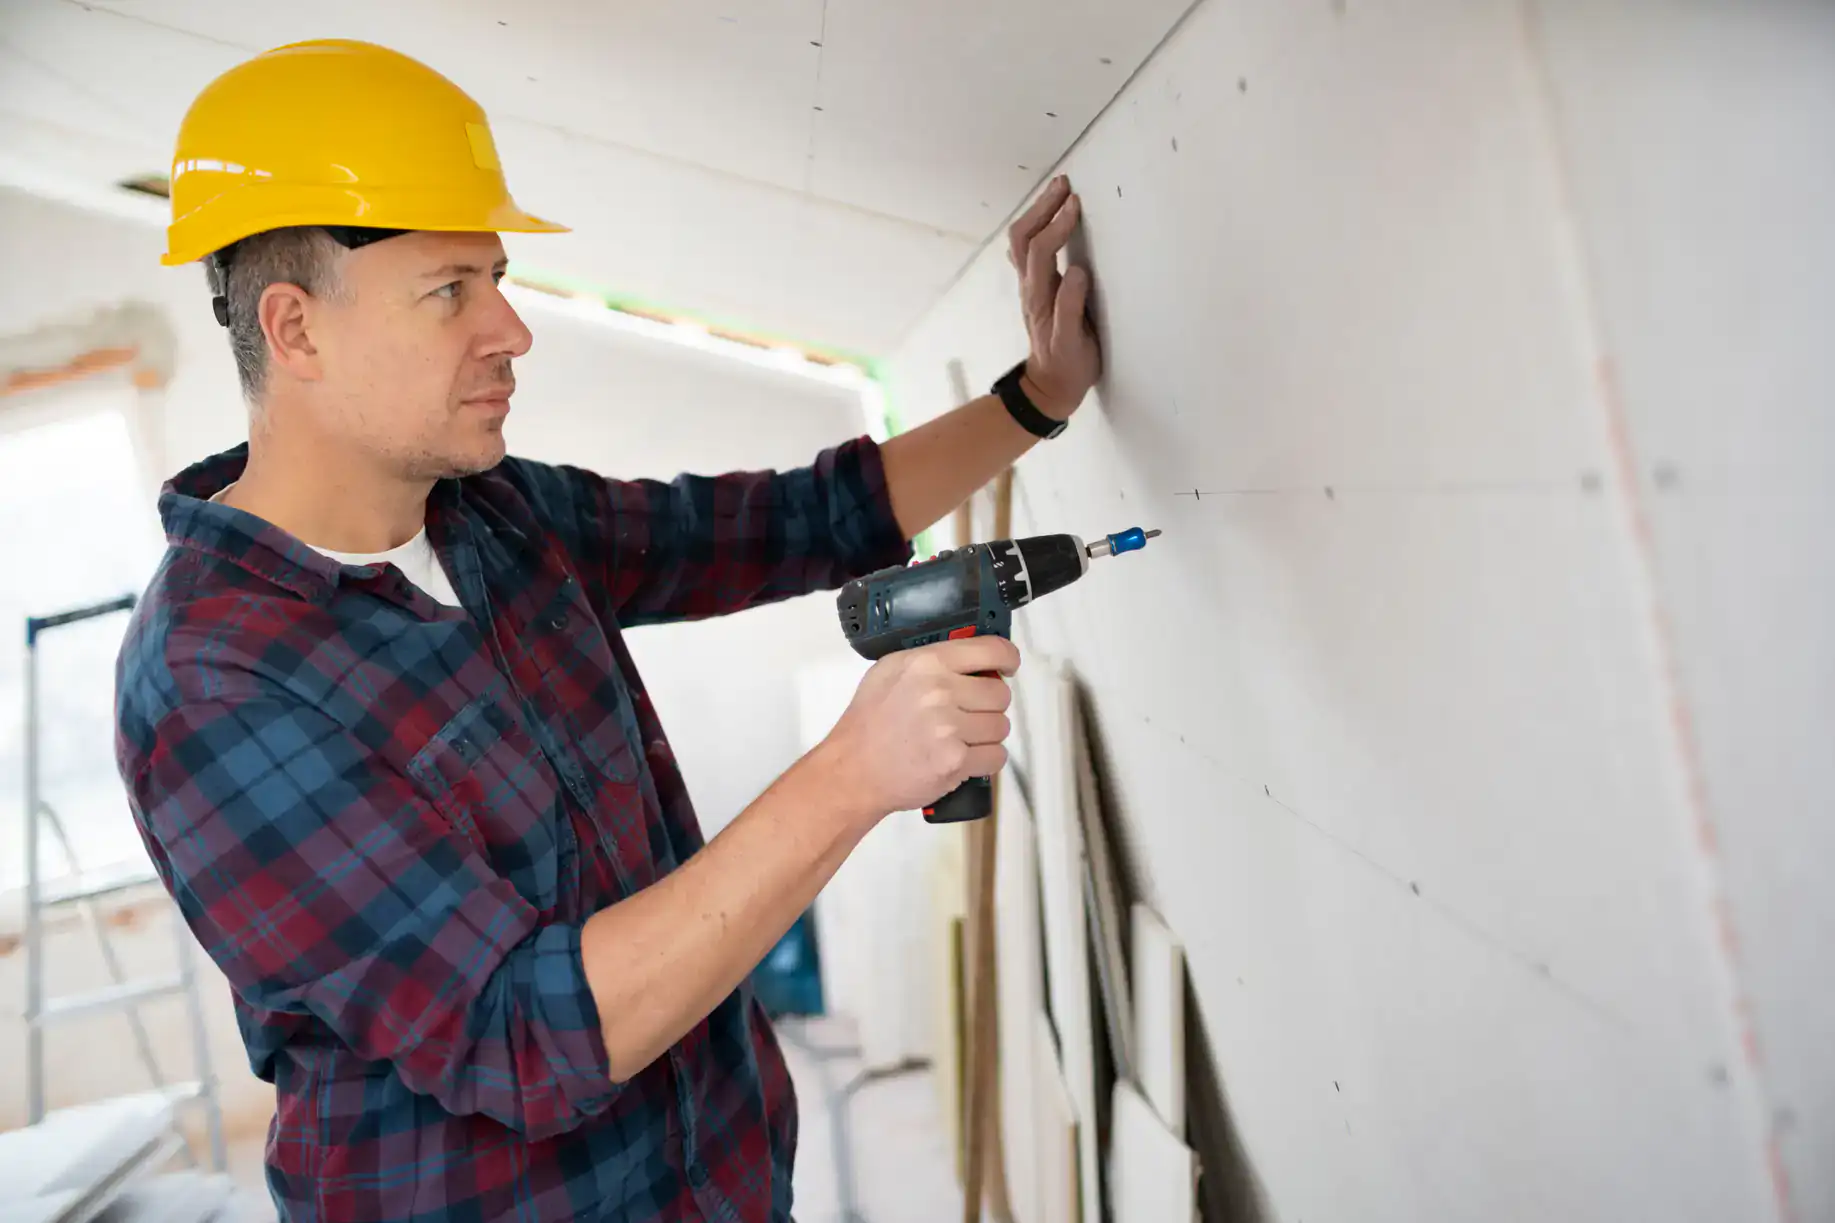
Historic rowhouses in Queen Village present specific challenges that standard drywall techniques don’t address. Most of these homes were built in the 18th and 19th centuries with plaster applied directly to brick or wood lath systems. When you’re adding or repairing drywall, you’re integrating modern materials with construction methods that are over 100 years old.
We start by assessing what’s behind your existing walls. Plaster thickness varies. Wall surfaces aren’t plumb. Moisture behaves differently in old brick than in modern framing. We account for all of that before we hang a single sheet.
The key is matching thicknesses and creating stable transitions. If we’re patching a section of damaged plaster with drywall, we build up layers so the new section sits flush with the old. We use setting-type compounds that handle the movement and moisture levels typical in historic homes. The goal is a repair that lasts as long as the original construction, not something that cracks in two years because it wasn’t done with your home’s specific needs in mind.
Level 4 finishing means all joints and fasteners are covered with joint compound, sanded smooth, and ready for paint. You won’t see seams or screw heads under most lighting conditions. This works well for textured walls or when you’re using eggshell or satin paint that has some sheen to hide minor imperfections.
Level 5 finishing adds a skim coat of compound over the entire surface—not just joints and fasteners. This creates an absolutely uniform surface with no variation in texture or porosity. It’s what you need if you’re using flat paint, which shows every imperfection, or if you have harsh lighting that will highlight any inconsistency.
Most Queen Village homeowners doing renovations opt for Level 5 on feature walls or main living areas where lighting is strong. It costs more and takes longer, but it’s the difference between walls that look good and walls that look flawless. We’ll walk you through which level makes sense for your specific rooms and lighting conditions. There’s no point paying for Level 5 everywhere if Level 4 will give you the results you need in certain spaces.
Small repairs—patching holes, fixing water damage in a single room—usually take a few hours to one day, depending on how many coats of compound are needed. Each coat needs to dry before the next one goes on, so even small jobs span multiple days when you account for drying time.
Whole-room projects take longer. If we’re finishing a newly drywalled room from scratch, expect three to five days from first coat to final sanding. That includes taping, multiple coats of mud, drying time between coats, and final finishing. We can’t rush drying time without compromising quality.
Larger renovations—multiple rooms, historic plaster integration, or complex repairs—can take one to two weeks. Queen Village homes often have complications that add time: uneven surfaces that need extra attention, moisture issues that require proper prep, or matching existing textures that take multiple attempts to get right. We’d rather take the extra time and deliver work that lasts than rush through and leave you with problems six months later.
Yes, but it takes skill and patience. Original plaster in Queen Village homes has texture and character that modern drywall doesn’t replicate automatically. If you’re repairing a section and want it to blend with surrounding plaster, we need to match both the thickness and the surface texture.
We do this by building up joint compound in layers, replicating the hand-troweled texture of the original plaster. Sometimes that means adding aggregate to the compound. Sometimes it means using specific trowel techniques. It always means testing the texture on a sample board first so you can approve it before we apply it to your wall.
The goal is a repair you can’t identify once it’s painted. That’s harder than it sounds because old plaster has irregularities that give it character—too smooth and the repair looks obviously new, too rough and it stands out for different reasons. We’ve matched enough historic plaster in Philadelphia to know what works. You shouldn’t be able to tell where the repair is unless you’re specifically looking for it.
Cracks happen for a few reasons. Settlement and structural movement are common in Queen Village’s older homes—the building shifts slightly over time, and if the drywall isn’t installed with that movement in mind, joints crack. Poor taping technique is another cause. If tape isn’t embedded properly in the first coat of mud, it eventually separates and cracks appear.
Moisture is a big factor in historic homes. If there’s a moisture issue behind the wall—old brick that’s absorbing water, a slow leak, or just high humidity—drywall compound can fail. We check for moisture problems before we start and address them first if they exist.
Prevention comes down to proper technique and the right materials. We use setting-type compounds for first coats because they’re harder and more resistant to cracking than standard all-purpose mud. We embed tape fully and use enough coats to build strength. In areas prone to movement, we use flexible compounds that can handle minor shifts without cracking. And we don’t finish walls that have active moisture issues—that’s just setting you up for failure. Fix the cause first, then finish the walls properly.
We focus on drywall finishing—installation, repair, taping, mudding, and final finishing to create paint-ready surfaces. We don’t handle the painting itself, but we work with painters regularly and can coordinate timing so your project moves smoothly from finishing to paint.
Here’s why that matters: most drywall contractors who also paint are really painters who do basic drywall work, or drywall crews who do basic painting. You end up with someone who’s excellent at one and adequate at the other. We’d rather be excellent at drywall finishing and let professional painters be excellent at painting.
That said, we prep surfaces specifically for paint. We know what painters need to see when they show up. Surfaces are sanded smooth, dust is cleaned thoroughly, and primer goes on evenly because the surface is properly prepared. If you’re working with a painter already, we’ll coordinate with them directly. If you need a referral, we know reliable painters in Queen Village who meet the same standards we do. You’ll get better results from two specialists than from one company trying to do both.
Other Services we provide in Queen Village