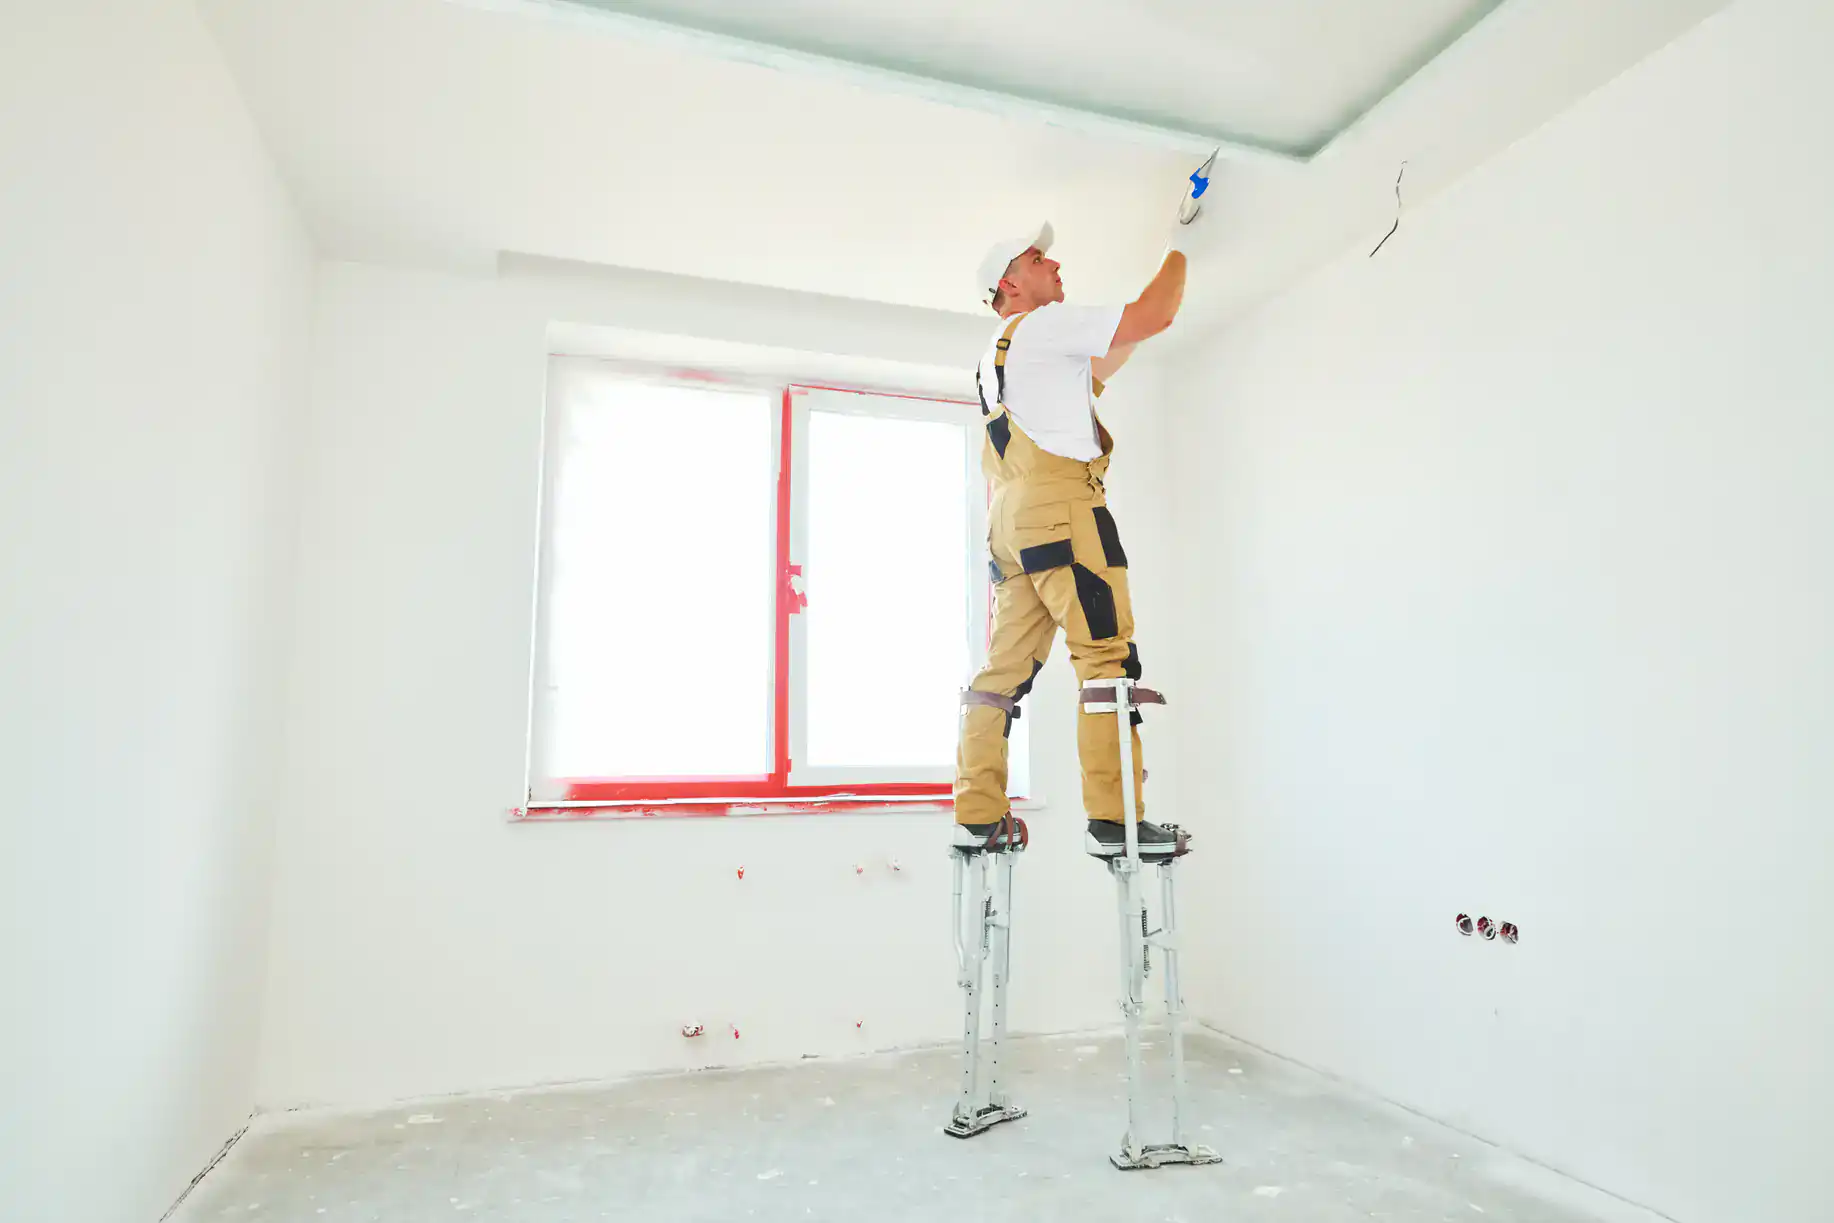
Union-trained expertise meets Level 5 finishing standards for walls that stay perfect for decades in Churchville, PA homes.
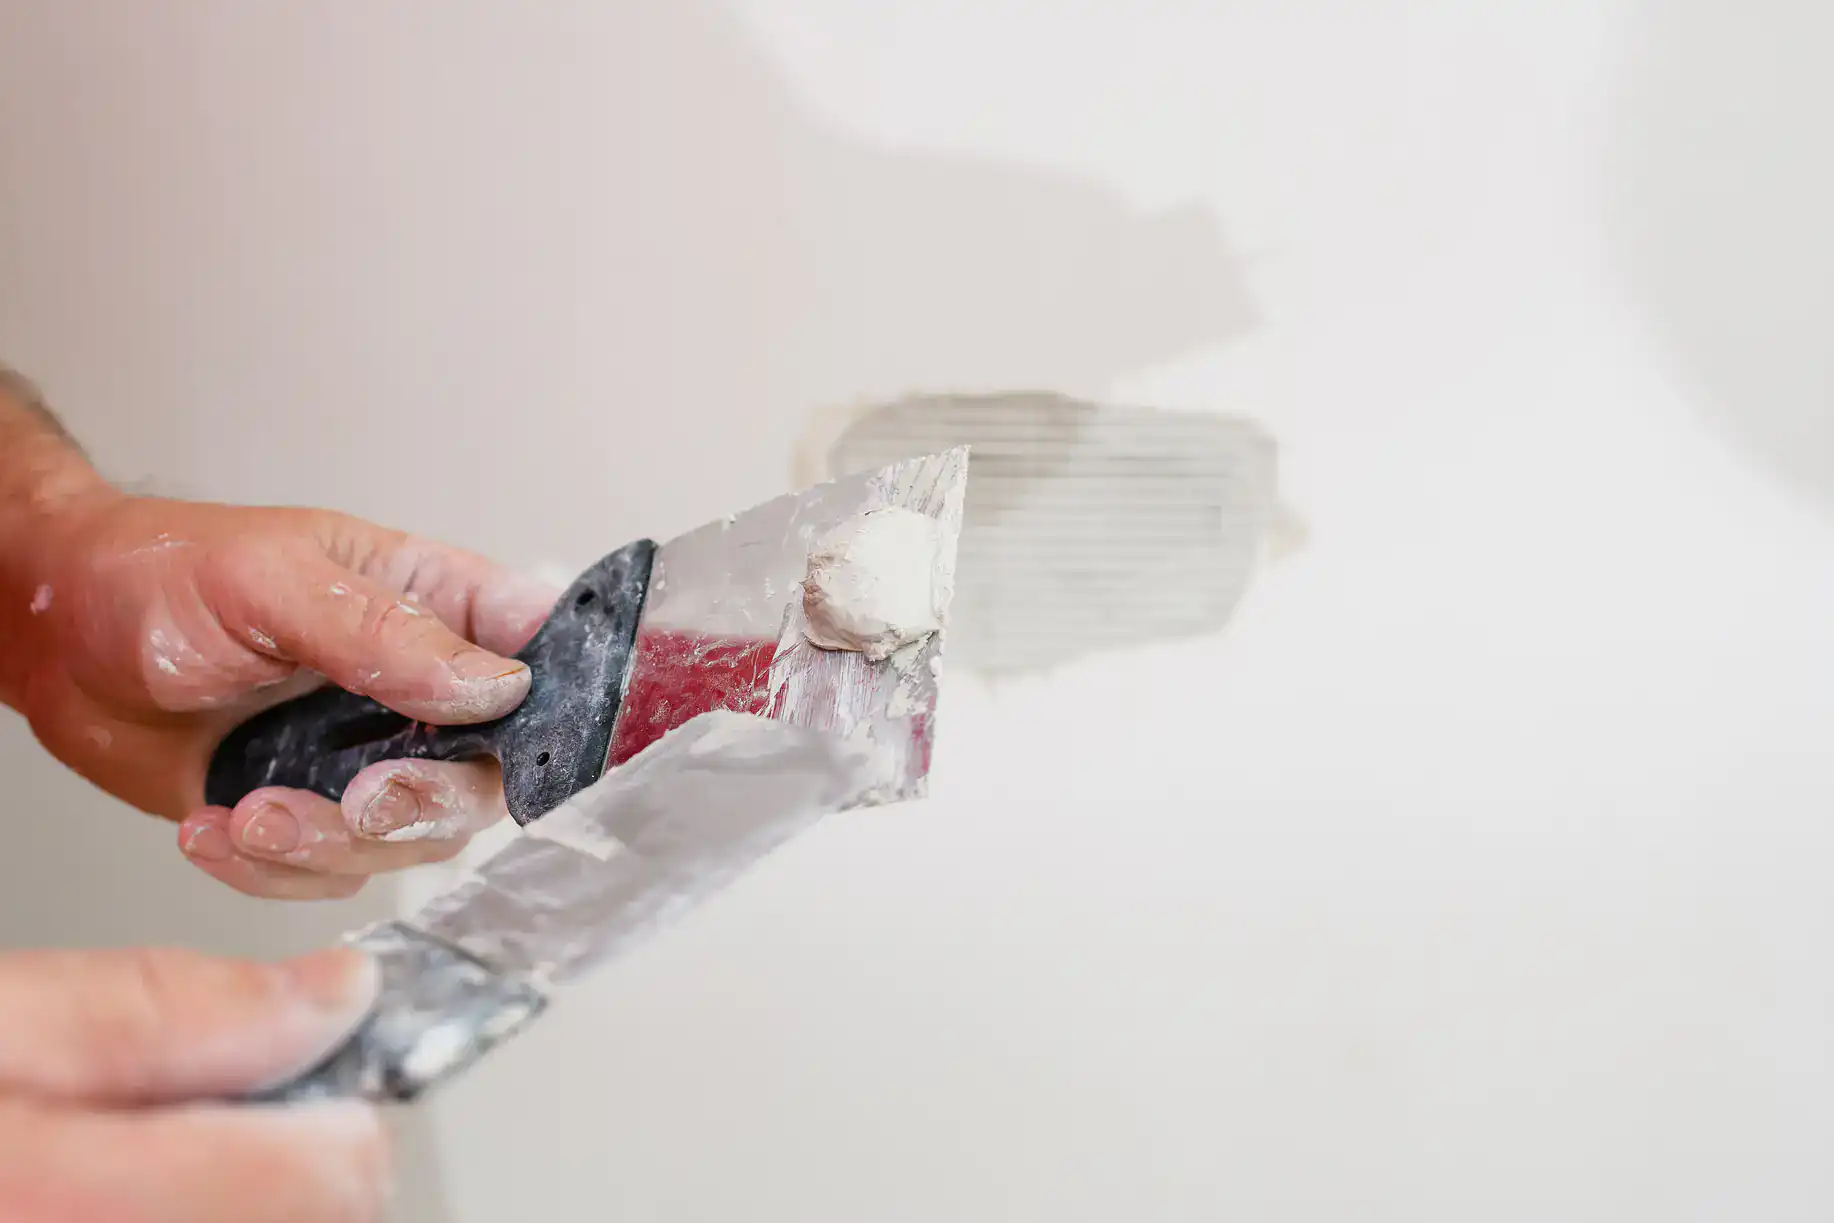
Union drywall training doesn’t happen overnight. It’s a structured process that takes years to complete, with apprentices learning alongside experienced craftsmen who’ve seen every possible scenario.
The difference shows up in the details. We know exactly how much joint compound to apply, when to sand between coats, and how to create joints that won’t crack under normal house movement. We understand that rushing the drying process creates problems that surface later—problems that cost far more to fix than doing it right the first time.
This isn’t about following basic instructions. It’s about understanding why each step matters and how shortcuts create the failures you see in amateur work.
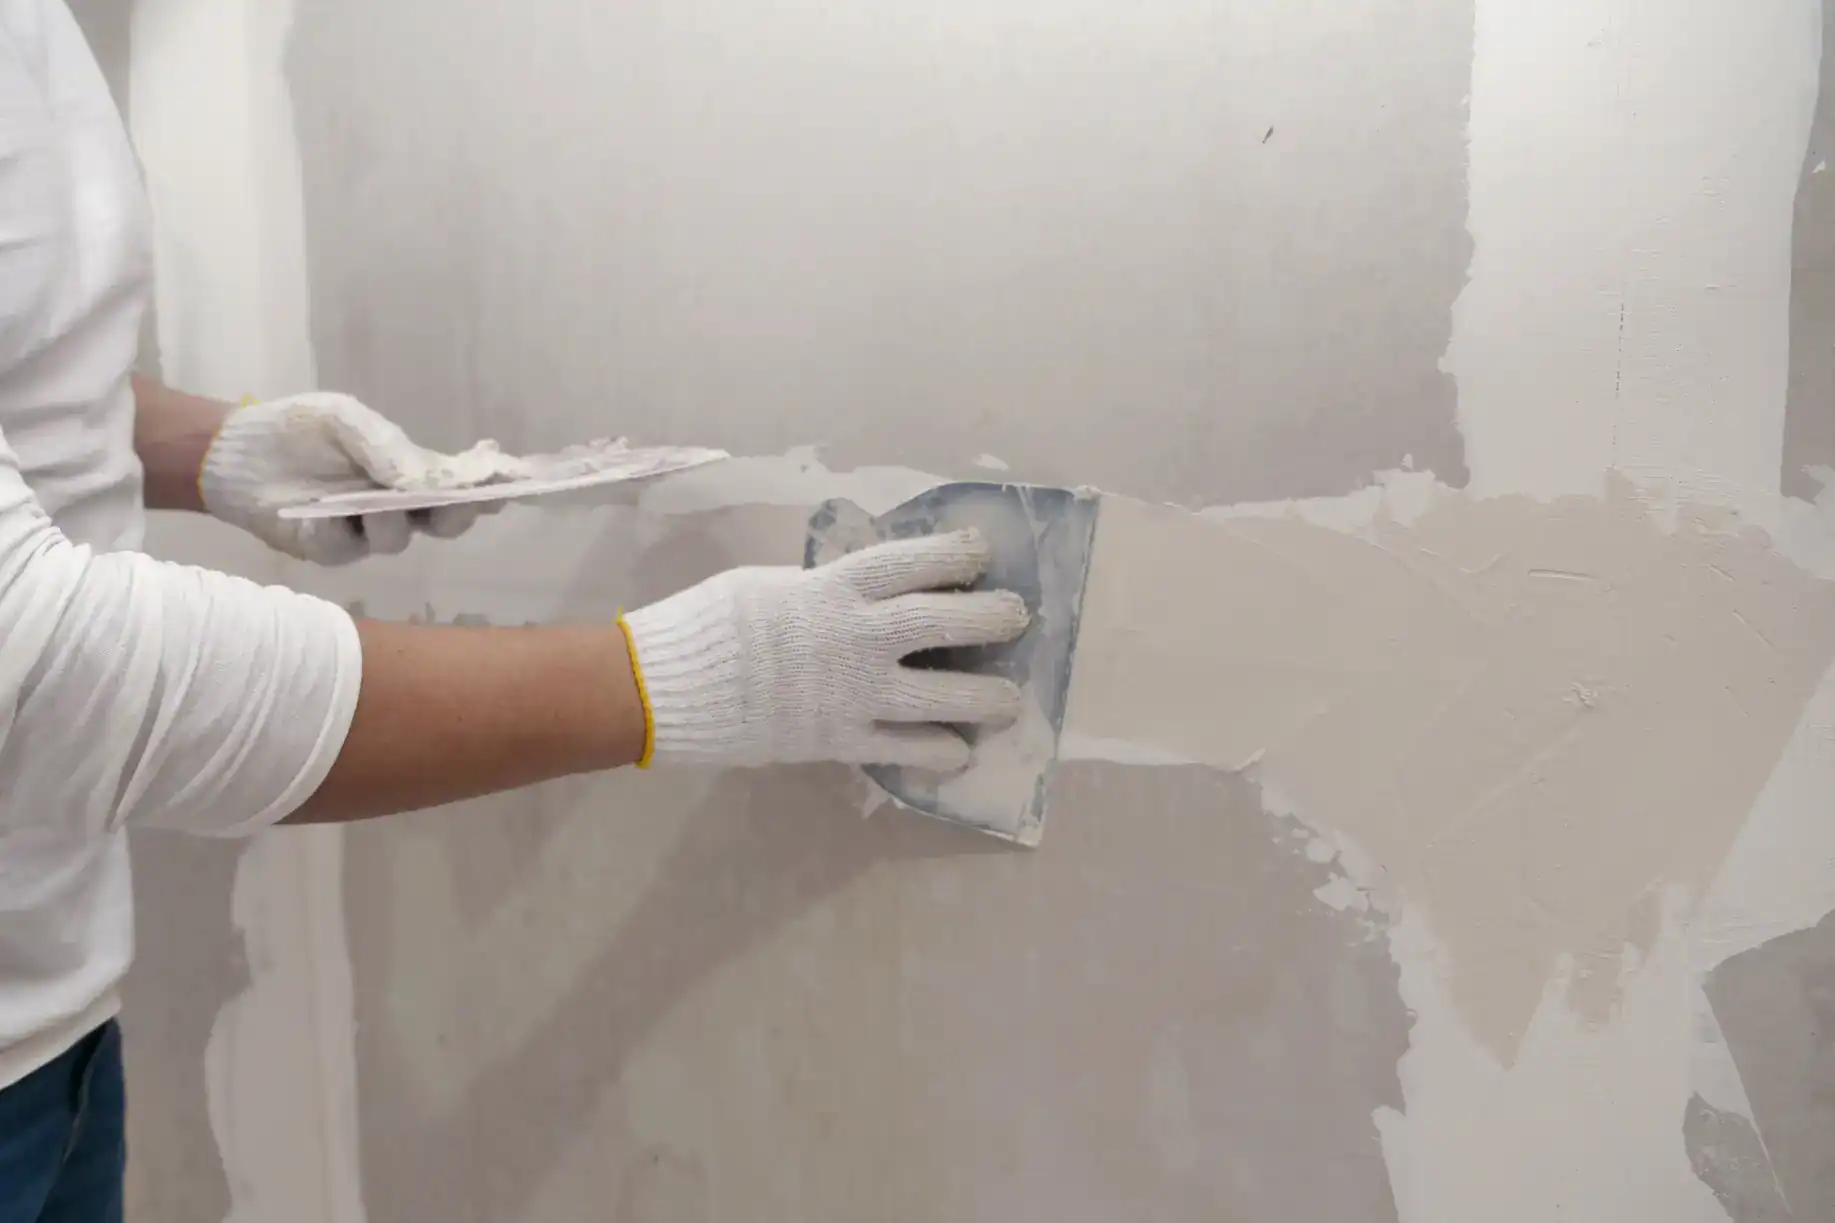
Poor drywall work doesn’t just look bad—it creates ongoing problems that get worse over time. Visible seams become more pronounced as the house settles. Improperly embedded tape starts bubbling or peeling away from the wall. Screw pops appear as fasteners work loose from inadequate installation.
These aren’t minor cosmetic issues. When drywall fails, it affects your home’s value and creates safety concerns. Sagging ceilings can indicate structural problems. Cracks that seem harmless can allow moisture infiltration, leading to mold growth behind your walls.
The financial impact compounds over time. What starts as a $500 repair becomes a $2,000 problem when the underlying issues aren’t addressed properly. Homeowners often discover that “fixing” bad drywall work requires stripping everything down and starting over—essentially paying twice for the same job.
We understand these long-term consequences. Our training emphasizes techniques that prevent these problems rather than just covering them up. We know that proper surface preparation, correct compound application, and adequate drying time between coats aren’t optional steps—they’re essential for work that lasts.
The investment in quality work pays dividends for years. Properly finished drywall maintains its appearance, supports paint adhesion better, and provides the smooth, professional surface that enhances your home’s value rather than detracting from it.
Level 5 drywall finish represents the highest standard in the industry. It’s not just marketing language—it’s a specific set of techniques that create perfectly uniform surfaces ready for any type of paint or wallcovering.
This level of finish requires applying a thin skim coat of joint compound over the entire surface, not just the seams and fastener locations. The result is a wall where the drywall paper and joint compound have identical texture and porosity, eliminating the “joint banding” effect that shows up under certain lighting conditions.
Most contractors avoid Level 5 work because it’s labor-intensive and requires specialized skills. The process can’t be rushed, and there’s no room for error. Each coat must be applied with precision, allowed to dry completely, and sanded smooth before the next step.
The cost reflects this complexity. Level 5 finishing typically runs $2.50 to $4.00 per square foot, compared to $1.50 to $3.50 for standard finishes. But for homes with large windows, high-end lighting, or glossy paint finishes, it’s often the only way to achieve professional results.
We have the experience and patience needed for this level of work. We understand that cutting corners or rushing the process defeats the purpose entirely. When you’re investing in Level 5 finishing, you need craftsmen who take pride in delivering perfection—not contractors looking to finish quickly and move on to the next job.
Want live answers?
Connect with a Sharpe Drywall expert for fast, friendly support.
Professional taping isn’t about slapping joint compound over seams and hoping for the best. It’s a systematic process that creates strong, invisible joints that won’t fail over time.
The foundation starts with proper tape embedding. We know that paper tape must be completely surrounded by joint compound—no dry spots, no air bubbles, no sections where the tape isn’t fully bonded to the wall. This requires the right consistency of compound, proper application technique, and careful attention to detail.
Each subsequent coat builds on this foundation, with wider applications that feather seamlessly into the surrounding surface. The goal isn’t just to hide the seam, but to create a joint that’s actually stronger than the drywall itself.
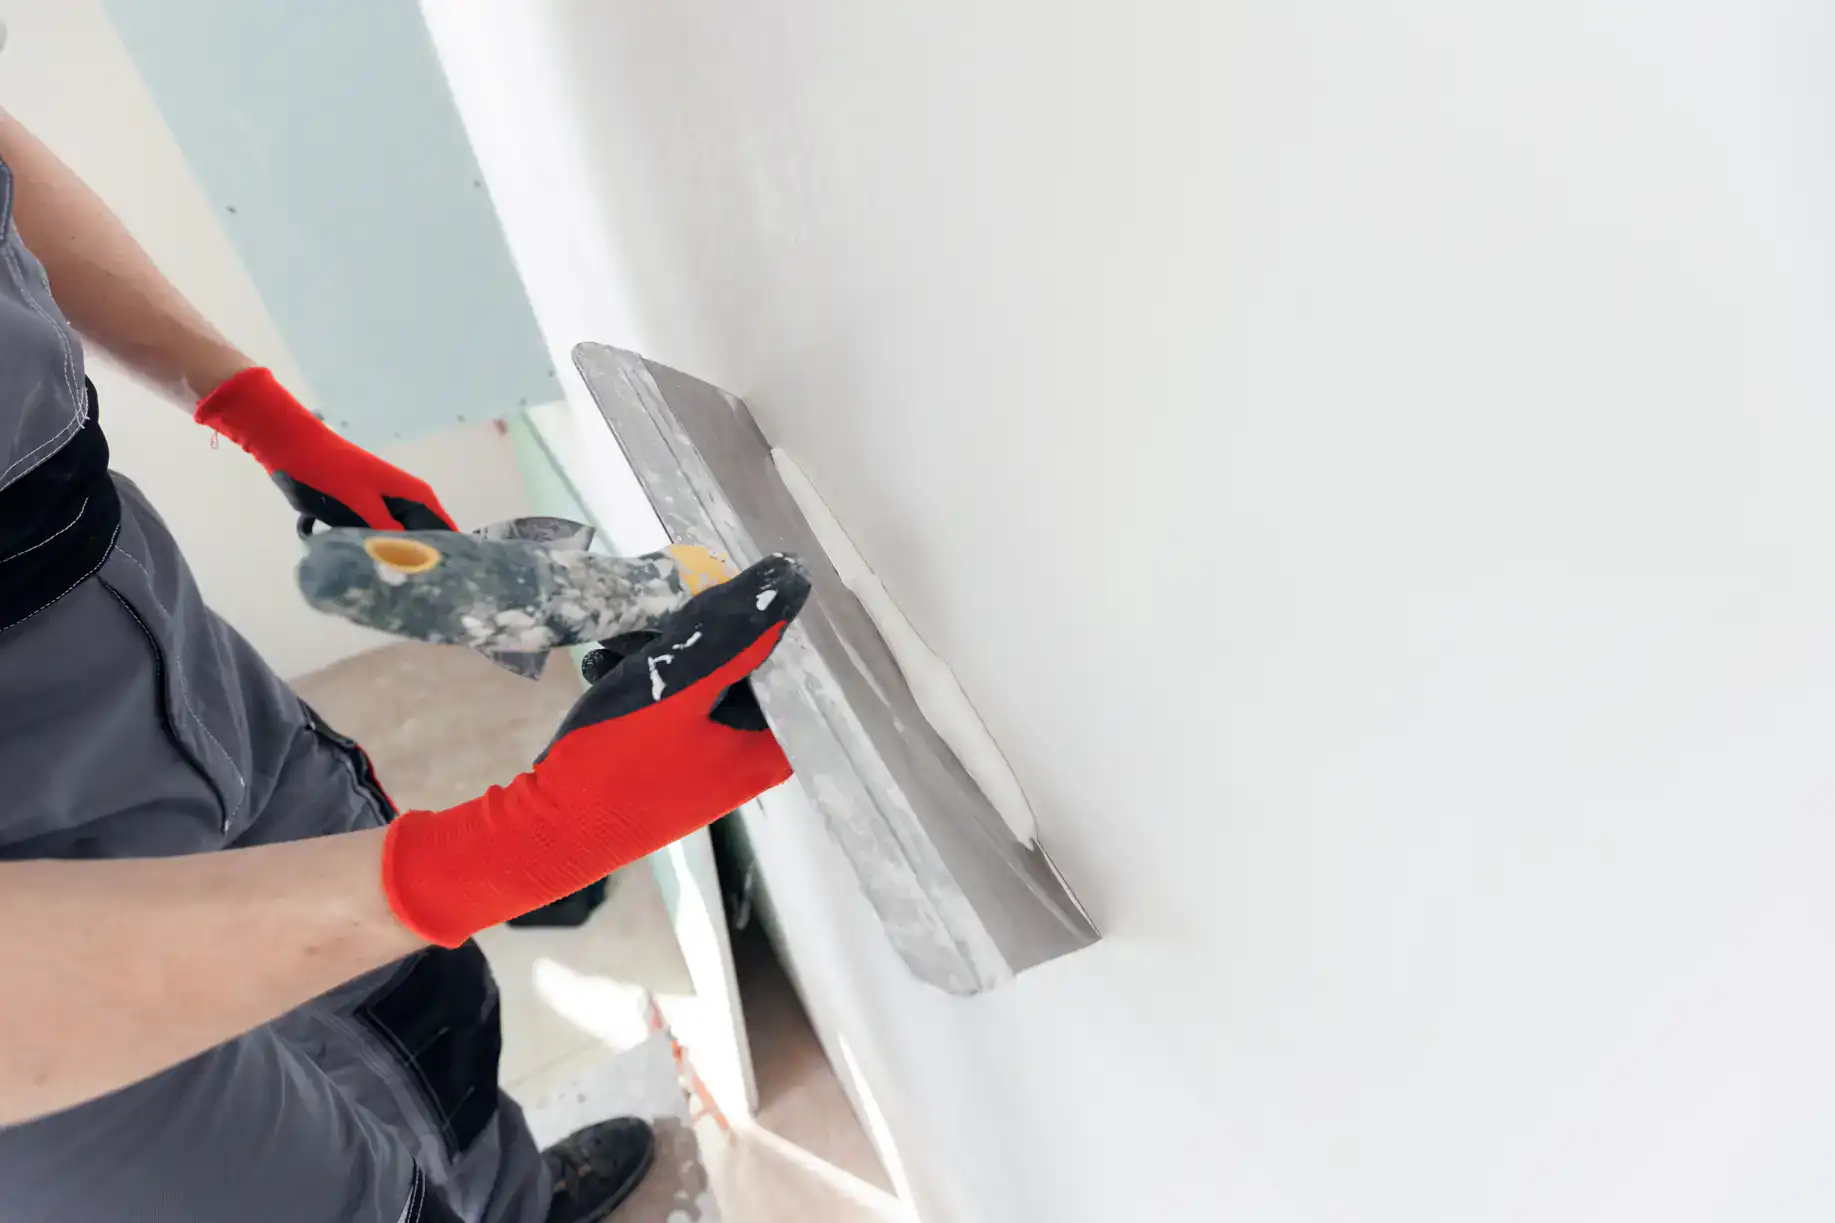
Professional drywall finishing follows a proven three-coat system, but the secret isn’t in the number of coats—it’s in how each coat is applied and what it accomplishes.
The first coat embeds the tape and fills the immediate joint area. This coat focuses on creating a solid bond between the tape and the drywall, with compound consistency that’s thick enough to support the tape but not so thick that it creates ridges or buildup.
The second coat widens the repair area and begins the feathering process. This coat typically extends 6-8 inches beyond the tape on each side, creating a gradual transition that will disappear under paint. The compound is slightly thinner for this coat, making it easier to achieve smooth feathered edges.
The final coat completes the blending process, often extending 10-12 inches or more from the original joint. This coat uses the thinnest compound consistency, applied with wider knives that create perfectly smooth transitions.
Between each coat, proper drying time is essential. Rushing this process creates problems that don’t show up until later. We understand that patience during the drying phase prevents callbacks and ensures long-term success.
The sanding between coats removes any ridges or imperfections, but it’s done carefully to avoid damaging the tape or creating gouges that show through paint. We know exactly how much sanding is needed and when to stop.
This systematic approach takes longer than amateur methods, but it creates results that last for decades rather than months.
One of the biggest differences between professional and amateur drywall work is understanding the drying process. Joint compound doesn’t just need to feel dry to the touch—it needs to cure completely before the next coat can be applied.
Rushing this process creates problems that compound over time. Compound that hasn’t fully dried will shrink as moisture continues to evaporate, creating cracks or depressions that show through paint. Applying subsequent coats over partially dried compound prevents proper bonding and can cause entire sections to fail later.
Pennsylvania’s climate adds complexity to the drying process. High humidity slows evaporation, while rapid temperature changes can cause uneven drying that leads to cracking. We adjust our schedules based on weather conditions, sometimes extending project timelines to ensure proper curing.
We understand these variables because we’ve learned through experience, not just textbook knowledge. We know when conditions aren’t right for applying compound and when extra drying time is needed for optimal results.
This patience pays off in the final product. Properly cured joints remain stable for years, maintaining their smooth appearance and supporting paint adhesion without cracking or peeling. It’s the difference between work that looks good initially and work that continues looking good decades later.
The investment in proper drying time also reduces the amount of sanding needed between coats. Well-cured compound sands more easily and creates less dust, making the entire process cleaner and more efficient in the long run.
The difference between adequate drywall work and exceptional results comes down to training, experience, and commitment to quality. We bring all three to every project, creating walls that enhance your home’s value and appearance for years to come.
When you’re investing in drywall finishing, you’re not just paying for materials and labor—you’re investing in the expertise that prevents future problems and ensures lasting results. The techniques learned through union apprenticeships can’t be replicated by watching YouTube videos or following basic instructions.
At Sharpe Drywall, we combine union training with local expertise to deliver the flawless finishes your Churchville, PA home deserves.
Summary:
Get in Touch with Sharpe Drywall
Share: