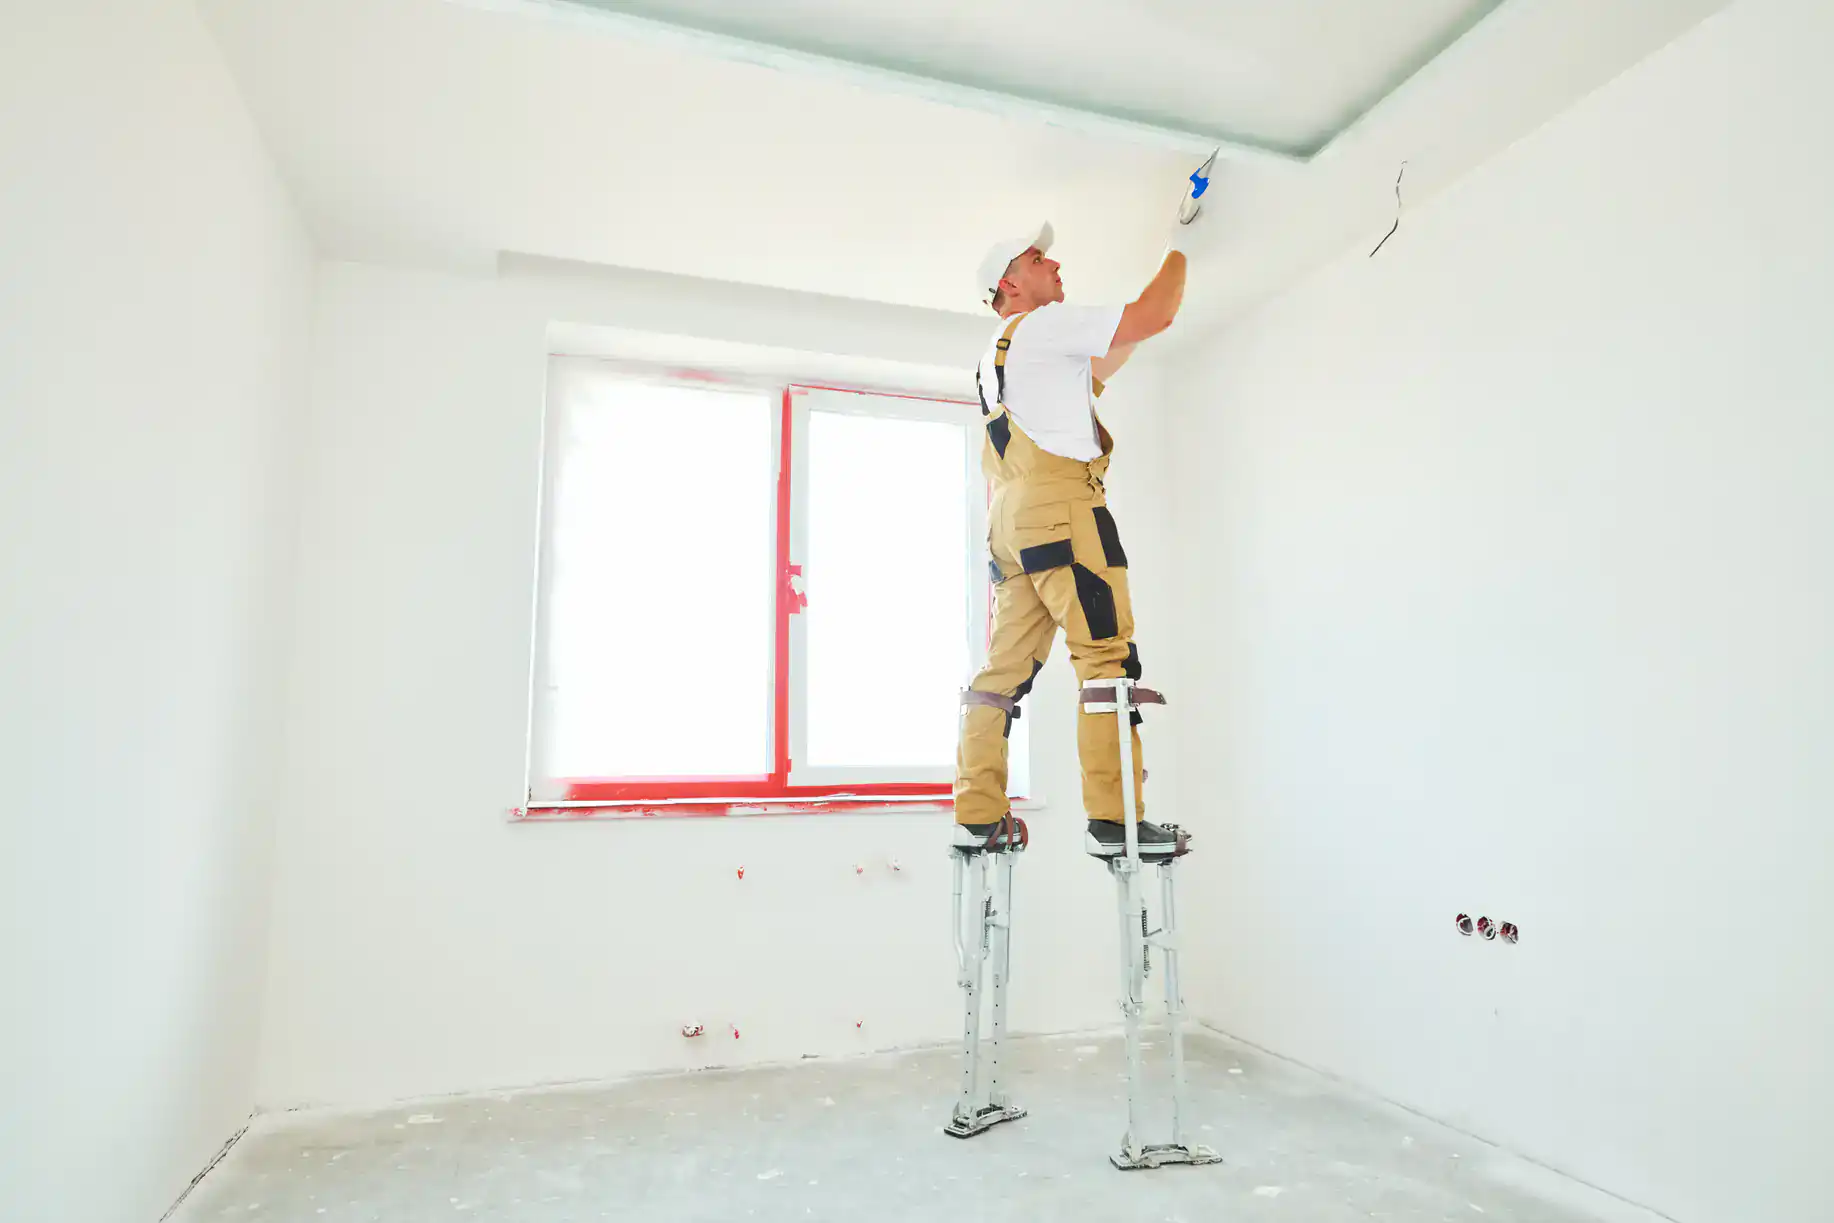
Philadelphia row homes share more than walls—they share noise. Discover how QuietRock and proper installation techniques finally deliver the privacy you deserve.

Row homes were built to maximize space in dense urban areas. That meant shared walls between units, often with minimal sound insulation by today’s standards. Many Philadelphia, PA row homes date back decades or even a century, built long before anyone thought much about acoustic privacy.
The problem isn’t just thin walls. It’s how sound travels through the structure itself. Sound waves don’t just pass through drywall—they vibrate through studs, framing, and any hard surface that connects your home to your neighbor’s. That’s why you can hear conversations clearly even when the wall feels solid. The structure is essentially acting like a tuning fork, carrying vibrations from one side to the other.
Add in gaps around electrical boxes, missing mortar between bricks, or poorly sealed penetrations, and you’ve got a wall that’s more like a speaker than a barrier. It’s not your fault, and it’s not necessarily poor construction. It’s just the reality of how these homes were built and how sound behaves.
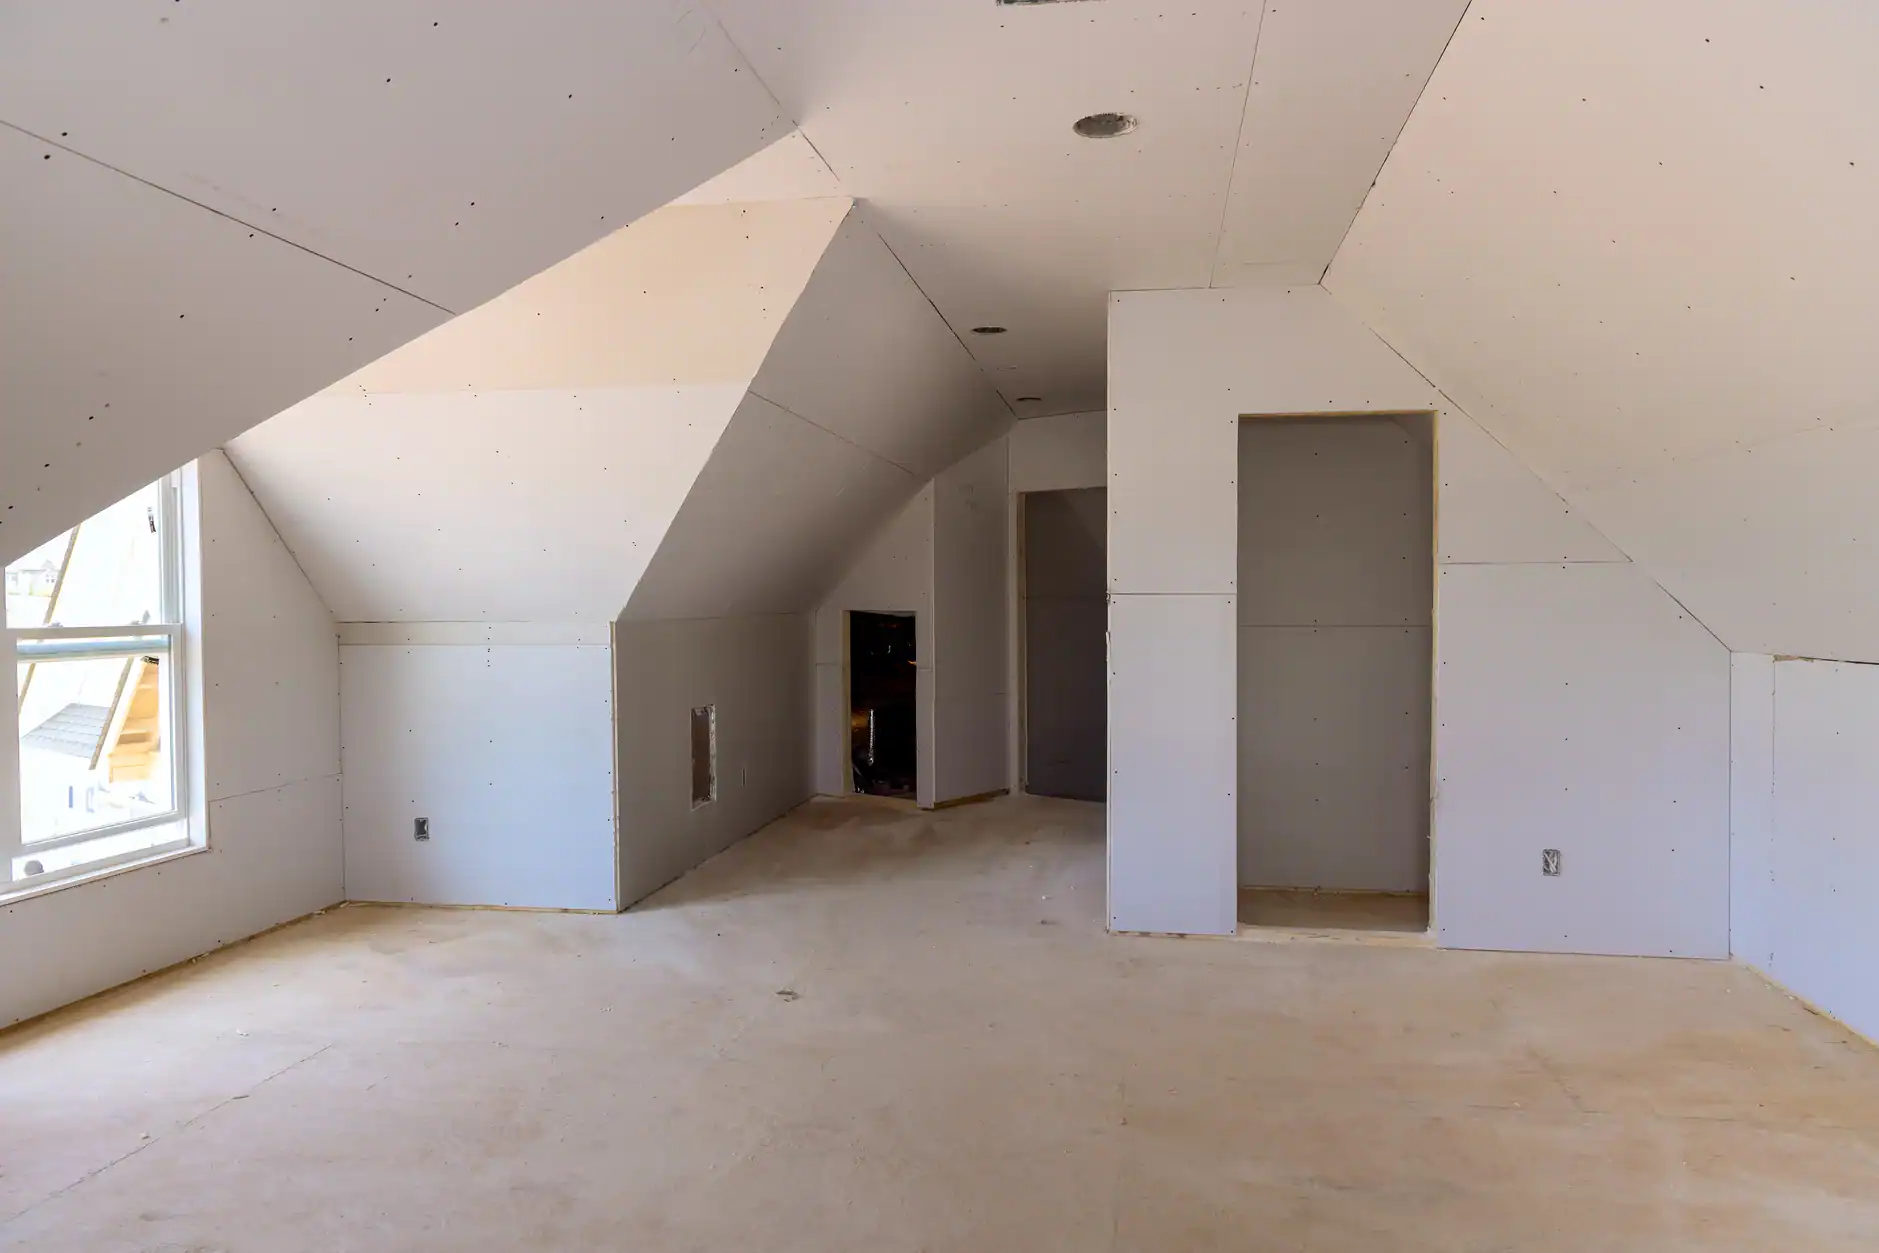
Understanding how sound moves through your walls helps you see why some solutions work and others are just expensive placebos. There are two types of noise you’re dealing with: airborne noise and structural noise.
Airborne noise is what you think of first. Conversations, TV, music, barking dogs. These sound waves travel through the air, hit your wall, and vibrate it. If there are any gaps or the wall doesn’t have enough mass to resist the vibration, the sound passes through to your side. This is where most people focus their efforts, and it’s important. But it’s only half the battle.
Structural noise is trickier. This is when sound vibrations travel through the actual building materials. A TV mounted on your neighbor’s wall doesn’t just send sound through the air—it vibrates the wall itself, and that vibration travels through shared studs and framing directly into your space. You can feel this sometimes as much as hear it. Low-frequency sounds like bass from music or footsteps are especially good at traveling this way.
Here’s the thing most people miss: stuffing insulation into a wall cavity doesn’t stop structural noise. Insulation can help with some high-frequency airborne sounds, but it does almost nothing to stop vibrations moving through the framing. That’s why your neighbor’s subwoofer still shakes your wall even after you’ve added insulation. The sound isn’t traveling through air—it’s traveling through the structure.
This is where modern soundproofing gets interesting. Products like QuietRock and techniques like decoupling are specifically designed to interrupt both types of sound transmission. QuietRock uses multiple layers of gypsum with viscoelastic polymers sandwiched between them. These polymers absorb vibrations and convert sound energy into tiny amounts of heat. It’s not magic, but it’s engineered to actually address how sound moves through walls.
Decoupling is another critical concept. This means breaking the physical connection between your wall surface and the shared framing. When drywall is attached directly to studs that touch your neighbor’s wall, vibrations pass right through. Resilient channels or sound isolation clips create a buffer, so vibrations don’t have a direct path. Combined with added mass and damping compounds like Green Glue, you’re finally addressing the real problem instead of just treating symptoms.
The other piece people forget is sealing. Even the best soundproof drywall won’t help if sound is leaking through gaps around outlets, light switches, or where the wall meets the floor and ceiling. Acoustic caulk is flexible and stays sealed even as the house settles. It’s not exciting, but it’s essential. A one percent gap in a wall assembly can reduce its soundproofing effectiveness by fifty percent. That’s not a typo.
Walk into any big box store and you’ll see standard drywall for ten to twenty dollars a sheet. QuietRock costs significantly more—sometimes sixty to eighty dollars per sheet. So what’s the difference, and is it worth it?
Standard drywall is gypsum sandwiched between two layers of paper. It’s designed to be a smooth, paintable surface and provide some fire resistance. That’s it. It has minimal soundproofing properties because it’s a single, relatively lightweight layer. Sound waves hit it, vibrate it, and pass through to the other side without much resistance.
QuietRock is engineered specifically for sound control. It’s a multi-layer panel with gypsum and viscoelastic polymers that dampen sound vibrations. Think of it like this: when sound hits regular drywall, the whole panel vibrates together. When sound hits QuietRock, the layers move independently, and the polymers between them absorb and dissipate that energy. One sheet of QuietRock can perform like eight to twelve sheets of standard drywall stacked together.
The numbers back this up. Standard drywall on a typical stud wall might give you an STC rating around 33 to 35. STC stands for Sound Transmission Class, and it’s how we measure a wall’s ability to block sound. At STC 33, you’ll hear normal speech clearly through the wall. At STC 42, which is what you can achieve with QuietRock on a standard installation, normal speech becomes a faint murmur. Loud speech is audible but not intelligible. That’s a massive difference in real-world privacy.
QuietRock also installs like regular drywall, which matters more than you might think. Some soundproofing solutions require complex framing, special tools, or installation methods that add significant labor costs. QuietRock cuts, hangs, and finishes using standard techniques. It’s heavier than regular drywall, so you’ll want experienced installers who know how to handle it properly, but it doesn’t require a complete rebuild of your wall.
There are alternatives worth mentioning. National Gypsum makes SoundBreak, which performs similarly to QuietRock and sometimes costs a bit less. Adding a second layer of standard 5/8-inch drywall with Green Glue damping compound between the layers is another approach. Green Glue is a viscoelastic compound you apply between drywall sheets—it stays flexible and converts sound vibrations into heat. It’s effective and often more budget-friendly than QuietRock, though you’re dealing with two layers of drywall instead of one.
The best choice depends on your specific situation. How much noise are you dealing with? How much space can you sacrifice? What’s your budget? A single layer of QuietRock takes up less room than double-layered standard drywall with Green Glue, but both approaches can deliver real results when installed correctly. What matters most is addressing the fundamentals: adding mass, damping vibrations, and sealing every gap.
Want live answers?
Connect with a Sharpe Drywall expert for fast, friendly support.
Here’s where theory meets reality. You can buy the best soundproofing materials available, but if the installation is sloppy, you’ve wasted your money. Proper soundproof drywall installation for Philadelphia, PA row homes requires attention to details that most general contractors skip.
The process starts before any new drywall goes up. If you’re working with an existing wall, you need to assess what’s behind it. Are there gaps in the masonry between you and your neighbor? Missing bricks or deteriorated mortar? These need to be addressed first. Sealing up the shared masonry wall is often the single most effective step you can take. Sound travels through air, and if there are literal holes between your home and your neighbor’s, no amount of fancy drywall will help.
Once the shared wall is properly sealed, the real work begins. If you’re adding soundproofing to an existing wall, the most common approach is adding a layer of soundproof drywall over what’s already there. This means you’re not tearing out everything and starting from scratch, which saves time and money. But it also means doing it right matters even more.
First, every penetration in the existing wall gets sealed with acoustic caulk. Outlets, switches, cable jacks, anything that creates a hole through the wall. Acoustic caulk stays flexible, which is important because houses settle and shift. Regular caulk can crack and create new gaps. Acoustic caulk moves with the structure and maintains the seal.
Electrical boxes are a major weak point. Sound travels right through them if they’re not addressed. There are a couple of solutions. Putty pads are moldable clay-like materials designed for fire-stopping, but they work great for sound too. You press them around the back of the electrical box to seal it off. For boxes that back directly to your neighbor’s boxes, you might need to relocate them or add sound isolation backers. It’s not glamorous work, but it makes a real difference.
Next comes the soundproof drywall itself. If you’re using QuietRock, it goes up much like standard drywall, but there are key differences. The sheets need to be cut a quarter inch short of the floor and ceiling. This creates a small gap that gets filled with acoustic caulk later. Why? Because you don’t want the new drywall touching the floor, ceiling, or adjacent walls directly. Any rigid connection creates a path for sound vibrations to travel. The gap, filled with flexible caulk, breaks that connection.
If you’re going the Green Glue route with double-layer standard drywall, the first layer goes up normally. Then you apply Green Glue to the back of the second layer—about two tubes per four-by-eight sheet, spread in a random pattern. The second layer goes up immediately while the glue is still wet, and you screw it in place. The screws go through both layers into the studs. Green Glue needs about thirty days to fully cure for optimal performance, but you’ll start noticing improvement within a week or two.
Here’s something most DIY guides won’t tell you: screw placement matters. Screws create a rigid connection between the drywall and the studs, which can transmit vibrations. You want enough screws to hold the drywall securely, but not so many that you’re creating dozens of vibration pathways. Follow the manufacturer’s recommendations for spacing, and don’t overtighten. Overtightening can actually reduce the effectiveness of the soundproofing by creating more rigid contact points.
Once the drywall is up, every seam, every edge, every gap gets sealed with acoustic caulk. The perimeter where the new drywall meets the floor, ceiling, and adjacent walls. The seams between sheets. Around any new outlet or switch boxes. This step takes time and feels tedious, but it’s not optional. Remember: even a one percent gap can cut your soundproofing effectiveness in half.
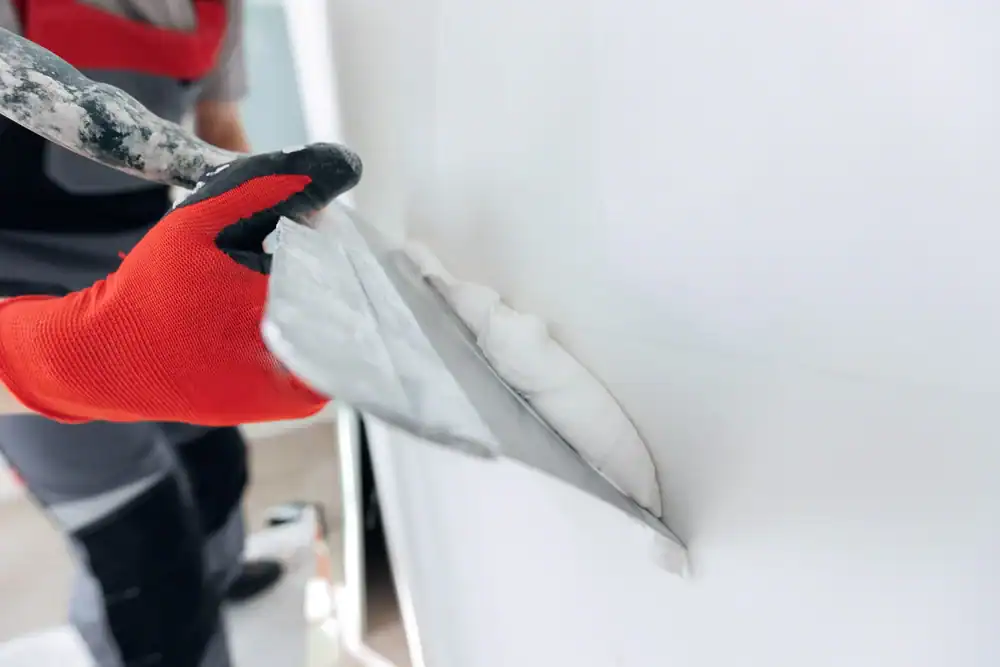
Finally, the wall gets finished like any other drywall installation job. Tape and mud the seams, sand smooth, prime, and paint. The difference is that underneath that finished surface, you’ve got a wall that’s actually engineered to stop sound instead of just looking nice.
One more thing worth mentioning: if you’re serious about maximum soundproofing, consider resilient channels or sound isolation clips. These are metal channels that attach to the studs, and then the drywall attaches to the channels instead of directly to the studs. This creates an air gap and decouples the drywall from the structure, which dramatically reduces vibration transmission. It’s more complex and more expensive, but for row homes with serious noise issues, it can be worth it. Just know that resilient channels are finicky—if they’re installed wrong, they can actually make things worse. This is definitely pro-level work.
Let’s be honest about what soundproofing can and can’t do. You’re not going to achieve complete silence. If your neighbor throws a party with a full sound system, you’ll still hear it. If they drop something heavy, you’ll hear the impact. What you can achieve is bringing noise down to a level where it’s no longer intrusive—where you can have a conversation, watch TV at normal volume, or sleep without being disturbed by everyday sounds next door.
An STC rating of 42 to 45 is a realistic target for a well-executed soundproof drywall installation in a Philadelphia row home. At this level, loud speech becomes barely audible, normal conversation is inaudible, and most everyday sounds don’t penetrate the wall. You might still hear a door slam or a dog bark, but it won’t sound like it’s happening in your living room.
It’s also important to understand that soundproofing is about reducing sound transmission across a broad range of frequencies. High-frequency sounds like voices and TV are easier to block than low-frequency sounds like bass or rumbling. That’s just physics—low-frequency sound waves have more energy and longer wavelengths, so they’re harder to stop. Even the best soundproofing will reduce bass rather than eliminate it completely.
Another factor is flanking noise. This is sound that travels around your soundproofed wall instead of through it. Maybe it’s coming through the floor or ceiling. Maybe it’s traveling through ductwork or plumbing. Maybe there’s a window on the shared wall that’s undermining all your soundproofing efforts. A good soundproofing assessment looks at the whole room, not just the shared wall, because sound will find the path of least resistance.
Windows are a particular challenge in row homes. If you have a window on or near the shared wall, it’s often the weakest link. Sound travels through glass easily, and old single-pane windows might as well be open holes acoustically. Upgrading to double-pane or even triple-pane windows with laminated glass can help. Sealing gaps around window frames with acoustic caulk is essential. For maximum soundproofing, some people add interior storm windows or heavy soundproof curtains, though these are more about managing expectations than solving the problem completely.
Doors are another consideration. A hollow-core door provides almost no sound isolation. If you have a door on or near the shared wall, upgrading to a solid-core door and adding weatherstripping and a door sweep makes a noticeable difference. Again, it’s about finding and closing all the paths sound can take.
The timeline matters too. Most soundproof drywall installations for a single wall can be completed in one to three days, depending on the size and complexity. If you’re using Green Glue, remember it needs time to cure for optimal performance. You’ll notice improvement immediately, but full effectiveness takes about a month. QuietRock delivers results as soon as it’s installed and finished.
Cost is obviously a factor. Professional soundproof drywall installation in Philadelphia, PA typically runs between three and seven dollars per square foot, depending on materials and complexity. For a typical shared wall in a row home—say, ten feet tall by fifteen feet wide—you’re looking at one hundred fifty square feet. At the higher end, that’s around a thousand to eleven hundred dollars for materials and labor. It’s not pocket change, but compared to the ongoing frustration of hearing everything your neighbor does, many homeowners find it’s worth every penny.
The investment also pays off if you ever sell. Philadelphia row home buyers know about the noise issues. A home with professionally soundproofed walls is a genuine selling point. You’re not just improving your quality of life now—you’re adding value to the property.
Row home living in Philadelphia, PA comes with incredible benefits: walkable neighborhoods, historic charm, community feel. It shouldn’t come with the trade-off of hearing your neighbor’s entire life through the wall. Modern soundproofing technology, when properly installed, can give you back the privacy and peace you deserve without moving or spending a fortune.
The key is understanding what you’re dealing with. Sound travels through walls in specific ways, and effective soundproofing addresses those paths directly. Materials like QuietRock and techniques like proper sealing and decoupling aren’t gimmicks—they’re engineered solutions based on how physics actually works. Combined with addressing gaps, electrical boxes, and other weak points, you can achieve real, measurable noise reduction walls that transform your daily life.
If you’re tired of living on someone else’s schedule, if you want to reclaim your space and actually enjoy your home, it’s time to have a real conversation about soundproofing. We understand Philadelphia row homes and the unique challenges they present. Reach out for an honest assessment of what’s possible for your specific situation and what it’ll take to finally get the quiet you’ve been missing.
Summary:
Get in Touch with Sharpe Drywall
Share: