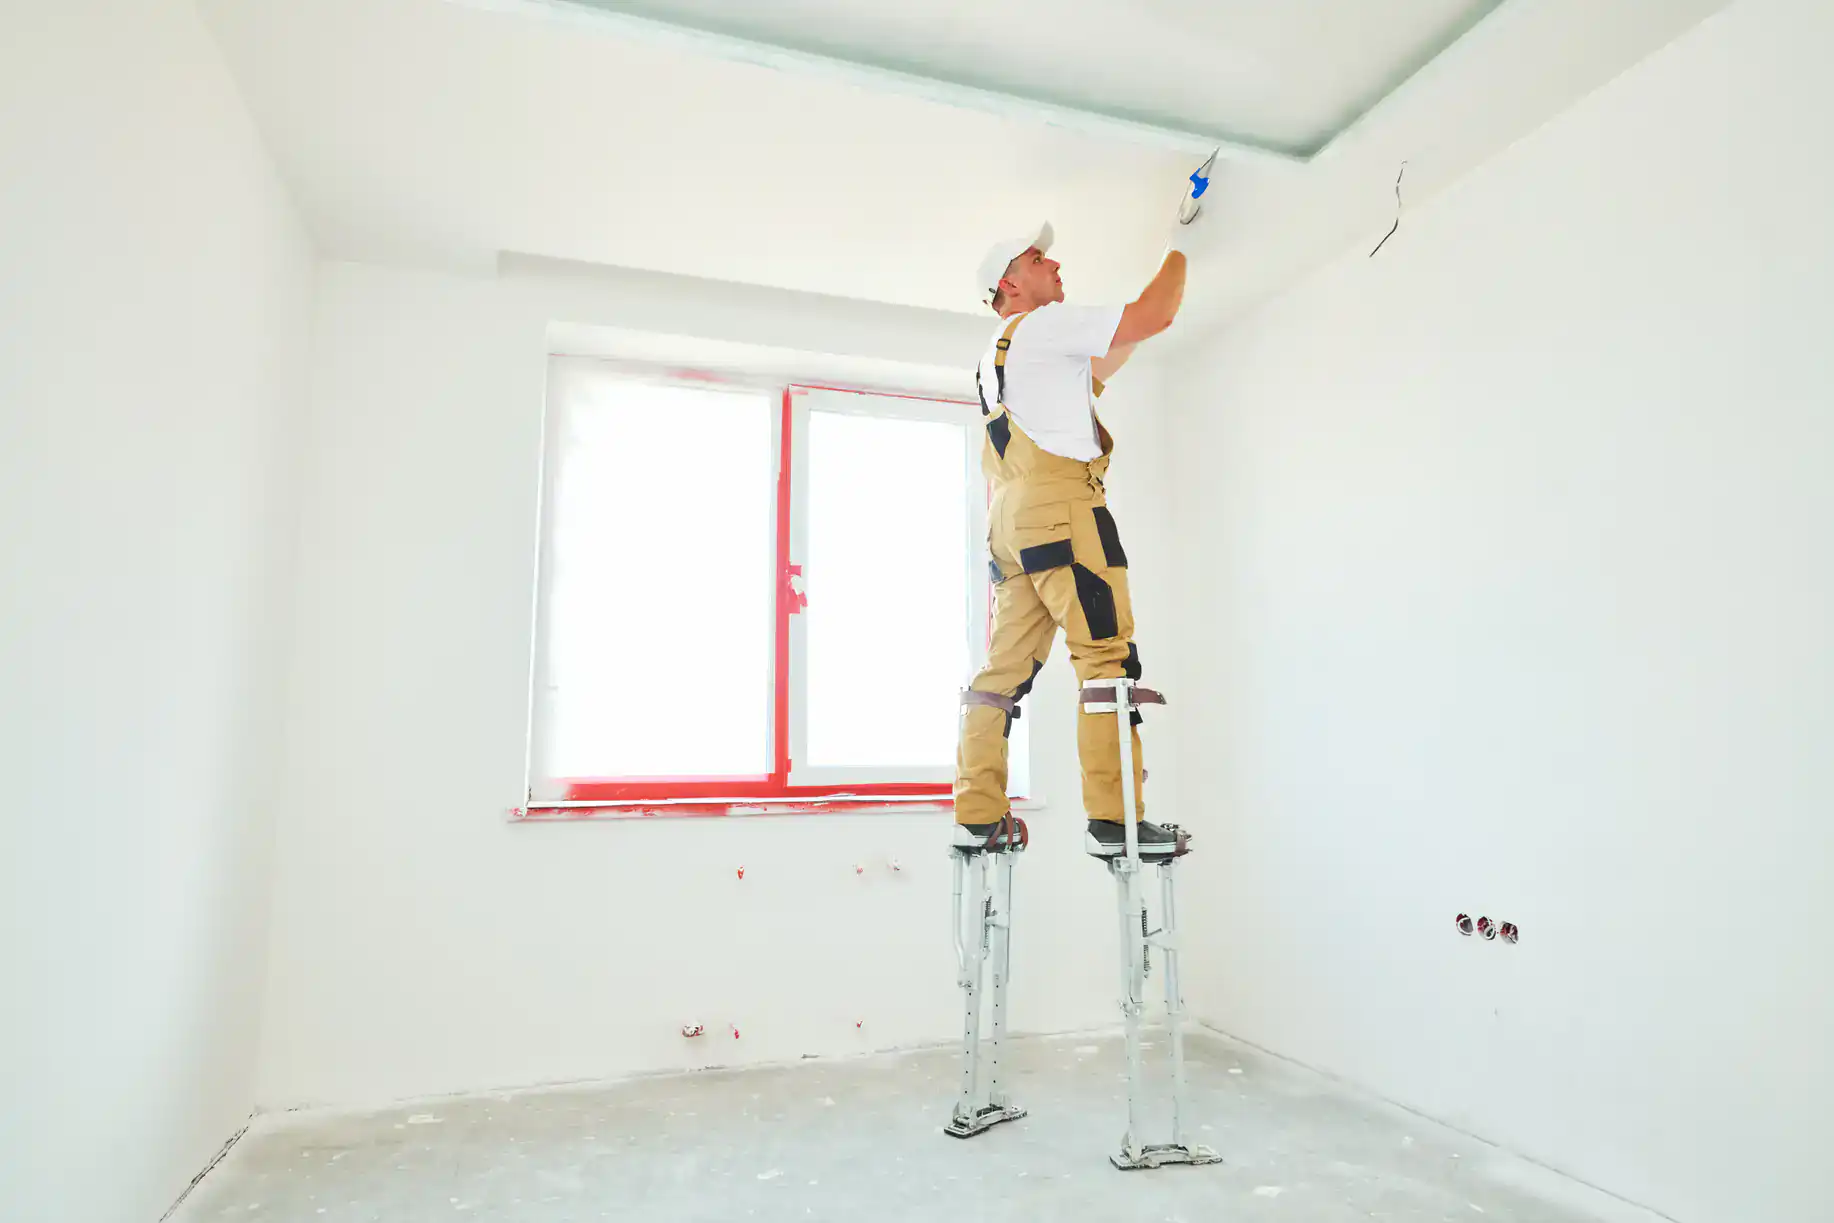
Cracked, crumbling plaster walls dragging down your Philadelphia home? Discover how to modernize old lath and plaster with sheetrock repair techniques that preserve historic character.

Walk into almost any Philadelphia rowhouse or historic home built before the 1950s, and you’re looking at lath and plaster walls. If your home went up in the 1800s or early 1900s, this is what’s holding up your paint.
The construction is straightforward but labor-intensive. Thin wooden strips called lath were nailed horizontally across wall studs, spaced about a quarter inch apart. Plasterers applied wet plaster in multiple coats, forcing it through those gaps so it formed “keys” on the backside that locked everything together. The final coat was troweled smooth and left to cure.
In many Philadelphia rowhouses, particularly the older ones in South Philly and Germantown, you’ll find plaster applied directly to brick party walls without any lath. Builders did this to save time and materials on shared walls. When done right, these walls are incredibly durable and can last well over 100 years with proper care.
Plaster doesn’t fail because it’s inferior to modern materials. It fails because of what happens to it over decades of use, especially in a city like Philadelphia with brutal freeze-thaw cycles, aging infrastructure, and homes that have been settling since before your grandparents were born.
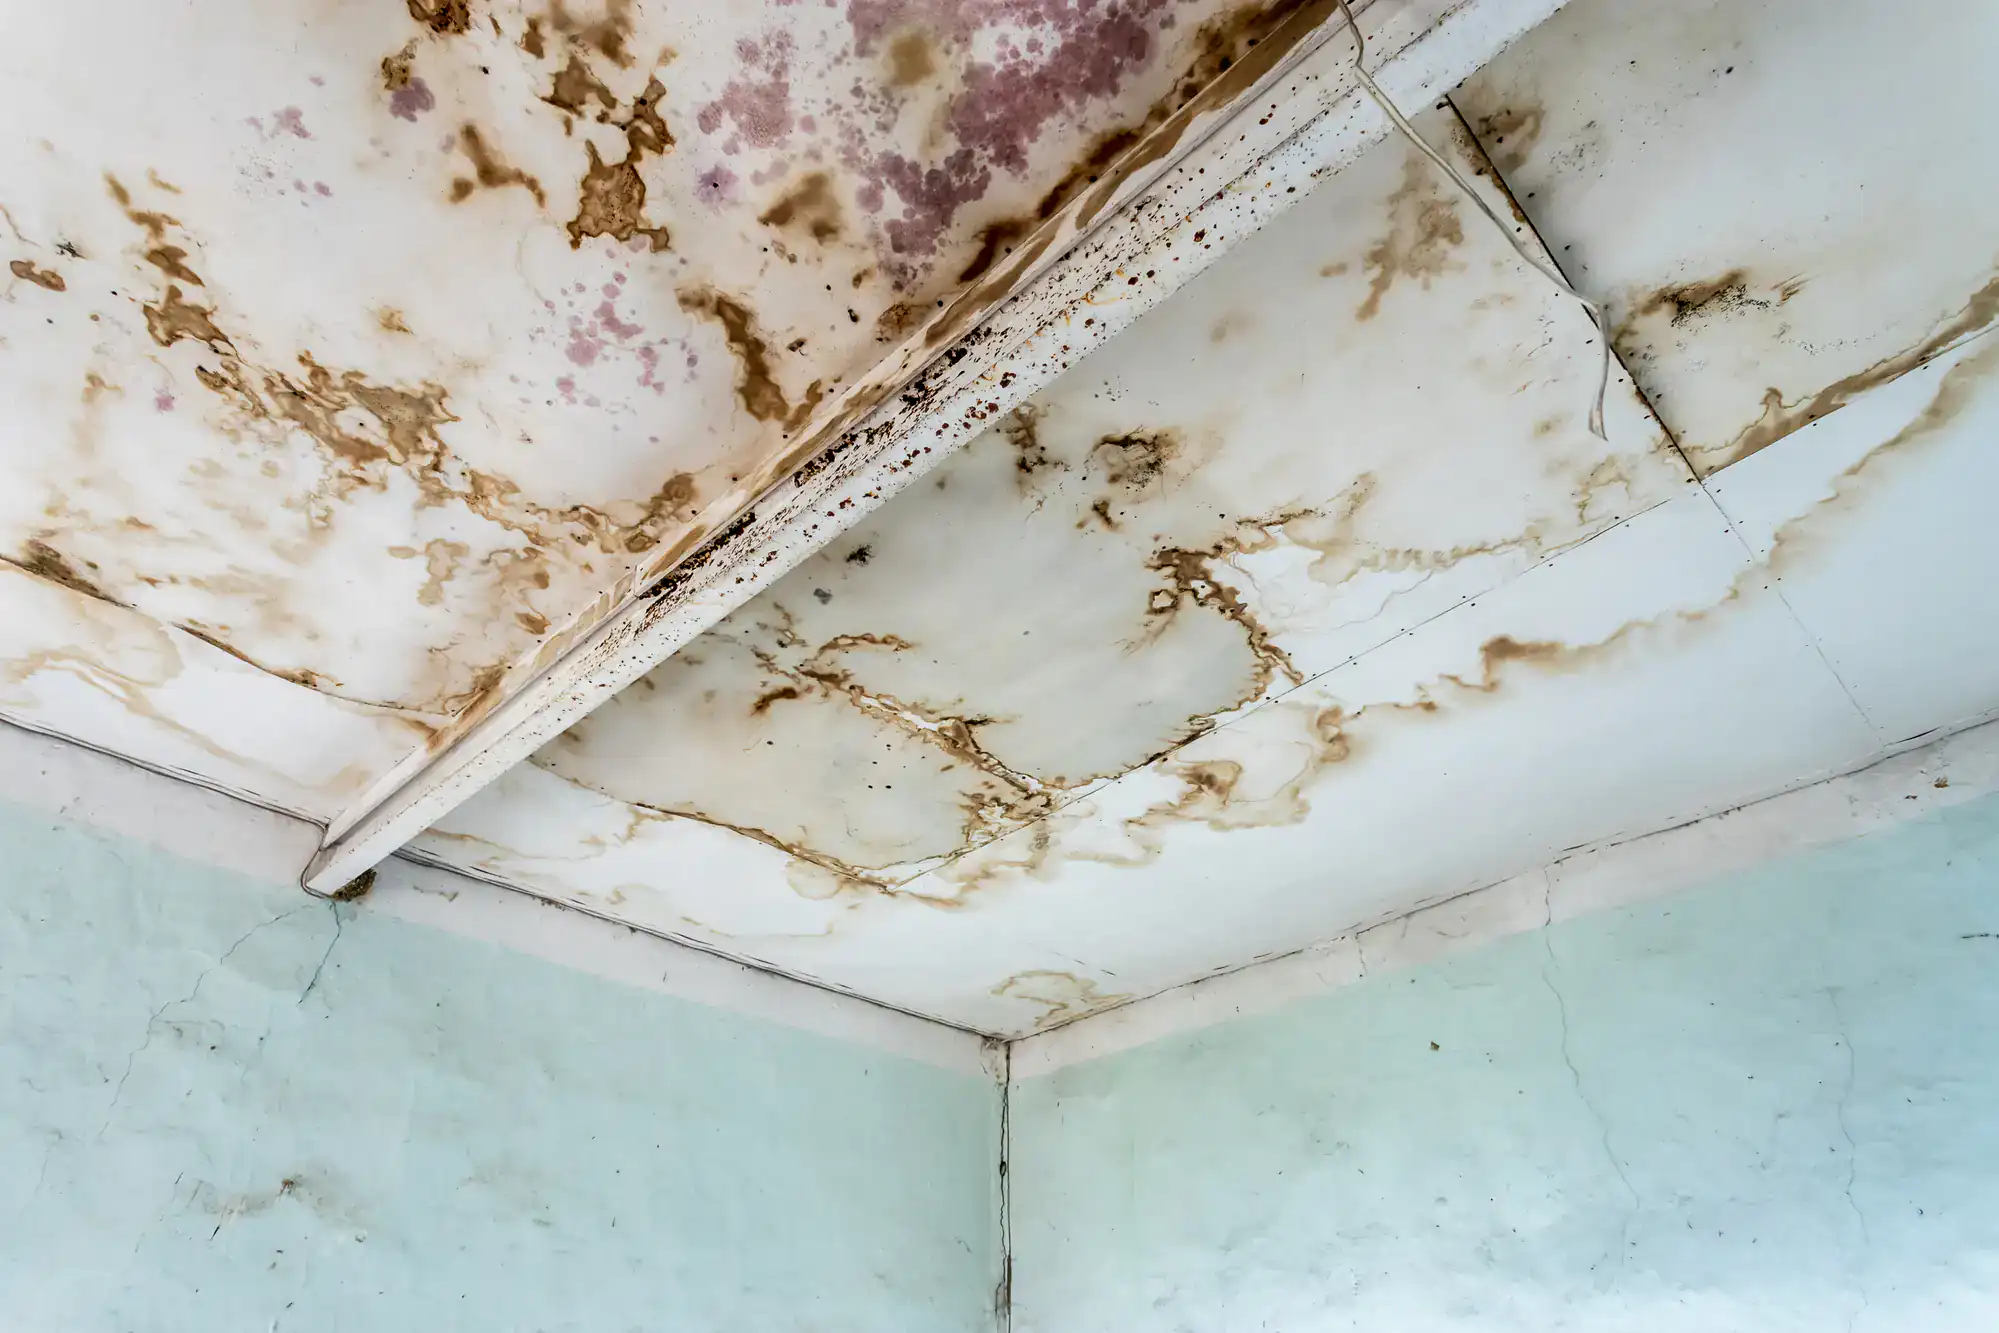
Water damage tops the list of plaster killers. A leaking roof, a burst pipe behind the wall, or even years of bathroom steam can break down the bond between plaster and lath. Once moisture penetrates, the plaster softens and separates. You’ll notice stains first, then sagging sections, then chunks falling off when you least expect it. Tap the wall and you’ll hear a hollow sound where the plaster has pulled away.
Structural settling causes its own problems. Every house shifts over time, and plaster is rigid. As your home moves with seasonal temperature changes or long-term foundation settling, the plaster cracks. Hairline cracks are usually just cosmetic, but wide cracks that keep reappearing after you patch them signal ongoing movement. If you’re patching the same crack twice a year, the plaster isn’t the problem. Your house is still settling.
Then there’s simple age and neglect. Plaster requires maintenance that many previous homeowners skipped. Loose sections that could’ve been re-secured with plaster washers were ignored until they fell off completely. Small cracks that should’ve been properly filled were painted over, only to crack again and again. Layers of paint built up over decades, hiding problems underneath until they became too big to ignore.
Here’s the practical issue you’re facing now: finding someone who actually knows how to repair plaster the traditional way is harder than it used to be. True plaster craftsmen are rare in Philadelphia, PA, and they charge specialist rates. For most homeowners dealing with widespread plaster problems, paying $15 per square foot for traditional three-coat plaster restoration just doesn’t pencil out.
That’s where plaster to drywall conversion makes sense. You’re not replacing everything. You’re working with what you have and making it functional again without breaking the bank.
Before you decide how to handle your failing plaster, it helps to understand what you’re actually working with and how it stacks up against modern drywall.
Plaster walls are significantly thicker and denser than sheetrock. A typical lath and plaster wall measures close to an inch thick when you factor in the lath, multiple plaster coats, and keys. Standard drywall comes in at half an inch. That extra thickness gives plaster superior soundproofing, which matters tremendously in Philadelphia rowhouses where you share party walls with neighbors. It also makes plaster more resistant to impacts. You can’t accidentally punch through plaster the way you can with drywall.
Plaster also has a distinct surface quality that’s impossible to fully replicate. Even when troweled smooth, it has subtle variations and a hand-finished character that drywall just doesn’t have. Some homeowners love this authenticity. Others see it as outdated texture that makes their rooms feel old and tired.
Sheetrock, on the other hand, offers speed, cost-efficiency, and simplicity. It comes in uniform 4×8 sheets that hang quickly and finish predictably. If you damage drywall, patching it is straightforward with materials available at any hardware store. Most contractors know how to work with it, so you’re not searching for a specialist who understands historic plaster techniques.
The tradeoffs? Drywall is thinner, offers less sound insulation, and lacks the durability of plaster. It also looks and feels different. If you’ve got original plaster in your living room and drywall in a renovated kitchen, the difference is obvious when light rakes across the walls.
That’s why completely ripping out plaster and replacing it with standard drywall often feels like a downgrade, even though drywall is easier to maintain. You lose the thickness, the soundproofing, and the solid feel that makes old Philadelphia homes worth preserving.
The smarter approach isn’t choosing one material over the other. It’s combining them strategically so you get the smooth, modern finish you want while keeping the benefits that make plaster worth saving.
Want live answers?
Connect with a Sharpe Drywall expert for fast, friendly support.
Here’s what most homeowners don’t realize: you don’t have to tear out all your plaster to get smooth, modern walls. The approach that makes sense for most Philadelphia historic home repairs is called “skinning” or skim coating over existing plaster.
This method involves applying a thin layer of drywall or joint compound over your existing plaster walls to create a smooth, uniform surface. You’re essentially giving your old walls a new face without destroying what’s underneath.
The beauty of this approach is that you preserve the thickness and soundproofing your plaster provides while getting the clean, modern finish you’re after. It’s faster than full demolition, creates far less dust and disruption, and costs a fraction of what you’d pay to remove everything down to the studs and start over. For a typical Philadelphia rowhouse room, you’re looking at a few days of work instead of weeks.
If your plaster is mostly solid but covered in cracks, uneven in texture, or just too rough to work with anymore, installing thin drywall over it offers a practical solution. This is the “skinning” method that we use regularly on Philadelphia historic home repairs.
You’re not removing the plaster. You’re covering it with a thin layer of sheetrock, typically 1/4 inch or 3/8 inch thick. This gives you a fresh, smooth canvas to work with while maintaining the structural benefits and thickness of the plaster underneath. Your walls stay solid, soundproof, and substantial.
The process starts with assessing what you’ve got. We walk around and tap the walls, listening for hollow sounds that indicate loose plaster. We press on suspicious areas to check for soft spots or movement. Any sections that feel unstable need attention before we cover them up. Loose plaster can be re-secured with plaster washers or long screws driven into the lath and studs behind. Sections that are too far gone get cut out and patched with setting-type compound.
Once we’ve stabilized everything, the next critical step is surface preparation. You need to give the new sheetrock something to bond to. We apply a bonding agent or heavy-duty primer to the plaster surface. Products like Durabond or other setting-type compounds work well here because they create a strong mechanical bond. Some pros use a coat of drywall primer instead, which seals the old plaster and prevents it from sucking moisture out of the joint compound we’ll apply later.
Now comes the sheetrock installation. Because you’ve got solid plaster backing, we don’t need to hit every stud like we would on a standard drywall job. The screws go through the thin sheetrock and bite into the plaster behind it, which holds them securely. The goal is creating a smooth, even surface that sits flush with your door casings, window trim, baseboards, and any other existing woodwork. This is where experience matters because old Philadelphia homes rarely have perfectly plumb walls or square corners.
After the sheetrock is up, seams get taped and mudded using standard drywall finishing techniques. Multiple coats of joint compound are applied, each one feathered wider than the last. Between coats, we sand everything smooth. The final result is a wall that looks and feels like new construction but retains the thickness, mass, and soundproofing of your original plaster walls.
This approach works particularly well in Philadelphia rowhouses where maintaining wall thickness matters for sound control between units. It also avoids the massive mess, cost, and disruption of tearing plaster down to the studs, hauling out debris, and dealing with potential lead paint or asbestos issues that come with full demolition in older homes.
If your plaster is fundamentally sound but just needs smoothing out, skim coating might be all you need. This technique involves applying thin layers of joint compound directly over existing plaster to fill imperfections and create a smooth, paint-ready surface. It’s less invasive than installing new sheetrock panels and can transform rough, dated walls into smooth, modern ones.
Skim coating is significantly less disruptive than other sheetrock repair methods. There’s no framing, no hanging sheets, no major construction. A skilled finisher can skim coat an average-sized room in a day or two, and when done right, the results rival new construction. You get smooth walls without the mess and expense of full replacement.
The work begins with thorough prep. Walls are cleaned to remove dirt, grease, and loose paint. Any flaking or crumbling plaster gets scraped off down to solid material. Cracks are filled with setting-type joint compound like Durabond 90, which dries harder and more stable than regular mud. Damaged areas get patched properly. The goal is creating a stable, sound base for the skim coat to adhere to. Skipping this prep work is the main reason skim coating jobs fail.
Next comes priming, which many DIYers skip but we know is essential. A bonding primer seals the old plaster and controls how fast the skim coat dries. Without it, the dry plaster sucks moisture out of the joint compound too quickly, causing poor adhesion, pinholes, and cracking. Some finishers use drywall primer. Others prefer a coat of thinned joint compound as a base layer. Either way, this step makes the difference between a skim coat that lasts decades and one that starts failing within months.
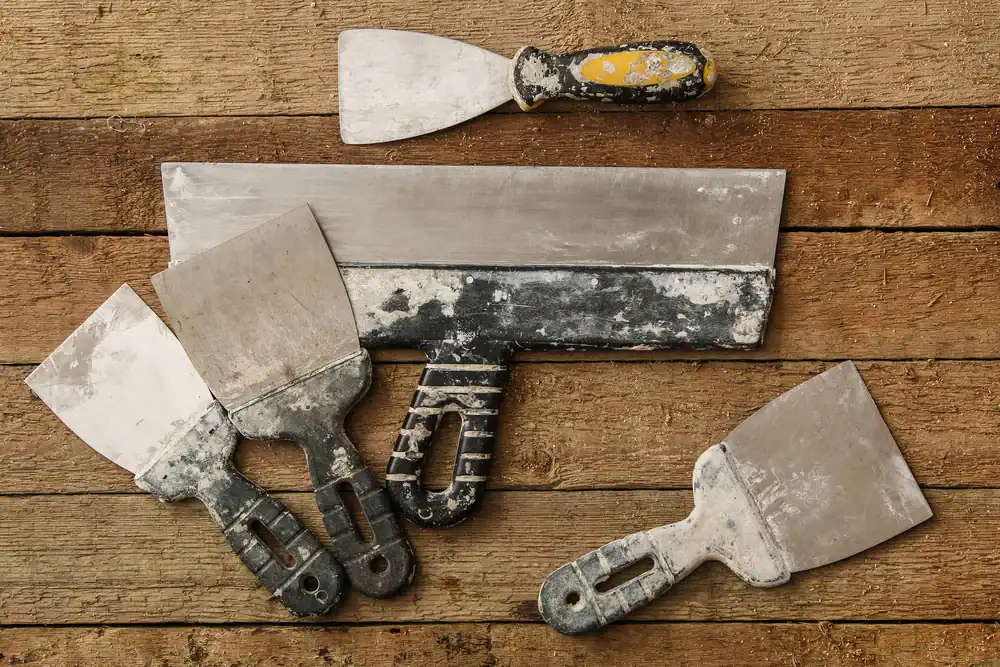
The actual skim coating is applied with wide trowels or drywall knives, typically 10 to 14 inches wide. The compound is spread thin, usually about 1/8 inch or less, and worked smooth in long, even strokes. Getting it right takes practice and a feel for the material. Too thick and you’ll have ridges and buildup. Too thin and you won’t fill the imperfections you’re trying to hide.
Multiple coats are almost always necessary. The first coat fills the major imperfections and creates a uniform base. After it dries, a light sanding knocks down any ridges or high spots. Then a second coat goes on, applied perpendicular to the first for better coverage. On walls with significant texture or damage, a third coat might be needed. Each layer is thinner and smoother than the last, building up to a final surface that’s ready for primer and paint.
The advantage of skim coating over installing new sheetrock is that you preserve the original plaster underneath. You’re not covering it up or replacing it. You’re just refining the surface. This matters if you want to maintain the authentic character of your historic Philadelphia home while getting rid of rough texture and visible damage.
Cost is another factor. Skim coating typically runs $3 to $5 per square foot for professional work, compared to $8 to $18 per square foot for full plaster removal and drywall replacement. You’re paying for skilled labor and joint compound, but you’re saving on demolition, disposal, new drywall sheets, and all the associated materials and time.
The downside is that skim coating requires real skill. It’s not a weekend DIY project unless you’ve got trowel experience. A bad skim coat job can look worse than the rough plaster you started with, with visible trowel marks, ridges, and uneven texture. If you’re hiring this work out, make sure you’re working with someone who’s done it successfully on other Philadelphia historic homes and can show you examples of their finished work.
Fixing old lath and plaster doesn’t mean you have to tear your Philadelphia home apart. For most homeowners, the smarter move is working with what you’ve got. Skinning over stable plaster with thin sheetrock or skim coating the surface gives you smooth, modern walls without the mess, cost, or disruption of gutting everything down to the studs.
The key is honestly assessing your plaster’s condition and choosing the method that fits. Fundamentally sound plaster with surface imperfections is perfect for skim coating. Walls with more extensive damage, severe unevenness, or texture you can’t stand benefit from thin drywall installed over the top. Either way, you’re keeping the thickness, soundproofing, and solid feel that make old Philadelphia homes worth preserving.
If you’re dealing with failing plaster in your Philadelphia, PA home and want to explore your options without the sales pitch, we can walk you through what makes sense for your specific situation.
Summary:
Get in Touch with Sharpe Drywall
Share: