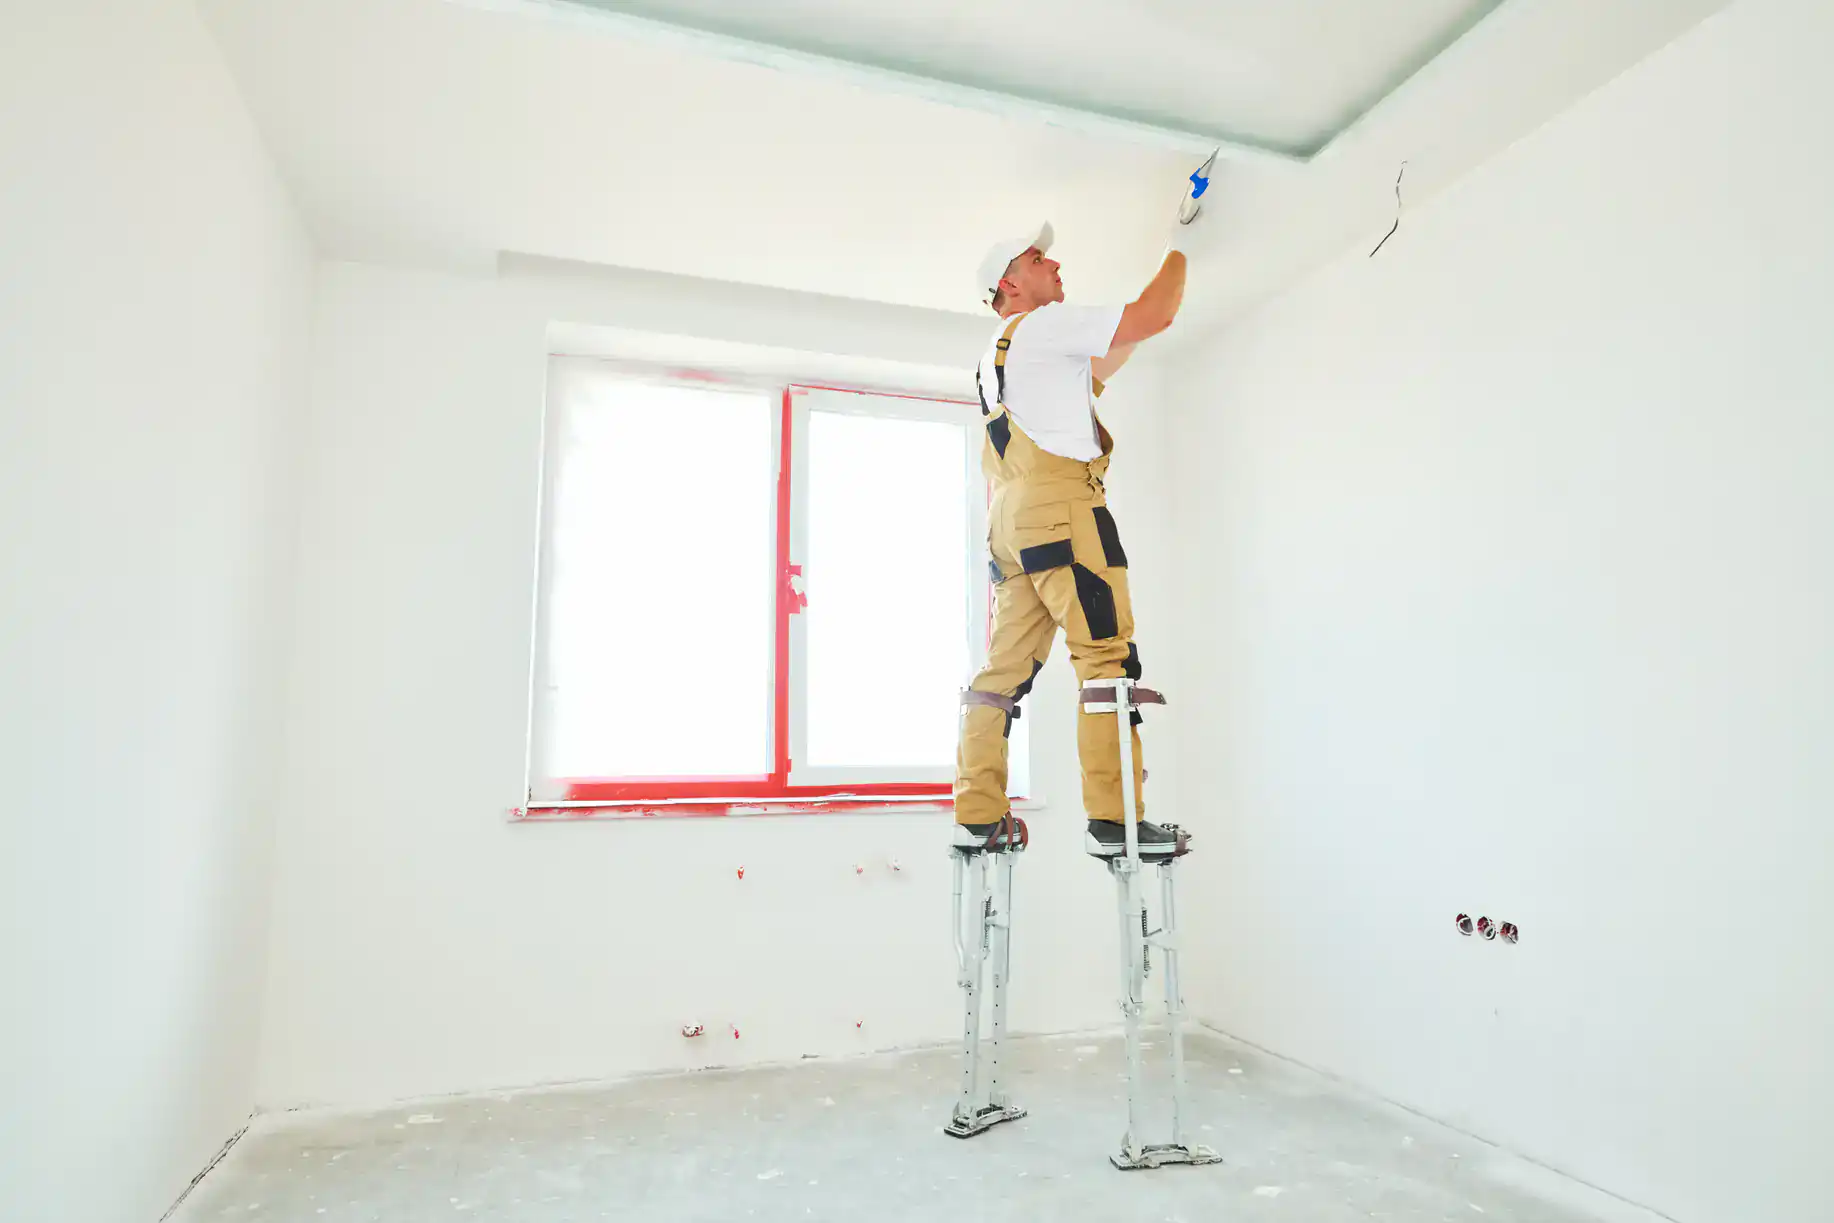
Your row home's ceiling is sagging or cracking. Here's what's happening, why it matters, and what actually fixes it for good.

Most Philadelphia row homes were built between the 1850s and 1950s, decades before modern drywall became standard. Your ceiling is likely plaster applied over wood lath strips, or in some cases, early drywall installed over that original plaster.
Plaster ceilings work through a keying system. The wet plaster was pushed through gaps in the wood lath strips, then hardened behind them to create “keys” that lock everything in place. Over time, those keys break. Age dries out the plaster. Vibrations from foot traffic above, doors slamming, nearby construction, or even street traffic gradually weaken the bond.
Once enough keys fail, gravity takes over. The ceiling starts to sag. Cracks appear. And if it’s not addressed, sections can come down without warning.

When you press gently on a sagging section of your ceiling and it feels soft or spongy, that’s the plaster separating from the lath. The keys have broken away. The ceiling is essentially hanging by whatever connection points are left.
This is different from surface cracks. Hairline cracks from settling or temperature changes are mostly cosmetic. But when the plaster loses its structural grip on the lath, you’re looking at a real problem.
The weight of plaster is significant. A full ceiling can weigh hundreds of pounds. Once the keying system fails in one area, the stress transfers to adjacent sections. This creates a domino effect where more keys break, more plaster pulls away, and the problem spreads.
You might see a visible sag where the ceiling dips an inch or more from its original position. You might notice cracks that run perpendicular to the ceiling joists. Or you might just have that spongy feeling when you push up on a section.
All of these are signs that the structural connection between your ceiling and the framing above has been compromised. It’s not going to improve on its own. And the longer it goes unaddressed, the more expensive and extensive the repair becomes.
In row homes specifically, vibrations are constant. Your neighbor’s footsteps. Traffic outside. The shared walls and tight construction mean movement transfers through the structure more readily than in a detached home. This accelerates the breakdown of aging plaster systems.
Ceiling work is the number one thing DIYers avoid, and for good reason. It’s physically brutal. You’re working overhead with your arms extended, holding heavy materials in awkward positions, trying to achieve precision while fighting fatigue and gravity.
The actual repair process requires more than just patching visible damage. If the plaster has separated from the lath, you need to reattach it or remove it entirely and install new drywall. Either approach demands proper technique, the right materials, and tools most homeowners don’t have sitting in their garage.
Then there’s the sanding. Drywall compound needs to be sanded smooth, and when you’re working on a ceiling, that dust doesn’t float gently to the side. It falls straight down onto your furniture, your floors, your belongings. Without professional dust containment systems, you’re looking at hours of cleanup after the repair work is done.
Most DIY ceiling repairs fail because the underlying structural issue wasn’t addressed. Slapping joint compound over a crack might hide it temporarily, but if the plaster is still pulling away from the lath, the crack will reappear. If you’re using nails instead of screws, they’ll work loose from vibration. If you’re not reinforcing the joints properly, new cracks will form at the seams.
The other issue is matching textures. Many Philadelphia ceilings have stipple, knockdown, or other textured finishes. Replicating that texture so your repair blends invisibly with the surrounding ceiling takes experience and the right tools. Get it wrong and you’ll have a visible patch that’s more obvious than the original damage.
Professional ceiling drywall repair addresses all of this. The structural issues get fixed first. Screws replace nails for superior holding power. Reinforced materials prevent future cracking. And dustless sanding systems keep your home livable during the repair process.
Want live answers?
Connect with a Sharpe Drywall expert for fast, friendly support.
The first step is assessing what’s actually wrong. Is the plaster still attached to the lath but cracked? Is it sagging because the keys have failed? Has water damage compromised the structure? Is the lath itself damaged?
Each scenario requires a different approach. Surface cracks might only need reinforcement and finishing. Sagging plaster might be reattachable if the damage isn’t too extensive. But if large sections have pulled away or the lath is compromised, removal and replacement with new drywall is often the most reliable long-term solution.
Once the approach is determined, the actual repair can move forward efficiently.
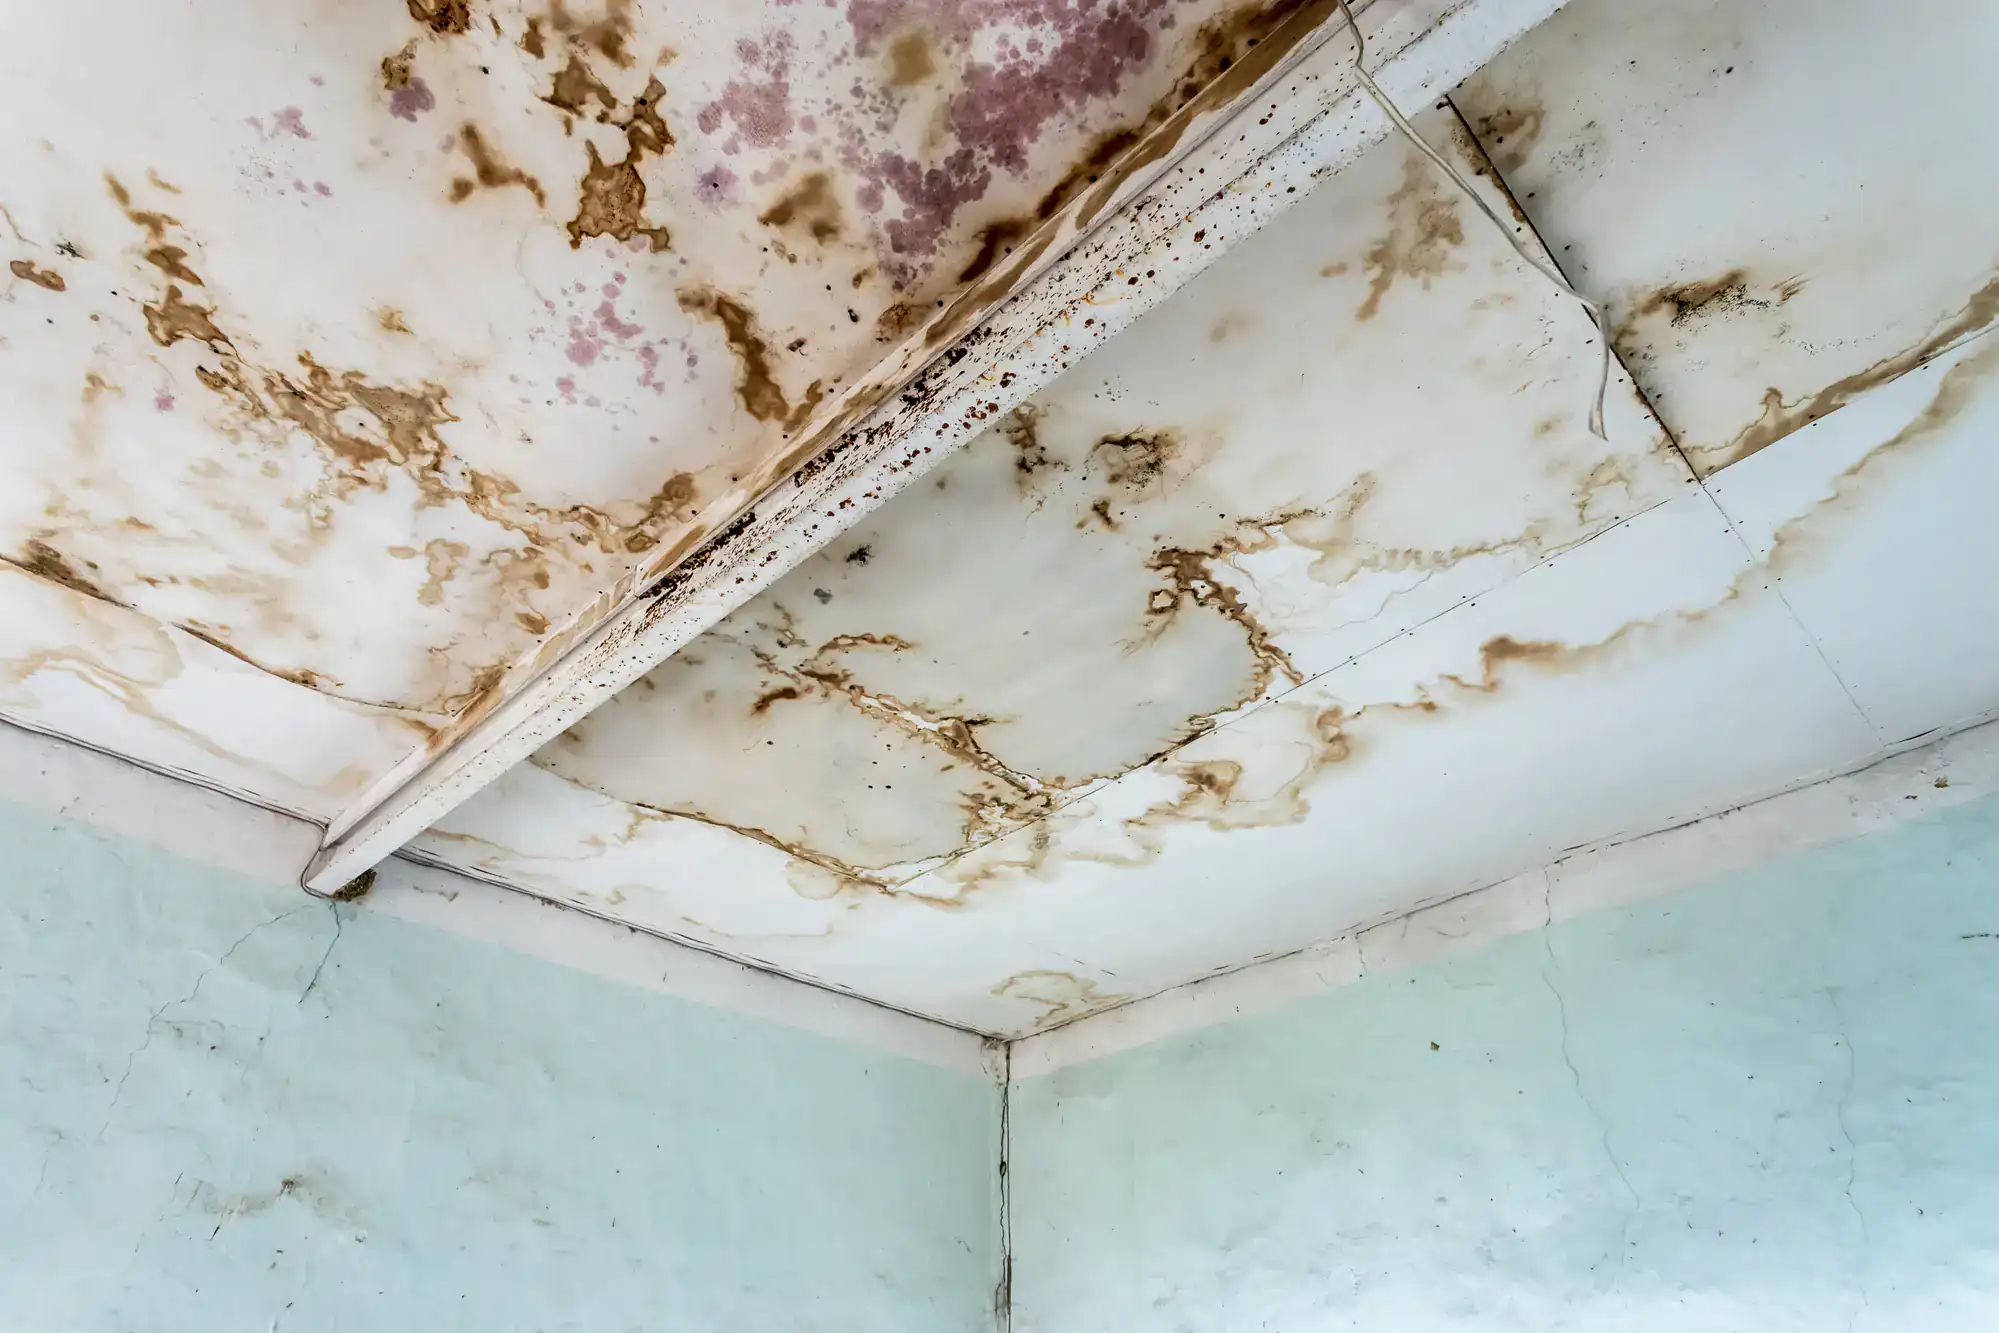
Here’s something most homeowners don’t know: the fastener choice matters more for ceilings than for walls. Gravity is constantly pulling down on overhead drywall. Nails rely on friction to stay in place. Over time, especially with vibration, they work loose. That’s what creates nail pops—those small bumps that appear on your ceiling where a nail has pushed back out through the surface.
Screws work differently. The threads grip the wood framing and create a mechanical hold that doesn’t rely on friction alone. They don’t work loose from vibration. They pull the drywall tight against the framing and keep it there.
For ceiling repairs in older Philadelphia homes where vibration is constant, screws are the only reliable choice. They require fewer fasteners per sheet because each one holds more securely. They’re less likely to damage the drywall during installation. And they don’t create the long-term maintenance headache of nail pops that need to be repaired every few years.
We use screws exclusively for overhead work. The installation is faster with a screw gun than hammering nails. The hold is superior. And the finished ceiling stays smooth without fasteners working their way back to the surface.
This is especially critical when repairing sagging plaster. If you’re reattaching loose plaster to the lath, screws with plaster washers can pull everything back tight and hold it there permanently. Nails simply don’t have the holding power to prevent the plaster from sagging again.
Sanding drywall compound creates an enormous amount of fine dust. It’s light enough to float through the air and settle on every surface in your home. When you’re sanding walls, at least some of that dust falls to the floor where it can be contained. When you’re sanding a ceiling, gravity works against you. The dust falls straight down onto everything below.
This is why we use dustless sanding systems for ceiling repairs. These aren’t perfect—no system captures 100% of the dust—but modern vacuum sanders can eliminate 95% or more of the airborne particles. A vacuum attachment pulls the dust directly into a containment system as it’s created, before it has a chance to spread through your home.
For ceiling work, this makes the difference between a manageable repair and a disaster. Your furniture stays clean. Your floors don’t need extensive cleanup. You’re not finding dust in your kitchen cabinets two weeks after the repair is finished.
The sanding process itself is critical to the finished appearance. Drywall compound shrinks slightly as it dries, so multiple coats are often necessary. Each coat needs to be sanded smooth before the next application. For ceiling repairs, this typically means at least two coats of setting compound for strength, followed by a lightweight finishing compound for smoothness.
Proper sanding creates a seamless transition between the repair and the existing ceiling. You shouldn’t be able to see where the damage was or feel any ridges when you run your hand across the surface. This level of finish requires the right tools, the right technique, and the patience to do multiple passes with progressively finer grits.
Dustless systems make this process feasible in an occupied home. Without them, you’d need to move out or live with dust covering everything for days. With them, most ceiling repairs can be completed in a single day with minimal disruption to your daily routine.
If your ceiling feels soft when you press on it, you need professional assessment. If you see sagging sections, cracks that are getting longer, or areas where the plaster is visibly pulling away from the wall, don’t wait. These problems don’t improve on their own, and the longer they’re left unaddressed, the more extensive the damage becomes.
Professional ceiling drywall repair fixes the structural issues, not just the cosmetic ones. It uses materials and techniques that prevent the problem from recurring. And it’s completed with minimal mess and disruption to your home.
If you’re dealing with sagging or cracked ceilings in your Philadelphia row home, we have the experience and tools to handle it right. Most repairs are completed in one day, with 95% dustless sanding to keep your home clean and screw installation for lasting hold.
Summary:
Get in Touch with Sharpe Drywall
Share: