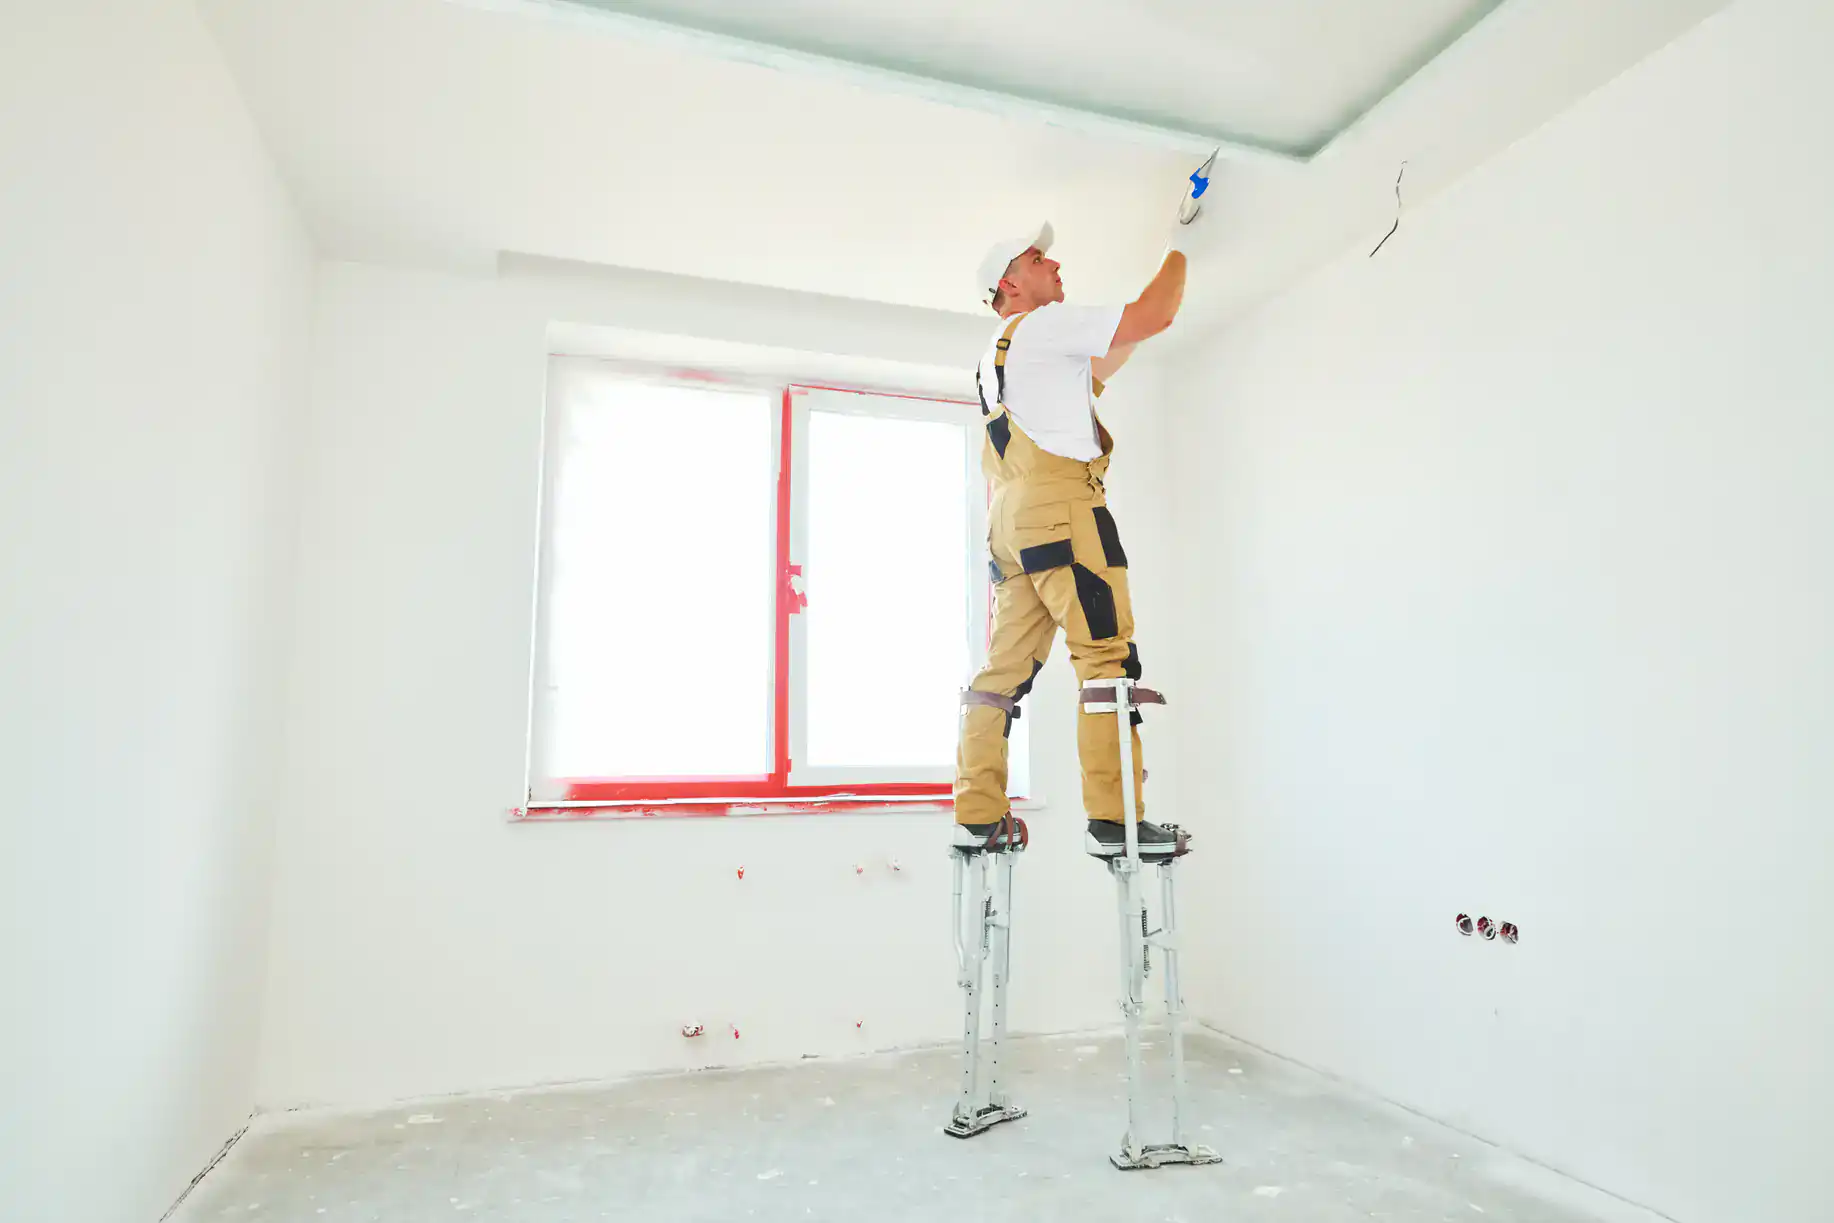
Tired of patching the same crack over and over? Professional sheetrock repair uses proper taping, mudding, and stress-relief techniques to fix recurring drywall cracks permanently.
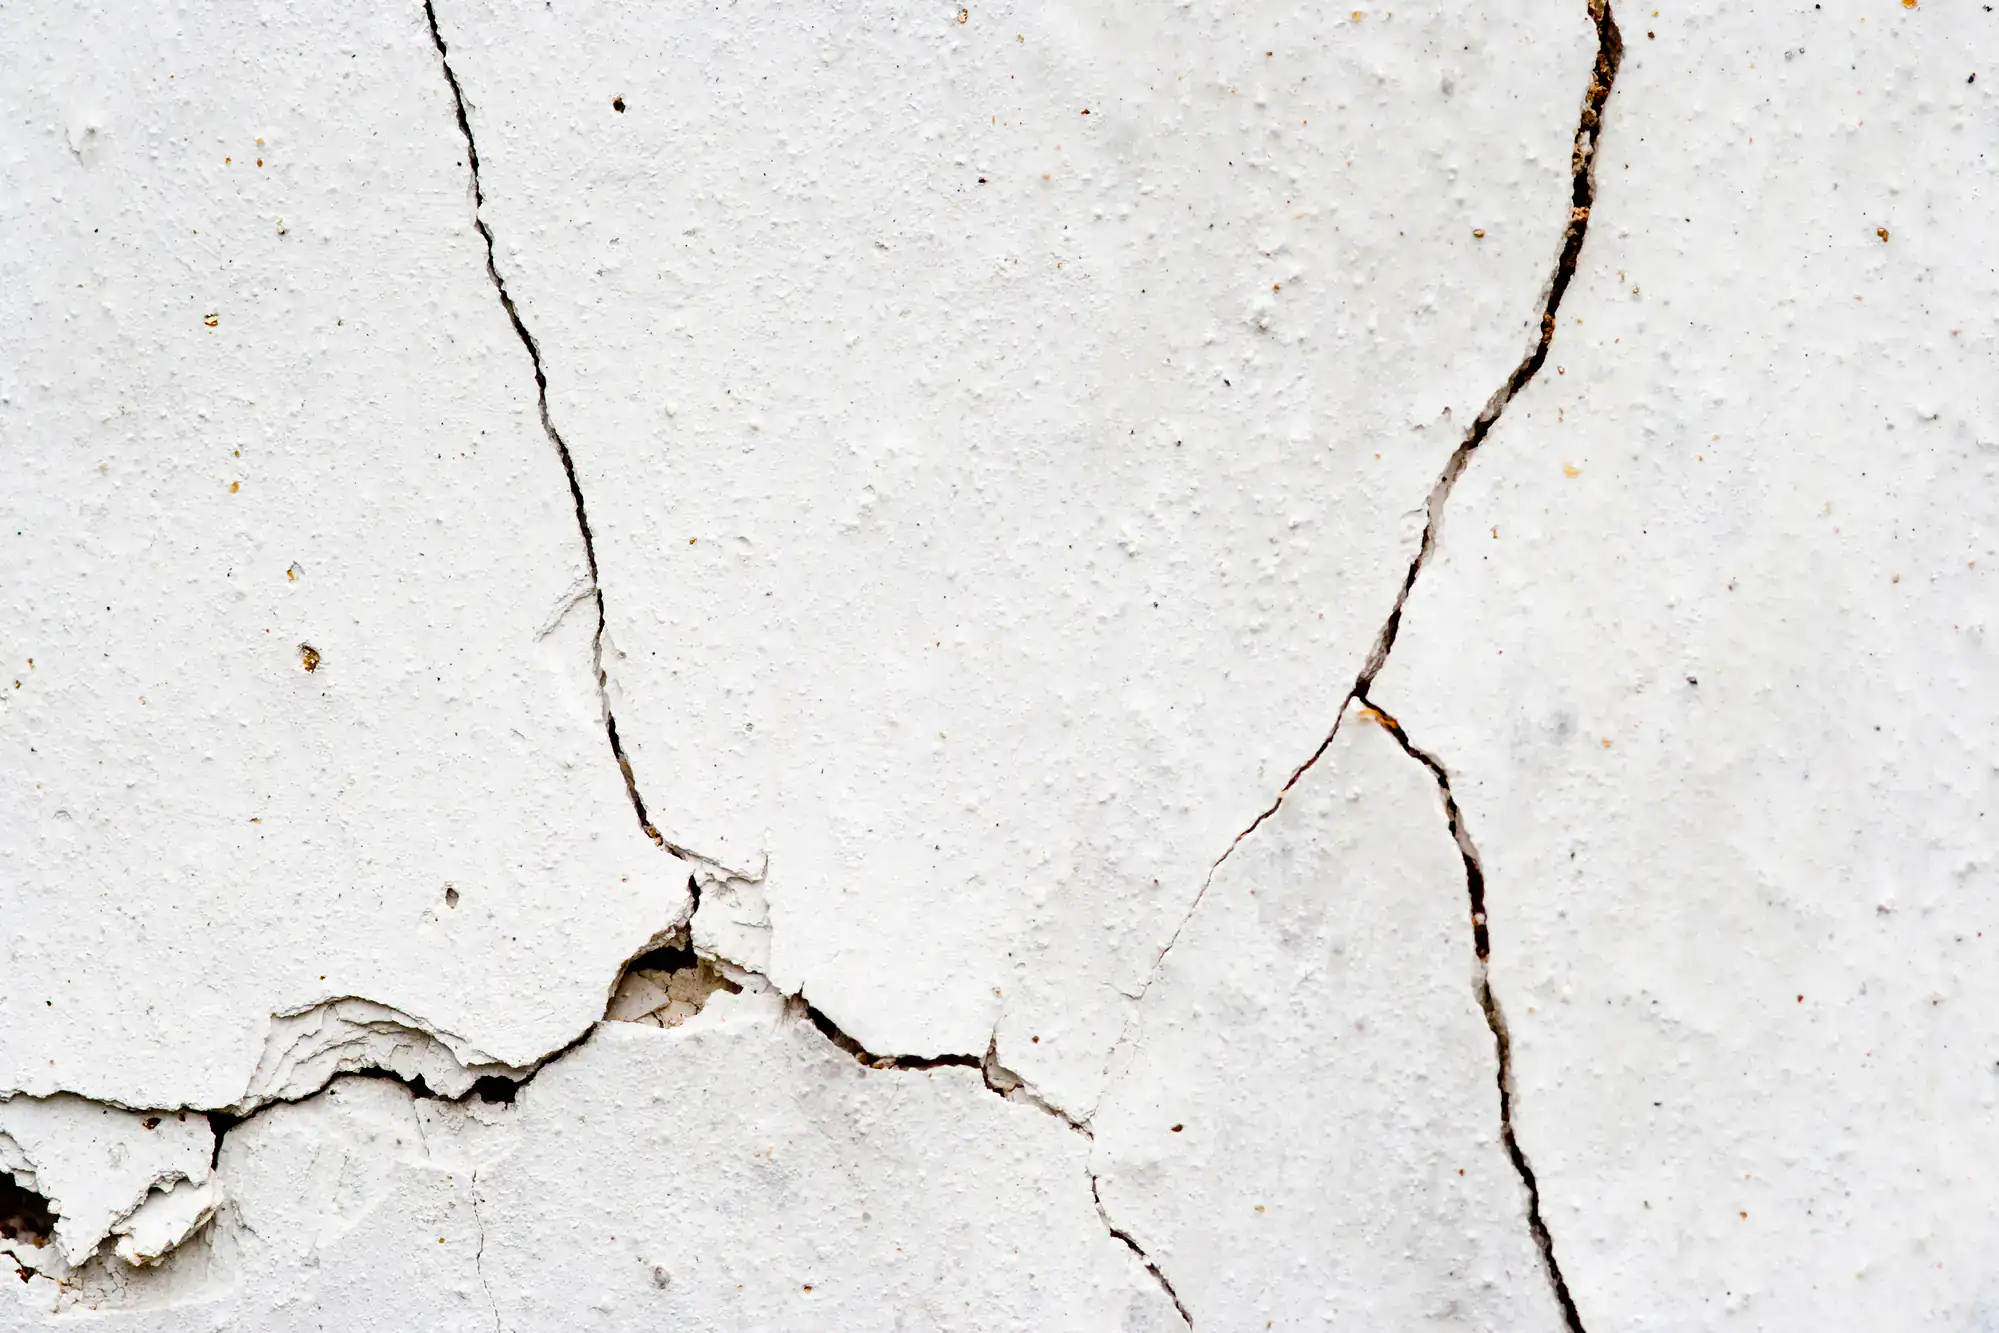
Most people assume a crack is just cosmetic. You fill it, paint it, move on. But when it reappears a few months later, that’s your wall telling you the repair didn’t address what’s actually happening beneath the surface.
Drywall cracks return because homes move. They settle. They expand in summer heat and contract in winter cold. In Philadelphia, where many homes were built 50 to 100+ years ago, that movement is even more pronounced. Row homes share walls, which means settling happens on both sides. Stairwells carry constant foot traffic and structural load. Temperature swings—especially during freeze-thaw cycles—cause wood framing to shift.
When you spackle over a crack without reinforcing it, you’re covering the symptom. The wall keeps moving, and the spackle—which has no flexibility or strength—cracks right back open. Sometimes within weeks.
Stress cracks form where your walls experience the most pressure or movement. They’re not random. They show up in predictable spots: along stairwell walls, at the corners of door and window frames, where ceilings meet walls, and along long seams in older rooms.
In Philadelphia row homes, stress cracks are especially common because of how these homes are built. Shared walls mean settling on one side affects the other. Older framing wasn’t always plumb or square, so drywall installed decades later has to compensate. Add in temperature changes—wood studs shrink in dry winter air, expand in humid summer months—and you’ve got constant, low-level movement.
Stairwells are a hot spot because they’re structural. Every time someone walks up or down, there’s vibration. The walls flex slightly. Over time, that repetitive stress finds the weakest point—usually a seam or corner—and a crack forms. If that crack isn’t reinforced with tape and multiple coats of compound, it’ll open right back up.
Foundation settling is another factor. It’s normal for homes to settle over time, but uneven settling creates stress. If one corner of your home sinks slightly more than another, the drywall has to absorb that shift. Diagonal cracks, stair-step patterns in corners, or cracks that widen at one end are often signs of this kind of movement.
Water damage and poor original installation also play a role. If drywall tape wasn’t embedded properly during the original install, it can lift over time. If joint compound was applied too thick or didn’t dry fully between coats, it’s prone to cracking. And if moisture has weakened the drywall paper or framing behind it, even a solid repair won’t hold.
The key is recognizing that not all cracks mean disaster. Hairline cracks from normal settling are fixable with the right technique. But if you’re seeing cracks wider than a quarter inch, cracks that grow noticeably over weeks, or cracks accompanied by doors that stick or floors that feel uneven, that’s worth a professional assessment. The repair might still be straightforward—but it’s important to know what you’re dealing with.
Here’s where most recurring cracks start: someone—maybe you, maybe a handyman—fills the crack with spackle or a thin layer of joint compound, sands it smooth, and paints over it. It looks fine. For a while.
But that’s a cosmetic fix. Spackle is designed for small holes and surface imperfections, not for cracks that are under stress. It has no reinforcement, no flexibility, and no structural integrity. The moment your wall shifts again—and it will—the spackle cracks.
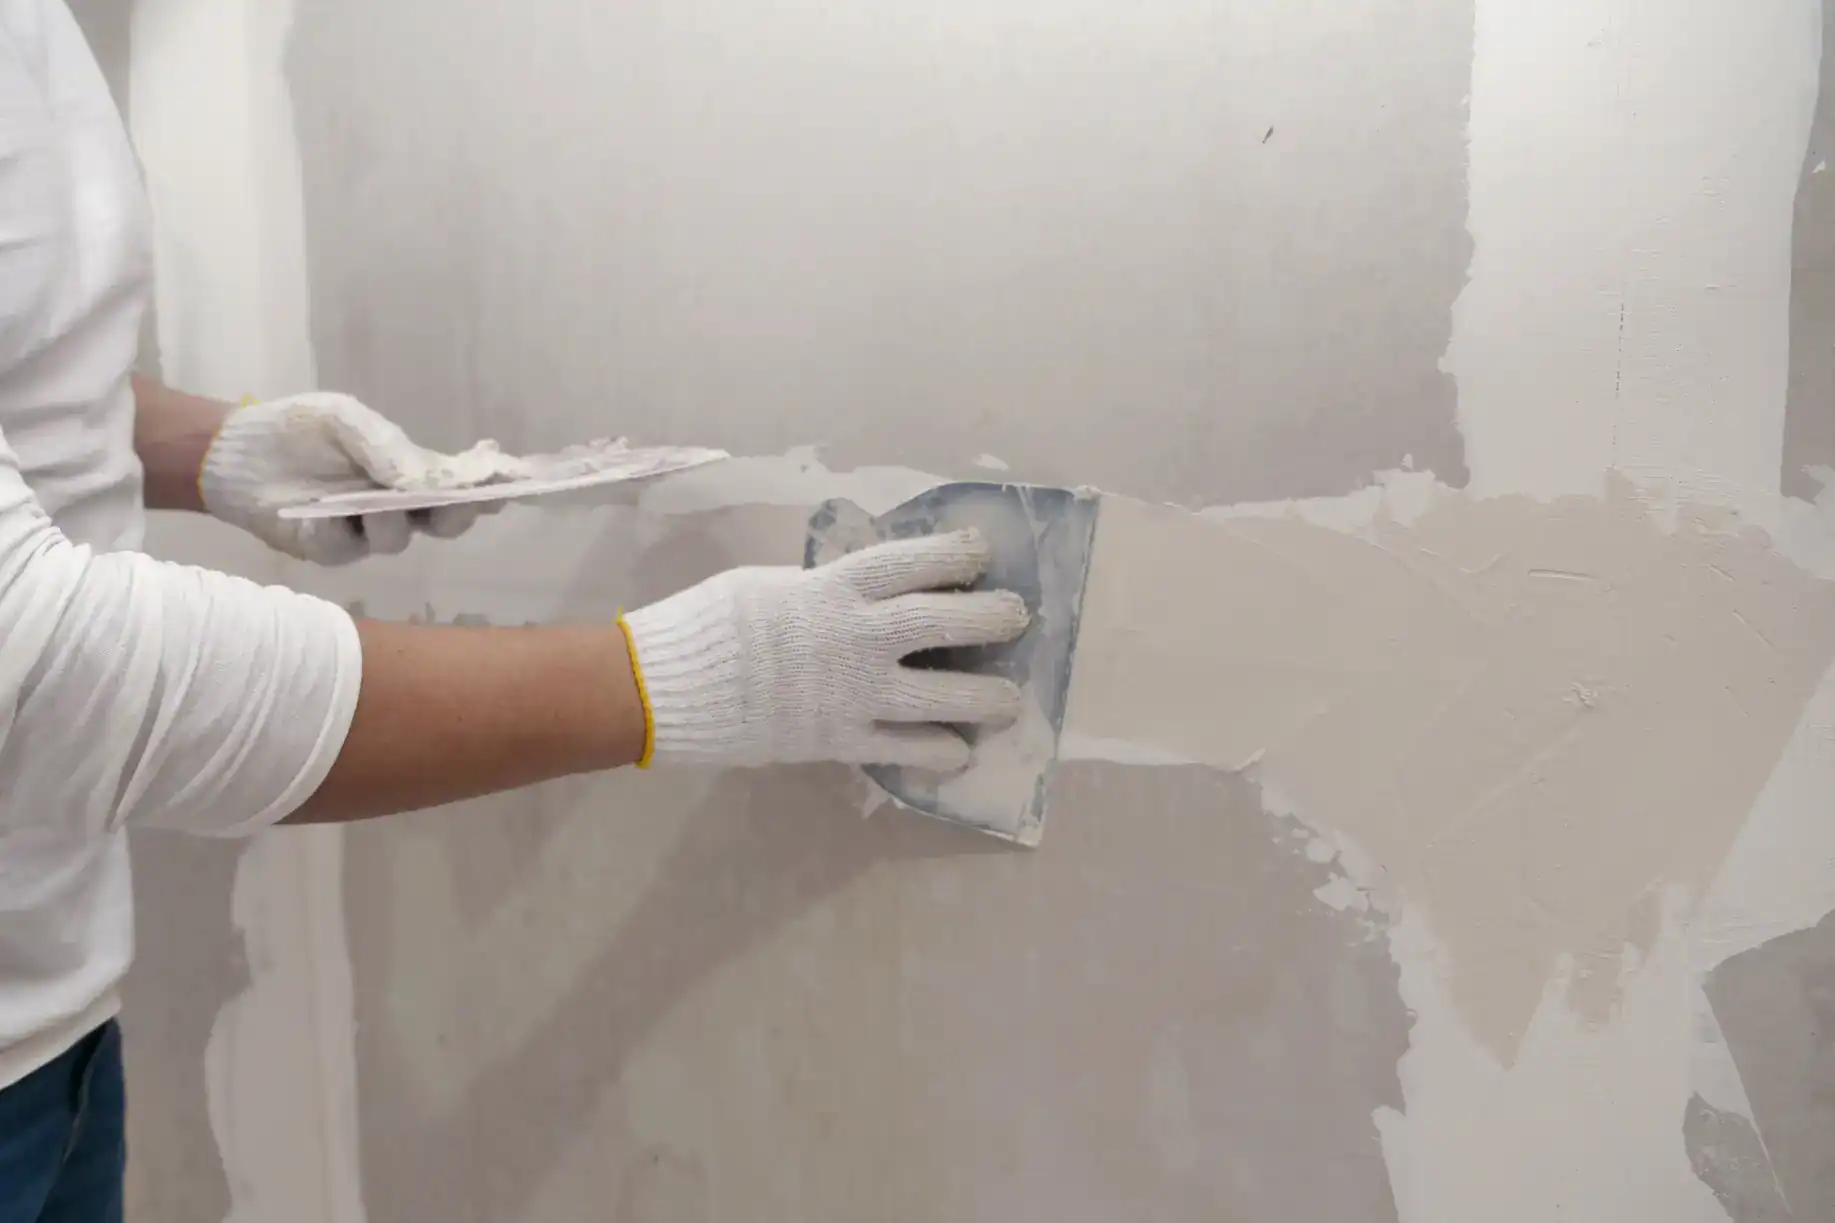
A proper sheetrock repair is different. It starts with tape. Paper tape or fiberglass mesh tape is embedded into a layer of joint compound along the crack. That tape acts as reinforcement, distributing stress across a wider area instead of concentrating it at the crack line. Then, multiple coats of compound are applied—each one wider than the last—with full drying time between coats. This creates a smooth, gradual transition that blends into the surrounding wall.
In high-stress areas like stairwells or corners, we often use fiberglass-reinforced mesh tape or even chemically hardening plasters for the first coat. These materials are stronger than standard all-purpose compound and less prone to cracking under movement. The final coats use lightweight compound that’s easy to sand smooth, but the strength comes from those base layers.
Feathering is another key step that handyman patches skip. Each coat of compound should extend several inches beyond the previous one, blending gradually into the wall. This prevents visible ridges or humps that show through paint. It’s more time-consuming, but it’s what makes the repair invisible.
Proper repairs also account for why the crack formed in the first place. If it’s a seam that wasn’t taped originally, the repair includes taping the full length of that seam—not just the visible crack. If it’s a corner that’s shifting, corner bead or reinforced tape might be needed. If it’s related to moisture, the source of that moisture has to be addressed before any repair will hold.
The bottom line: a handyman patch is spackle and hope. A sheetrock repair is tape, compound, technique, and an understanding of how walls move. One lasts a few months. The other lasts years.
Want live answers?
Connect with a Sharpe Drywall expert for fast, friendly support.
Fixing a crack permanently means doing more than filling it. It means reinforcing the area so it can handle the movement that caused the crack in the first place.
The process starts with prep. The old repair has to come out. If there’s loose spackle, peeling tape, or crumbling compound, it all gets removed. The crack itself is often widened slightly with a utility knife—this isn’t to make it worse, it’s to create clean edges that the new compound can bond to. Any dust or debris is wiped away. If the crack is deep or the drywall paper is damaged, that section might need to be cut out and replaced with a fresh piece of drywall.
Once the surface is prepped, the first coat of joint compound goes on. This is the bedding layer. It fills the crack and provides a base for the tape. The tape is pressed into the wet compound, centered over the crack, and smoothed out with a taping knife to remove air bubbles. This step is critical. If the tape isn’t fully embedded, it won’t bond properly, and the repair will fail.
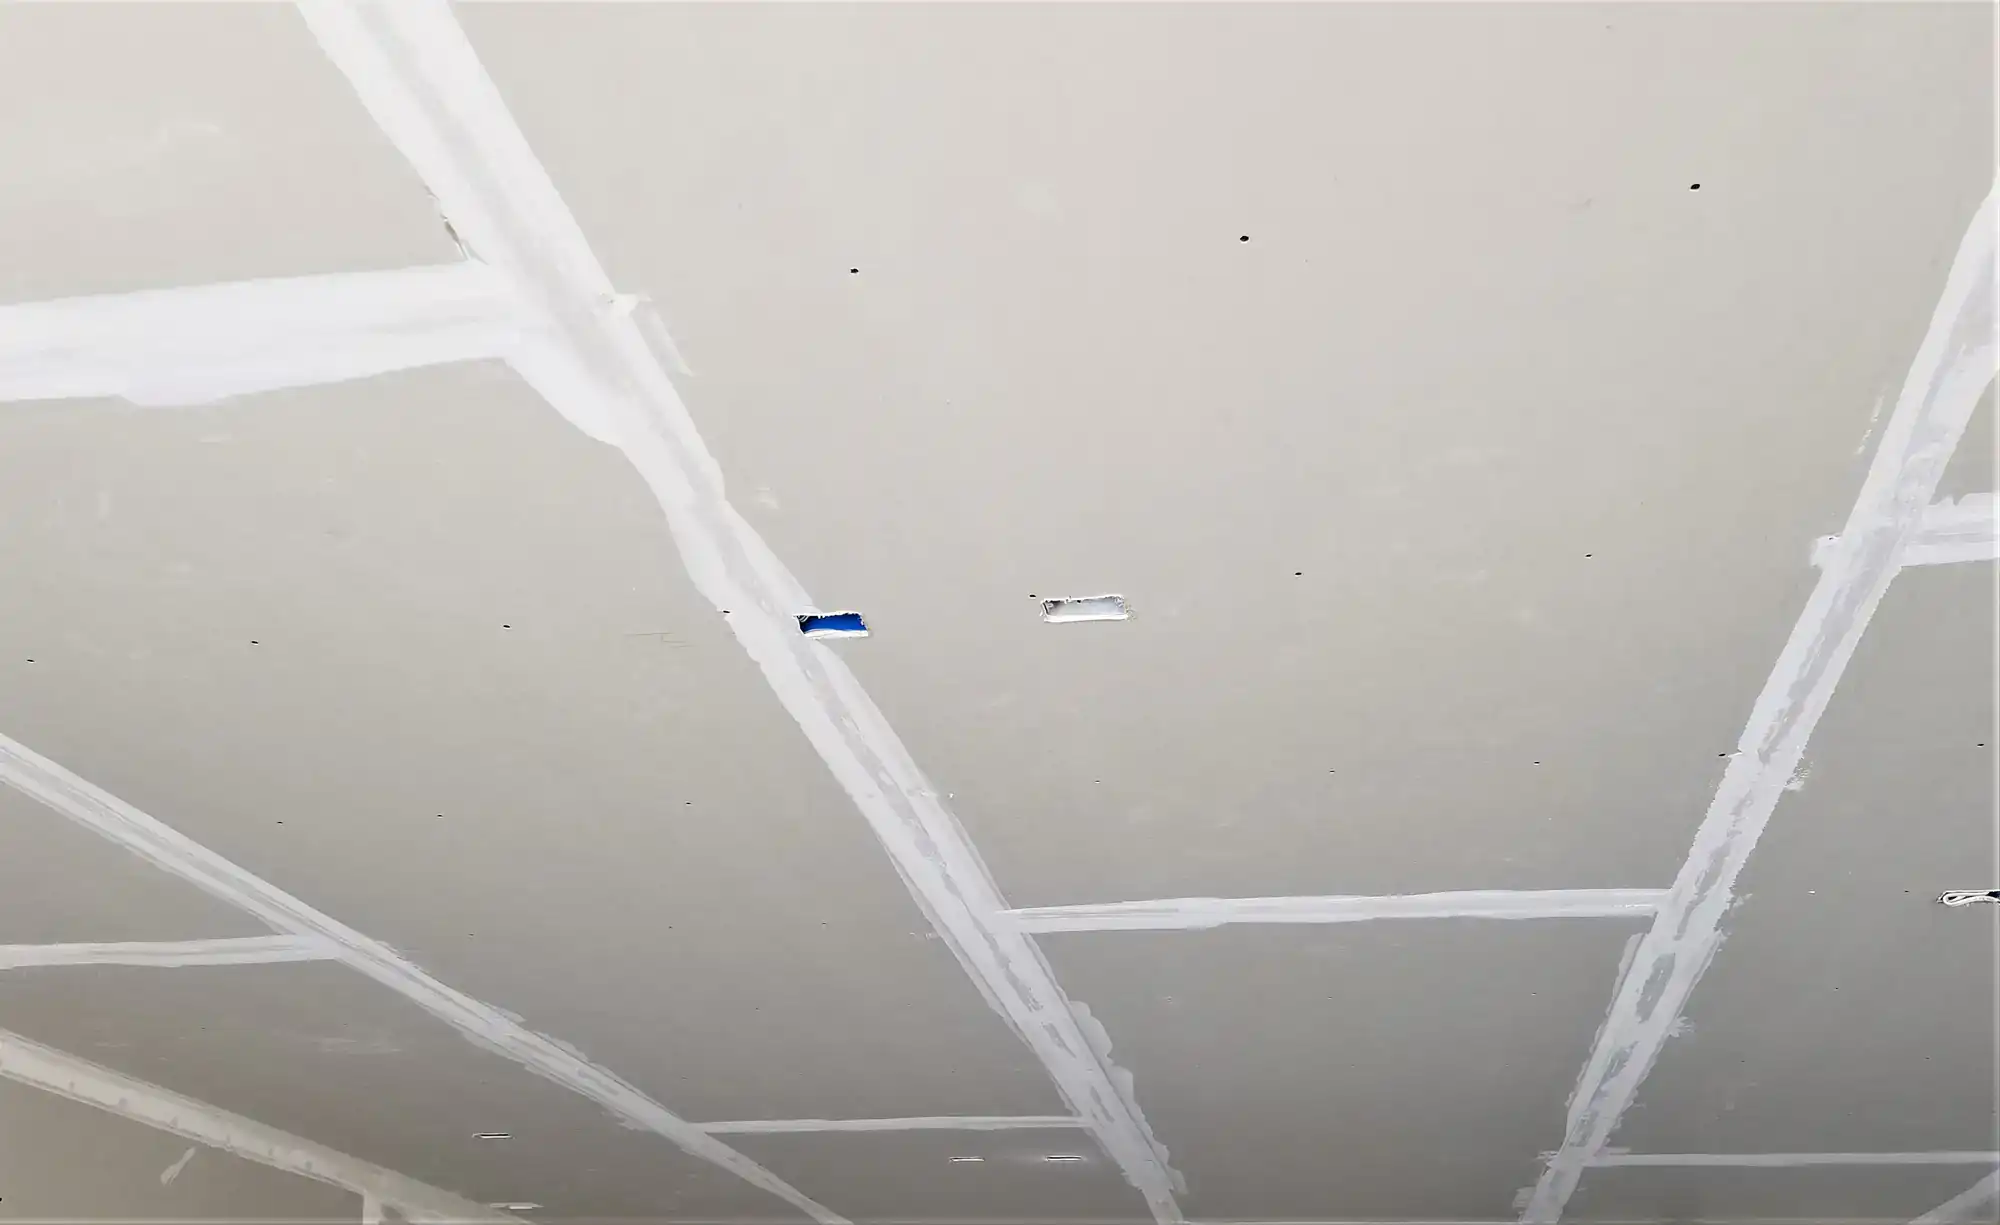
Taping and mudding might sound straightforward, but technique makes the difference between a repair that lasts and one that cracks again in six months.
After the tape is embedded, the first coat of compound is applied over it. This coat should be thin—just enough to cover the tape and smooth out the surface. Thick coats take longer to dry, are harder to sand, and are more prone to cracking as they cure. A 6-inch taping knife works well for this stage. The goal is to press the compound firmly into the tape and feather the edges out slightly so there’s no hard line.
Drying time matters. Each coat needs to dry completely before the next one goes on. In Philadelphia’s humid summers or cold winters, that can take 24 hours or more. Rushing this step is one of the most common mistakes. Wet compound under a new layer will shrink as it dries, creating depressions or cracks. If you’re using setting-type compound (the kind that hardens chemically rather than by drying), you can move faster, but even then, patience pays off.
The second coat is wider. A 10-inch or 12-inch knife is used to spread compound several inches beyond the first coat, feathering the edges out even further. This is where the repair starts to blend into the surrounding wall. The knife is held at a shallow angle and pulled smoothly across the surface, applying just enough pressure to level the compound without scraping it all off. Any ridges or tool marks are smoothed out before the coat dries.
A third coat is often needed, especially if the crack was deep or the wall texture is smooth. This final coat uses lightweight joint compound, which is easier to sand and creates a smoother finish. It’s applied with a wide knife—sometimes 14 inches or more—and feathered out as far as necessary to make the repair invisible. The goal is a surface so smooth that once it’s primed and painted, you can’t tell where the crack was.
Sanding comes next, but lightly. Over-sanding can damage the drywall paper or create low spots. A fine-grit sanding sponge or 120-150 grit sandpaper works well. Some pros use a damp sponge instead of sandpaper for the final pass—it smooths the surface without creating dust. A bright light held at an angle to the wall helps spot any imperfections that need another skim coat.
For stress cracks in corners or along ceiling seams, the process is similar but uses corner tape or pre-creased paper tape. The tape is folded lengthwise, pressed into the corner, and embedded in compound on both sides. This reinforces the joint and prevents future cracking. In stairwells or other high-traffic areas, fiberglass mesh tape or even carbon fiber reinforcement might be used for extra strength.
The difference between a professional repair and a DIY attempt often comes down to these details. Proper tape embedding. Thin, even coats. Full drying time. Feathering that extends far enough to blend seamlessly. These techniques don’t just hide the crack—they stop it from coming back.
Philadelphia row homes and twins have a quirk that makes them prone to recurring cracks: they move together. When one home settles, the shared wall shifts. When temperatures swing, both sides expand and contract. That constant, low-level movement is why cracks in row homes tend to reappear even after what looks like a solid repair.
Stress-relief techniques account for this movement. Instead of trying to make the wall perfectly rigid—which will fail as soon as the home shifts again—these techniques allow for some flex while keeping the surface smooth.
One approach is using flexible joint compound or crack-resistant mesh tape in areas known to move. These materials have some give, so they can absorb minor shifts without cracking. They’re not a cure-all, but in stairwells, corners near shared walls, or along ceiling seams, they add a layer of resilience that standard compound doesn’t have.
Another technique is addressing the framing behind the drywall. If a crack keeps coming back in the same spot, it might be because the studs or joists behind it are shifting. Sometimes adding a screw or two to secure the drywall more firmly to the framing is enough to stop the movement. Other times, the framing itself needs reinforcement—blocking between studs, additional support at a corner, or shims to correct uneven framing. This kind of work goes beyond a surface repair, but it’s what stops chronic cracks for good.
Expansion joints are rarely used in residential drywall, but in some cases—like where a newer addition meets an older section of the house, or where two different framing systems come together—a deliberate gap with flexible caulk can prevent stress cracks from forming. It’s not common, but it’s an option when movement is unavoidable.
Temperature and moisture control also matter. Philadelphia winters are dry, which causes wood framing to shrink. Summers are humid, which makes it expand. Keeping indoor humidity relatively stable—using a humidifier in winter, a dehumidifier in summer—reduces the amount of expansion and contraction your walls go through. It won’t eliminate movement, but it can minimize it enough to make a difference.
The reality is that row homes will always move a little. That’s not a flaw—it’s how they’re built. The key is making repairs that can handle that movement instead of fighting it. Proper taping, multiple coats, and stress-relief techniques turn a recurring problem into a one-time fix.
Not every crack needs a pro. If you’ve got a hairline crack in a low-stress area and you’re comfortable with taping and mudding, a DIY repair can work. But if you’re dealing with cracks that keep coming back, cracks in high-stress areas like stairwells, or cracks that seem to be getting worse, it’s worth bringing in someone who knows what they’re doing.
Professional drywall contractors understand why cracks form and how to stop them. We know which materials to use, how many coats are needed, and when a crack is a sign of something bigger. We also have the tools and experience to make the repair invisible—no ridges, no humps, no texture mismatch. Most importantly, we can tell you if the crack is just a drywall issue or if it’s pointing to a structural problem that needs attention.
In Philadelphia, where homes are older and construction methods vary, that local knowledge matters. At Sharpe Drywall, we’ve worked on row homes throughout the area and know how they settle. We’ve seen the patterns—cracks near shared walls, stairwell corners, ceiling seams in long rooms. We know when a crack is normal and when it’s not. If you’re tired of patching the same spot every few months, that expertise saves you time, money, and frustration. We bring that experience to every repair, with a focus on doing it once and doing it right.
Summary:
Get in Touch with Sharpe Drywall
Share: