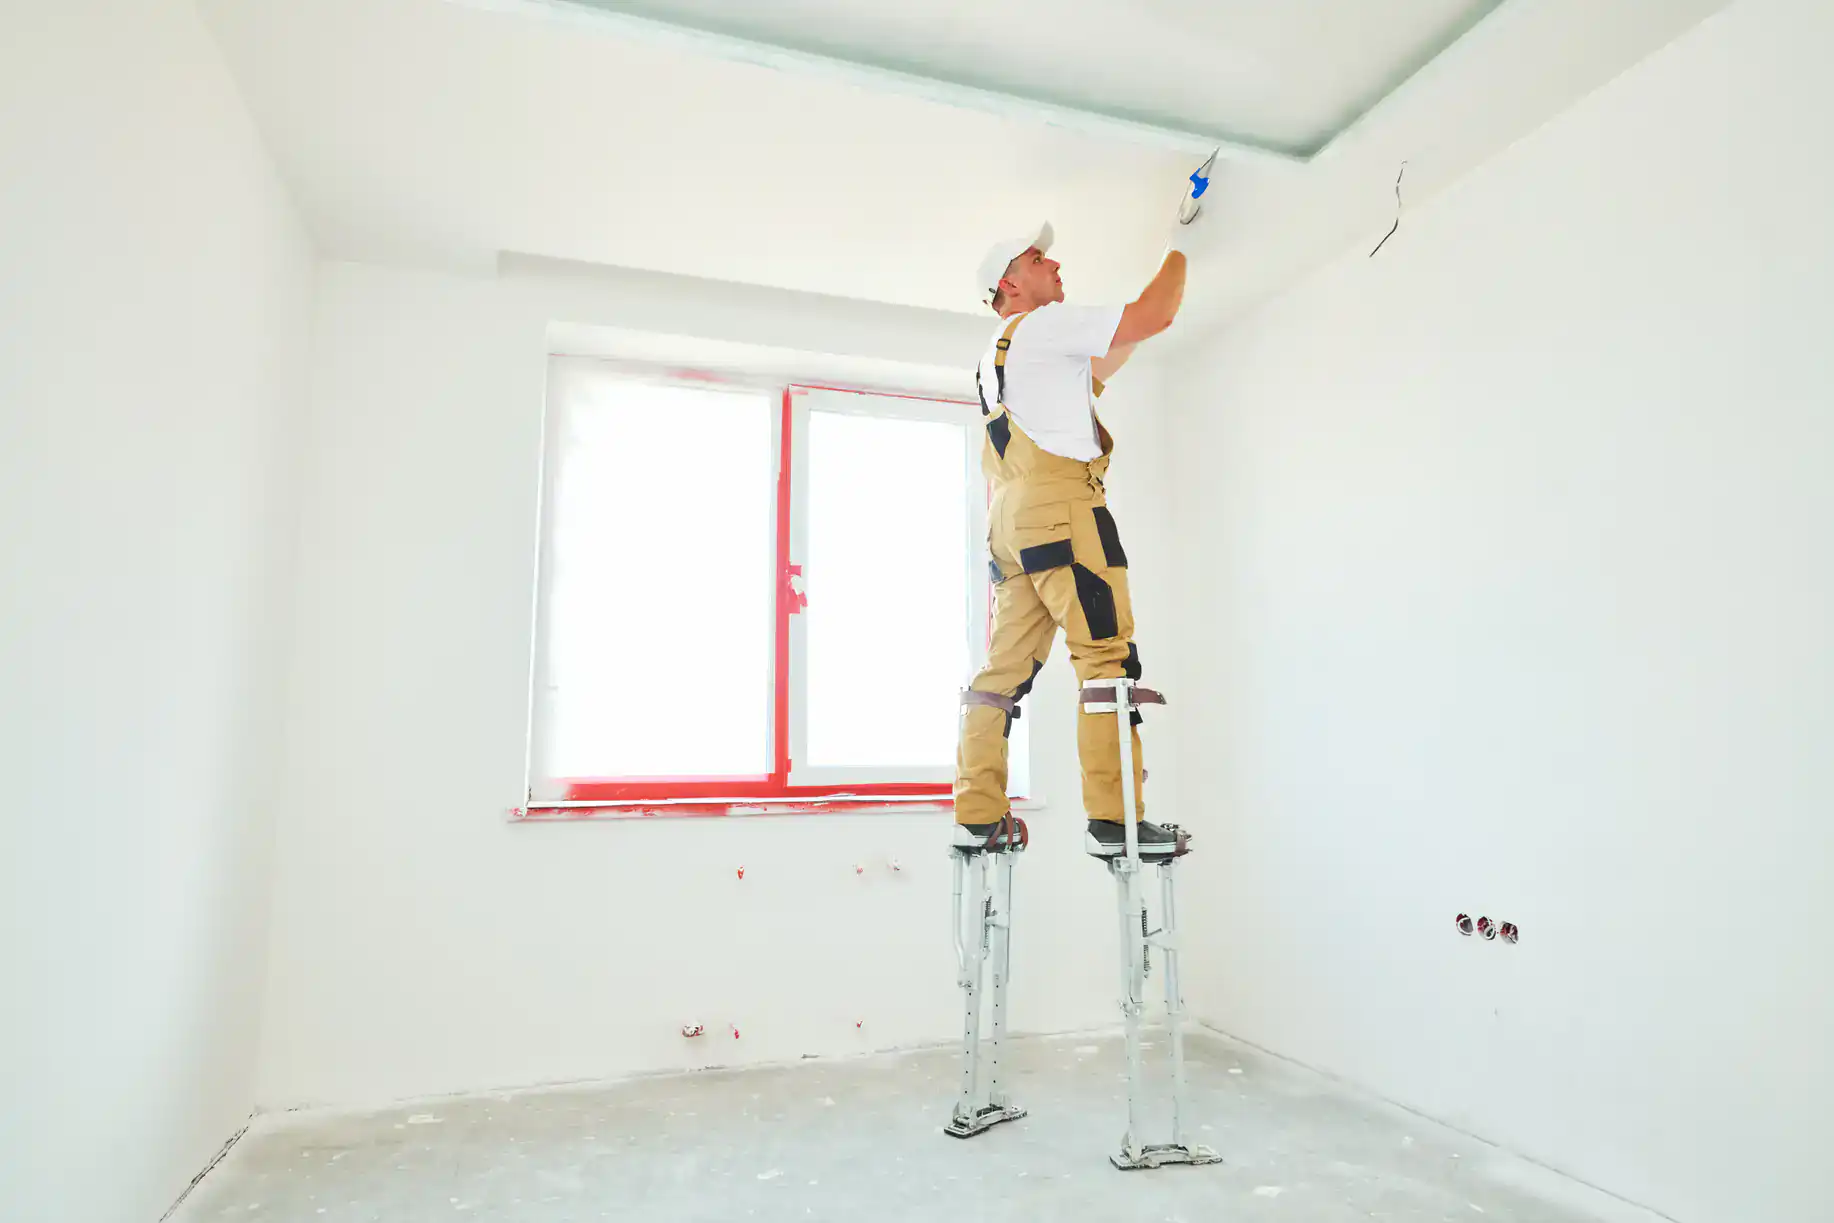
Discover the 5 critical visual checkpoints that separate professional drywall installation from amateur work in new construction projects.
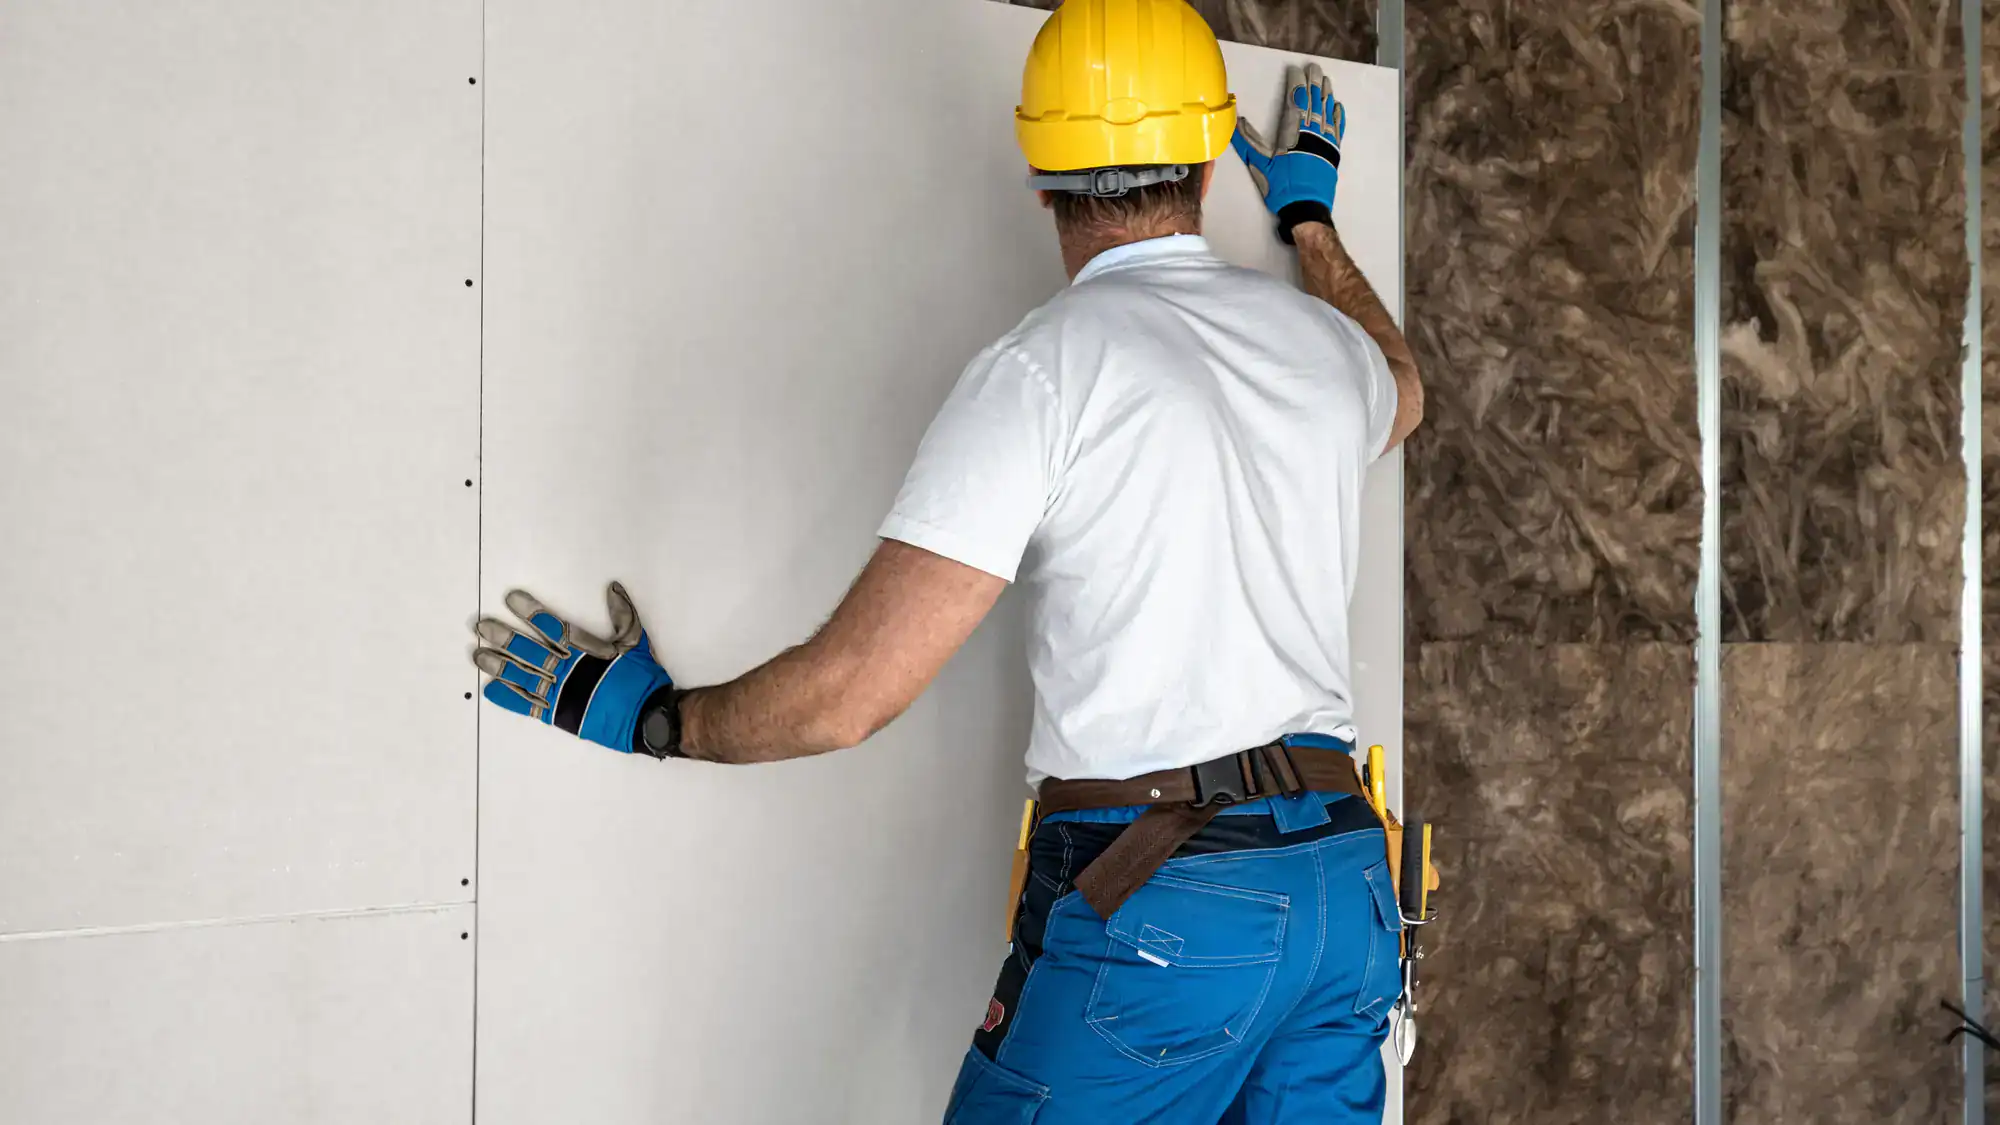
You’re standing in your new construction project, watching the drywall crew work. Everything looks fine from a distance, but how do you know if they’re actually doing it right? The difference between a good drywall job and a great one often comes down to five critical visual checkpoints that most people never think to look for.
That’s why professional drywall installation isn’t just about hanging sheets—it’s about precision at every stage. These checkpoints can mean the difference between walls that look perfect under any lighting condition and walls that reveal every flaw once the paint goes on.
Let’s walk through what we check at every stage to guarantee that flawless finish you’re paying for.
Before any finishing work begins, professional sheetrock hanging sets the foundation for everything that follows. This isn’t just about getting panels on the wall—it’s about creating the groundwork for a perfect finish that will look flawless under Philadelphia’s varied lighting conditions.
The way panels are positioned, secured, and aligned during this initial phase determines whether your finished walls will look seamless or show every imperfection. We follow specific protocols that separate professional work from amateur attempts.
The first visual checkpoint happens before the first screw goes in. Professional drywall installation requires each panel to align perfectly with the framing, with edges landing squarely on stud centers. We use chalk lines and measure twice to ensure panels don’t hang over or fall short of structural supports.
Watch for consistent screw spacing—typically every 12 inches on walls and 8 inches on ceilings for new construction applications. The screws should sit just below the surface without breaking the paper face or creating dimples that will telegraph through paint later. Each screw head should be uniform in depth, creating that slight depression that allows for smooth joint compound application.
We also stagger joints like bricks in a wall, especially important in Philadelphia’s row home construction where wall stability matters. You won’t see long continuous seams running the full height of a wall, which can create weak points and visible lines. Instead, panels are offset so joints don’t align, distributing stress and creating stronger, more visually appealing walls.
The edges where panels meet should have consistent gaps—typically 1/8 inch—that allow for proper taping without creating bulges. Panels that are forced together or have irregular gaps signal problems that will show up in the finished surface, particularly problematic in Philadelphia’s older building stock where settling can occur.
Professional sheetrock hanging also considers the building’s settling patterns. In Philadelphia’s mix of new construction and renovation projects, we account for potential movement by avoiding rigid connections that could crack over time.
Nothing reveals amateur drywall installation like electrical boxes that don’t sit flush with the wall surface. We ensure every electrical box, switch, and outlet opening is cut precisely and sits exactly flush with the finished drywall surface—no more than 1/8 inch recessed according to Philadelphia building codes.
We take extra time with these cuts, using proper hole saws and taking measurements from multiple reference points. We’re not eyeballing it or using utility knives to rough-cut openings. The edges around electrical boxes should be clean and straight, without torn paper or ragged gypsum that can compromise the installation’s integrity.
For HVAC vents and other mechanical openings, the same precision applies. The opening should be just large enough for the fixture without gaps that require excessive caulking later. We often use templates or jigs to ensure consistency across all similar openings throughout the project.
Fire-rated installations require even more precision, particularly relevant in Philadelphia’s dense urban construction. Party walls in row homes often require fire-rated drywall, and the installation around electrical boxes must maintain that fire rating. This means using proper fire-rated boxes and ensuring the drywall installation doesn’t compromise the fire barrier—a critical safety consideration that amateur installers often overlook.
The visual checkpoint here involves verifying that all electrical rough-in work is complete before drywall installation begins, preventing costly callbacks and ensuring code compliance throughout Philadelphia, PA.
Want live answers?
Connect with a Sharpe Drywall expert for fast, friendly support.
Level 5 finish represents the highest standard in drywall installation—a completely uniform surface ready for any paint or lighting condition. This isn’t just about smooth joints; it’s about creating a surface where you can’t distinguish between the original drywall paper and areas treated with joint compound.
Most contractors stop at Level 4, which works fine for standard paint jobs. But level 5 finish is essential when you’re using high-gloss paints, have critical lighting conditions, or want that premium finish that sets your project apart from typical new construction work.
The skim coat transforms a Level 4 finish into Level 5 perfection. This thin layer of joint compound covers the entire surface, not just the seams and screw holes. Professional drywall installation at this level requires specialized techniques that we’ve mastered through years of union experience.
We apply the skim coat in thin, even layers using wide trowels or spray equipment. You’ll see us working systematically, maintaining wet edges and avoiding lap marks that can show through final paint applications. The skim coat should be thin enough that it doesn’t add noticeable thickness to the wall but complete enough that it eliminates all texture differences between treated and untreated areas.
The drying process becomes critical at this stage. Proper ventilation and temperature control prevent the skim coat from drying too quickly, which can cause cracking or an uneven surface. We often use fans and heaters to control drying conditions, especially important in Philadelphia’s variable climate where humidity and temperature fluctuations can affect drying times.
After the skim coat dries, the surface gets sanded with fine-grit paper—typically 220-grit or finer. This isn’t the aggressive sanding you might see with lower-level finishes. It’s a gentle process that removes any tool marks or slight imperfections while maintaining the uniform surface that defines level 5 finish quality.
Under critical lighting—like sunlight streaming through large windows or track lighting that grazes the wall—a properly executed Level 5 finish shows no shadows, ridges, or texture variations. The surface appears completely uniform, ready for any paint system or decorative treatment, essential for Philadelphia’s high-end new construction projects.
Perfect seam installation starts with proper tape embedding, a skill that separates professional drywall installation from amateur work. We use paper tape for most applications because it creates the strongest, most durable joints that won’t fail over time, particularly important in Philadelphia’s climate with seasonal temperature variations.
The tape gets embedded in a thin layer of joint compound, with excess compound squeezed out to prevent buildup that can create ridges. This process requires the right consistency of joint compound—not too thick that it won’t spread properly, not too thin that it won’t hold the tape securely.
The feathering process happens in multiple coats, with each coat extending further from the joint than the previous one. First coat covers the tape, second coat feathers out 6-8 inches, and the final coat extends 10-12 inches or more. This gradual transition makes the joint invisible when finished, crucial for achieving that flawless finish that defines quality new construction.
We maintain consistent feathering techniques throughout the project. We work with adequate lighting—often using work lights positioned to show imperfections that might be missed under standard lighting conditions. This attention to detail prevents callbacks and ensures the finished product meets the highest standards.
Corner beads require special attention in professional sheetrock hanging. Metal corner beads should be perfectly straight and plumb, attached with the correct fasteners at proper intervals. The joint compound application over corner beads needs careful feathering to blend the metal edge seamlessly into the wall surface, creating crisp, straight corners that define quality workmanship.
Inside corners use paper tape folded at 90 degrees, with joint compound worked into both sides simultaneously. The key is maintaining consistent coverage while avoiding buildup in the corner itself, which can create shadows or interfere with trim installation later—particularly important in Philadelphia’s detailed architectural styles.
Modern new construction often requires soundproofing considerations, especially in Philadelphia’s dense urban environment where noise control enhances living comfort. Professional soundproofing drywall installation goes beyond just using thicker panels—it involves understanding how sound travels and implementing systems that deliver real results.
The visual checkpoints for soundproof installations include verifying proper materials, checking installation techniques that maintain acoustic integrity, and ensuring all penetrations are properly sealed. When executed correctly with our union-certified expertise, soundproofing becomes an invisible feature that dramatically improves the finished space while maintaining the aesthetic standards you expect from professional drywall installation.
These five visual checkpoints—proper sheetrock hanging alignment, precise electrical integration, level 5 finish execution, perfect seam installation, and soundproofing details—separate professional drywall installation from amateur work. When you’re investing in new construction in Philadelphia, PA, these details make the difference between a finish that looks good today and one that maintains its flawless appearance for decades. For projects requiring this level of expertise and meticulous attention to detail, we bring 25 years of union experience to ensure your installation exceeds these exacting standards every time.
Summary:
Get in Touch with Sharpe Drywall
Share: