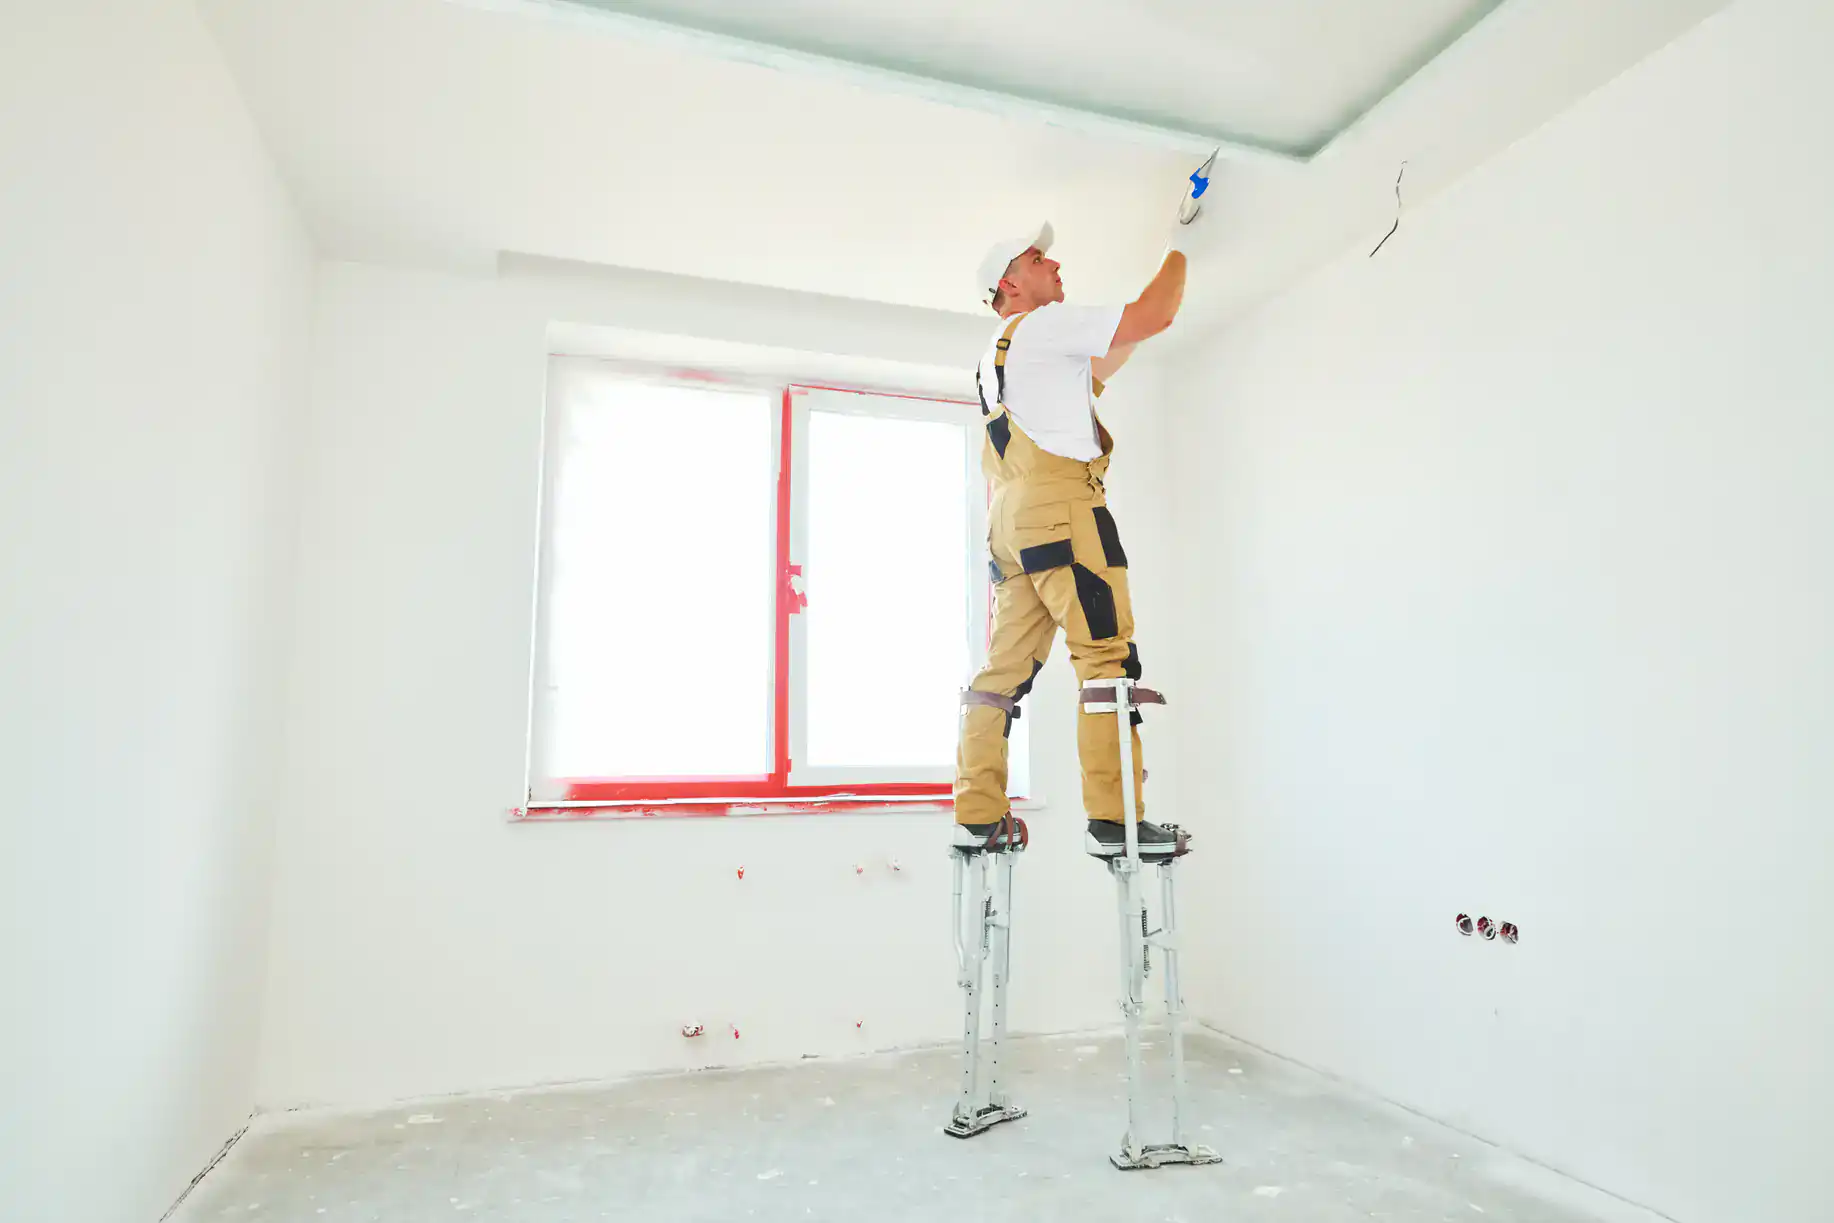
Turning open space into a usable room starts with the right framing and drywall installation. Here's what Philadelphia homeowners should know before dividing their space.
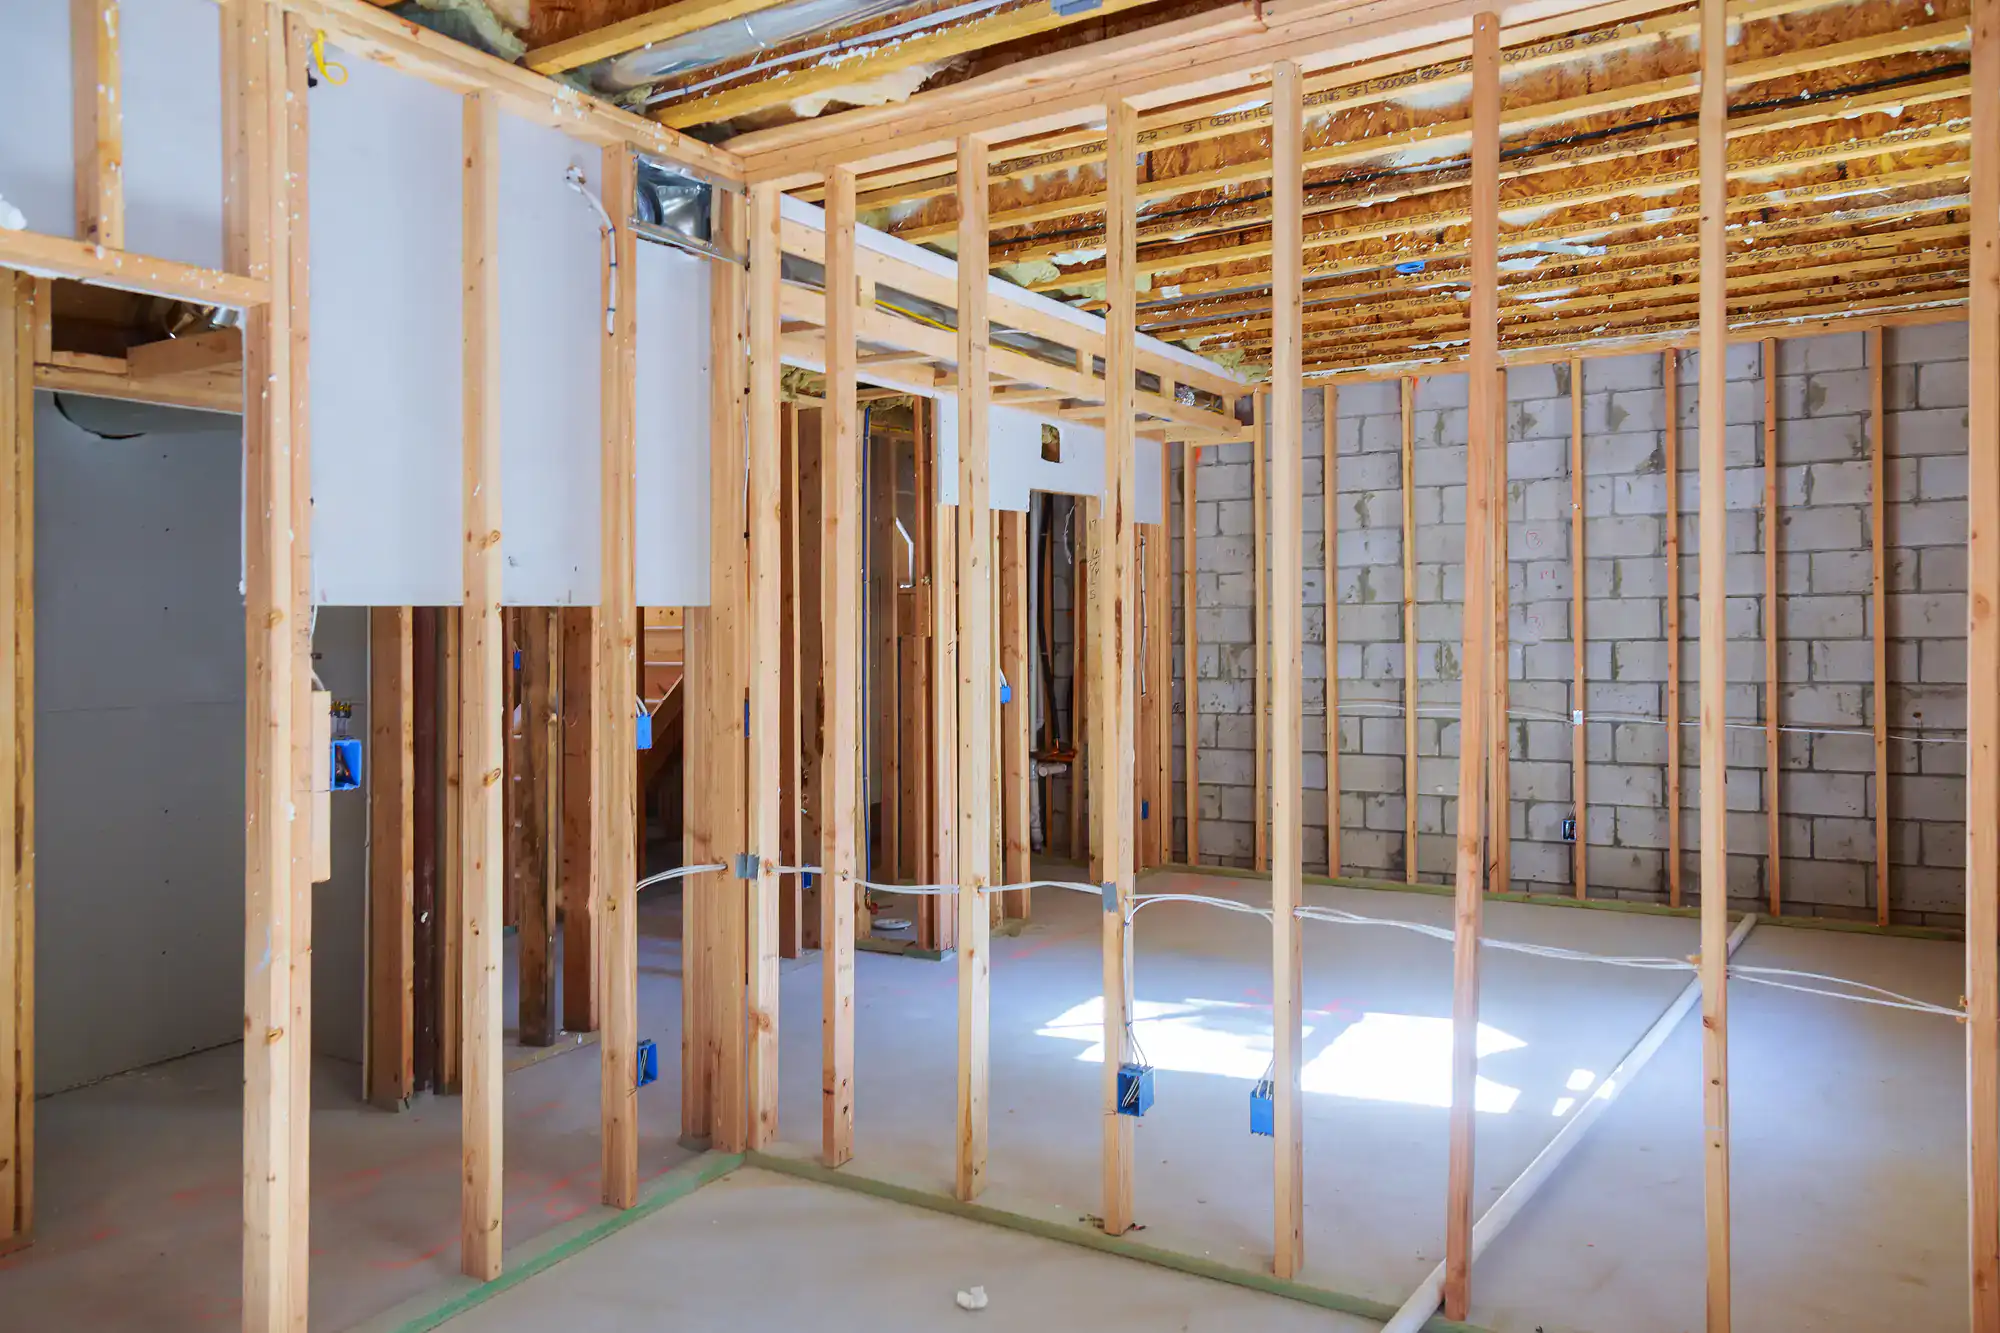
Before drywall goes up, there has to be something to attach it to. That’s where framing comes in. Wood or metal studs create the skeleton of your new wall, spaced typically 16 inches apart to support the drywall panels. The framing defines where the wall goes, how tall it stands, and where doors or openings will be.
Some framing and drywall contractors in Philadelphia, PA handle both trades. Others specialize in one or the other. Either way, the two have to line up. If the framing isn’t plumb or the studs aren’t spaced right, the drywall won’t sit flush, and you’ll see it in the seams.
In Philadelphia row homes, especially older properties, you’re often working around existing plaster walls, uneven floors, or brick party walls. That means the framing has to account for surfaces that aren’t perfectly straight. We know how to shim, adjust, and build the frame so the drywall has a clean, solid base to land on.
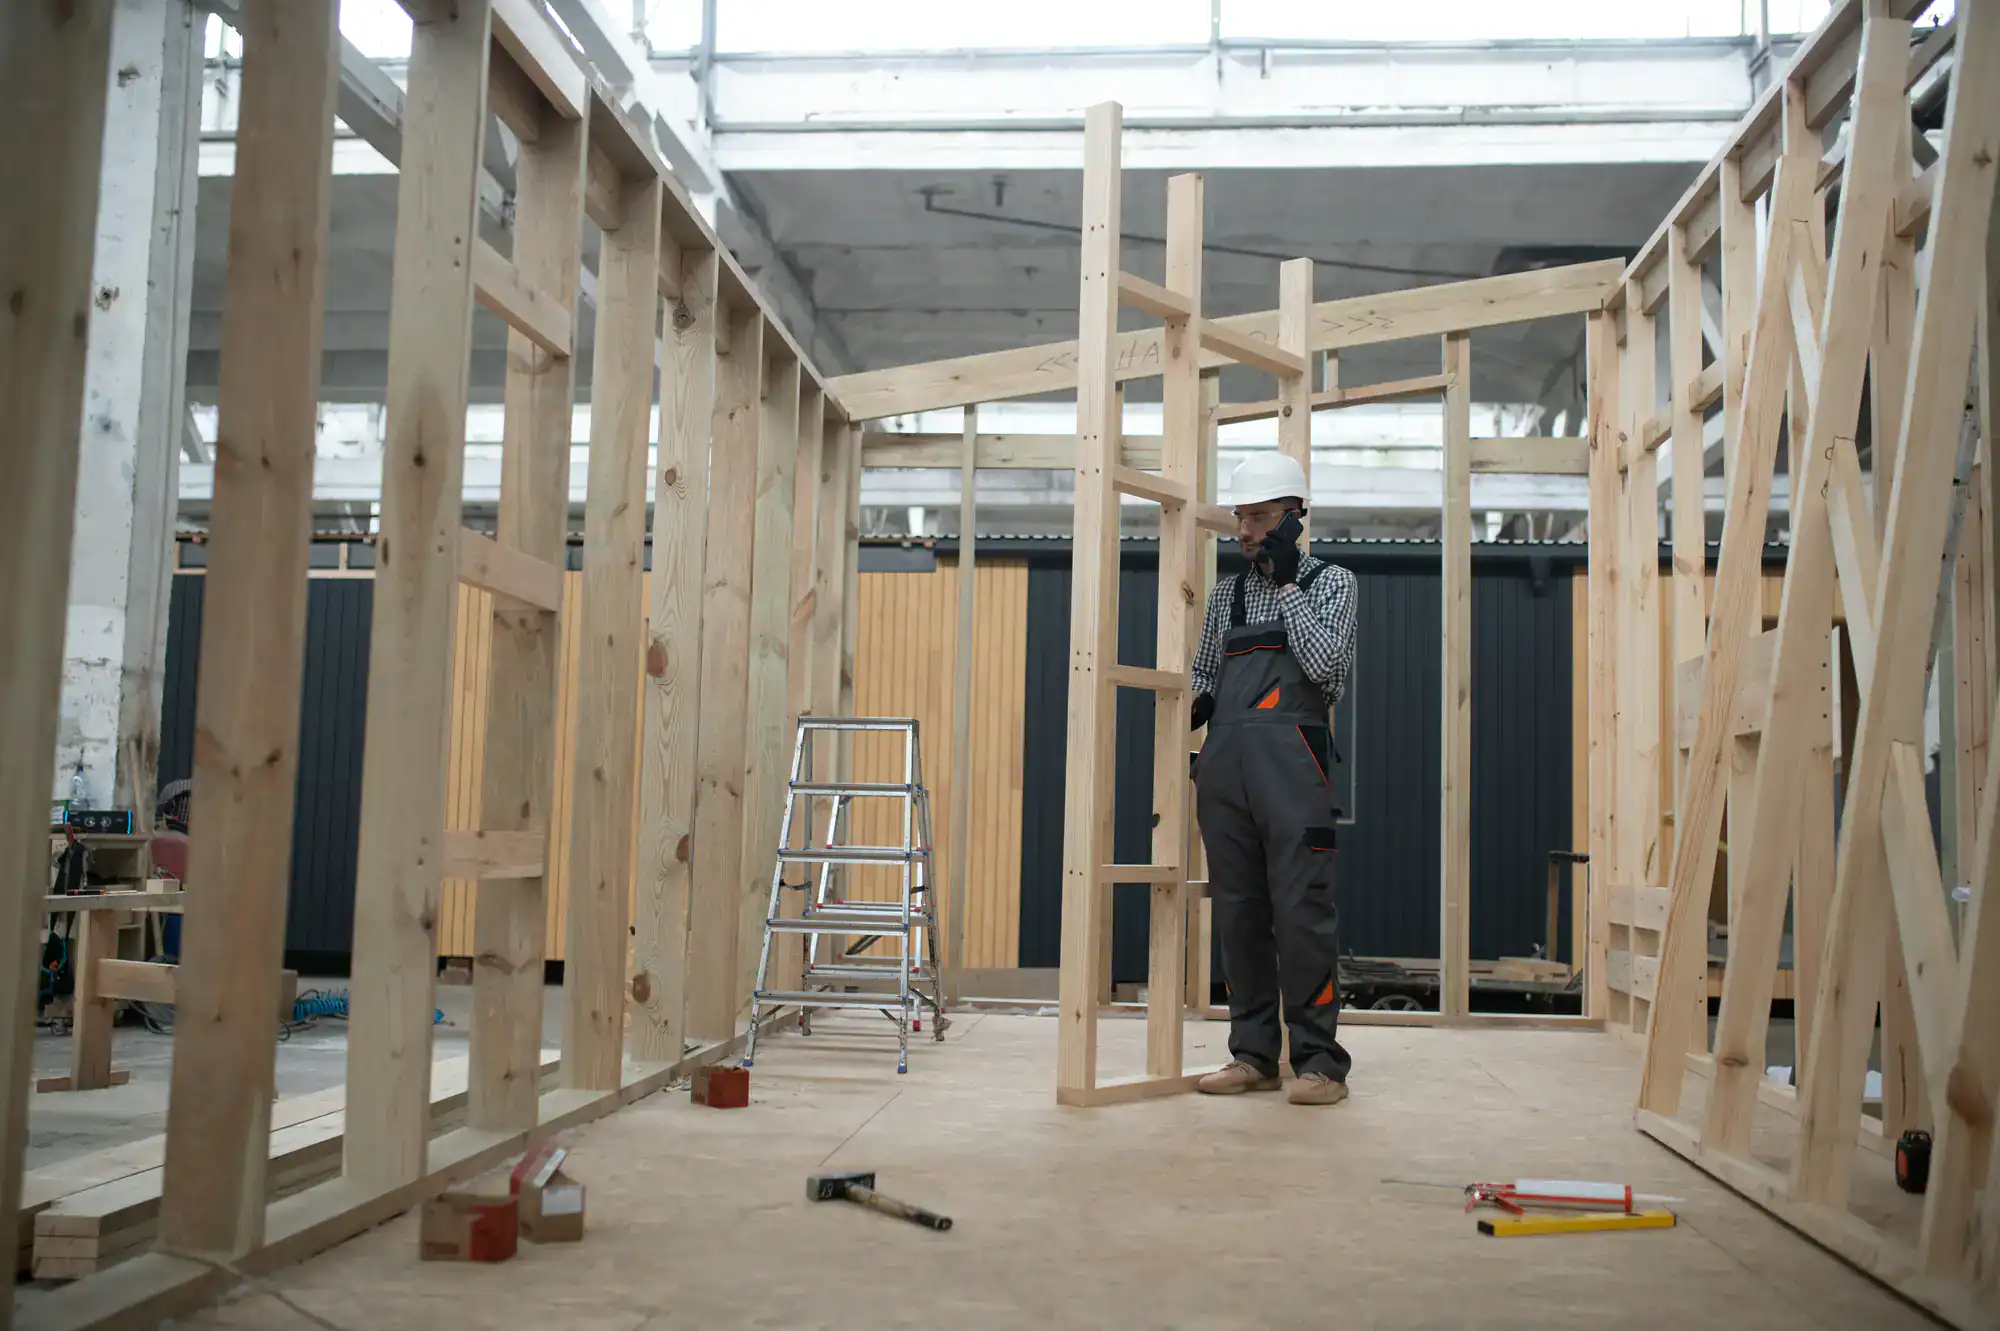
Framing a partition wall starts with layout. You’re marking the floor and ceiling to show exactly where the wall will run. Then you install a top plate along the ceiling and a bottom plate along the floor. Vertical studs connect the two, creating the frame.
If you’re adding a door, the framing needs a header across the top of the opening and extra studs on each side called king studs and jack studs. These support the weight above the door and keep everything stable. For a simple partition wall without a door, the process is more straightforward, but the precision still matters.
In basements, you’re often working with concrete floors. That means the bottom plate gets fastened with concrete anchors or a powder-actuated nail gun. Upstairs, you’re screwing or nailing into floor joists and ceiling joists. The attachment points have to be solid because once the drywall goes on, you can’t easily go back and fix a wobbly frame.
Philadelphia’s older homes sometimes have irregular joist spacing or ceiling heights that don’t match modern standards. We measure twice, check for level, and make adjustments so the new wall integrates cleanly with what’s already there. If the framing is off by even half an inch, it shows up when you try to hang the drywall. And if the drywall doesn’t sit right, the seams won’t tape cleanly, and you’ll end up with visible lines or cracks down the road.
One thing homeowners don’t always think about: utilities. If you’re running electrical outlets, light switches, or plumbing through the new wall, the framing stage is when that gets roughed in. Electricians and plumbers do their work after the frame is up but before the drywall covers everything. Coordinating these trades takes planning, and it’s one reason why working with a contractor who handles or coordinates the full scope makes the process smoother.
Once the framing is set and inspected, installing drywall for a new room begins. Standard drywall panels are 4 feet wide and either 8, 10, or 12 feet long. For most residential partition walls, half-inch thickness is the norm. In basements or areas prone to moisture, we use moisture-resistant drywall, sometimes called green board or purple board, which holds up better when humidity levels rise.
Hanging drywall on new studs isn’t just about slapping panels on framing. The layout matters. Panels should be installed perpendicular to the studs whenever possible. This creates more attachment points along the length of the panel and reduces the chance of seams cracking later. Every edge of the drywall needs to land on a stud or some kind of backing. If an edge is floating without support, it will flex, crack, or cause problems during finishing.
Drywall screws go in every 16 inches along the studs, and they need to be set just below the surface of the paper without breaking through. Too shallow and the screw head sticks out. Too deep and you tear the paper, which weakens the hold. A screw gun with an adjustable depth setting makes this easier, and we use one to keep the work consistent.
Seams between sheets should be staggered. You don’t want all the joints lining up in a straight vertical line because that creates a weak spot and makes finishing harder. Instead, the layout is planned so seams are offset, kind of like bricks in a wall. This distributes stress more evenly and gives the finished surface more strength.
Cutting drywall for outlets, light switches, or door openings takes precision. Measure from a reference point, mark the cutout on the panel, and use a drywall saw or router to make the opening. If you’re covering an electrical box, you measure its location before the panel goes up, then cut the hole so the box fits through snugly. Gaps around boxes look sloppy and can be a code issue, so accuracy counts.
In Philadelphia, PA row homes, you’re sometimes working in tight spaces with low ceilings or narrow room dimensions. That means cutting panels to fit and maneuvering them into place without damaging corners or adjacent walls. It’s physical work, and it’s one reason most homeowners hire it out rather than DIY. A two-person crew can hang the drywall for a standard partition wall in a day. Doing it solo, especially in a basement or second floor, turns into a much longer project.
Want live answers?
Connect with a Sharpe Drywall expert for fast, friendly support.
Hanging the drywall is only half the job. Finishing is where the wall starts to look like an actual wall instead of a patchwork of panels. This involves taping the seams, applying joint compound (mud), sanding everything smooth, and matching any texture that’s on your existing walls.
Taping starts at the seams. Paper or mesh tape gets embedded in a layer of joint compound along every seam and inside corner. This reinforces the joint and prevents cracks. Outside corners get metal or plastic corner bead, which protects the edge and gives you a crisp, straight line.
After the tape is set, additional coats of mud go on to build up the surface and feather out the edges so the seam disappears. Most jobs need at least three coats: one to embed the tape, one to build, and one to finish. Each coat has to dry before the next one goes on, and drying time depends on temperature and humidity. In a Philadelphia winter, drying can take longer. In summer, it’s faster.
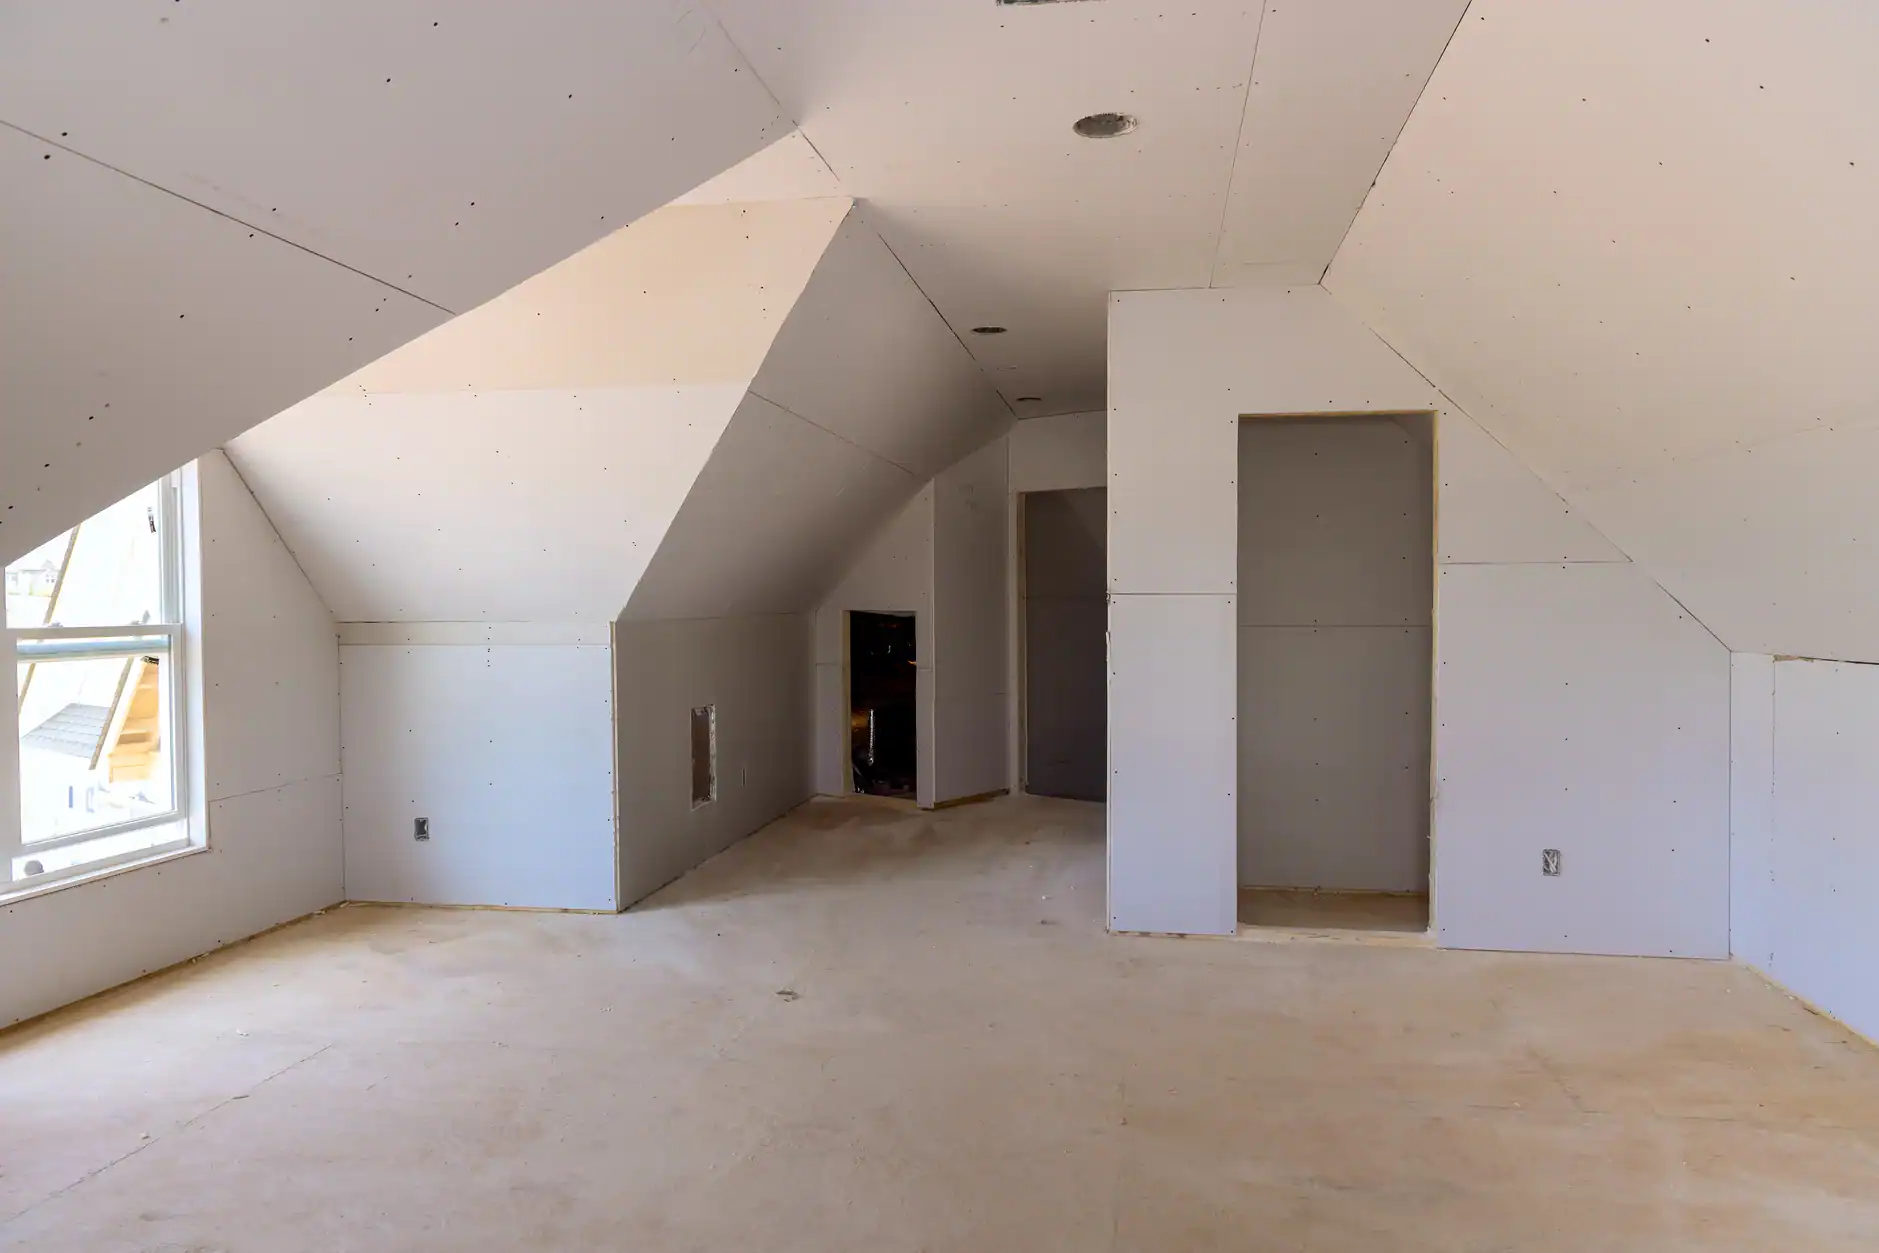
If your home has textured walls, the new drywall needs to match. Philadelphia, PA homes, especially older row houses, often have orange peel, knockdown, or even hand-troweled plaster textures. Matching these by hand takes experience. You can’t just slap on some texture and hope it blends.
We look at the existing wall, figure out what tool or technique was used, and replicate it on the new surface. Sometimes that means using a specific roller, a trowel, or a spray gun. Sometimes it means hand-working the mud to get the right pattern. The goal is to make the repair invisible so you can’t tell where the old wall ends and the new one begins.
Texture matching is especially important when you’re adding a partition wall in the middle of an open room. If the texture doesn’t match, the seam between old and new will stand out every time the light hits it. That’s why contractors who specialize in residential work and understand the local housing stock tend to do better with this. We’ve seen the textures common in Philadelphia homes and know how to replicate them.
In some cases, homeowners choose to smooth out the entire room instead of matching texture. This involves skim-coating all the walls with a thin layer of joint compound to create a uniform, smooth surface. It’s more work and more expensive, but it gives you a clean slate and eliminates the challenge of matching old textures. It’s a good option if you’re planning to paint the whole room anyway.
One thing to watch for: texture that’s too thick or applied unevenly. This usually means the finisher rushed the job or didn’t have the right tools. Proper texture should be consistent across the surface, and it should blend seamlessly with the surrounding walls. If you can see where the new work starts, it wasn’t finished right.
Drywall installation creates dust. Cutting panels, sanding seams, and mixing joint compound all generate fine particles that get everywhere if you’re not careful. We contain the mess by sealing off the work area with plastic sheeting, using dust extractors on sanders, and cleaning as we go.
Most partition wall drywall installation projects take one to three days depending on the size and complexity. Day one is usually framing and rough-in work for electrical or plumbing. Day two is hanging the drywall and starting the taping. Day three and beyond is finishing coats, sanding, and final cleanup. If you’re adding texture or primer, that might extend the timeline by a day.
During the work, expect some disruption. The area being worked on won’t be usable, and there will be noise from cutting, drilling, and sanding. But we keep the mess contained to the work zone and don’t leave tools or materials scattered through your house.
Cleanup should be thorough. That means vacuuming up dust, wiping down surfaces, removing all scrap drywall and packaging, and leaving the space ready for paint or the next phase of work. If you’re left with dust on your furniture or drywall scraps in the corner, the contractor didn’t finish the job properly.
In Philadelphia, PA, we’re used to working in occupied homes where people are living their lives while the work happens. That means being respectful of your space, keeping noise reasonable, and cleaning up at the end of each day. It’s worth asking about this upfront, especially if you’re working from home or have young kids who nap during the day.
One more thing: permits. Adding a partition wall to create a new room, finish a basement, or build an addition typically requires a permit in Philadelphia. Permit costs start at $24 for the first $1,000 of work, and we handle pulling the permit and coordinating inspections. Working without one can cause problems down the line, especially if you’re planning to sell the house.
Adding a partition wall gives you the room you need without moving or adding square footage to your house. It’s a smart way to make your space work harder, whether that’s a home office, an extra bedroom, or a bathroom that makes daily life easier.
The key is working with framing and drywall contractors in Philadelphia, PA who understand how these trades come together, especially in older row homes where construction methods and materials vary. When the work is done right, the new wall looks like it’s always been there. When it’s rushed or done poorly, you’ll see it in the seams, the texture, and the way the wall holds up over time.
If you’re ready to turn open space into a functional room, we handle the full scope—framing coordination, drywall installation, and finishing that matches your existing walls. The work gets done clean, on time, and without surprises.
Summary:
Get in Touch with Sharpe Drywall
Share: