
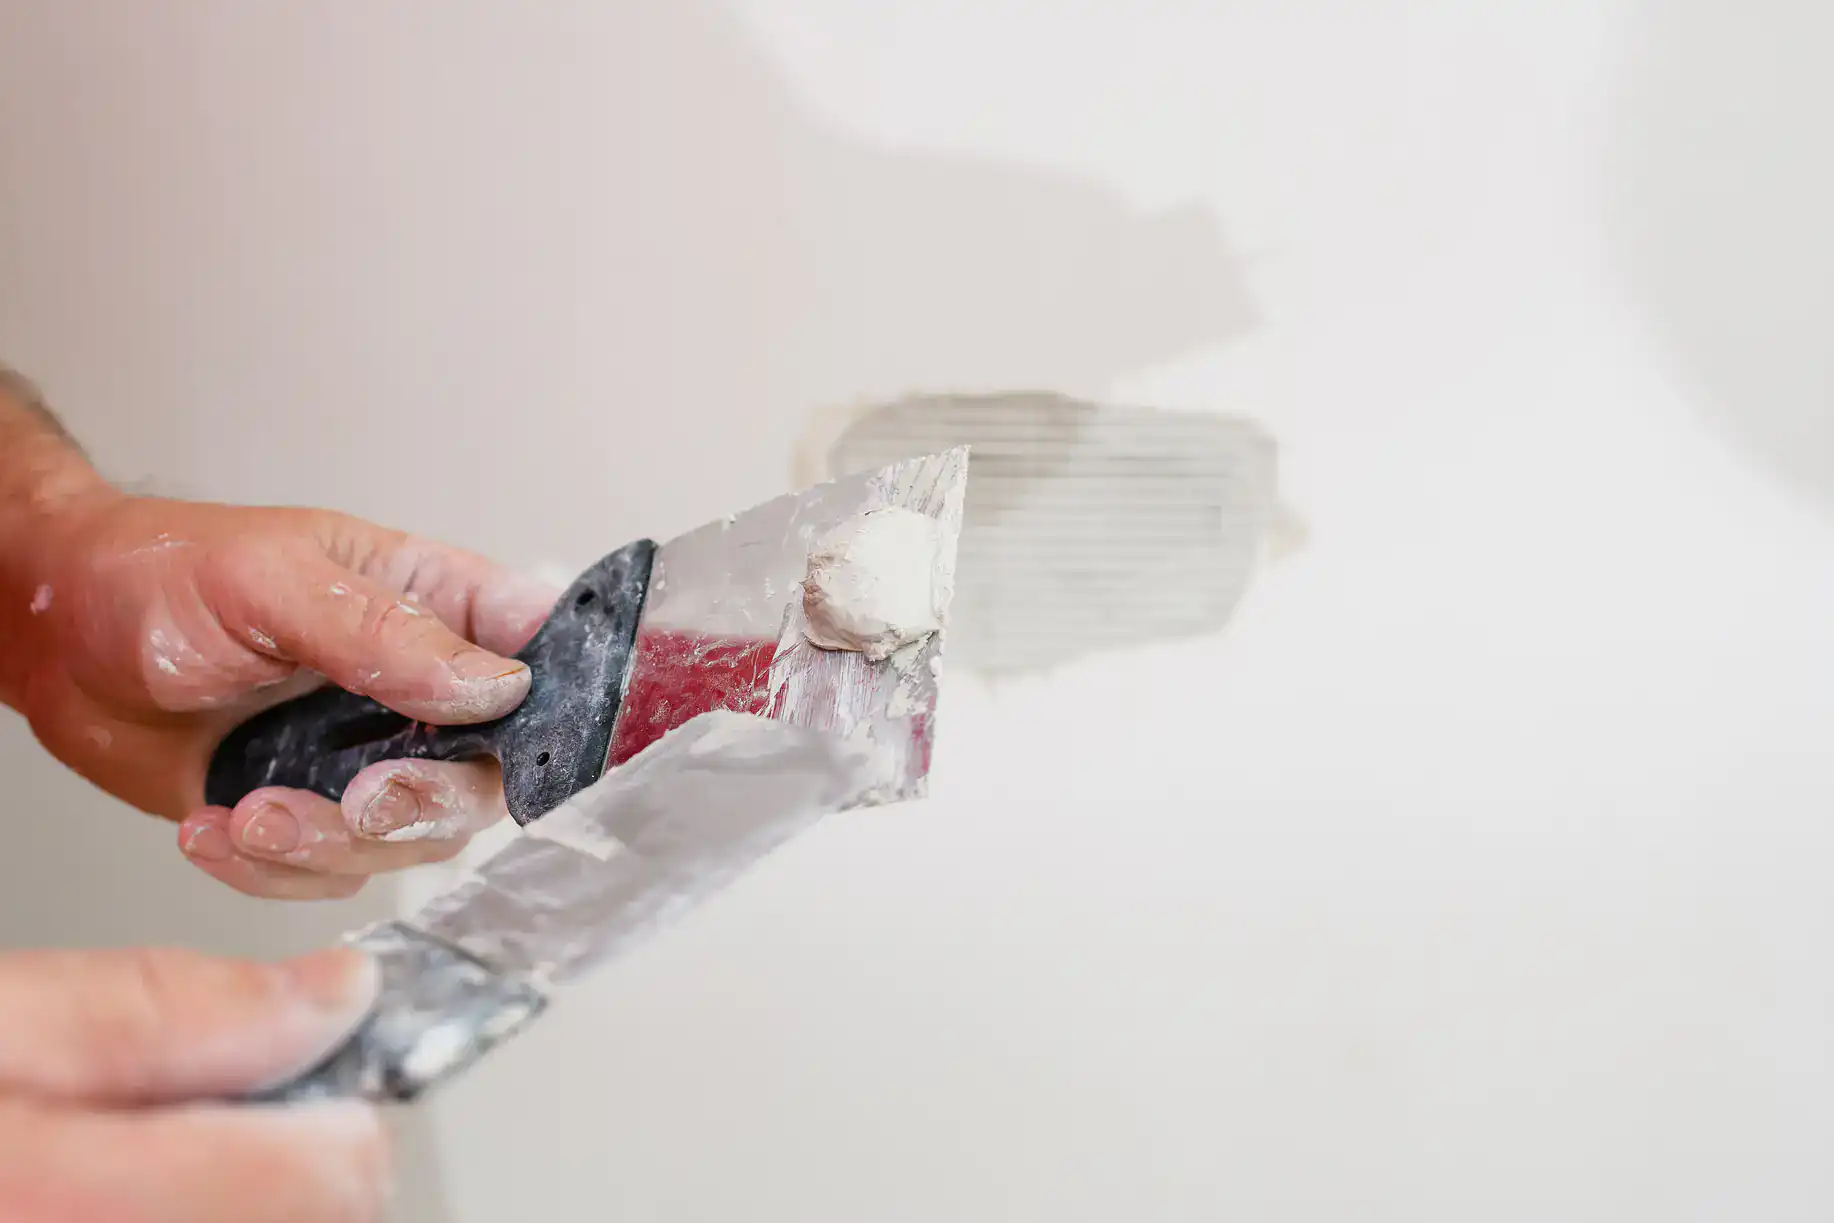
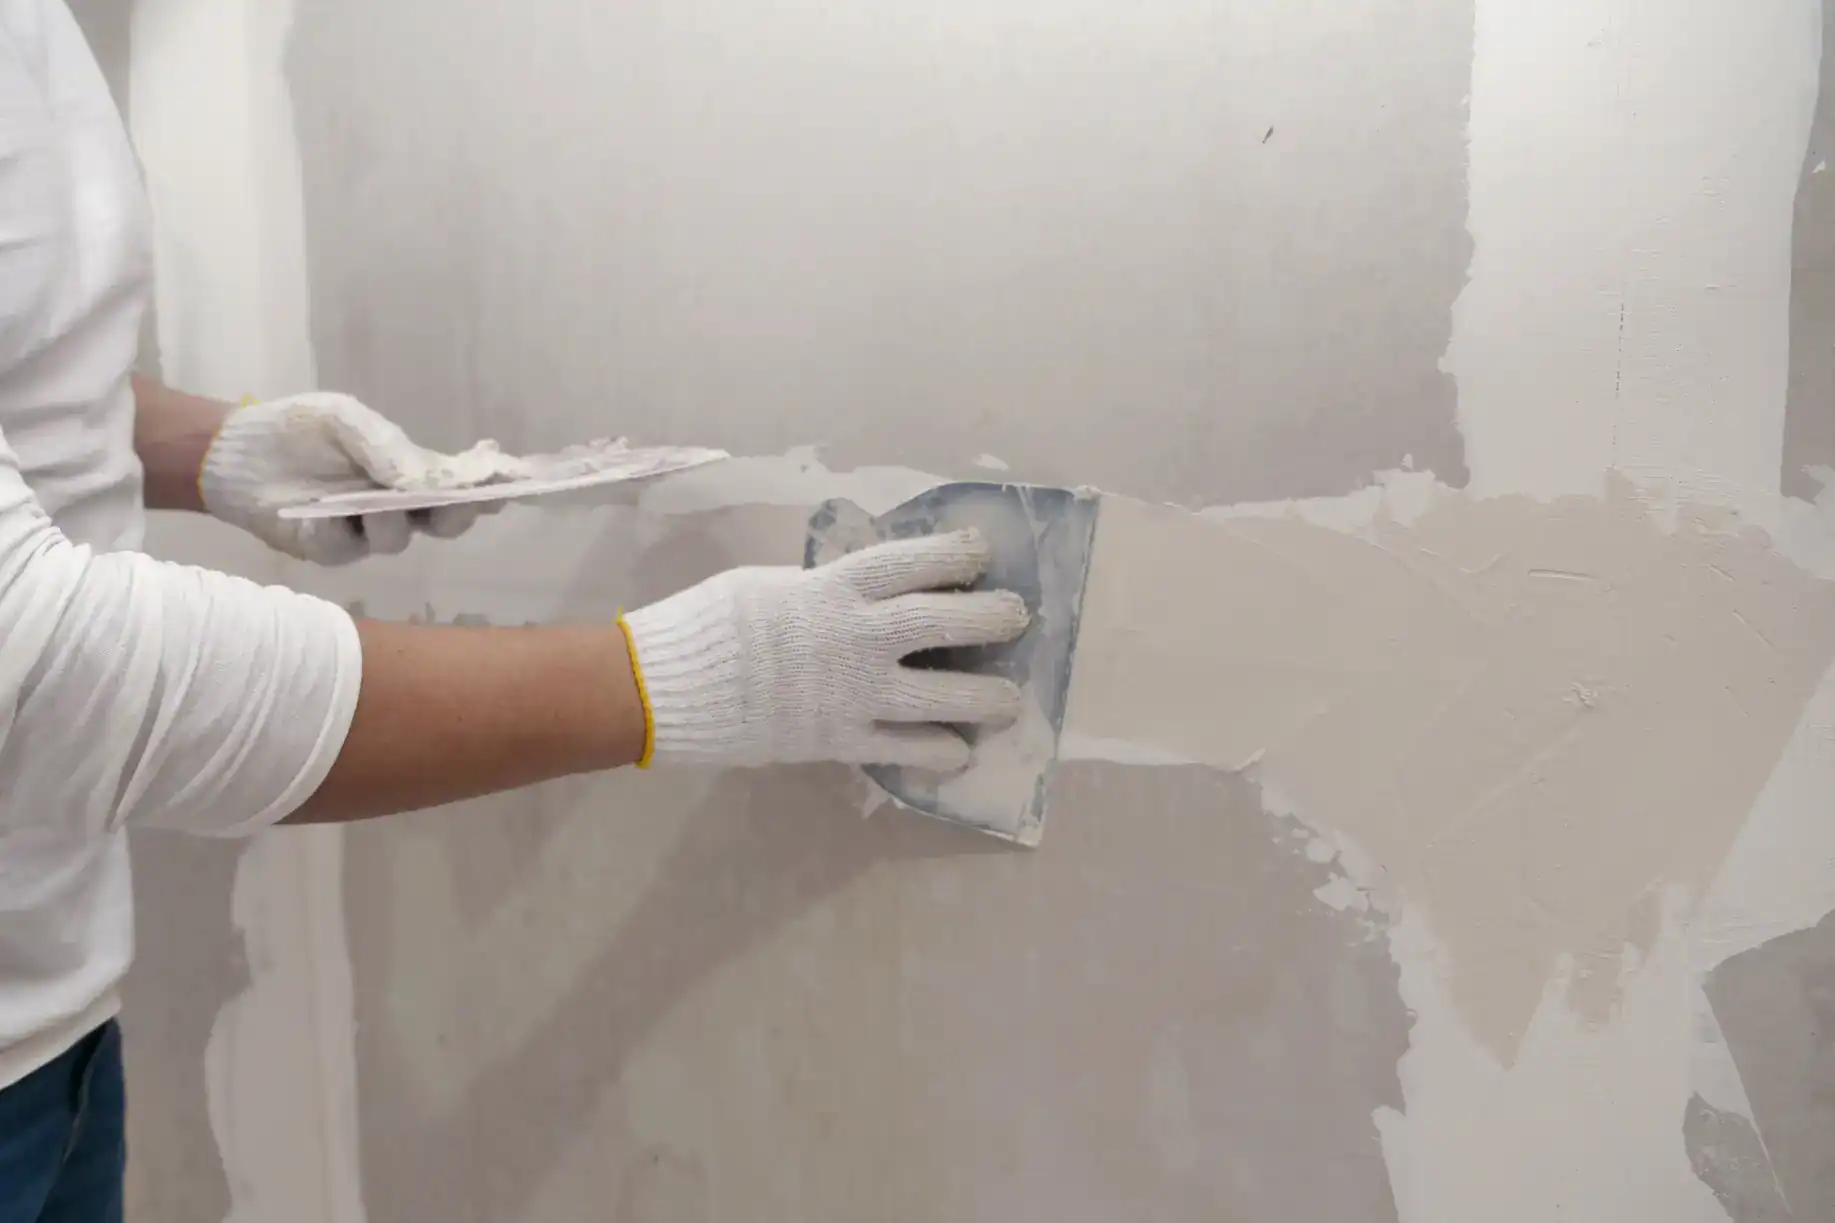
Installing drywall in a Chestnut Hill home isn’t the same as new construction. You’ve got original hardwood floors, trim that can’t be replaced, and neighbors close enough to hear a dropped tool.
We protect your space before we start. Drop cloths go down, dust barriers go up, and we’re not tracking anything through your house. The work gets done without turning your home into a construction zone you can’t live in.
When we’re finished, the walls are smooth, the corners are tight, and you’re not spending the next week cleaning up after us. That’s the difference between a drywall installer who gets historic homes and one who doesn’t.
Sharpe Drywall has been working in Chestnut Hill long enough to know what’s behind your walls before we open them. Most homes here were built in the 1940s, which means you’re dealing with plaster, irregular framing, and settling that’s had 80 years to do its thing.
We’re not a crew that shows up, hangs board, and hopes for the best. We know how to handle old construction, match existing textures, and work around the quirks that come with homes in this neighborhood. You’re not our first rodeo with horsehair plaster or walls that aren’t quite plumb.
Chestnut Hill homeowners hire us because we do the work right and leave the house the way we found it—just with better walls.
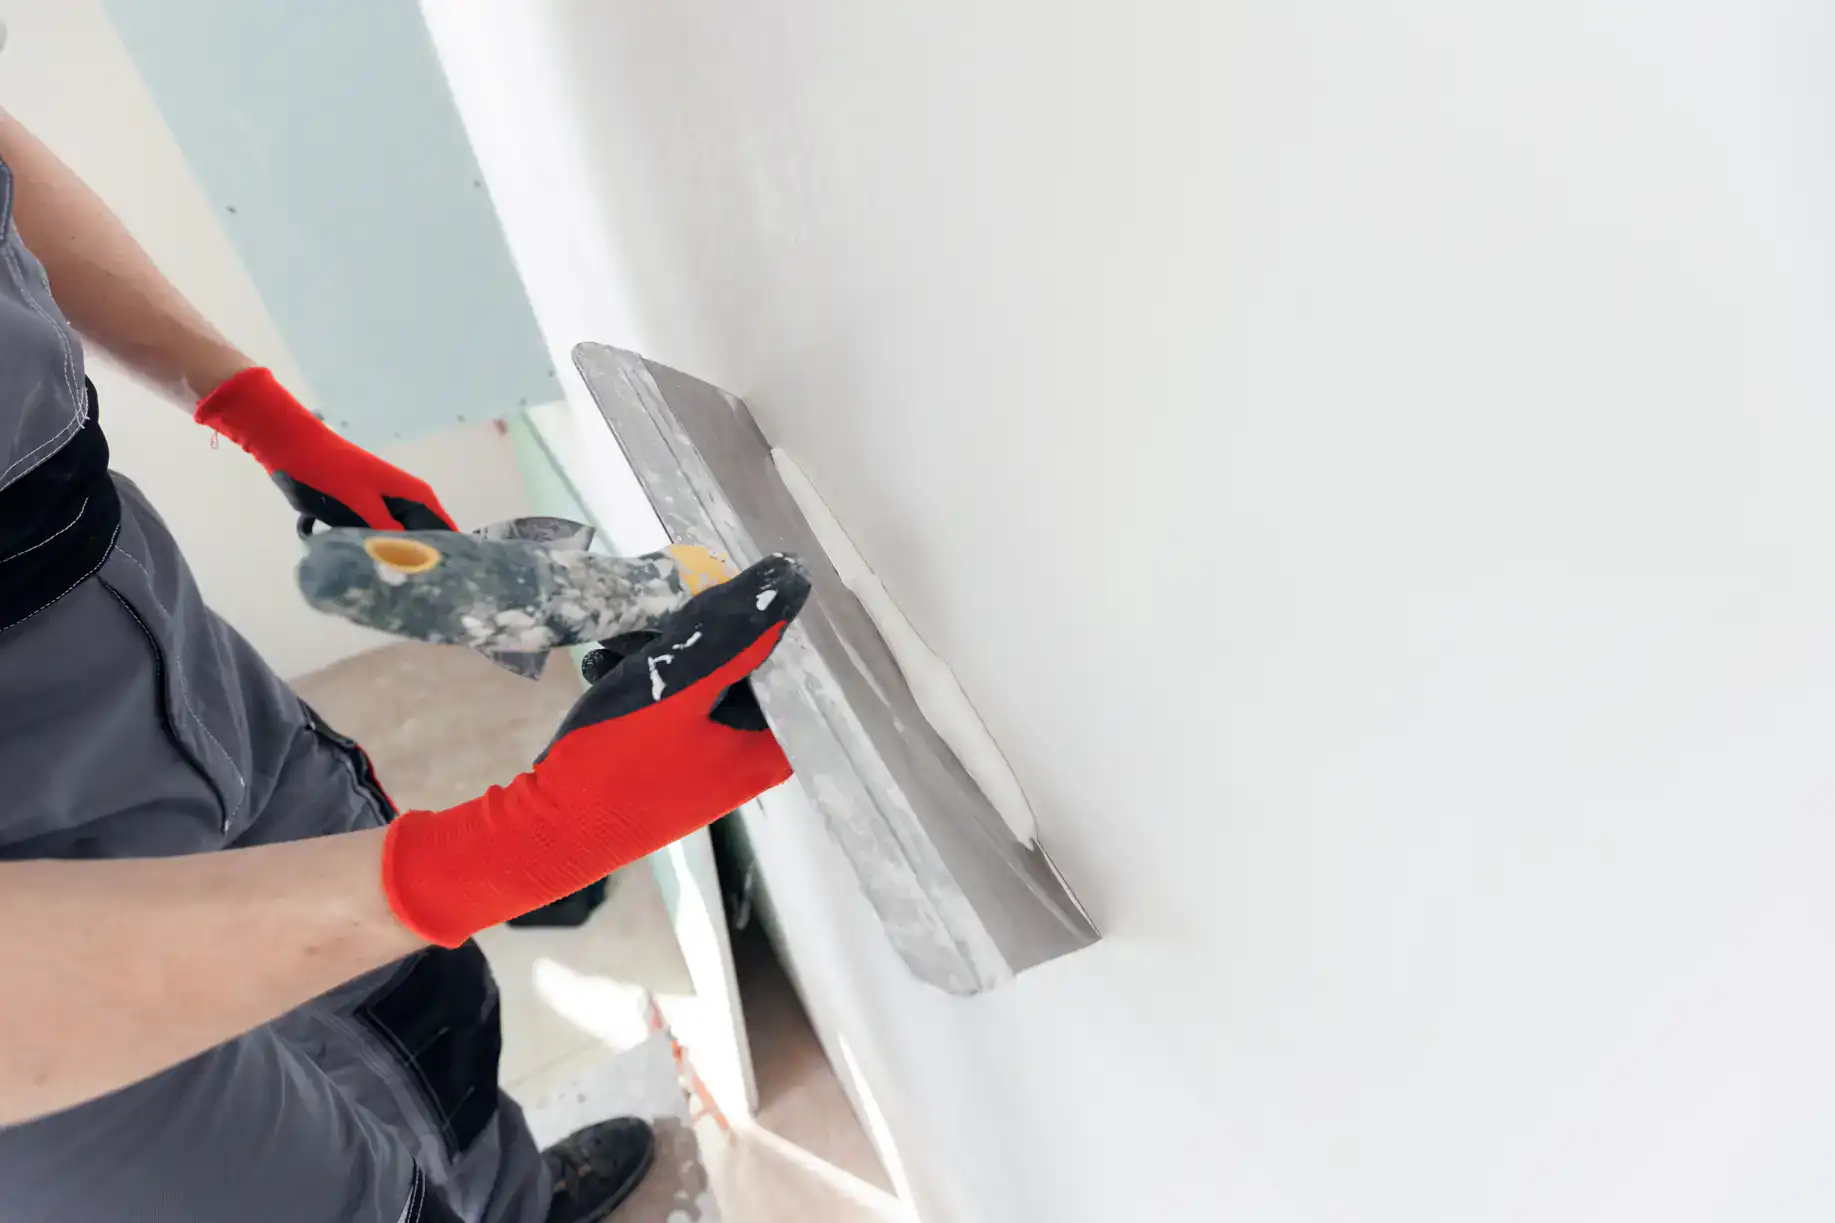
First, we come look at the space. We’re checking what’s behind the existing walls, how the framing sits, and whether we’re dealing with plaster or drywall already. That tells us what materials we need and how long the job takes.
Next, we prep the space. Furniture gets moved or covered, floors get protected, and we set up dust containment if we’re demoing old material. Then we hang the drywall, tape the seams, and apply mud in layers. Each coat dries before the next one goes on—no shortcuts.
After sanding, we prime the walls so they’re ready for paint. We clean up daily, and when we’re done, we haul away the debris. You’re left with smooth walls and a house that’s still livable.
The timeline depends on the size of the job, but most residential drywall installation projects in Chestnut Hill take anywhere from a few days to a week. We’ll give you a realistic schedule upfront, and we stick to it.
Ready to get started?
When you hire us for drywall installation in Chestnut Hill, PA, you’re getting the full process. We handle demo if there’s old material coming out, we hang the new board, tape and mud all seams and fasteners, then sand everything smooth. We also texture-match if you’re tying into existing walls.
We use quality materials that make sense for your project. For most residential jobs, that’s 1/2″ or 5/8″ drywall depending on the application. We’re also seeing more homeowners in Chestnut Hill ask about mold-resistant and moisture-resistant board for basements, and we stock it.
The cost to install drywall depends on square footage, ceiling height, and how much prep work is involved. In the Philadelphia area, you’re typically looking at $2.80 to $5 per square foot when you factor in materials and labor. Homes in Chestnut Hill often fall on the higher end because of the extra care required with historic construction and the need to protect high-value finishes.
We pull permits when required and coordinate inspections. You’re not dealing with that on your own.
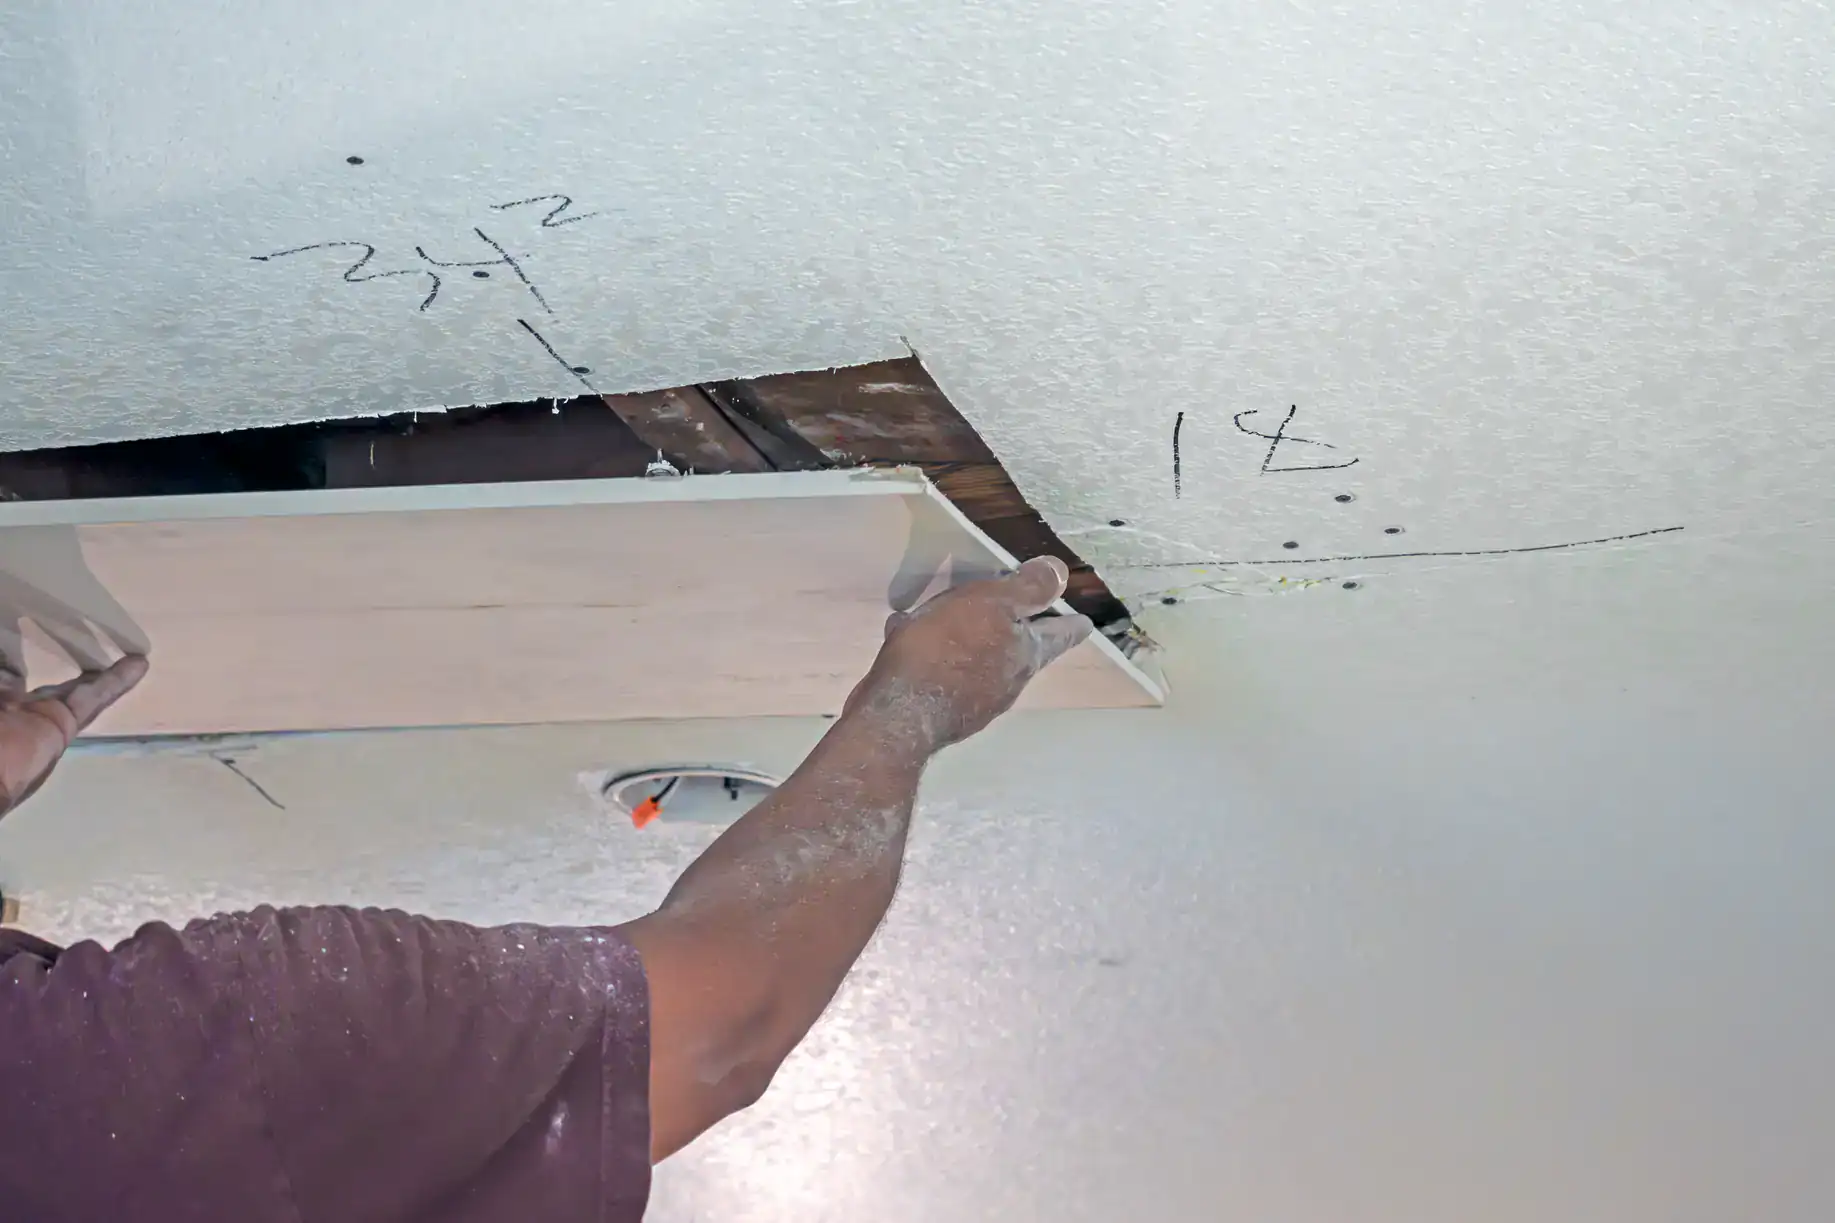
The average cost to install drywall in Chestnut Hill runs between $2.80 and $5 per square foot, including materials and labor. That’s slightly higher than some other Philadelphia neighborhoods because of the extra care required in historic homes.
If you’re finishing a basement or doing a single room, expect to pay somewhere between $1,500 and $3,500 depending on size and complexity. Larger projects like whole-floor renovations or multi-room additions can run $5,000 to $10,000 or more.
The price depends on a few things: square footage, ceiling height, whether we’re demoing old plaster first, and what level of finish you need. Homes built in the 1940s often require more prep work, which adds to the cost but ensures the final result actually lasts. We give you a fixed quote upfront so there’s no surprise billing later.
Yes. Matching existing plaster texture is something we do regularly in Chestnut Hill because most homes here still have original plaster in at least some rooms.
When you’re adding drywall to a space that ties into existing plaster walls, the texture has to match or it’ll look like a patch job. We can replicate most common plaster finishes—smooth, skip trowel, knockdown, or light orange peel—using joint compound and the right tools.
It’s not a perfect science because plaster ages and settles differently than drywall, but we get it close enough that you won’t notice the transition once it’s painted. If you’re doing a larger renovation, sometimes it makes more sense to skim-coat the entire room so everything matches. We’ll walk you through the options when we look at your space.
A single room usually takes three to five days from start to finish. That includes hanging the drywall, taping, applying multiple coats of mud, sanding, and cleanup.
The timeline depends on the size of the room and how many coats of mud are needed. Each coat has to dry before the next one goes on, and in humid weather or poorly ventilated spaces, drying takes longer. We don’t rush it because wet mud that gets sanded too early just makes a mess and doesn’t finish smooth.
If we’re demoing old plaster first, add another day or two. If you’re doing multiple rooms, we can overlap some of the work to save time—hanging one room while another is drying, for example. Basement finishing projects in Chestnut Hill typically take one to two weeks depending on square footage and whether we’re framing new walls or just boarding existing ones.
It depends on the scope of work. If you’re just replacing damaged drywall in an existing room, you typically don’t need a permit. But if you’re finishing a basement, adding new walls, or doing structural work, Philadelphia requires a permit.
Chestnut Hill falls under Philadelphia’s building codes, and the city is pretty strict about permits for anything that changes the layout or use of a space. Finishing a basement, for example, almost always requires a permit because you’re creating new living space.
We handle the permit process if it’s required. We pull it, schedule inspections, and make sure everything is up to code. You don’t have to deal with the city or figure out what’s needed. It adds a little time to the project, but it protects you if you ever sell the house or file an insurance claim.
Level 4 is the standard finish for most homes. The seams are taped and mudded, fasteners are covered, and everything is sanded smooth. It’s ready for paint or texture, and it’s what you’ll see in 90% of residential projects.
Level 5 adds a skim coat over the entire surface—not just the seams. It’s a thin layer of joint compound applied to the whole wall, then sanded smooth. This eliminates any slight imperfections or differences in texture between the drywall paper and the mud.
You’d want Level 5 if you’re using flat paint or if the walls will be under harsh lighting that shows every little flaw. It’s common in high-end homes or spaces where appearance really matters, like formal living rooms or master bedrooms. In Chestnut Hill, we see more requests for Level 5 because homeowners here expect a premium finish. It costs more and takes longer, but the result is noticeably smoother.
We can, but the moisture problem needs to be addressed first. Installing drywall over a wet basement is just setting you up for mold and failed seams within a year or two.
If your basement has active water intrusion—leaks, seepage, or standing water—that has to be fixed before any drywall goes up. We’re talking proper drainage, waterproofing, or sump pump installation. Once the space is dry, we use mold-resistant and moisture-resistant drywall designed for below-grade applications.
Many basements in Chestnut Hill have stone foundations, which can wick moisture even if there’s no active leak. In those cases, we recommend a vapor barrier behind the drywall and leaving a small gap at the bottom of the walls for airflow. We’ve seen too many finished basements ruined because someone skipped these steps. We’d rather tell you upfront what needs to happen than have you call us back in two years to redo it.
Other Services we provide in Chestnut Hill