
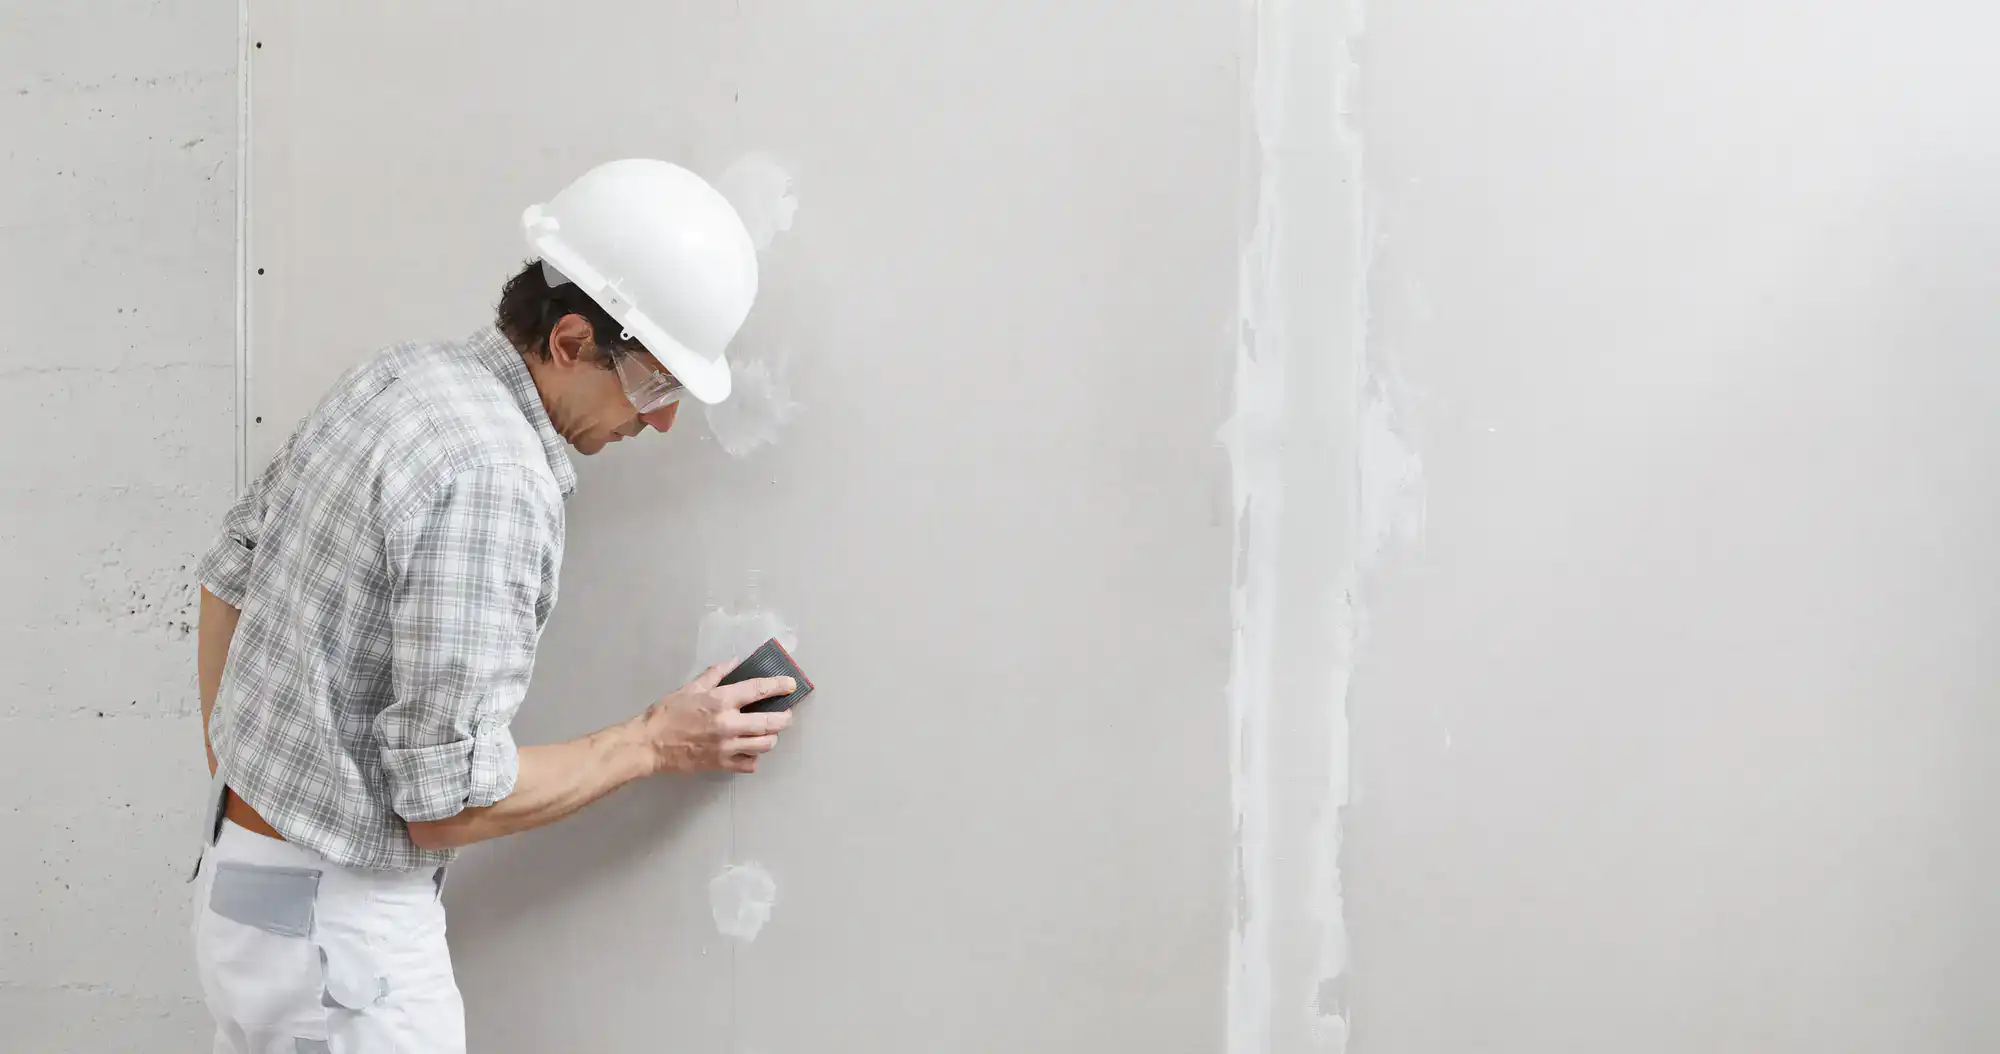
Your walls won’t show tape lines under the right light. You won’t see ridges when the sun hits at an angle. The paint goes on clean because the surface underneath is actually flat.
That’s what proper drywall finishing in Chestnut Hill gets you. Not just patched holes or filled cracks, but walls that look like they were never touched. No callbacks. No touch-ups three months later when the mud shrinks.
Whether you’re renovating one room or finishing an entire floor, the work holds up. You’re not dealing with bubbling tape or cracking seams because someone rushed the dry time between coats. The joints are tight. The corners are sharp. The finish matches the rest of the wall.
This matters more in Chestnut Hill’s older homes where walls aren’t always square and ceilings aren’t always level. Getting drywall to blend into irregular surfaces takes more than spackle and hope. It takes someone who knows how to feather edges, match existing textures, and work with plaster transitions without making it obvious where the repair happened.
We work throughout Chestnut Hill and the surrounding Philadelphia County areas. We handle residential and light commercial projects where the finish quality actually matters.
A lot of homes in Chestnut Hill weren’t built with drywall. They have plaster walls, irregular framing, and settling that’s been happening for decades. When you’re adding drywall or repairing sections, you’re blending new materials into old construction. That’s different than working in a newer build where everything’s square and consistent.
We’ve worked in enough of these homes to know what to expect. The walls aren’t always flat. The corners aren’t always ninety degrees. You can’t just tape and mud like you would in a standard job and expect it to look right.
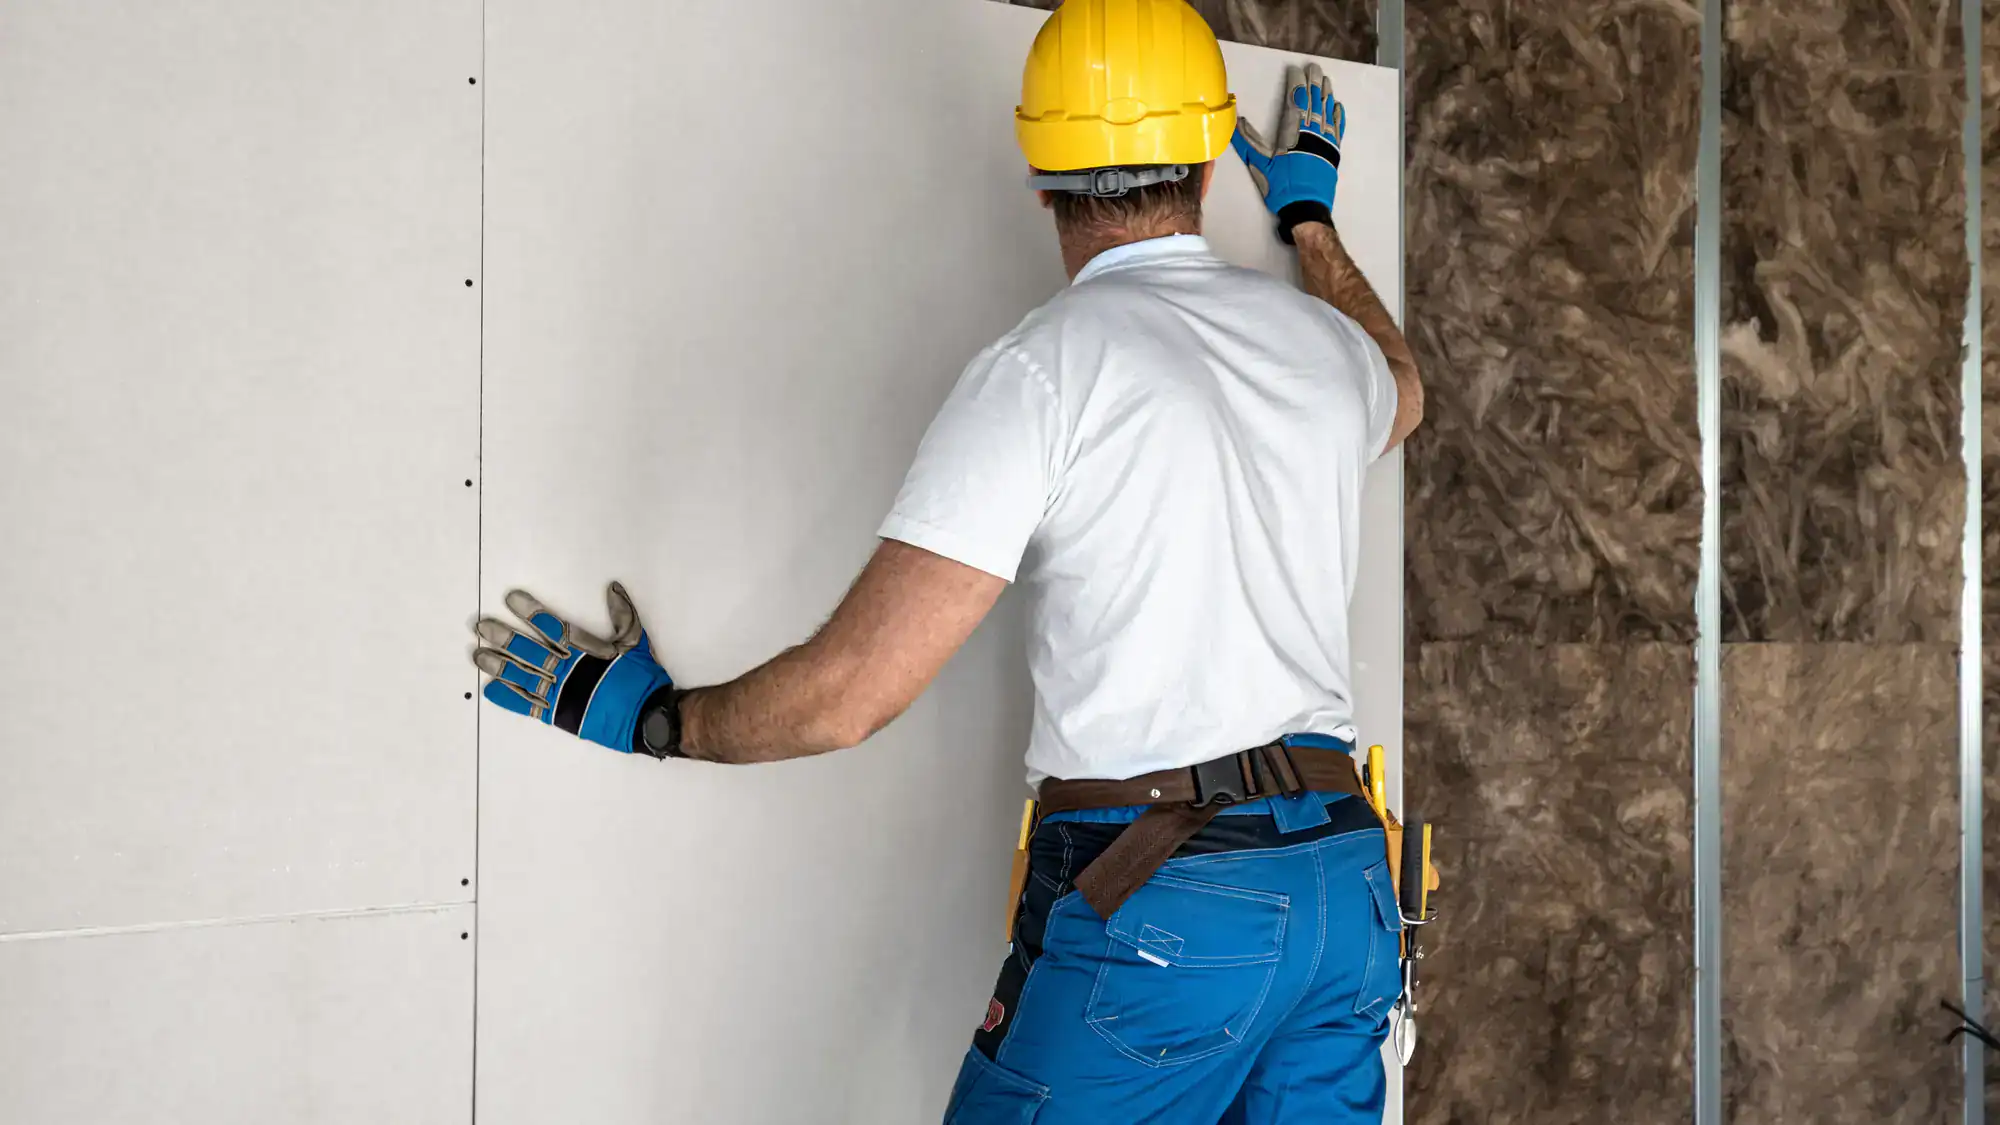
Drywall finishing isn’t one step. It’s a sequence, and each layer has to dry completely before the next one goes on. Rushing it is how you end up with cracks and callbacks.
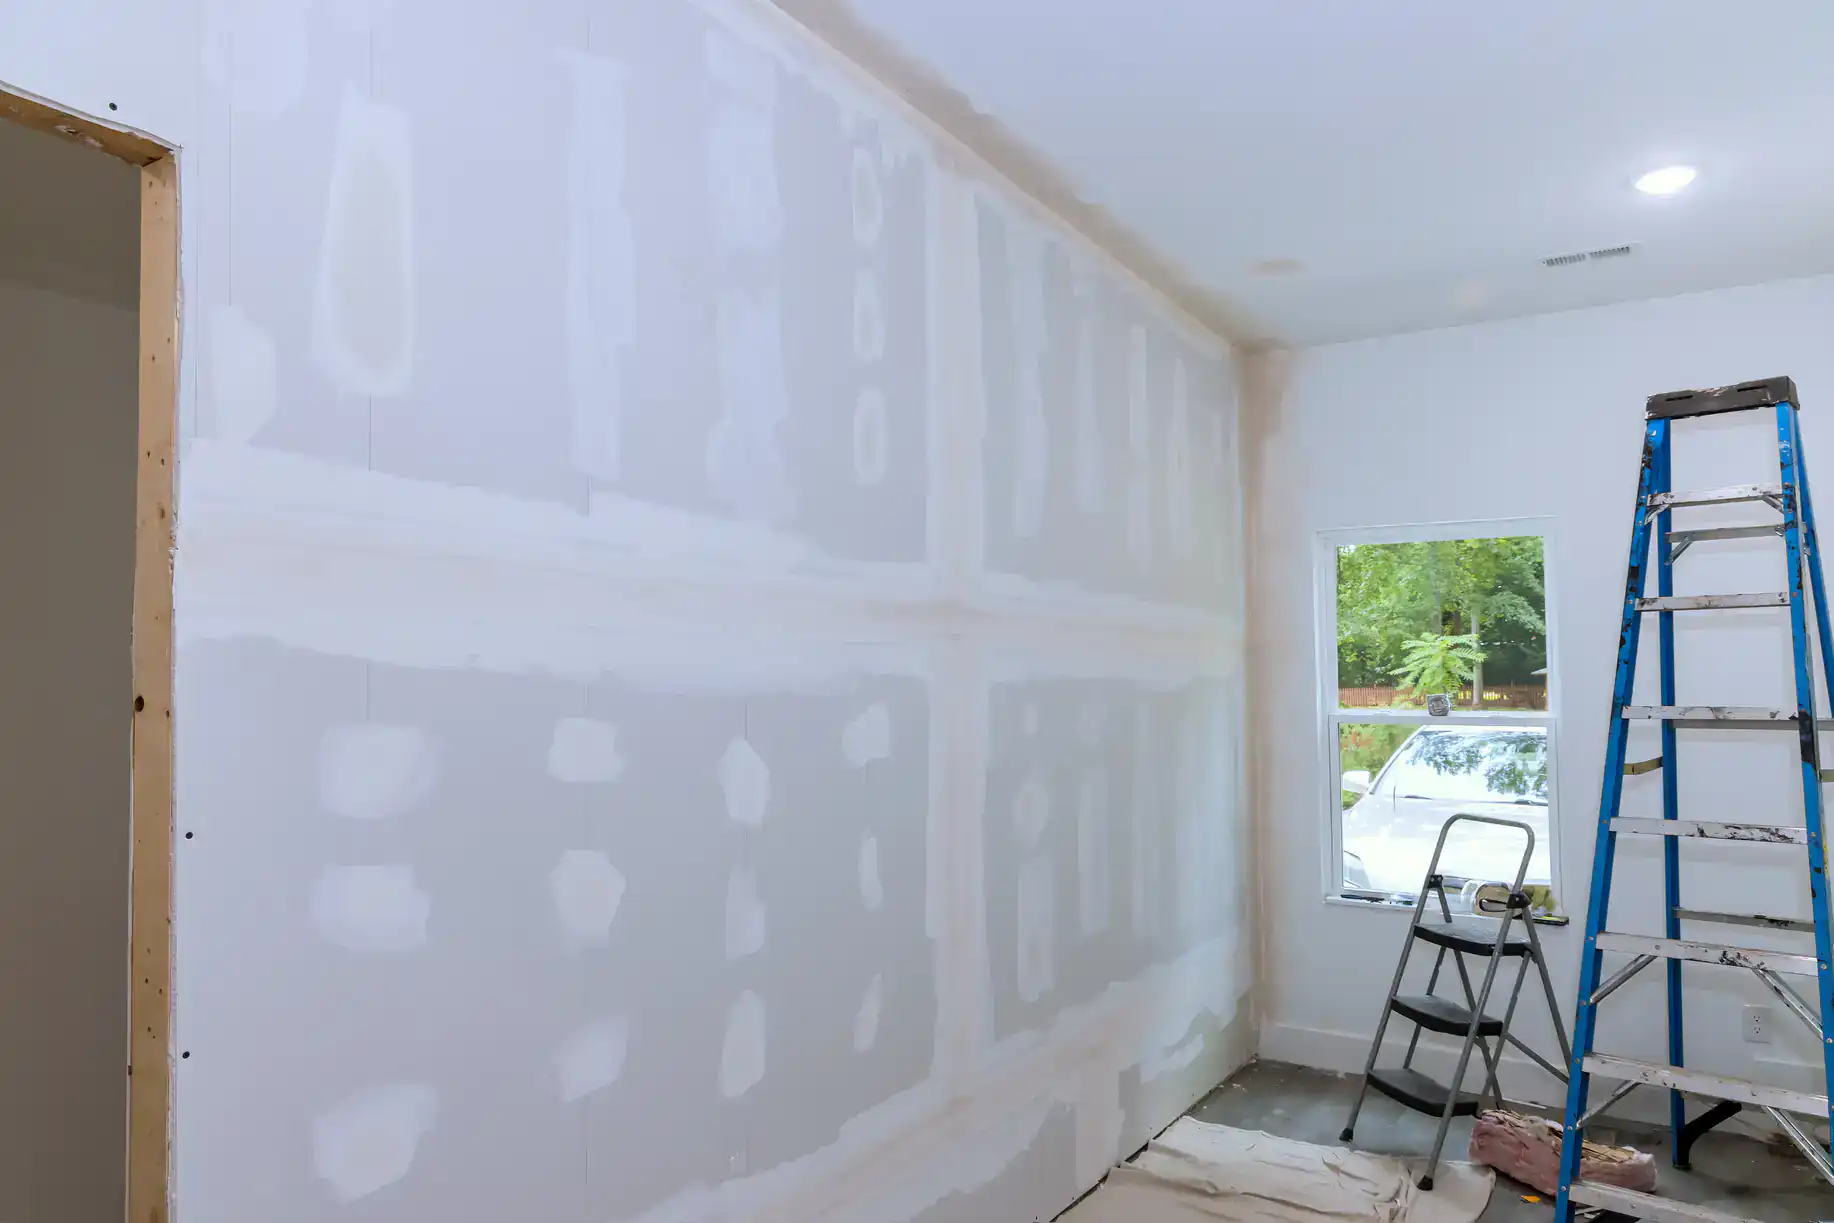
First comes taping. We embed paper or mesh tape into the joints with a base coat of mud. This holds the seams together and prevents them from cracking as the house shifts. The tape has to sit flat without bubbles or wrinkles, or it’ll show through later.
Then come the fill coats. Usually two or three, depending on the level of finish you need. Each coat gets wider and thinner than the last, feathering out so there’s no visible ridge where the mud stops. This is where most of the blending happens, especially if we’re matching existing texture or working around older plaster.
Finally, sanding. Just enough to knock down any high spots or tool marks, but not so much that we cut through the mud and expose tape. Then it’s ready for primer and paint.
If there’s texture involved, that happens after the final coat is sanded. We match the existing pattern so the repair doesn’t stand out. In older Chestnut Hill homes, this might mean replicating hand-troweled plaster or blending into a skip-trowel finish that’s been on the walls for fifty years.
Ready to get started?
You’re getting complete finishing from bare drywall to paint-ready surfaces. That includes all taping, mudding, sanding, and any texture application needed to match your existing walls.
We handle level 4 and level 5 finishes depending on your lighting and paint choice. Level 4 is standard for most walls with flat or eggshell paint. Level 5 adds a skim coat over the entire surface, which is necessary if you’re using high-gloss paint or have strong side lighting that would show imperfections.
In Chestnut Hill, we also do a lot of repair work where we’re blending new drywall into old plaster. This requires extra feathering and sometimes a bonding agent to make sure the joint compound adheres properly to the plaster surface. The goal is making the transition invisible.
If you’ve had water damage, we’re checking for mold before we close anything up. Drywall that’s been wet for more than 48 hours usually needs to be replaced, not just dried out. The paper facing becomes a food source for mold, and you can’t always see it until you pull the drywall down.
We also handle texture matching, which comes up often in older homes. If you’re patching a section of wall, the new area needs to match the existing knockdown, orange peel, or hand-troweled texture. Otherwise, it’s obvious where the work was done.
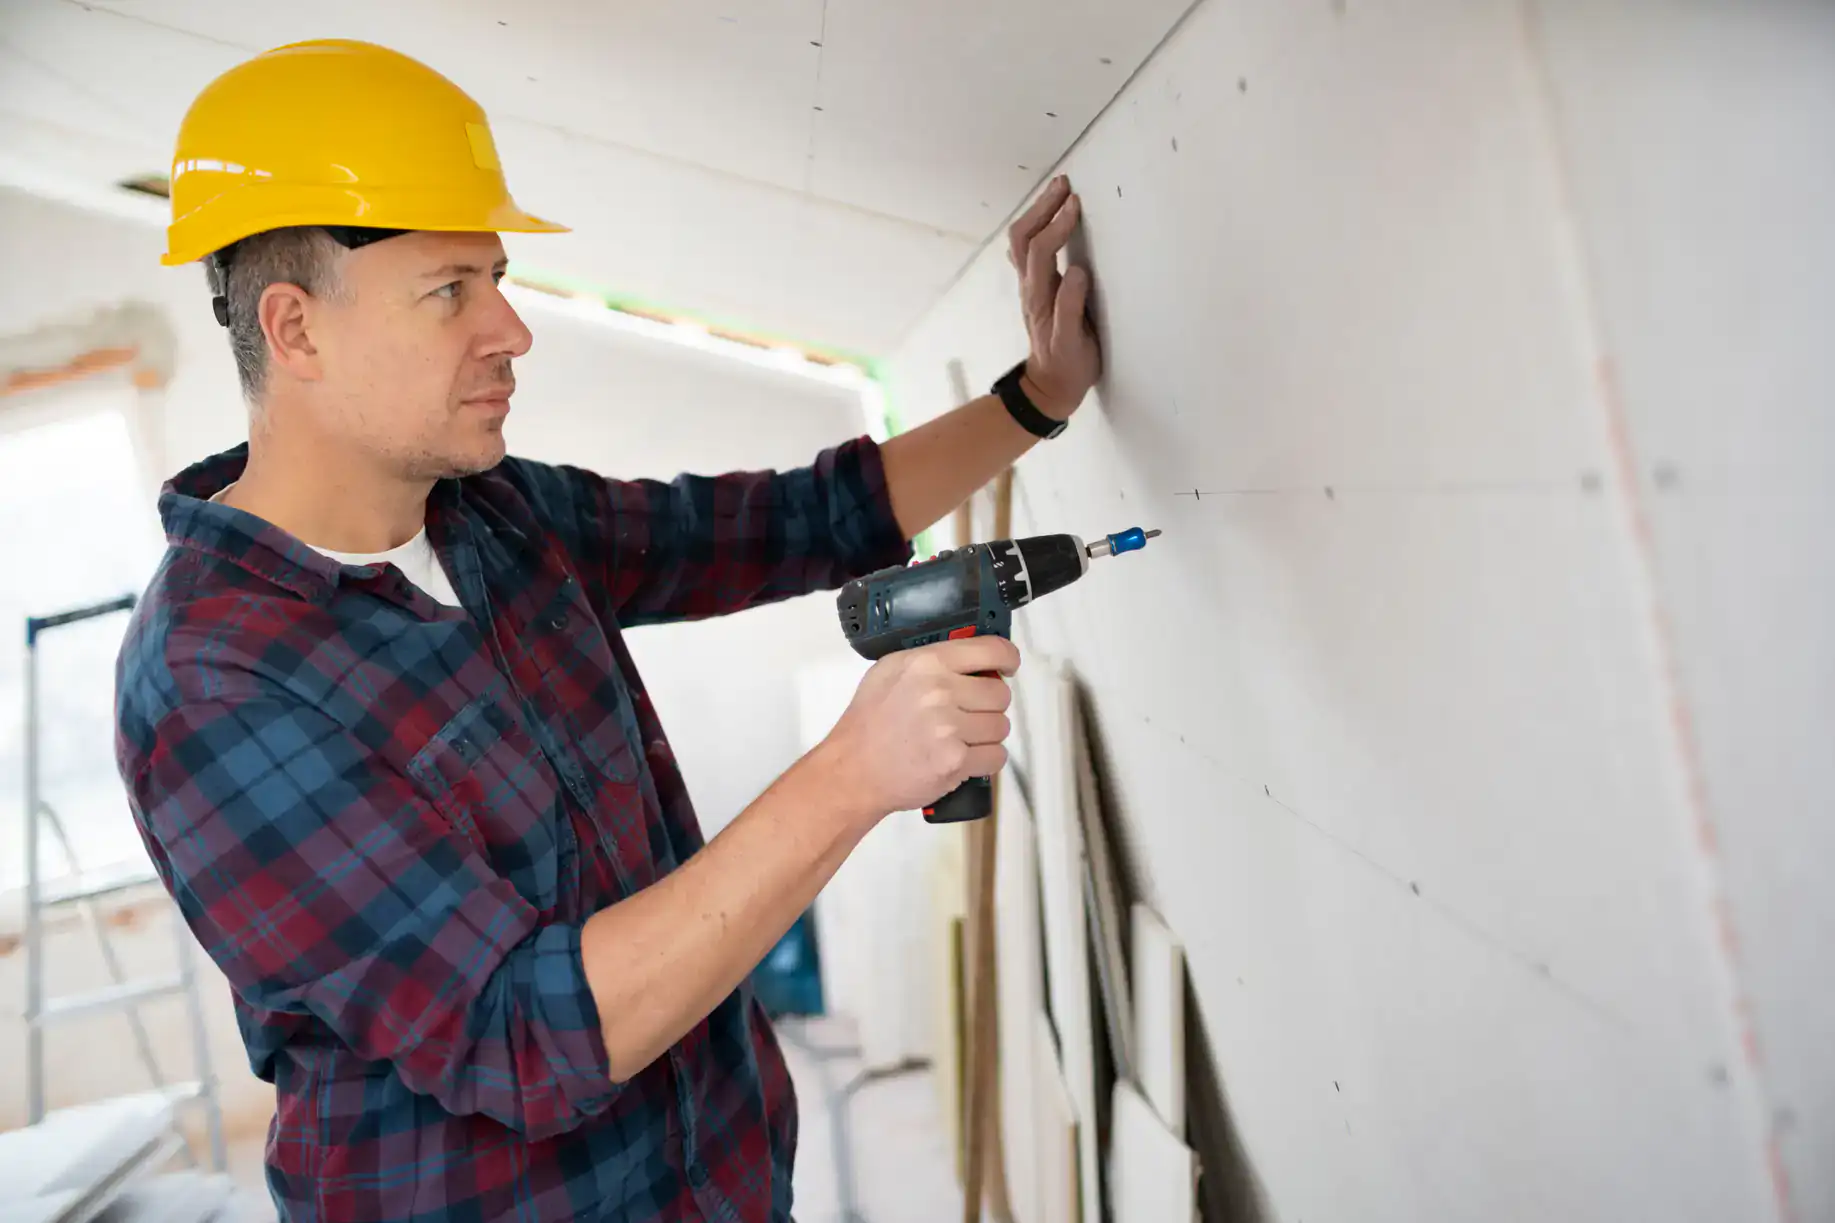
Joint compound needs at least 24 hours between coats, sometimes longer depending on humidity and temperature. Rushing it causes problems.
If you apply the next coat before the previous one is fully dry, the moisture gets trapped. That leads to cracking, shrinking, and bubbling later. In Chestnut Hill’s older homes with less consistent climate control, dry times can stretch even longer during humid summer months.
Most finishing jobs need three coats minimum. That’s a base coat with tape, a second coat to fill and smooth, and a final coat to feather everything out. Each one needs to dry completely. So you’re looking at three to five days from start to paint-ready, assuming normal conditions and no complications.
After the final sanding, the surface should sit for another 24 hours before primer goes on. This lets any remaining moisture escape and ensures the paint adheres properly without trapping anything underneath.
Level 4 finishing covers the joints and fasteners with enough coats to hide them under standard lighting and paint. It’s the default for most residential work and works fine with flat or low-sheen paints.
Level 5 adds a thin skim coat of joint compound over the entire wall surface, not just the seams. This creates a completely uniform texture and eliminates any chance of the joints showing through, even under harsh lighting or with glossy paint.
You need level 5 if you’re using semi-gloss or high-gloss paint, or if you have strong side lighting like big windows or track lights that rake across the walls. Those conditions will show every imperfection in a level 4 finish. The skim coat eliminates the slight texture difference between the joint compound and the paper face of the drywall.
It costs more because it’s an extra coat over the entire surface, plus additional sanding. But if your lighting or paint choice demands it, skipping level 5 means you’ll see the joints. No amount of paint will hide them once they’re visible.
Yes, but it takes more work than standard drywall finishing in Chestnut Hill. Older plaster textures were often applied by hand, so there’s variation even within the same room.
We start by looking at the existing texture under different lighting to see how it was originally applied. Knockdown and orange peel are easier to replicate because they use standard tools. Hand-troweled or skip-trowel finishes require more skill because the pattern was created manually, not with a spray gun or roller.
The challenge is blending the new texture into the old without a visible line where they meet. This means feathering the edges and sometimes applying texture slightly beyond the repair area so the transition is gradual. The mud consistency and application technique have to match what was done originally, which can be decades old.
In some cases, if the existing texture is heavily aged or damaged, it makes more sense to skim coat the entire wall and start fresh rather than trying to match something that’s deteriorated. We’ll walk you through the options based on what your walls actually look like.
Water-damaged drywall usually needs replacement, not just drying out. Once the paper facing gets saturated, it becomes a breeding ground for mold within 24 to 48 hours.
We cut out the damaged section back to the nearest studs, checking the framing and insulation for moisture and mold while it’s open. If the studs are wet, they need to dry completely before new drywall goes up, or you’re trapping moisture inside the wall.
After the new drywall is installed, the finishing process is the same as any other job—taping, mudding, sanding—but we’re paying extra attention to blending it into the surrounding wall. Water damage repairs are often in the middle of a wall or ceiling, so the patch needs to disappear completely.
If the water damage was from a leak that’s been slow and ongoing, there’s often more damage than what’s visible on the surface. We check above and below the obvious damage to make sure we’re catching everything. Finding mold or rot after you’ve closed up the wall means tearing it open again.
Seams crack when there’s movement in the framing, when the mud wasn’t applied correctly, or when coats were applied before the previous layer fully dried.
Houses shift. Lumber expands and contracts with humidity changes. If the drywall is screwed too tight or if there’s no tape embedded in the joint, that movement translates directly into cracks along the seams. Proper taping with paper or fiberglass mesh gives the joint flexibility and reinforcement.
Another common cause is applying mud too thick or not letting it cure between coats. Thick applications shrink more as they dry, which pulls the seam apart. Wet mud applied over still-drying mud traps moisture, leading to cracks once everything finally cures.
In Chestnut Hill’s older homes, you also get cracking at transitions between drywall and plaster, or where new framing meets old. These areas move at different rates, so we use flexible joint compound and sometimes expansion joints to absorb the movement instead of fighting it. Trying to make a rigid seam in a spot that’s going to move just means you’ll be patching cracks every few years.
Finishing costs depend on the level of finish, the condition of the existing walls, and whether we’re doing new construction or repairs. Standard level 4 finishing runs between $1.50 and $3.50 per square foot in the Philadelphia area.
Level 5 finishing costs more because of the additional skim coat and sanding over the entire surface. Repairs and patches cost more per square foot than finishing a whole room because there’s more setup and blending work relative to the size of the area.
If we’re matching existing texture or working around plaster walls, that adds time and material. Historic homes in Chestnut Hill often have irregular surfaces that require extra feathering and more coats to get everything level and smooth.
Small repairs—patching a few holes or fixing a damaged section—typically run $150 to $400 depending on size and complexity. Larger projects like finishing a basement or an addition are priced by the square foot. We’ll give you a clear estimate after seeing the space and understanding what level of finish you need based on your lighting and paint plans.
Other Services we provide in Chestnut Hill