
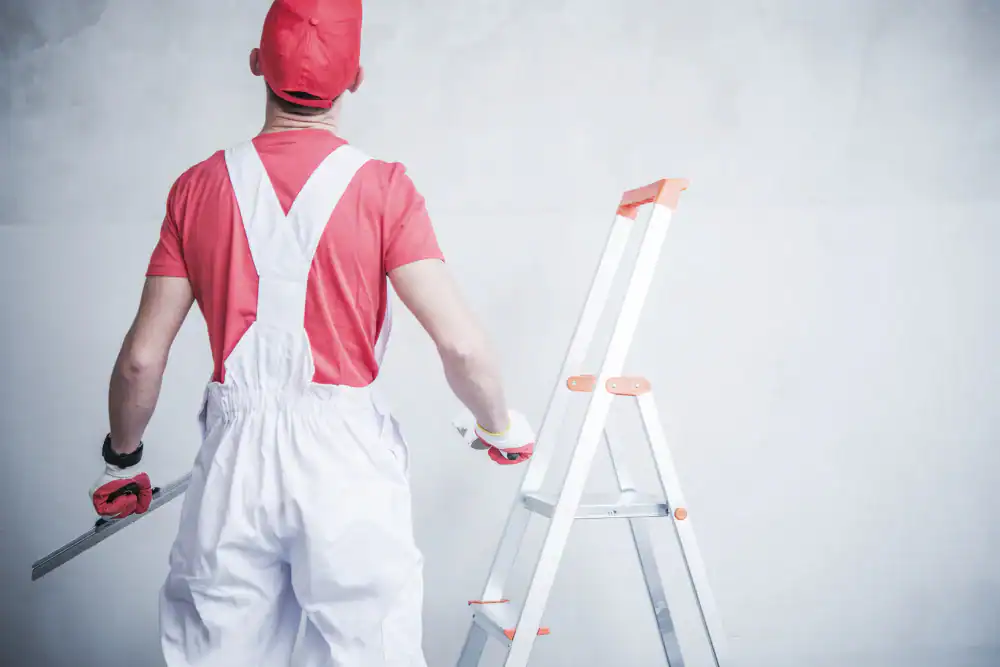
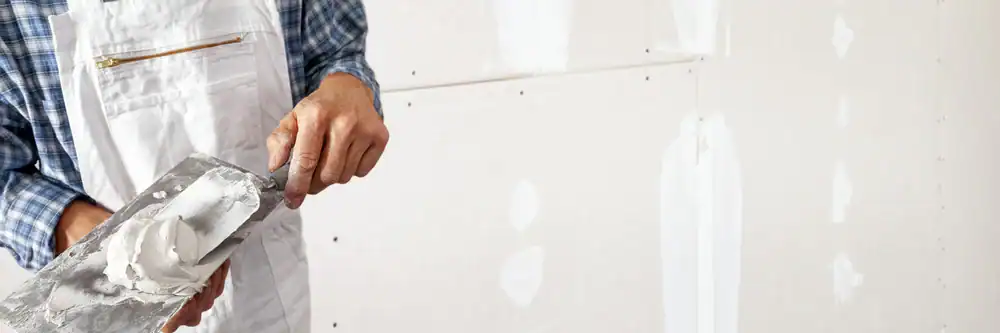
The hole’s gone. The texture matches. The paint blends in.
You’re not staring at a patch job every time you walk through the room. You’re not explaining it to guests or worrying about what it’ll look like when the light hits it. It just looks like wall—the way it’s supposed to.
That’s what happens when someone knows how to feather the edges properly, match the texture on older plaster, and apply the right number of coats. Most small repairs get finished in a few hours. Larger damage might take a day or two once you factor in dry time between coats, but the end result is the same: a clean finish that doesn’t announce itself.
If you’ve dealt with water damage, you know the clock starts ticking the moment moisture touches drywall. We move fast on those jobs because waiting only makes the problem bigger and more expensive.
We’ve been repairing walls and ceilings across Juniata Park for years. We know the rowhomes here—most built mid-century, many with textured plaster that’s tricky to match if you don’t know what you’re doing.
The neighborhood’s housing stock has character, but it also has quirks. Older construction means older materials, and that requires a different approach than slapping joint compound on new drywall. We’ve handled everything from small dings to full wall sections that needed rebuilding after plumbing work or accidents.
You’ll get uniformed technicians who show up when they say they will, do the work without tearing up your house, and clean up completely before they leave. No runaround, no surprises.
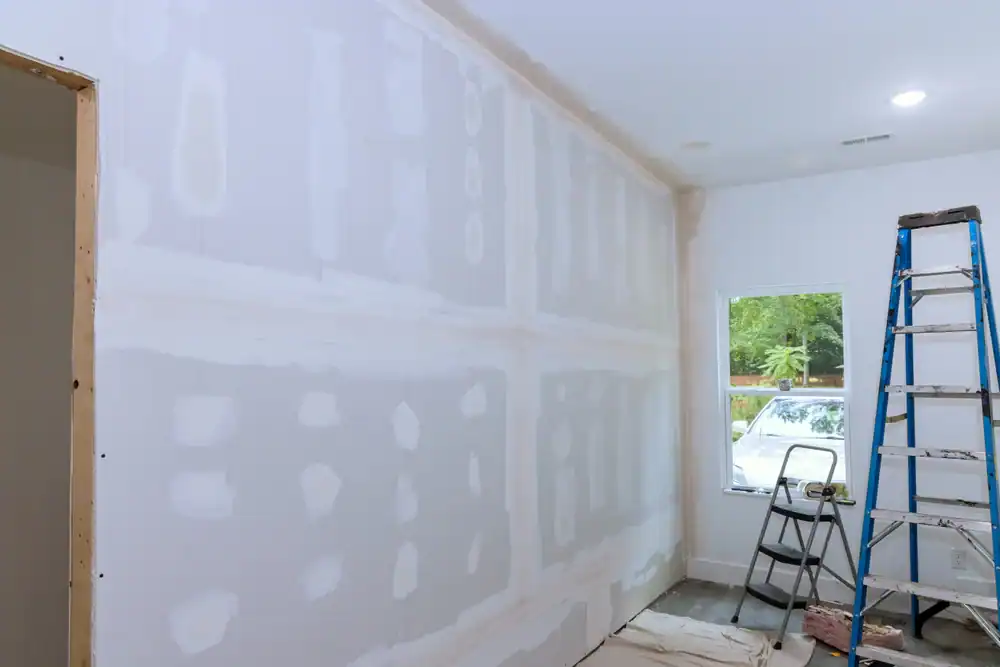
First, we assess the damage. That means figuring out what caused it, how deep it goes, and what your existing wall material is. This step matters because the repair method changes depending on whether you’ve got drywall, plaster, or textured surfaces.
Next, we prep the area. We protect your floors and furniture, cut away any damaged material, and make sure the surface is clean and ready to accept new compound. If there’s a larger hole, we’ll install backing or a patch piece that gives the repair something solid to grip.
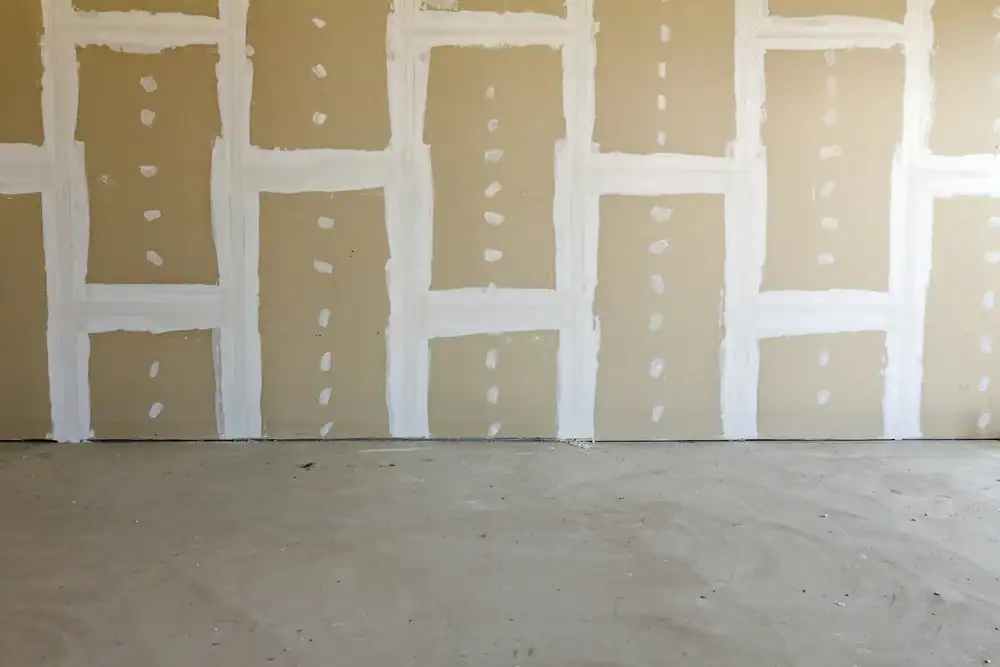
Then comes the drywall mud—usually joint compound applied in layers. The first coat fills the void. After it dries, we apply additional coats, feathering the edges each time so the repair blends into the surrounding wall. Depending on the size, this might mean two or three passes with sanding in between.
Once the surface is smooth and level, we match your texture if needed, then prime and paint. The goal is making the repair invisible, and that final finishing step is what separates a professional job from a DIY patch that always looks off.
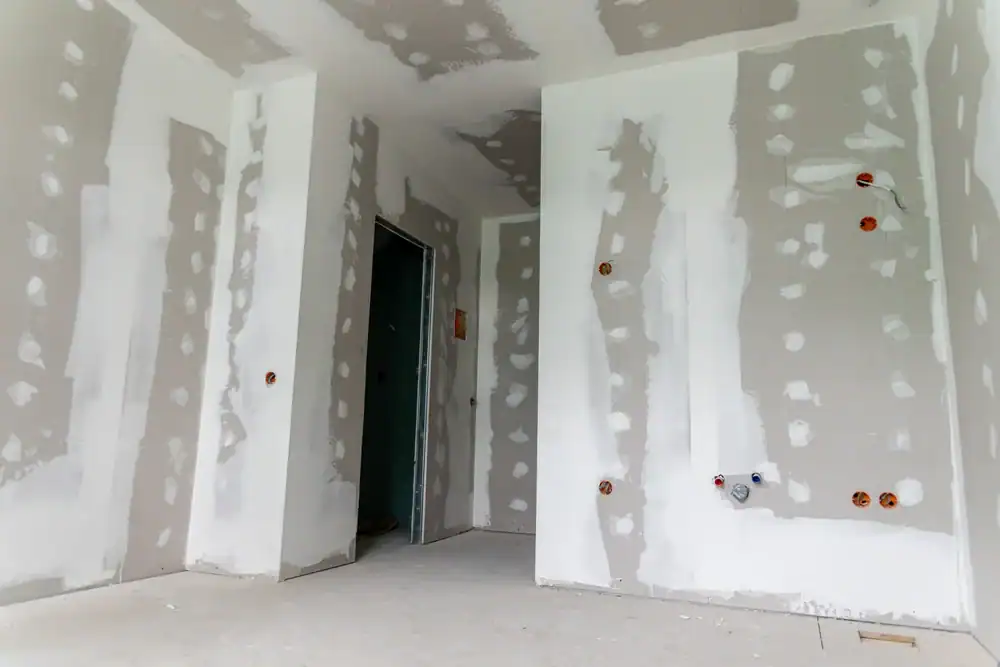
Ready to get started?
You get a full damage assessment before any work starts. We don’t guess—we look at what’s broken, why it’s broken, and what it’ll take to fix it right.
The repair itself covers everything from prep to paint. That includes protecting your space, removing damaged material, installing backing if needed, applying multiple coats of joint compound, sanding between layers, matching texture, priming, and painting. We bring the materials and tools. You don’t need to run to the hardware store.
In Juniata Park, where 62% of homes are owner-occupied and the median home was built in 1944, we see a lot of plaster walls with unique textures. Matching those textures isn’t something you can fake—it takes the right tools and technique. We’ve done it enough times that we know how to replicate what’s already on your walls, whether it’s smooth, knockdown, or something more ornate.
After the work’s done, we clean up. That means dust, debris, drop cloths—all of it goes with us. You’re left with a repaired wall and nothing else to deal with.
Most small repairs—think doorknob holes, nail pops, minor cracks—get done in a few hours. We can usually complete those in one visit, including the final coat and paint.
Larger damage takes longer, not because the work is complicated, but because joint compound needs time to dry between coats. A bigger hole might require two or three layers, with several hours of dry time in between. That could mean the job stretches across a day or two, depending on the size and your home’s humidity levels.
Water damage repairs move faster in terms of scheduling because we know time matters. But the actual work still follows the same process: assess, prep, patch, dry, finish. Rushing any of those steps just means you’ll see the repair later, and that defeats the point.
Yes. Texture matching is one of the things that separates a pro job from a handyman patch.
Juniata Park has a lot of mid-century homes with textured plaster—some smooth, some with patterns that were popular decades ago. Replicating that texture requires the right tools, the right compound consistency, and enough experience to know what technique produces which finish.
We’ve worked on enough older Philly homes to recognize common textures and know how to recreate them. Whether your walls have a knockdown finish, skip trowel, or something custom, we’ll match it so the repair blends in. That’s not something you can do with a putty knife and a YouTube video—it takes practice and the right equipment.
Simple patches—small holes, minor damage—typically run between $150 and $400. That covers labor, materials, and finishing.
Larger repairs cost more because they take more time and material. If you’ve got multiple holes, significant water damage, or a section of wall that needs replacing, the price goes up accordingly. We’ll give you a free estimate before any work starts so you know exactly what you’re paying for.
The other factor is how quickly you address the problem. A small crack that gets ignored can turn into a bigger issue, especially if water’s involved. Fixing it early almost always costs less than waiting until the damage spreads. That’s not a sales pitch—it’s just how drywall works.
We do, and we treat those jobs as priorities because water damage gets worse fast.
Once drywall absorbs moisture, the clock starts. If it’s not addressed quickly, you’re looking at mold, structural issues, and a much bigger repair bill. We’ll assess how far the damage has spread, remove any compromised material, and make sure the area is dry before we start patching.
The repair process is similar to other drywall patching—cut out the bad section, install new material or backing, apply joint compound in layers, sand, texture, prime, and paint. The difference is urgency. Water damage doesn’t wait, and neither should you. If you’ve had a leak, a flood, or even just persistent moisture, get it looked at before it becomes a major problem.
If we’ve done our job right, no. The whole point is making the repair invisible.
That means the surface is level with the surrounding wall, the texture matches, and the paint blends in. You shouldn’t be able to tell where the damage was unless you’re specifically looking for it—and even then, it should be hard to spot.
The key is in the finishing. Feathering the edges of each coat, sanding smooth between layers, matching your existing texture, and using the right primer and paint all contribute to a seamless result. Skipping any of those steps is what makes DIY patches obvious. We don’t skip steps.
You can try, but most DIY repairs end up looking like DIY repairs. There’s a reason for that.
Drywall patching isn’t just smearing spackle into a hole. It’s knowing how many coats to apply, how to feather the edges so they blend, how to sand without creating low spots, and how to match texture and paint. Miss any of those details and the patch stands out every time light hits it.
The other issue is time. If you’ve never done it before, you’re learning as you go—which means more trips to the store, more trial and error, and more frustration. A professional gets it done in a fraction of the time with better results. If your goal is a wall that looks like nothing ever happened, hiring someone who does this daily just makes sense.
Other Services we provide in Juniata Park