
You’re not looking at walls and wondering where the patch was. The texture matches perfectly. The seams are invisible under any lighting. You’re not calling someone back to fix bubbles or cracks that showed up two months later.
That’s what happens when drywall finishing in Longmead Farms is handled by someone who knows what they’re doing. Not a contractor who rushes through taping and mudding to get to the next job. Not a DIY attempt that looked fine until it dried.
Most projects get started and finished the same day. You’re not living in a construction zone for weeks. The space is clean when we leave—no dust coating your furniture, no debris in the corners. Just smooth, finished walls ready for paint or left as-is.
We’ve been handling drywall installation and finishing across Montgomery and Bucks counties for more than ten years. We’re not the biggest operation, and that’s intentional. You get the same crew from start to finish.
Longmead Farms has a lot of attached homes and rowhouses—over 57% of the neighborhood. That means shared walls, specific structural considerations, and finishing work that needs to account for how sound and movement transfer. We’ve worked in enough of these homes to know what matters.
You’re hiring licensed, insured contractors who show up when we say we will and finish what we start. No disappearing mid-project. No surprise charges when the work is done.
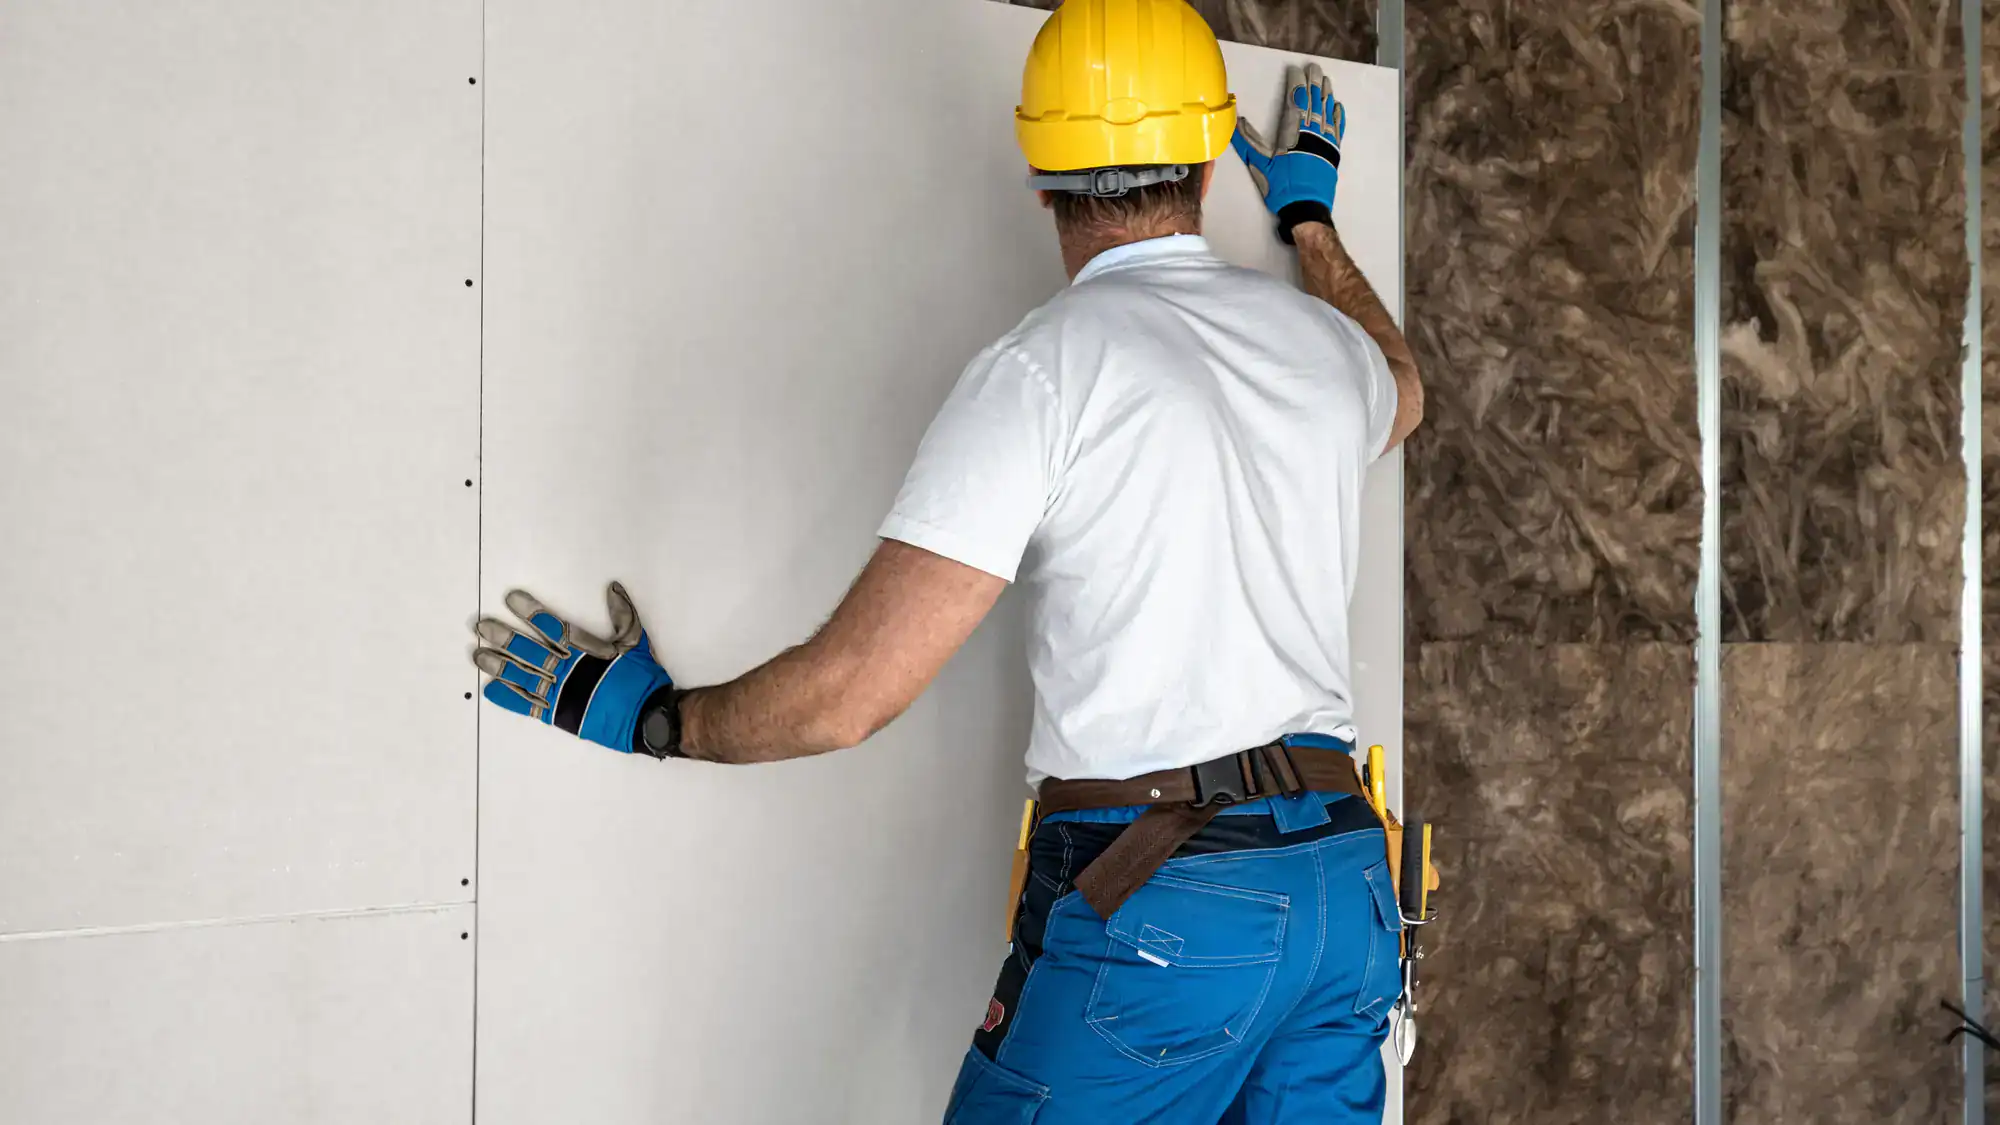
First, we assess what you’re working with. New drywall installation, repairs, or full-room finishing all require different approaches. We measure, inspect the surface, and give you a fixed-price estimate before any work starts.
Then comes the taping. Joints get reinforced with paper or mesh tape depending on the location and stress points. This step determines whether seams stay invisible or crack open later. Corner beads go on straight, which sounds basic but makes a massive difference in how clean the final result looks.
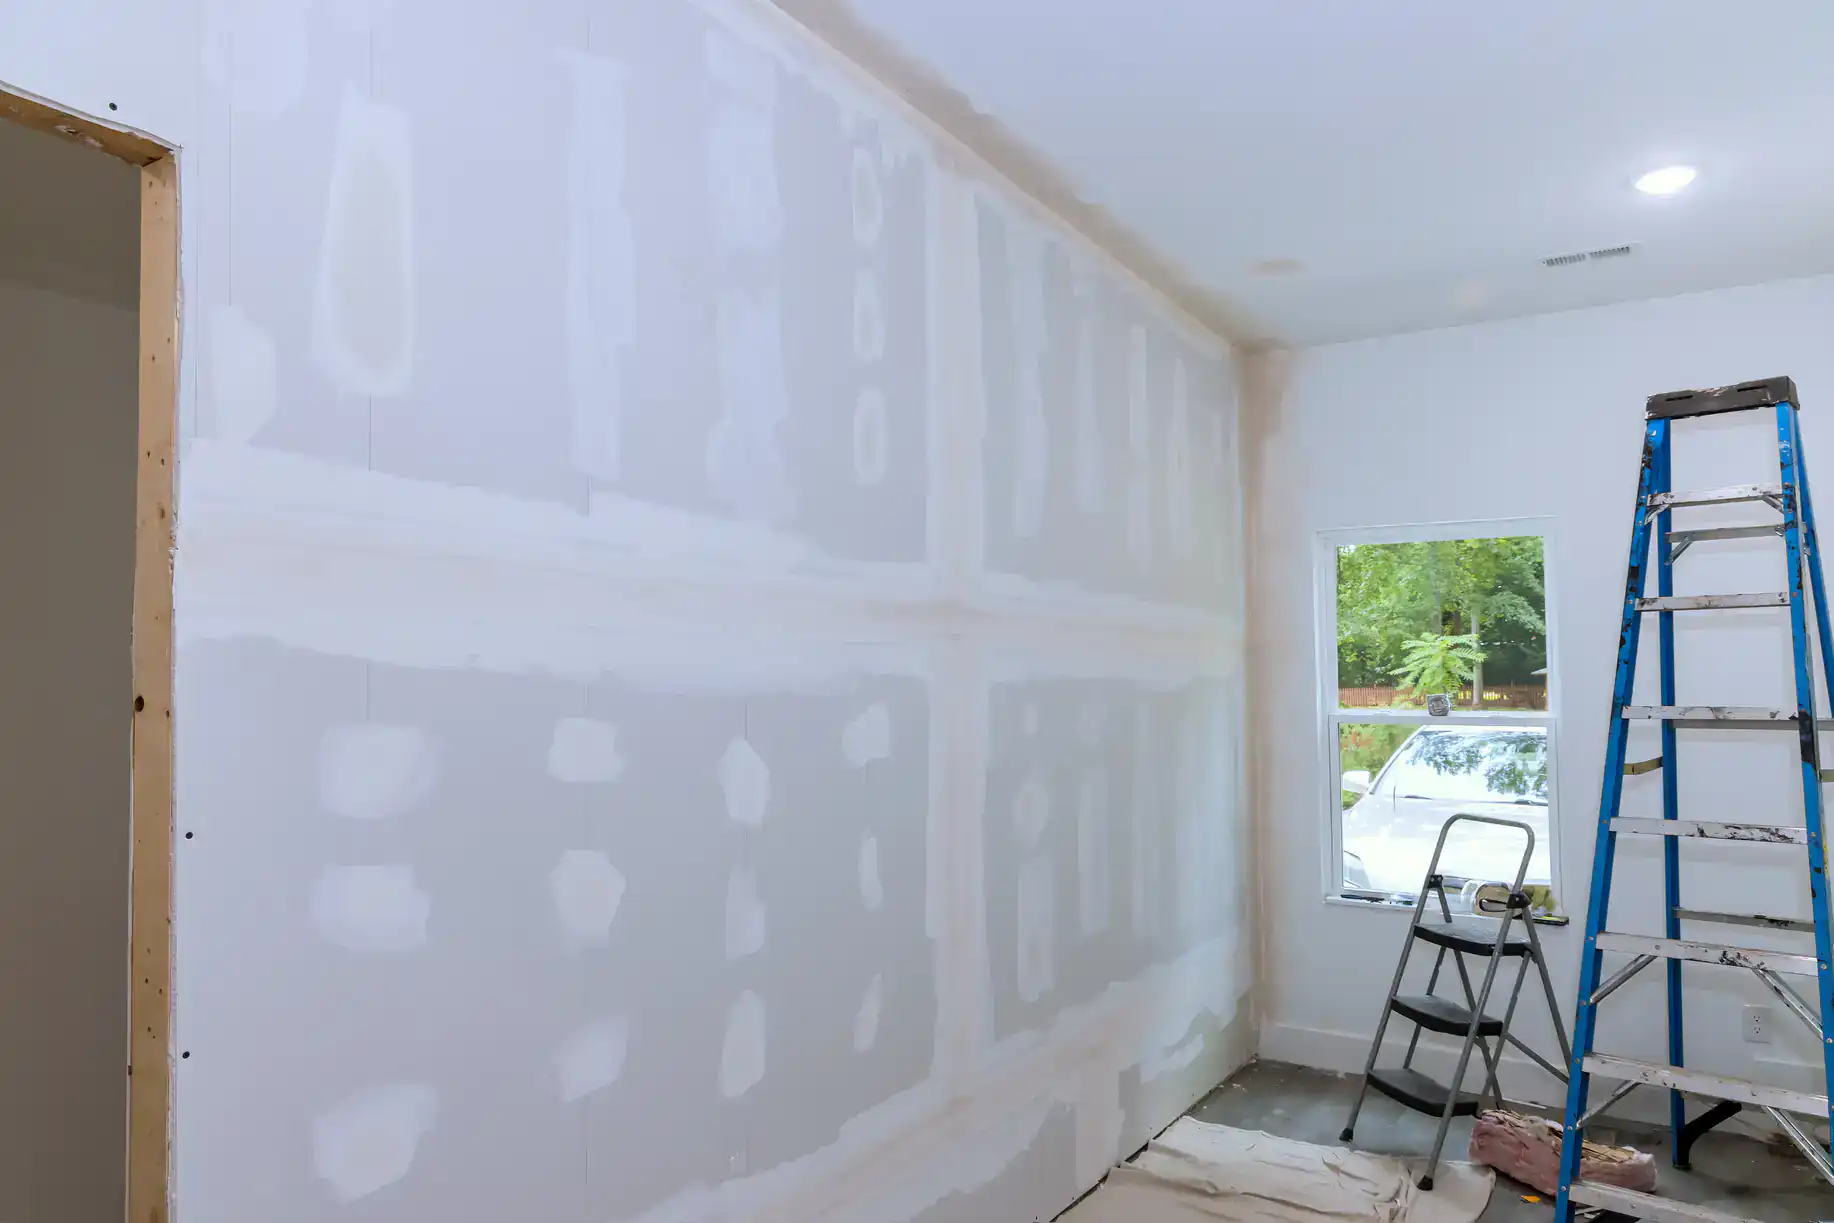
Mudding happens in layers. First coat fills the gaps. Second coat smooths and feathers the edges. Third coat brings everything level. Each layer has to dry completely before the next goes on—rushing this is where most bad drywall work falls apart.
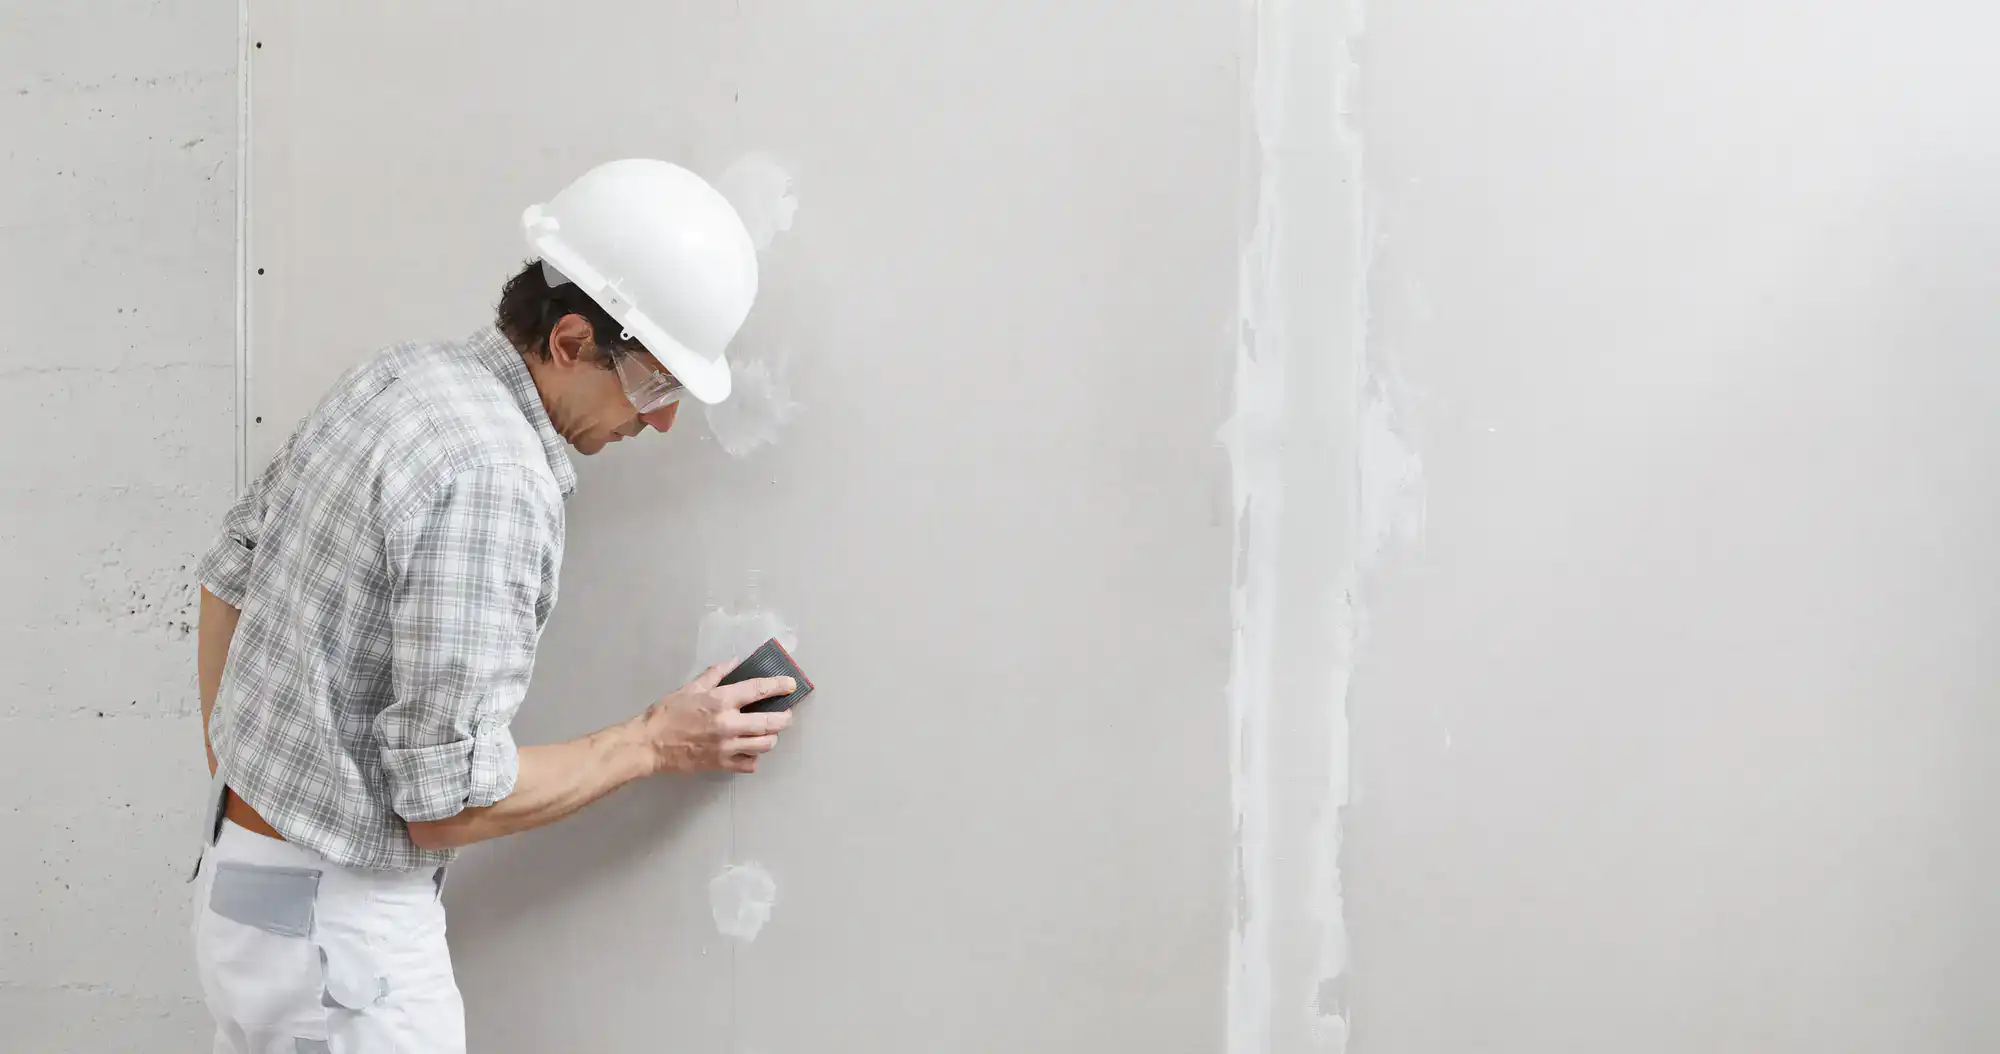
Sanding comes next, done carefully to avoid gouging the surface or creating new problems. Then we inspect under bright lighting to catch imperfections you wouldn’t see under standard bulbs. If you’re doing a Level 5 finish for areas with harsh lighting or critical sight lines, we apply a skim coat over the entire surface for a completely uniform texture.
Ready to get started?
You’re getting professional-grade joint compound, not the pre-mixed stuff that shrinks and cracks. Mold-resistant drywall in areas where moisture is a concern. Proper corner beads that won’t dent or show through paint.
Texture matching is part of the service when you’re repairing sections of existing walls. Orange peel, knockdown, skip trowel—whatever’s already there gets replicated so the repair disappears into the surrounding surface. This requires the right tools and enough experience to know how much texture is too much.
Longmead Farms homes tend to be well-maintained, and a lot of homeowners here have higher standards for how their property looks. That means finishing work needs to hold up under scrutiny. Level 4 finishing is standard for most walls and ceilings—smooth enough for paint with no visible imperfections. Level 5 is available for areas where lighting will be harsh or where you’re applying flat paint that shows every flaw.
Cleanup is part of the job, not an afterthought. Dust gets contained with barriers and vacuums. Debris gets hauled out. You’re not spending your evening sweeping up our mess.
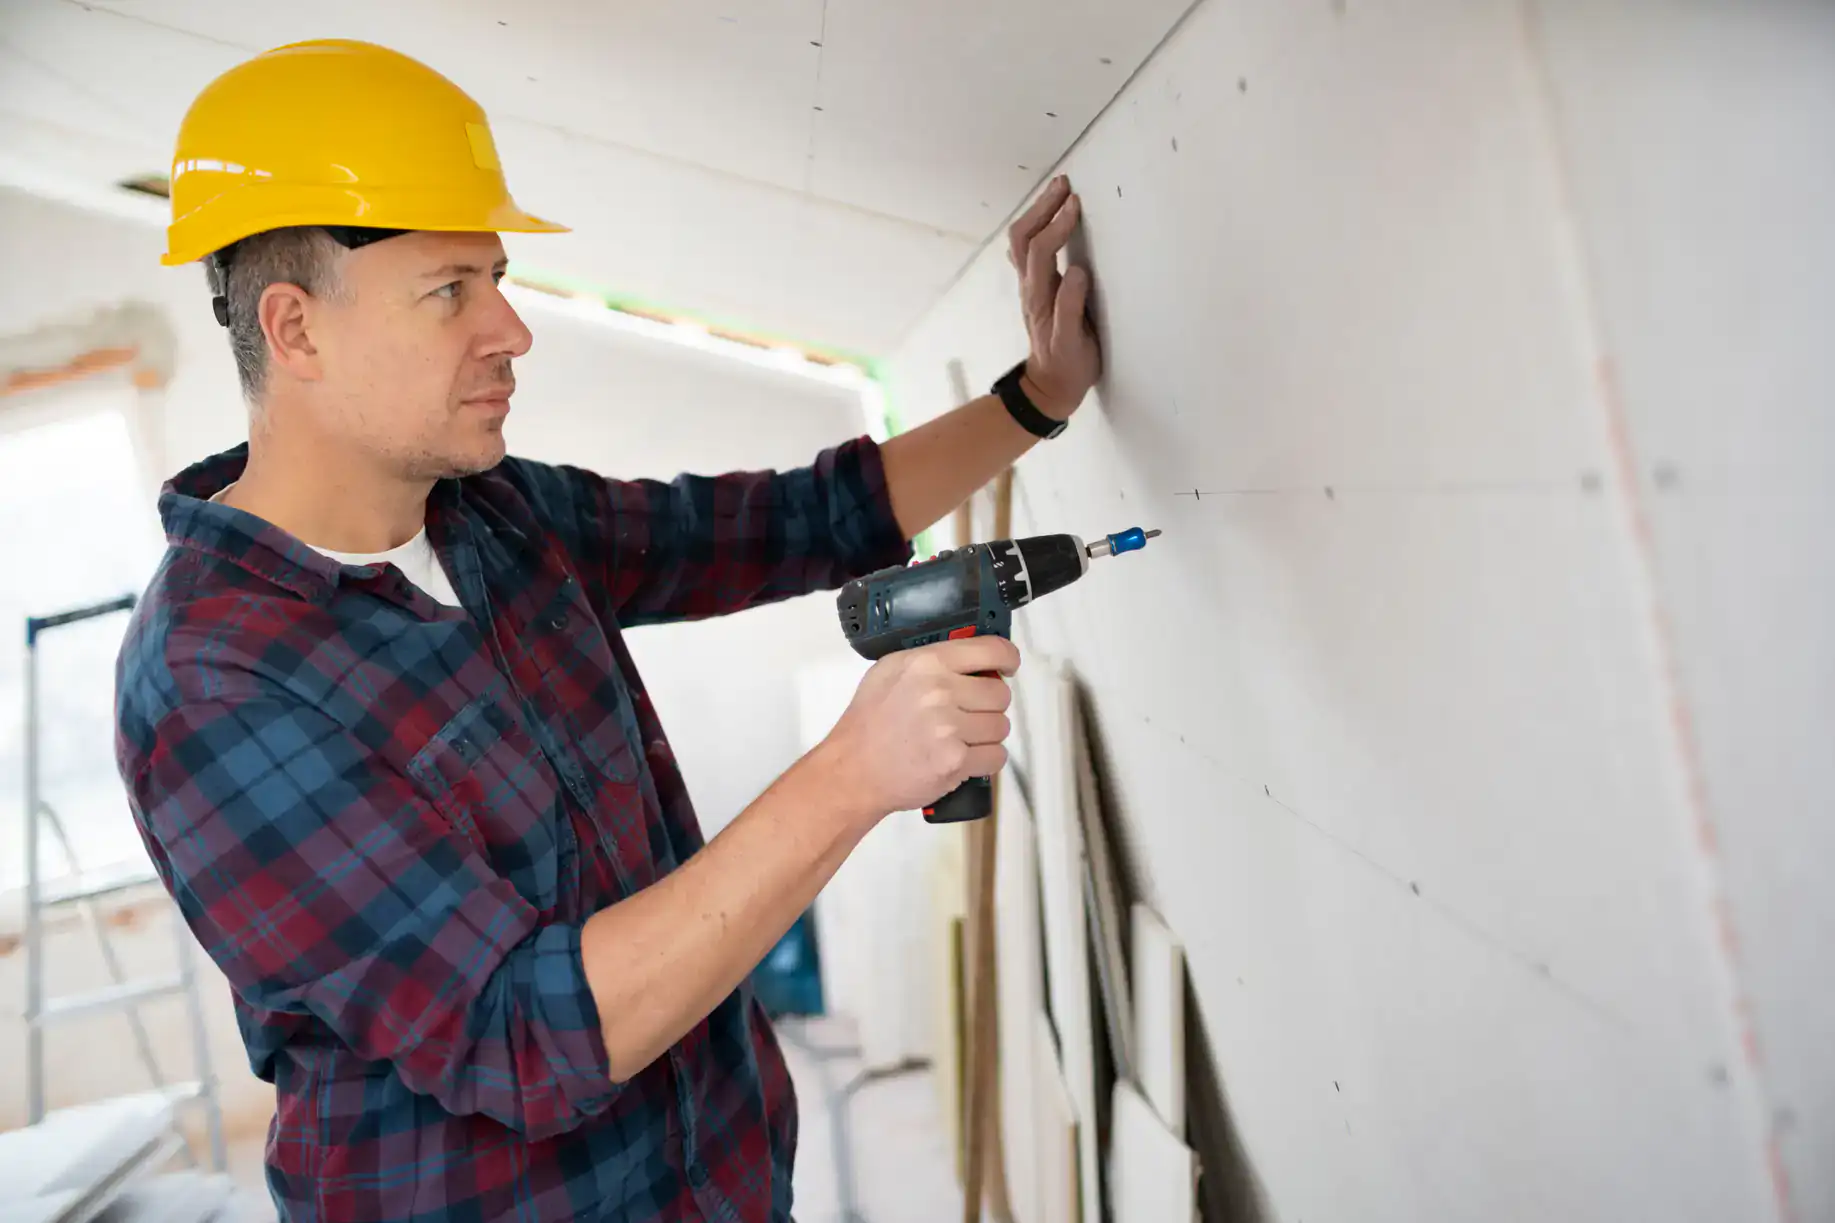
Most drywall finishing projects in Longmead Farms get completed in one day, but that depends entirely on the scope. A single room with new drywall installation and finishing typically takes 6-8 hours once all materials are on site. Smaller repairs—patching a hole, fixing a crack, matching texture—often get done in 2-3 hours.
The timeline extends when you’re doing multiple rooms or requesting a Level 5 skim coat finish. Each layer of joint compound needs to dry completely before the next goes on, and you can’t rush that without compromising the result. Most projects require 2-3 coats minimum.
What slows things down is poor planning or unrealistic expectations. If you’re trying to finish drywall and paint the same day, that’s not happening. The surface needs time to cure before paint goes on, or you’ll see flashing, poor adhesion, and texture inconsistencies later.
Level 4 finishing is the standard for most residential walls and ceilings. Joints and fasteners get covered with three coats of compound, sanded smooth, and left ready for paint or texture. Under normal lighting, you won’t see seams, screws, or imperfections. This works fine for most rooms, especially if you’re using eggshell or satin paint that has some sheen to hide minor variations.
Level 5 adds a skim coat over the entire surface—not just the joints. This creates a completely uniform texture across the whole wall, which matters when you’re using flat paint, dealing with harsh natural light, or have critical sightlines where even small imperfections will show. It costs more and takes longer, but it’s the difference between “good enough” and “flawless.”
Most homeowners in Longmead Farms don’t need Level 5 everywhere. It makes sense in main living areas with big windows, feature walls, or anywhere you’re applying high-end finishes. Bedrooms, closets, and secondary spaces usually don’t require it unless you’re particularly particular about how things look.
Yes, and this is where experience separates decent work from professional results. Matching existing texture requires the right tools, the right mix consistency, and enough practice to replicate patterns by eye. Orange peel, knockdown, skip trowel, and custom textures all have specific techniques.
The process starts by identifying what texture you currently have. Then we mix joint compound to the right thickness—too thin and it runs, too thick and it won’t spray or trowel correctly. Application happens in stages, building up layers until the new section blends invisibly into the surrounding wall.
What doesn’t work is slapping on some texture and hoping it looks close enough. You’ll see the repair line every time light hits it at an angle. Longmead Farms has a lot of older attached homes where original texture might be dated or applied inconsistently. Sometimes the best approach is re-texturing the entire wall rather than trying to match something that was never uniform to begin with. We’ll tell you upfront which approach makes sense for your situation.
Cracks and bubbles show up later because the work wasn’t done right the first time. Most often, it’s because joint compound was applied too thick in one layer instead of building up in multiple thin coats. Thick applications don’t dry evenly—the surface hardens while the interior stays soft, leading to shrinkage cracks as it cures.
Bubbles happen when there’s air trapped under the tape or when the surface wasn’t primed properly before taping. If the drywall is dusty or the previous paint is glossy, tape won’t adhere correctly. It looks fine initially, but as the compound dries and contracts, the tape pulls away and creates a bubble.
Another common issue in Longmead Farms homes is structural movement. Attached homes and rowhouses experience more vibration and settling than detached properties because of shared walls. If joints aren’t reinforced properly or if the framing is shifting, even good finishing work will crack. The fix isn’t just re-mudding the crack—it’s addressing why the crack formed and reinforcing the area so it doesn’t happen again. That requires understanding building structure, not just knowing how to spread mud.
Professional drywall finishing in Longmead Farms typically runs between $2.00 and $3.50 per square foot, depending on the level of finish, surface condition, and project complexity. A standard bedroom with Level 4 finishing usually costs $400-$800. Whole-home projects obviously scale up from there.
Level 5 finishing costs more—usually 20-30% above Level 4 pricing—because of the additional skim coat and labor time. Texture matching on repairs adds to the cost since it requires more skill and time than standard finishing. If we’re also handling drywall installation before finishing, that’s a separate line item.
What you’re paying for is materials that last, techniques that prevent callbacks, and contractors who don’t disappear mid-project. Cheaper quotes usually mean shortcuts—thinner compound coats, rushed drying times, or unlicensed workers. You’ll save $200 upfront and spend $600 fixing it six months later. We give you a fixed price before work starts, and that’s what you pay. No surprise charges when the job is done.
Yes, clearing the room makes the job faster and protects your belongings. Drywall finishing creates dust no matter how careful we are with containment. Sanding especially kicks up fine particles that settle on everything. Moving furniture out entirely is ideal, but if that’s not possible, consolidating everything to the center of the room and covering it with plastic works.
We bring drop cloths and plastic barriers to protect floors and adjacent spaces, but we’re not moving your furniture. That’s on you or whoever you hire to handle it. Heavy items like dressers, beds, and entertainment centers need to be out of the way before we start taping and mudding.
For smaller repair jobs—patching a hole, fixing a crack—you usually don’t need to clear the whole room. Just move anything within a few feet of the work area. We’ll let you know during the estimate what level of prep makes sense for your specific project. The more accessible the work area, the faster we finish and the less disruption you deal with.
Other Services we provide in Longmead Farms