

You shouldn’t see where one sheet of drywall ends and another begins. That’s the standard, and it’s what proper taping and mudding delivers.
When drywall finishing is done right, your walls are smooth, your seams are invisible, and your paint goes on clean without telegraphing every joint underneath. You’re not dealing with bubbles six months later or calling someone back to fix what should’ve been done correctly the first time.
This matters in Crestmont Farms homes where natural light pours through large windows and shows every imperfection. The difference between adequate work and professional drywall finishing shows up the moment you turn the lights on. You either see flawless walls ready for the next step, or you see the shortcuts someone took to finish faster.
We handle drywall finishing across Crestmont Farms and the surrounding Montgomery County area. We’ve worked in enough homes here to understand what these properties need—older homes with plaster that needs careful blending, newer construction that demands Level 4 or Level 5 finishes, and everything in between.
The homes in Crestmont Farms aren’t cookie-cutter. They’ve got character, established architecture, and homeowners who notice details. That’s exactly the kind of work we show up for—projects where the finish quality actually matters and where cutting corners shows up immediately.
We’re not a handyman service trying to figure out drywall on your dime. This is what we do, and we do it throughout the area for homeowners who want it done once and done right.
We start by assessing what you need. That means looking at your walls, understanding the finish level required based on your lighting and paint plans, and being straight with you about what’s involved.
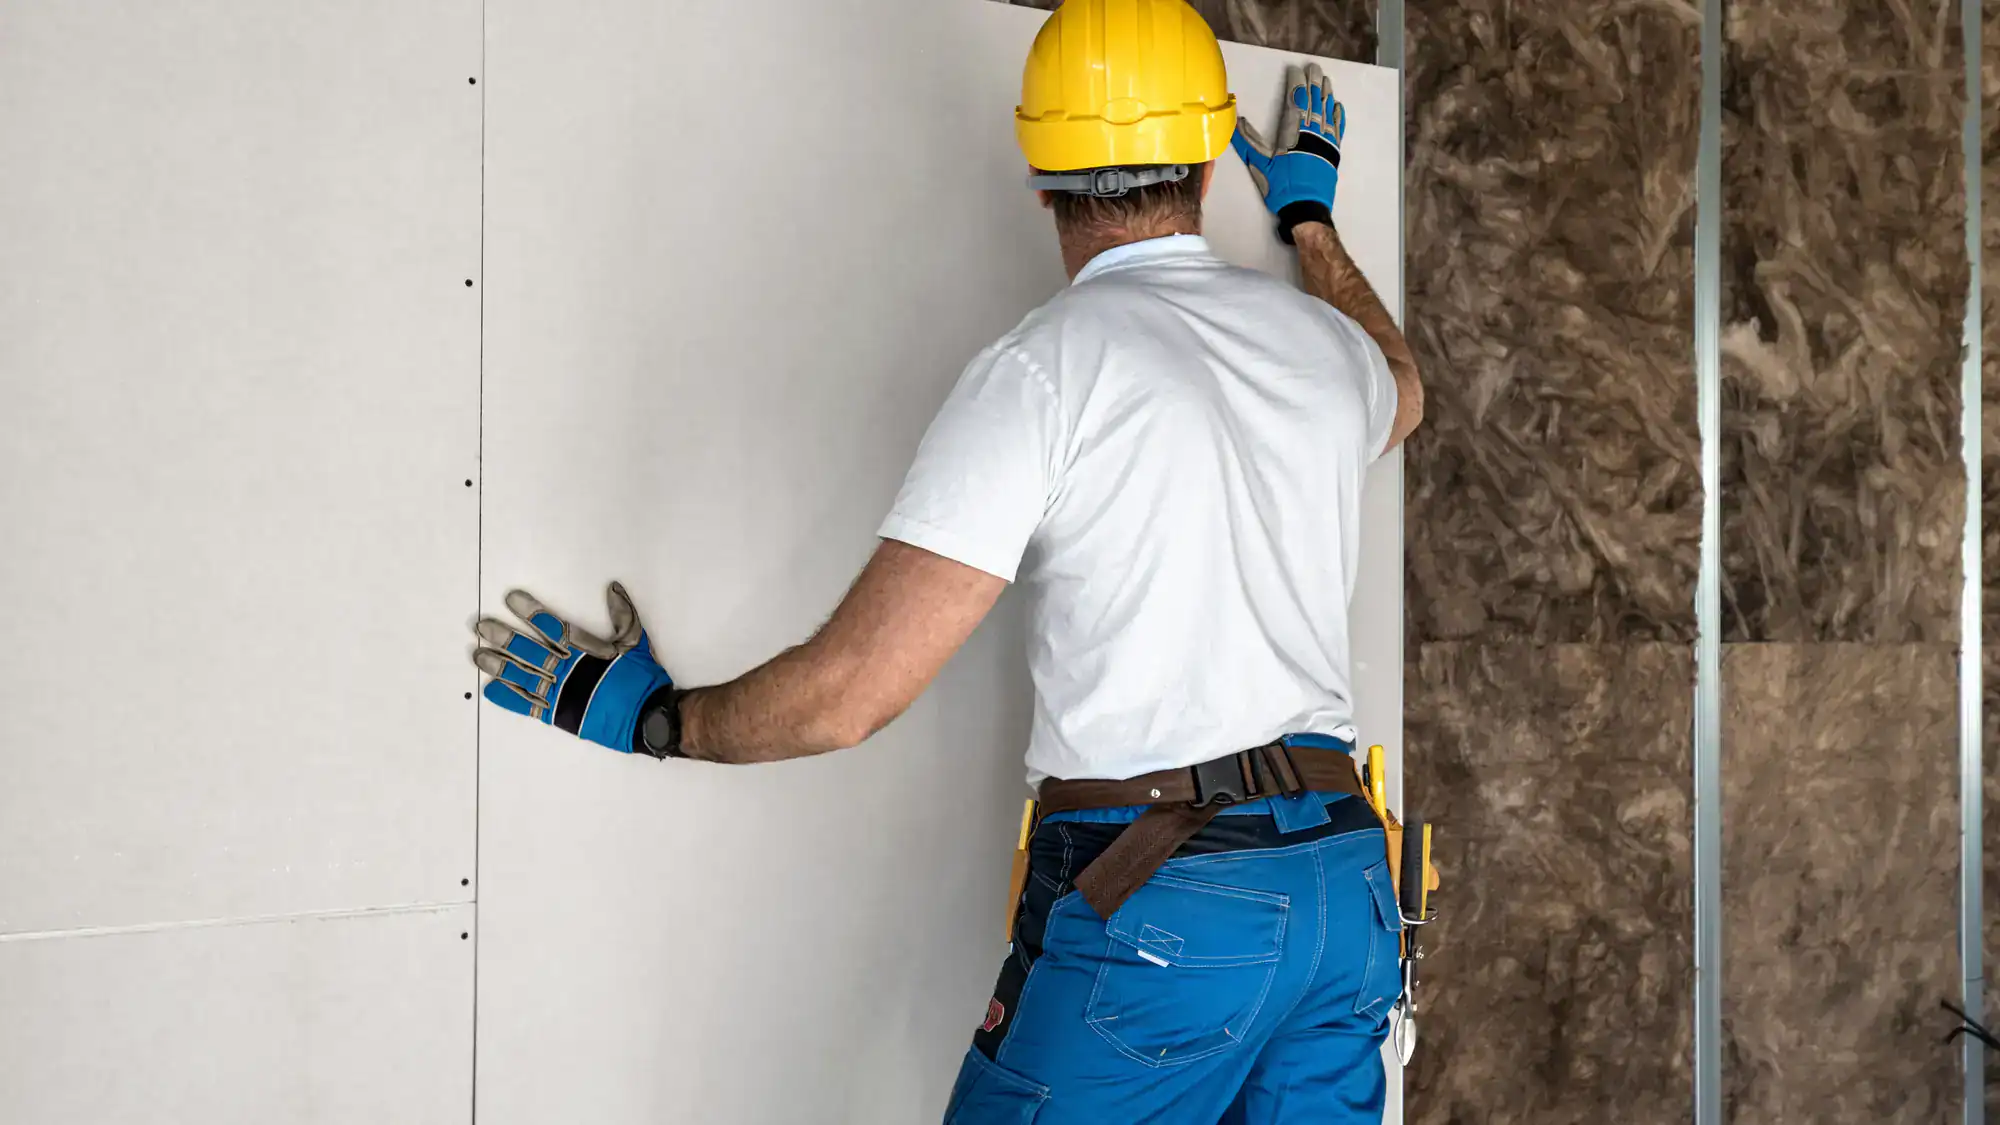
Then comes taping—embedding paper or mesh tape into the first coat of joint compound over every seam and screw. This is where most problems start if it’s rushed. The tape has to sit flat, fully bedded, with no air pockets.
Next is mudding. We apply multiple coats of joint compound, letting each one dry completely before the next. Each coat gets feathered wider than the last so the transition from joint to wall disappears. After the final coat dries, we sand everything smooth, checking under raking light to catch imperfections you’d see later.
If you need texture matching, that happens after sanding. We assess your existing texture and replicate it using the right tools and technique—spray, hand trowel, or roller depending on what’s already on your walls. Then we clean up completely, removing dust and debris so your space is ready for paint.

Ready to get started?
Professional drywall finishing covers taping all seams and corners, applying multiple coats of joint compound, sanding to a smooth finish, and complete cleanup. Depending on your project, that might mean Level 4 finishing—the standard for most residential work in Crestmont Farms—or Level 5 for areas with critical lighting or high-end paint finishes.
In Montgomery County, we’re often working with homes that have existing texture or specific architectural details. That means texture matching is frequently part of the scope. Whether it’s orange peel, knockdown, or something custom, we assess what’s there and replicate it so new work blends seamlessly.
You’re also getting proper surface prep, which matters more than most people realize. Joint compound doesn’t stick to dust, loose paper, or damp surfaces. We make sure everything is clean, dry, and ready before we start. That prevents the bubbling and peeling that happens when someone rushes through prep to get to the finish faster.
The cost typically runs between $1.50 and $3.50 per square foot depending on the finish level and complexity. That’s the going rate for professional work in Pennsylvania, and it reflects the time, materials, and expertise required to do this correctly.
Visible seams usually mean the joint compound wasn’t feathered wide enough or the final coats were too thin. When you only mud directly over the tape without extending each coat several inches beyond the previous one, you create a raised ridge that shows through paint.
Another common cause is insufficient sanding. Even if the compound is applied correctly, any ridges or high spots need to be sanded smooth. Most pros check their work with a raking light—shining a work light at a low angle across the wall to highlight any imperfections before paint goes on.
The fix requires sanding down the existing seams, applying wider coats of compound, and blending everything flush with the surrounding wall. It’s more work than doing it right the first time, which is why proper drywall finishing in Crestmont Farms matters from the start.
Texture matching starts with identifying what’s already on your walls. Orange peel, knockdown, skip trowel, and splatter textures all require different tools and techniques. We look at the pattern, the depth, and the consistency to figure out how it was originally applied.
For orange peel, we typically use a spray hopper with the right tip size and air pressure to replicate the pattern. Knockdown texture gets sprayed on and then lightly flattened with a trowel after it sets for a specific amount of time. Hand-applied textures require matching the original tool marks and application style.
The tricky part is blending the edges where new texture meets old. You can’t just stop at the repair line—you have to feather the new texture into the existing surface so there’s no visible transition. This takes practice and a good eye, which is why texture matching is one of those things that separates professional drywall contractors from handyman services trying to figure it out as they go.
Level 4 finishing is the standard for most residential projects in Crestmont Farms. It includes tape embedded in joint compound, three coats of mud over seams and fasteners, and smooth sanding. This finish works well under flat paint and light textures, and it’s what you’ll see in the majority of homes.
Level 5 adds a final skim coat of joint compound over the entire surface—not just the seams. This creates the smoothest possible finish and is recommended when you’re using high-sheen paint, have critical lighting conditions like large windows or angled light, or want a premium finish in high-visibility areas.
The cost difference reflects the additional material and labor. Level 5 requires coating every square foot of drywall, not just the joints, and it adds time to the project for application and drying. Most homeowners don’t need Level 5 everywhere, but it makes sense in spaces where lighting will show every imperfection—like living rooms with lots of natural light or hallways with wall sconces.
Bubbling happens when tape isn’t fully embedded in the joint compound during the first coat. If there’s any gap between the tape and the drywall surface, air gets trapped and creates a bubble. This usually means the compound layer under the tape was too thin or the tape wasn’t pressed firmly enough during application.
Peeling typically results from applying compound over a surface that wasn’t ready—either dusty, damp, or contaminated with something that prevents adhesion. Joint compound needs a clean, dry surface to bond properly. If the drywall paper is damp from humidity or the surface wasn’t wiped down, the tape won’t stick long-term.
The other common cause is applying the second coat before the first one is completely dry. Wet compound over wet compound can cause the tape to lift or the layers to separate. Professional drywall taping and mudding means waiting for each coat to cure fully, even when that slows down the timeline. Rushing this process creates problems you’ll see within months.
A typical room takes three to five days from start to finish, but that’s mostly drying time, not active work. Each coat of joint compound needs to dry completely before the next one goes on—usually 24 hours depending on temperature and humidity. You can’t speed this up without compromising the finish.
The actual work breaks down to a few hours for taping, a few hours for each subsequent coat of mud, and a few hours for sanding. But those steps have to happen on different days. Trying to compress the timeline by applying coats before the previous one is dry causes bubbling, cracking, and poor adhesion.
Larger projects or whole-home drywall installation and finishing in Crestmont Farms obviously take longer, but the per-room timing stays consistent. If someone tells you they can tape, mud, and finish drywall in a day or two, they’re either skipping coats or not letting things dry properly. Neither option gives you the finish quality you’re paying for.
Yes, complete cleanup is part of the job. Drywall finishing creates a significant amount of dust from sanding, and leaving that behind isn’t professional. We use dust containment methods during sanding and vacuum thoroughly when we’re done.
That means wiping down surfaces, cleaning floors, and making sure no compound residue or dust is left on trim, windows, or fixtures. We also remove all debris and leftover materials from your property. You shouldn’t have to clean up after us—the space should be ready for the next step, whether that’s priming, painting, or just moving back in.
In Crestmont Farms homes, where many properties have finished hardwood floors and detailed trim work, protecting surfaces during the job and cleaning properly afterward matters. We use drop cloths and plastic sheeting to contain mess during work, not just at the end. Professional drywall finishing services include leaving your home in better shape than when we arrived.
Other Services we provide in Crestmont Farms