
You’re not looking at that crack anymore. The water stain from last winter’s leak is gone. That section where the doorknob punched through looks like solid wall again.
When drywall patching in Lawndale, PA is done right, you shouldn’t be able to find where the damage was. The texture matches. The paint blends. The surface is smooth and clean when you run your hand across it.
Most repairs finish the same day. You get your space back without living around a construction zone for weeks. No dust coating your furniture. No half-finished patches staring at you while you wait for someone to come back and “finish up later.”
The difference shows up when you turn the lights on at different angles and see nothing. When guests walk through and don’t notice. When you stop thinking about that spot on the wall because it’s not a spot anymore.
We exist because too many Lawndale homeowners were dealing with contractors who left messes, missed deadlines, and delivered work that looked worse than the original damage. We decided to do it differently.
We’ve spent over a decade working in Montgomery, Bucks, and Philadelphia counties. Most of that time has been in neighborhoods like Lawndale, where the housing stock dates back to the 1940s through 1960s. Older rowhomes and attached properties come with their own challenges—foundation shifts, moisture issues, plaster-to-drywall transitions.
You’re not getting a crew that treats your home like a quick stop between bigger jobs. Every repair gets the same attention we’d give our own walls. Licensed, insured, and focused on getting it right the first time.
First, we assess the damage. Small holes and cracks are straightforward. Water damage or larger sections require checking what’s behind the drywall before we patch anything. You’ll know what needs to happen before we start.
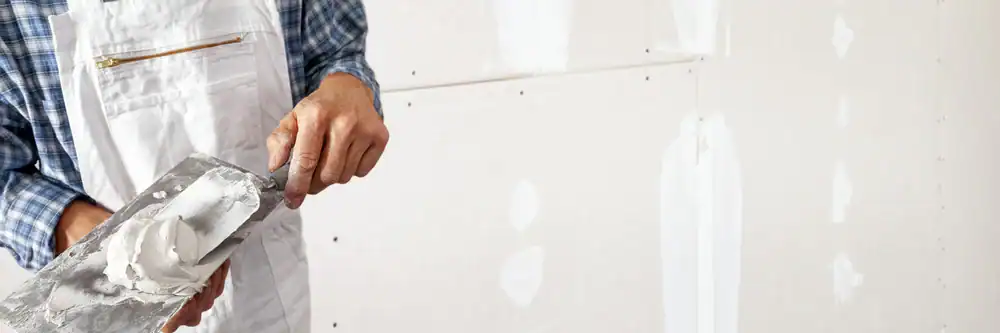
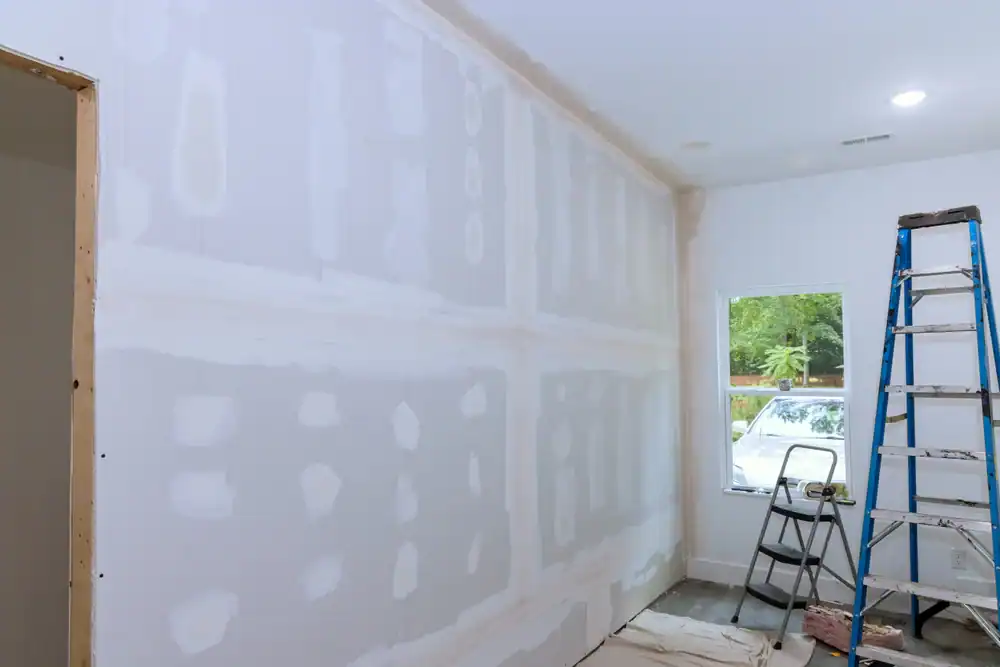
We cut out damaged sections cleanly, secure backing if needed, and fit new drywall or apply joint compound for smaller repairs. The first coat of drywall mud in Lawndale, PA goes on to fill and level. Then we feather the edges so there’s no ridge or bump where old meets new.
Dry time matters. Rushing this step is where most bad patches come from. We let each coat cure properly, then sand smooth. Texture matching comes next—whether it’s knockdown, orange peel, or smooth. We recreate what’s already on your walls so the repair blends completely.
Finally, we prime and paint. The patched area disappears. We clean everything—dust, debris, mud drips. You’re left with a wall that looks untouched and a space that’s ready to use.
Ready to get started?
You get a free estimate with clear pricing before any work starts. No surprise fees. The quote you see is what you pay.
We handle everything from nail pops and small holes to ceiling cracks and water-damaged sections. For Lawndale’s older attached homes, we’re used to working with plaster walls, tight spaces, and the kind of settling that happens in rowhomes built 60-plus years ago. Moisture from shared walls, foundation movement, freeze-thaw cycles—we’ve seen it.
Materials matter. We use mold-resistant drywall in areas prone to moisture and professional-grade joint compound that won’t crack or shrink as it cures. Texture matching uses the same tools and techniques that make repairs invisible, not obvious.
Cleanup is part of the job, not an extra. We protect your floors and furniture, contain dust during sanding, and remove all debris when we’re finished. You shouldn’t have to vacuum drywall dust out of your vents for the next month.
Same-day completion is standard for most repairs. Larger jobs might take two visits to allow proper dry time between coats, but we’re not stretching a half-day job into a week-long project. You get your space back fast.
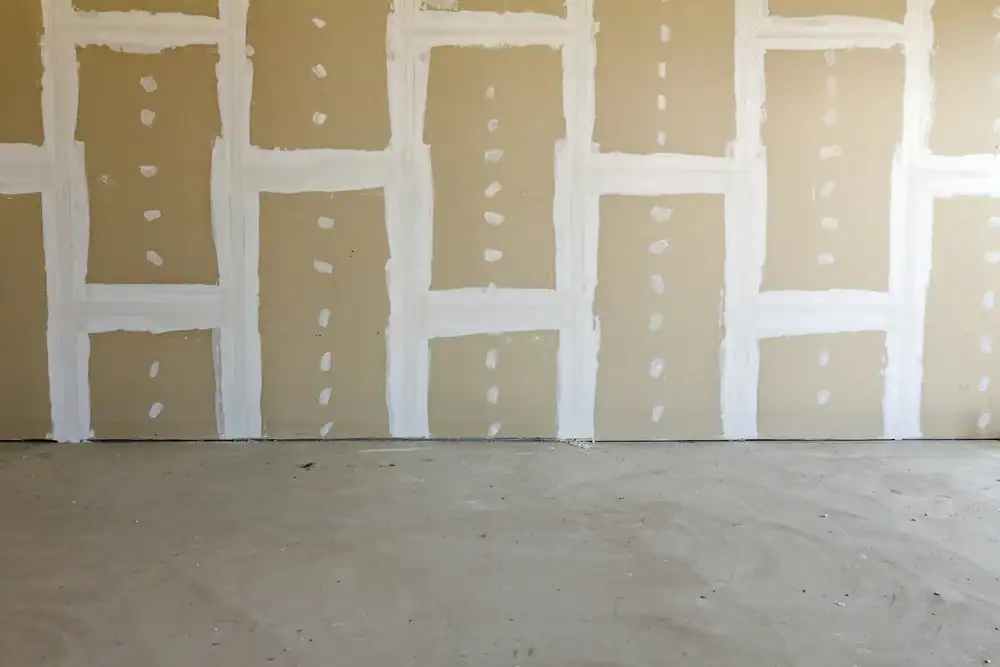
Dry time for joint compound in Lawndale typically runs 24 hours between coats under normal conditions. That’s for standard indoor temperatures between 65-75°F with moderate humidity.
Winter changes things. If your heat is set low or the room is cold, drying slows down. Summer humidity can also extend dry time, especially in older Lawndale rowhomes without central air where moisture lingers.
We don’t rush it. Sanding or applying the next coat before the first coat fully cures causes cracking, shrinking, and weak repairs that fail within months. Proper dry time is the difference between a patch that lasts and one that needs redoing next year.
For most small to medium repairs, you’re looking at 24-48 hours total from start to finish, including multiple coats and final sanding before we prime and paint.
Yes. Texture matching is part of every drywall patching job in Lawndale, PA. Whether your walls have knockdown, orange peel, skip trowel, or smooth finish, we recreate it so the repair blends completely.
We use the same tools and application techniques that created your original texture. For knockdown, that means applying joint compound, letting it set slightly, then knocking it down with a trowel at the right angle. Orange peel requires a hopper gun with the correct nozzle size and air pressure to match the existing pattern.
The key is working with your existing walls, not against them. We test the texture on scrap or an inconspicuous area first to dial in the match before touching the actual repair. Once it’s right, we apply it to the patched section.
After the texture dries, we prime and paint to match your wall color. The goal is making the repair invisible. If you can spot where we worked after we’re done, we didn’t do our job right.
Foundation settlement is the main culprit in Lawndale’s older housing stock. Homes built in the 1940s through 1960s shift over time. Rowhomes and attached properties experience this more because movement in one unit affects the shared walls.
Seasonal freeze-thaw cycles stress foundations. Water gets into small cracks, freezes, expands, and pushes things around. Over decades, that adds up. You’ll see cracks at corners, along ceiling lines, and around door frames where stress concentrates.
Moisture is another factor. Older homes weren’t built with the same moisture barriers modern construction uses. Water from shared walls, roof leaks, or plumbing issues soaks into drywall and plaster, weakening it. As materials dry and contract, cracks form.
Sometimes it’s just age. Drywall compound and plaster dry out over 50-60 years. They become brittle and crack under normal stress. Patching these properly means addressing what’s behind the surface, not just covering the crack with spackle and hoping it holds.
Small repairs—nail holes, minor dings, hairline cracks—typically run $150-$300. That includes patching, sanding, texture matching, and paint.
Medium repairs for holes up to 12 inches or multiple small areas range from $300-$600. Larger sections, water damage, or ceiling repairs that require cutting out and replacing drywall run $600-$1,200 depending on size and complexity.
What affects cost is the scope of damage and what’s required to fix it properly. A fist-sized hole in a standard wall is straightforward. Water damage that’s compromised studs or insulation behind the drywall costs more because there’s more to repair. Matching complex textures or working in hard-to-reach areas like high ceilings adds time.
We give you a clear quote upfront after seeing the damage. No hidden fees. No “we found more problems” upcharges unless you approve additional work first. The price we quote is what you pay, and you’ll know exactly what that covers before we start.
Yes. Skipping primer is why most DIY patches show through paint. Bare drywall and joint compound absorb paint differently than your existing wall surface. Without primer, the patched area looks flat, dull, or a different shade even when using the exact same paint.
Primer seals the porous surface of new drywall mud and creates a uniform base for paint to adhere to. It prevents the topcoat from soaking in unevenly, which is what causes those obvious spots where repairs were made.
We use a quality drywall primer on every patch before applying finish paint. For small repairs, a spot prime works. Larger sections get full coverage. If the repair is in a bathroom, kitchen, or anywhere moisture is a factor, we use a primer with mold and mildew resistance.
After priming, we apply your wall color. Most times one coat is enough for small patches. Larger repairs might need two coats depending on the color and existing paint condition. The goal is making the repair disappear completely, and proper priming is what makes that possible.
We contain the work area before starting. Drop cloths go down to protect floors. Plastic sheeting covers furniture if needed. For sanding, we use dust-collection tools that capture most of the fine particles before they spread through your home.
Drywall dust is the biggest mess factor. It’s fine, gets everywhere, and lingers if not controlled. We wet-sand when possible for smaller repairs, which eliminates most airborne dust. For larger jobs requiring power sanders, we use equipment with built-in vacuums that pull dust directly into a collection bag.
Between coats, we clean up debris and mud drips immediately. Dried joint compound is harder to remove than wet, so we don’t let it sit. Tools get cleaned outside or in a contained area, not in your sink.
Final cleanup happens after we finish. We vacuum the work area, wipe down surfaces where dust settled, and remove all materials and trash. You shouldn’t be finding drywall dust in your home weeks after we leave. Clean work is part of doing the job right, not an optional add-on.
Other Services we provide in Lawndale