
You get walls that don’t crack six months later. You get a surface that takes paint evenly, without shadows or texture showing through under your kitchen lights or that afternoon sun coming through the living room window.
Most drywall problems don’t show up until after the contractor leaves. Seams start telegraphing through the paint. Nail pops appear. The texture doesn’t match the rest of the wall. You’re stuck repainting or calling someone else to fix what should’ve been done correctly the first time.
Professional drywall finishing in Lawndale, PA means proper taping, the right mud application, correct sanding techniques, and inspection under critical lighting before any paint goes on. It means using the right finish level for your specific project—Level 4 for most rooms, Level 5 for areas with harsh lighting or when you’re using flat paint that shows every imperfection.
You’re not paying for speed. You’re paying for walls that perform the way they should for the next 20 years.
We’ve spent over ten years handling drywall installation and finishing in Lawndale, PA and throughout the Philadelphia area. We’re licensed, insured, and we’ve seen what happens when finishing work gets rushed or done by someone learning on your walls.
Lawndale has a housing stock that’s mostly older—rowhouses, twins, singles built before the 1970s. That means plaster repairs, matching existing textures, and working in tight spaces where every seam matters. We know what these homes need because we’ve worked in hundreds of them.
We don’t take shortcuts. We don’t leave dust everywhere. And we don’t disappear when the check clears.
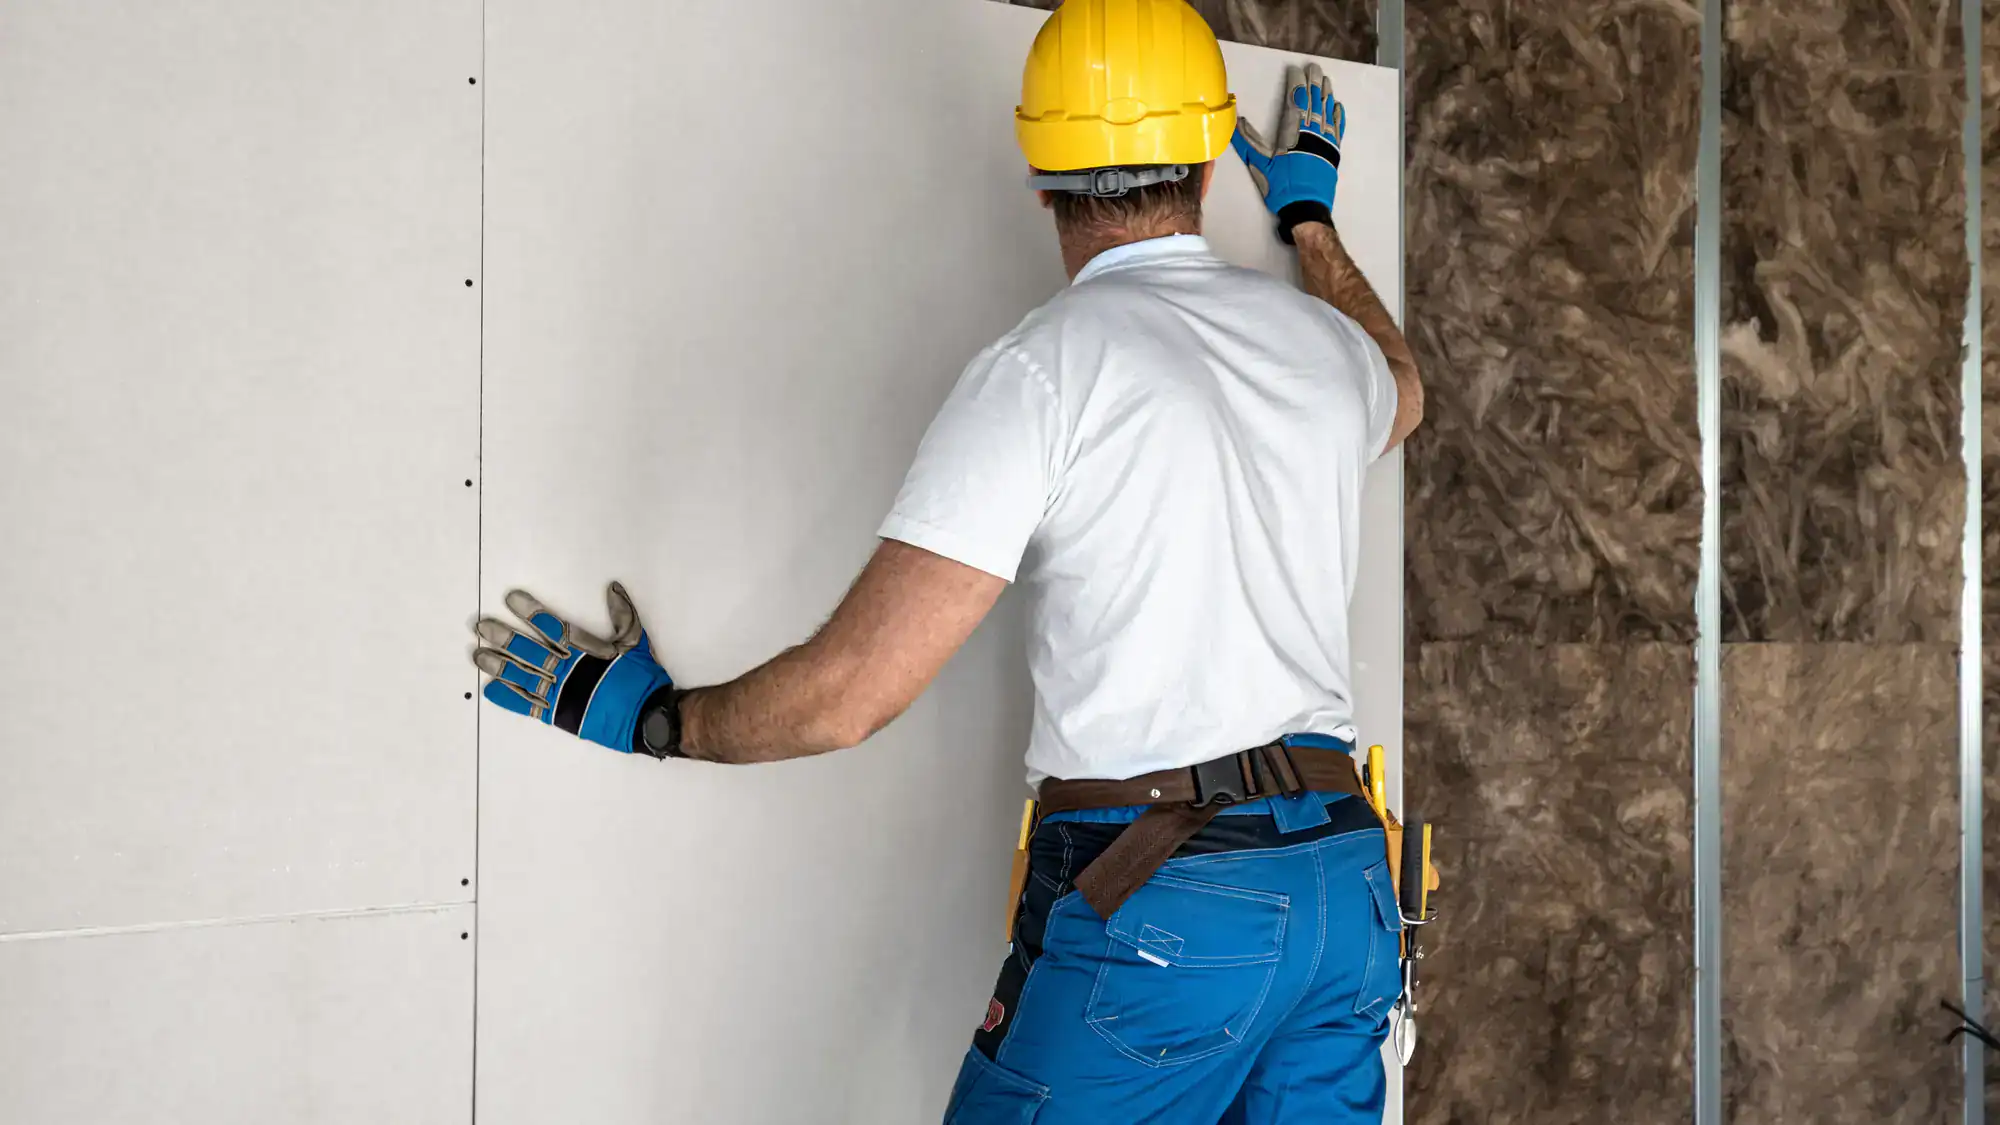
First, we assess what you need. If it’s new drywall, we measure, cut, and hang the sheets with proper fastener spacing so nothing pops later. If it’s a repair, we remove any damaged material and prep the surface so the patch bonds correctly.
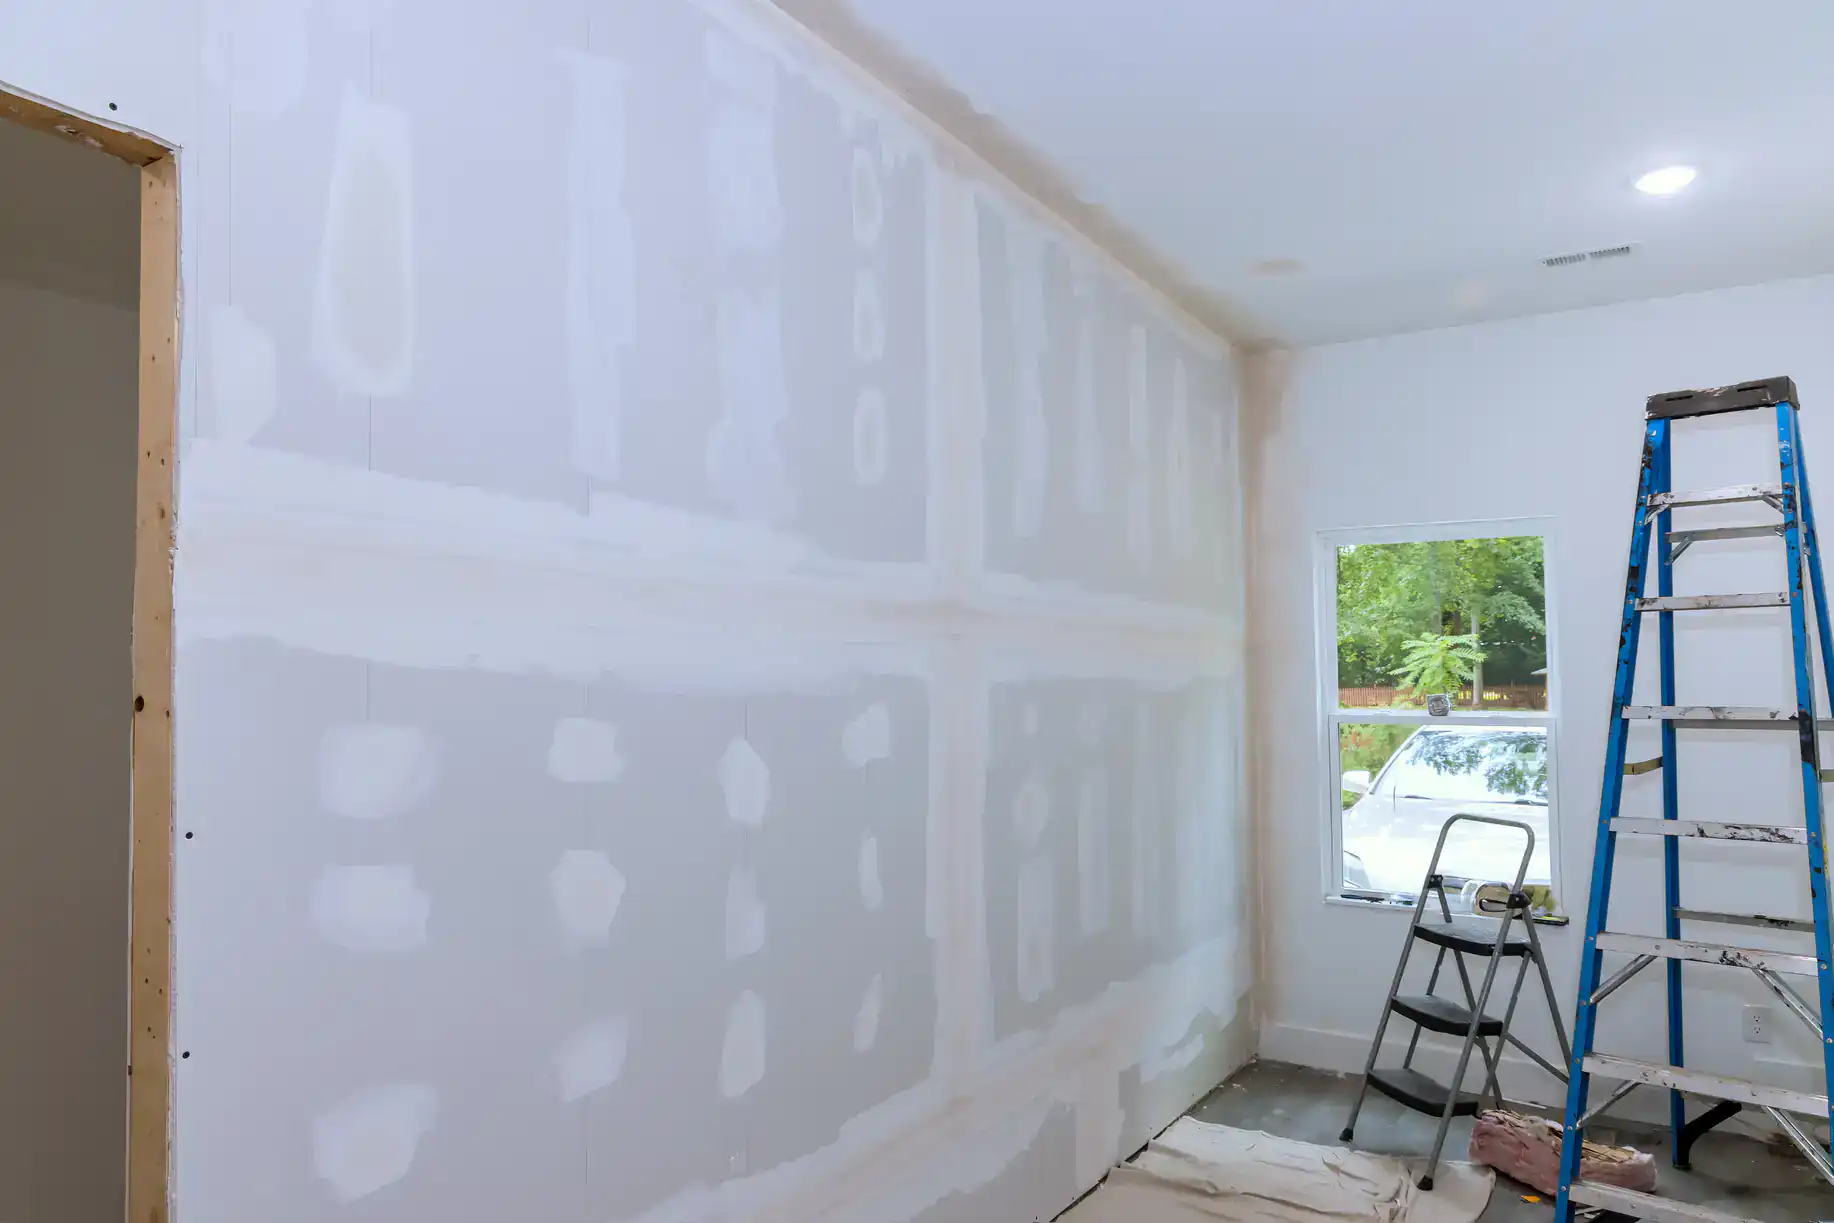
Then comes taping. We embed paper or mesh tape into the first coat of joint compound at every seam and corner. This is where most DIY jobs and cheap contractors fail—they skip steps, use too much mud, or don’t feather the edges properly.
Next is mudding. We apply multiple coats of joint compound, letting each one dry completely before sanding and applying the next. The number of coats depends on the finish level you need. We use the right size knives for each stage, feathering edges so transitions disappear.
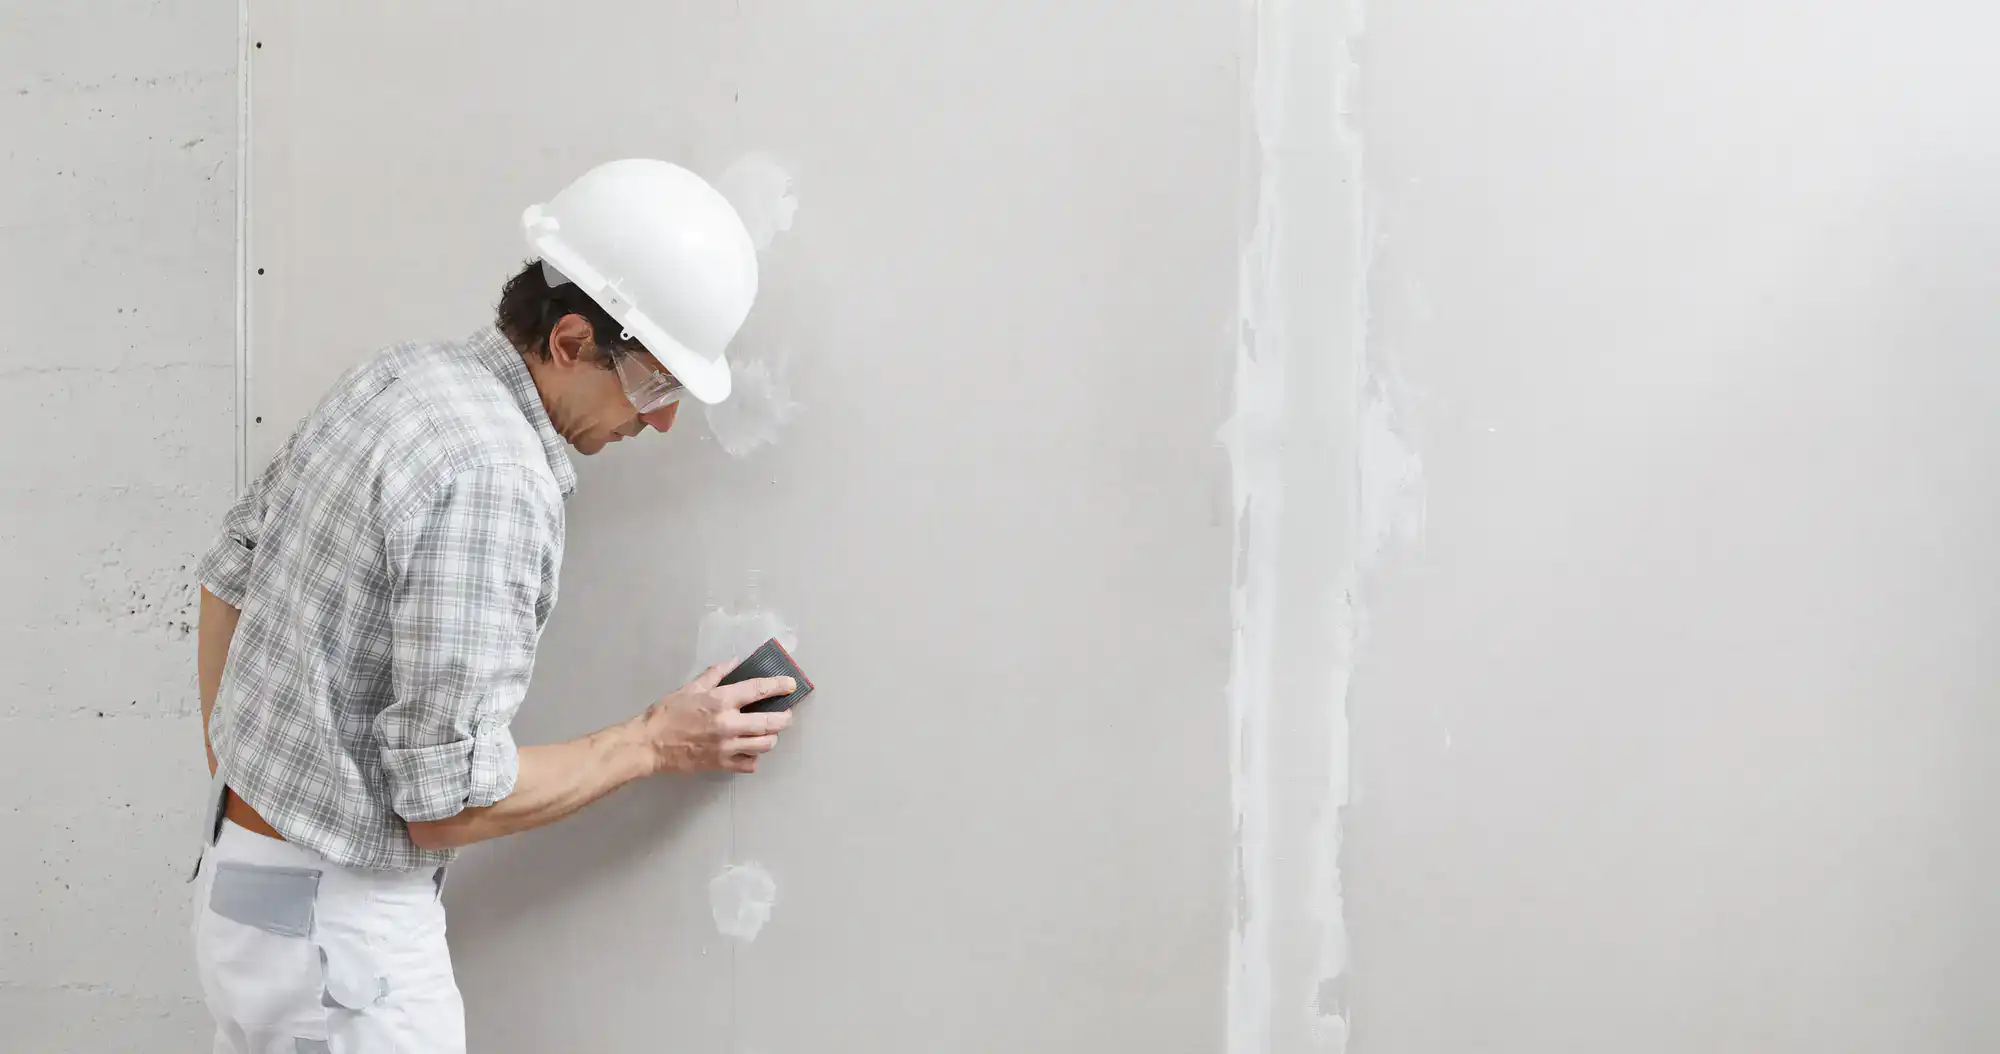
Sanding comes next, but not the kind that destroys the paper face or leaves ridges. We sand smooth without over-working the surface, then inspect everything under bright work lights that show imperfections regular room lighting hides.
Finally, we prime if needed and clean up completely. No dust on your floors, no compound on your trim, no mess left behind.
Ready to get started?
You get complete taping of all seams and corners with proper embedding technique. You get multiple coats of joint compound applied with the right consistency and feathered correctly so seams disappear. You get sanding that creates a uniform surface without damaging the drywall paper or leaving ridges.
You also get finish level options based on your project. Level 4 is standard for most walls and ceilings that will be painted with flat or eggshell paint under normal lighting. Level 5 adds a skim coat of joint compound over the entire surface—necessary for areas with critical lighting, glossy paints, or anywhere you need absolute uniformity.
In Lawndale, PA, where most homes have a mix of original plaster and newer drywall repairs, texture matching matters. We match existing wall textures so repairs blend invisibly with surrounding surfaces. We also handle any necessary priming to prevent joint compound from flashing through your final paint.
The goal isn’t just smooth walls. It’s walls that perform correctly when you paint them, when light hits them at an angle, and ten years from now when everything else in your house has held up the way it should.
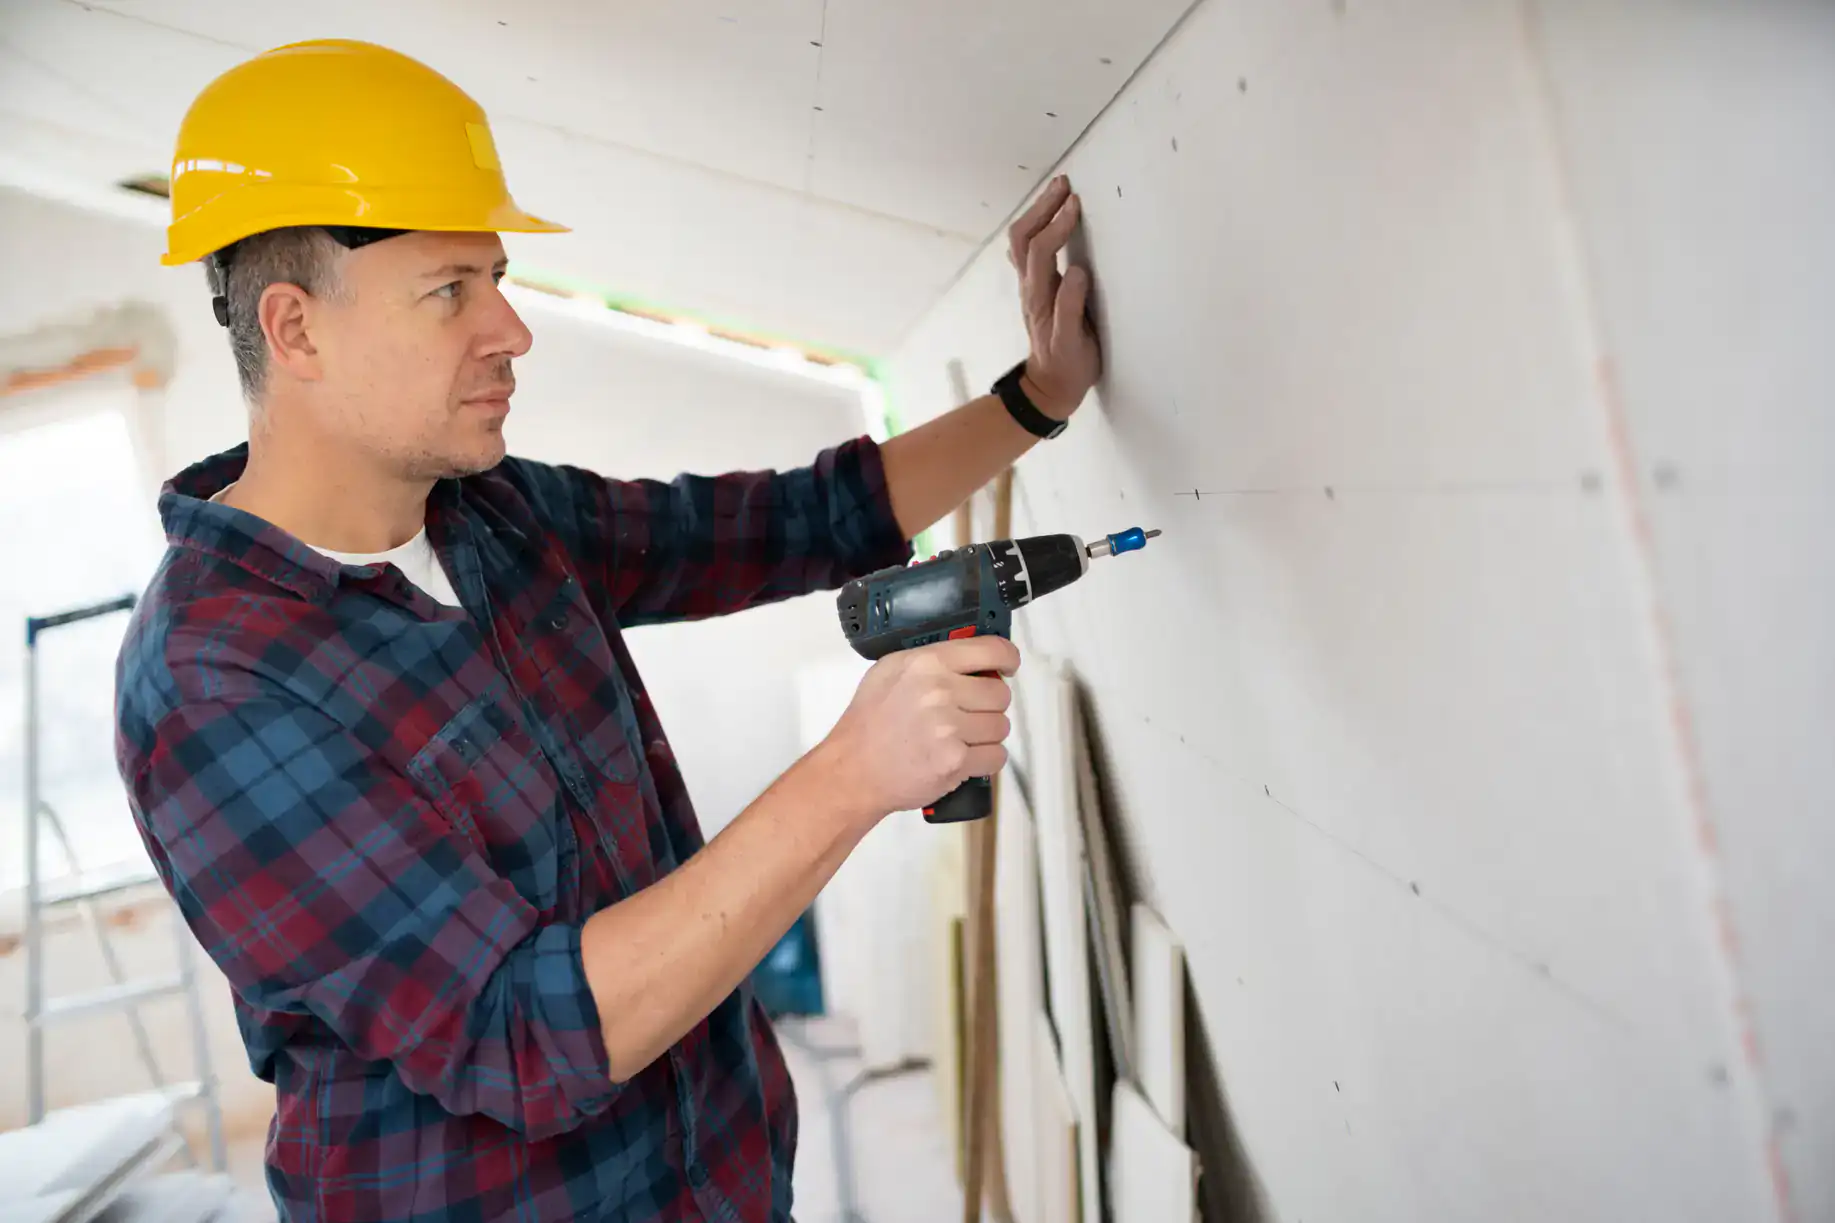
Level 4 finishing means all joints and fasteners are covered with joint compound, properly taped, and sanded smooth. The surface is ready for paint, and it’s the standard finish for most residential walls and ceilings. You’ll have a uniform surface, but under certain lighting conditions or with glossy paints, you might see slight texture differences between the drywall paper and the joint compound.
Level 5 finishing adds a skim coat of joint compound over the entire surface—not just the seams. This creates absolute uniformity because now everything has the same texture. You need Level 5 when you’re using flat paint, when you have critical lighting like large windows or track lighting that rakes across walls, or in commercial spaces where appearance standards are higher.
Most Lawndale, PA homes do fine with Level 4 in bedrooms, hallways, and standard living spaces. But if you’re finishing a room with big windows facing south, or you’re using a flat or matte paint that shows every imperfection, Level 5 is worth the additional cost. It’s not dramatically more expensive—usually a few hundred dollars for an average room—but it eliminates the “joint banding” problem where seams become visible under certain conditions.
A typical room takes three to five days, but that’s mostly drying time, not labor. Each coat of joint compound needs to dry completely before you can sand it and apply the next coat. Rushing this process causes problems—mud that’s still damp will sand poorly, leave rough spots, or crack as it continues drying.
For a standard bedroom or living room, expect day one for taping and first coat, day two for second coat, day three for final coat, day four for sanding and inspection, and day five for any touch-ups and priming if needed. Larger projects or whole-house finishing obviously take longer, but the process doesn’t change.
Weather affects drying time. High humidity slows everything down. Winter heating can speed it up but also increases cracking risk if mud dries too fast. We adjust our schedule based on conditions because proper drying matters more than hitting an arbitrary deadline. You’re better off waiting an extra day than dealing with repairs six months later because someone rushed the job to finish by Friday.
Most cracking happens because of improper taping technique or using the wrong type of mud. If tape isn’t fully embedded in the first coat of joint compound, it can lift or bubble. If the mud is mixed too thick or applied in coats that are too heavy, it shrinks as it dries and cracks along the seams.
Fastener pops—where screws or nails push through the surface—happen when drywall isn’t attached to studs correctly, when the framing lumber shrinks after installation, or when someone uses too few fasteners during hanging. You need screws every 12 inches on walls, every 8 inches on ceilings, and they need to be set just below the surface without breaking the paper.
Seams that show through paint even when they’re not cracked are usually a joint banding problem. The drywall paper has a different texture than joint compound, and under certain lighting or with certain paints, that difference becomes visible. This is why Level 5 finishing exists—it eliminates the texture difference by covering everything with a uniform skim coat.
In older Lawndale, PA homes, you also get cracking from house settlement, temperature changes, and humidity fluctuations. Proper finishing technique minimizes these issues, but no amount of skill can prevent every crack in a 70-year-old rowhouse that shifts with the seasons. What we can do is make sure cracks that do appear are minimal and easy to touch up.
Yes, but it requires the right tools and experience with different texture types. Most homes have either smooth walls, orange peel texture, knockdown texture, or in older Lawndale properties, original plaster with a troweled finish that’s nearly impossible to replicate perfectly.
Orange peel and knockdown textures are applied with a hopper gun that sprays joint compound in a specific pattern. Orange peel is left as-is after spraying. Knockdown gets lightly troweled after spraying to flatten the peaks. Getting the right consistency of mud, the correct air pressure, and the proper spray pattern takes practice. We keep samples of common textures so you can see what the repair will look like before we spray your entire wall.
Smooth wall repairs are actually harder than textured ones because there’s nowhere to hide imperfections. Every ridge, every slight unevenness shows up under paint. This is where proper feathering technique and multiple thin coats matter most. We sand smooth, prime, inspect under work lights, and often apply another skim coat before final sanding.
For plaster repairs in older homes, we sometimes use actual plaster rather than joint compound because it matches the hardness and texture of the original material better. Modern joint compound works fine for most repairs, but when you’re patching a large area in a 1940s rowhouse with original plaster walls, matching the material gives you better results.
Most residential drywall finishing runs between $1.50 and $3.50 per square foot, depending on finish level, ceiling height, and project complexity. A standard 12×12 bedroom with 8-foot ceilings has roughly 480 square feet of wall surface, so you’re looking at $720 to $1,680 for finishing.
Level 5 finishing costs more than Level 4—usually an additional $0.50 to $1.00 per square foot—because of the extra skim coat and additional sanding. Ceiling work costs more than walls because it’s harder to do and requires more setup. Repairs cost more per square foot than new installation because prep work takes longer and texture matching adds complexity.
The difference between budget finishing and quality finishing might only be $500 to $800 on a typical room, but that difference shows up in how long the work lasts and how it looks under your specific lighting conditions. Cheap finishing uses fewer coats, skips proper sanding, and doesn’t inspect under critical lighting. You save money upfront and spend it later on repaints, repairs, or complete re-dos.
We provide upfront estimates that break down exactly what you’re getting—how many coats, what finish level, whether priming is included, and what the cleanup process involves. No surprises, no hidden fees, no change orders unless you actually change the scope of work.
Yes, and it’s included in every project. Drywall finishing creates dust—lots of it—especially during sanding. We contain as much as possible during the work using plastic sheeting and door barriers, but some dust is inevitable when you’re sanding hundreds of square feet of joint compound.
After sanding, we vacuum all surfaces including walls, floors, trim, and window sills. We wipe down any areas where dust settled. We remove all debris, empty mud buckets, used sandpaper, and any drywall scraps. We don’t leave anything behind that you need to deal with.
Most contractors do some cleanup, but not thorough cleanup. They’ll sweep the floor and call it done, leaving you with dust on your baseboards, your window tracks, and inside your HVAC vents if you ran heating or cooling during the work. We’ve seen homeowners spend hours cleaning after their “professional” contractor left, which shouldn’t happen.
If we’re working in an occupied home, we also respect your space. We don’t track mud through your house, we don’t leave tools scattered around, and we don’t use your bathroom or kitchen without asking. Basic professionalism matters, especially when we’re working in the home you live in every day.
Other Services we provide in Lawndale