

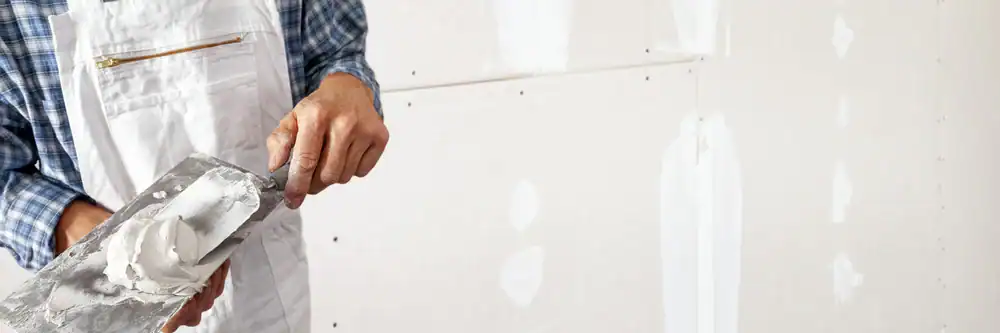
The hole’s gone. The crack’s sealed. The texture matches perfectly, and you can’t tell where the damage used to be.
That’s what happens when someone who knows how to feather the edges properly handles your drywall patching in Fairhill, PA. You’re not staring at a lumpy patch job that screams “DIY disaster.” You’re looking at a smooth, clean wall that’s ready for paint or already finished, depending on what you need.
Most of our jobs in Fairhill wrap up the same day we start. We’re talking about getting your space back to normal without a week-long disruption or a crew that disappears halfway through. The drywall mud goes on right, the dry time gets managed properly, and the finishing work actually blends with your existing walls.
You don’t need to worry about whether it’ll hold up or if you’ll see the repair every time you walk past it. The work lasts because we’re using the right materials and techniques for homes built in the early 1900s, which is most of what we see in this neighborhood.
Sharpe Drywall has been handling repairs across Montgomery and Bucks counties for years, and we’ve spent plenty of time in Fairhill fixing walls in homes that have been standing since before World War II. These older properties have their quirks—plaster mixed with drywall, settling cracks that keep coming back, water damage from old plumbing.
We’re not the crew that shows up, slaps some joint compound on the wall, and calls it done. We’re the ones homeowners call after they’ve already tried that and realized it doesn’t work. You get licensed, insured contractors who show up when they say they will and clean up completely before we leave.
The goal isn’t just to patch the hole. It’s to make sure you’re not dealing with the same problem six months from now because someone cut corners on the first coat or didn’t prep the surface correctly.
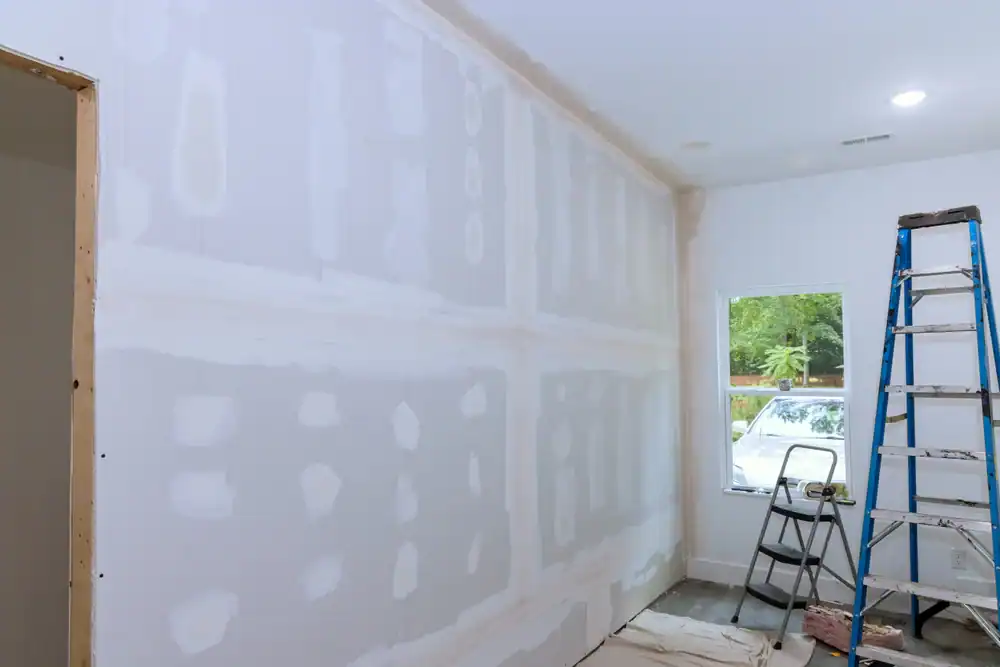
We start by assessing the damage and the wall itself. Is it drywall or plaster? Is there water damage we need to address first? What’s causing the crack—settling, moisture, or just age?
Once we know what we’re dealing with, we prep the area. That means cutting out damaged material cleanly, reinforcing if needed, and making sure the surface is ready to accept new drywall mud. This step matters more than most people realize, especially in older Fairhill homes where you might be patching into plaster or dealing with uneven surfaces.
Then comes the actual patching. We apply the first coat, let it dry properly, then add subsequent coats while feathering the edges so the repair blends seamlessly with the surrounding wall. Each layer gets sanded smooth before the next one goes on.
The finishing work is where you see the difference between a professional job and everything else. We match your existing texture—whether that’s smooth, knockdown, or something specific to your home’s original construction. Then we prime and paint if that’s part of your service, or we leave it prepped and ready for your painter.
You’re not left with dust everywhere or half-finished edges. We clean as we go and do a final cleanup before we consider the job complete.
Ready to get started?
Every drywall patching job in Fairhill, PA includes damage assessment, surface prep, and however many coats of joint compound your specific repair needs to sit flush and smooth. We’re not counting coats to save time—we’re doing what the wall requires.
You get texture matching that actually works. If your walls have that stippled look common in homes from the 1920s and 30s, we replicate it. If they’re smooth, they stay smooth. The repair disappears into the rest of the wall.
Complete cleanup is standard, not an add-on. Drywall dust gets everywhere if you’re not careful, and we know most Fairhill residents don’t have time to spend three days cleaning up after a contractor. We contain the mess, vacuum thoroughly, and haul away all debris.
For homes dealing with water damage—which we see often in this area’s older properties—we make sure the source is addressed before we patch. Covering up a leak with new drywall just means you’re paying for the same repair twice. We’ll tell you if there’s a bigger issue that needs handling first.
The work comes with proper insurance coverage and licensing, which matters more than people think when you’re letting someone into your home and trusting them to do structural repairs correctly.
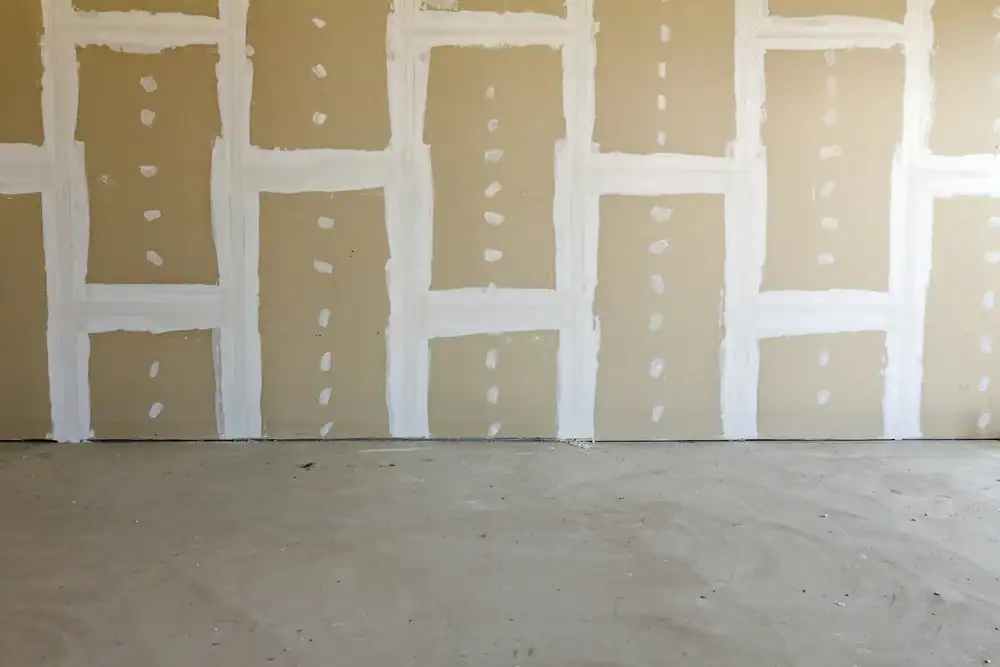
Most patches finish the same day we start, but the honest answer depends on the size of the damage and how many coats your specific repair needs. A small hole from a doorknob might take two hours start to finish. A larger section of water-damaged drywall could take four to six hours once we factor in proper dry time between coats.
The dry time is what it is—you can’t rush joint compound without creating problems later. We’re working with the material’s actual curing schedule, not trying to speed through it and leave you with cracks that show up two weeks later. In Fairhill’s older homes, we sometimes need extra time because we’re integrating new drywall with existing plaster, which requires different techniques than patching drywall to drywall.
If your repair needs prime and paint, add another few hours. But you’re still looking at same-day completion for most jobs, and you’re getting a repair that actually lasts instead of a quick fix that fails in six months.
Yes, and this is one of the most important parts of the job in a neighborhood where 60% of homes were built before 1940. These older properties have specific textures and finishes that you don’t see in newer construction—everything from smooth plaster to stippled patterns to knockdown textures that were popular in different decades.
We carry the tools and materials to replicate what’s already on your walls. That means the repair blends completely instead of standing out as an obvious patch. The technique for matching texture is different from just slapping mud on the wall and calling it done. You’re feathering the edges, building up layers gradually, and applying the final texture coat to match the surrounding area’s depth and pattern.
When we can’t get an exact match with standard techniques—which is rare but happens with some very old plaster finishes—we’ll tell you upfront and discuss options. Usually that means texturing a slightly larger area so the transition is invisible, or in some cases, texturing an entire wall section for consistency.
In this neighborhood, it’s usually settling. Homes built in the early 1900s have had a century to shift, and that movement creates stress points where walls meet ceilings or where additions connect to original structures. You patch the crack, it looks fine for a few months, then it reappears in the same spot.
The other common culprit is moisture. Fairhill’s older homes often have plumbing that’s been updated multiple times over the decades, and small leaks can cause drywall to swell and crack. If you’re seeing recurring cracks near bathrooms, kitchens, or exterior walls, there’s a good chance water is involved.
We fix recurring cracks differently than fresh damage. That means using mesh tape for reinforcement, applying joint compound in specific layers that flex slightly with the building’s movement, and sometimes installing a slightly larger patch that distributes stress across a wider area. If the crack is moisture-related, we’ll spot that during our assessment and let you know you need to address the water source before we patch, otherwise you’re wasting money on a repair that won’t hold.
Small patches—holes up to about six inches—typically run $150 to $250 depending on location and wall type. Medium repairs covering a couple square feet usually fall between $250 and $400. Larger sections or repairs involving water damage start around $400 and go up based on the extent of the work.
These prices include all materials, labor, and complete cleanup. You’re not getting charged separately for joint compound, mesh tape, primer, or any of the other supplies the job requires. And you’re not paying extra for us to vacuum up the dust and haul away debris.
What affects the price most in Fairhill homes is what we find when we open up the damaged area. If there’s old plaster underneath, or if water damage extends further than what’s visible on the surface, the scope changes. We’ll always tell you what we’re seeing before we proceed with work that goes beyond the original estimate. The goal is transparency, not surprise charges when we hand you the final bill.
Yes, and we see it regularly in this area’s older homes. Water damage needs to be addressed quickly—the longer wet drywall sits, the more likely you’re dealing with mold growth and structural issues that go beyond a simple patch job.
The first step is always identifying and stopping the water source. We’re not patching over active leaks because that just hides the problem temporarily while making it worse long-term. Once the source is handled, we remove all affected drywall, check the framing and insulation behind it, and make sure everything’s dry before we install new material.
Water-damaged drywall gets replaced, not patched. The material loses its structural integrity once it’s been saturated, and trying to save it means you’ll be dealing with sagging, crumbling walls down the line. We cut out the damaged section, install new drywall, tape and mud the seams, and finish it to match your existing walls. For Fairhill homeowners, we also use mold-resistant drywall in areas where moisture was an issue, which costs slightly more upfront but prevents recurring problems.
Small nail holes and tiny dings are fine for DIY if you’re comfortable with basic repairs. Grab some spackle, a putty knife, and sandpaper, and you can handle those yourself without much risk of making things worse.
Anything larger than your fist, or any damage involving cracks, water, or texture matching, usually goes better with a professional. The issue isn’t that you can’t learn the technique—it’s that getting it right requires specific tools, practice with feathering the edges, understanding how many coats your particular repair needs, and knowing how to match existing textures. Most homeowners don’t have a hawk and trowel sitting in their garage, and buying all the right supplies for one repair often costs almost as much as hiring someone who already owns the equipment and does this daily.
The bigger problem with DIY patches is they often look fine until you paint them, and then every imperfection shows up under the light. You end up with visible ridges, uneven texture, or a patch that’s slightly recessed or raised compared to the surrounding wall. At that point, you’re either living with an obvious repair or paying a contractor to fix both the original damage and the DIY attempt, which costs more than just doing it right the first time.
Other Services we provide in Fairhill