
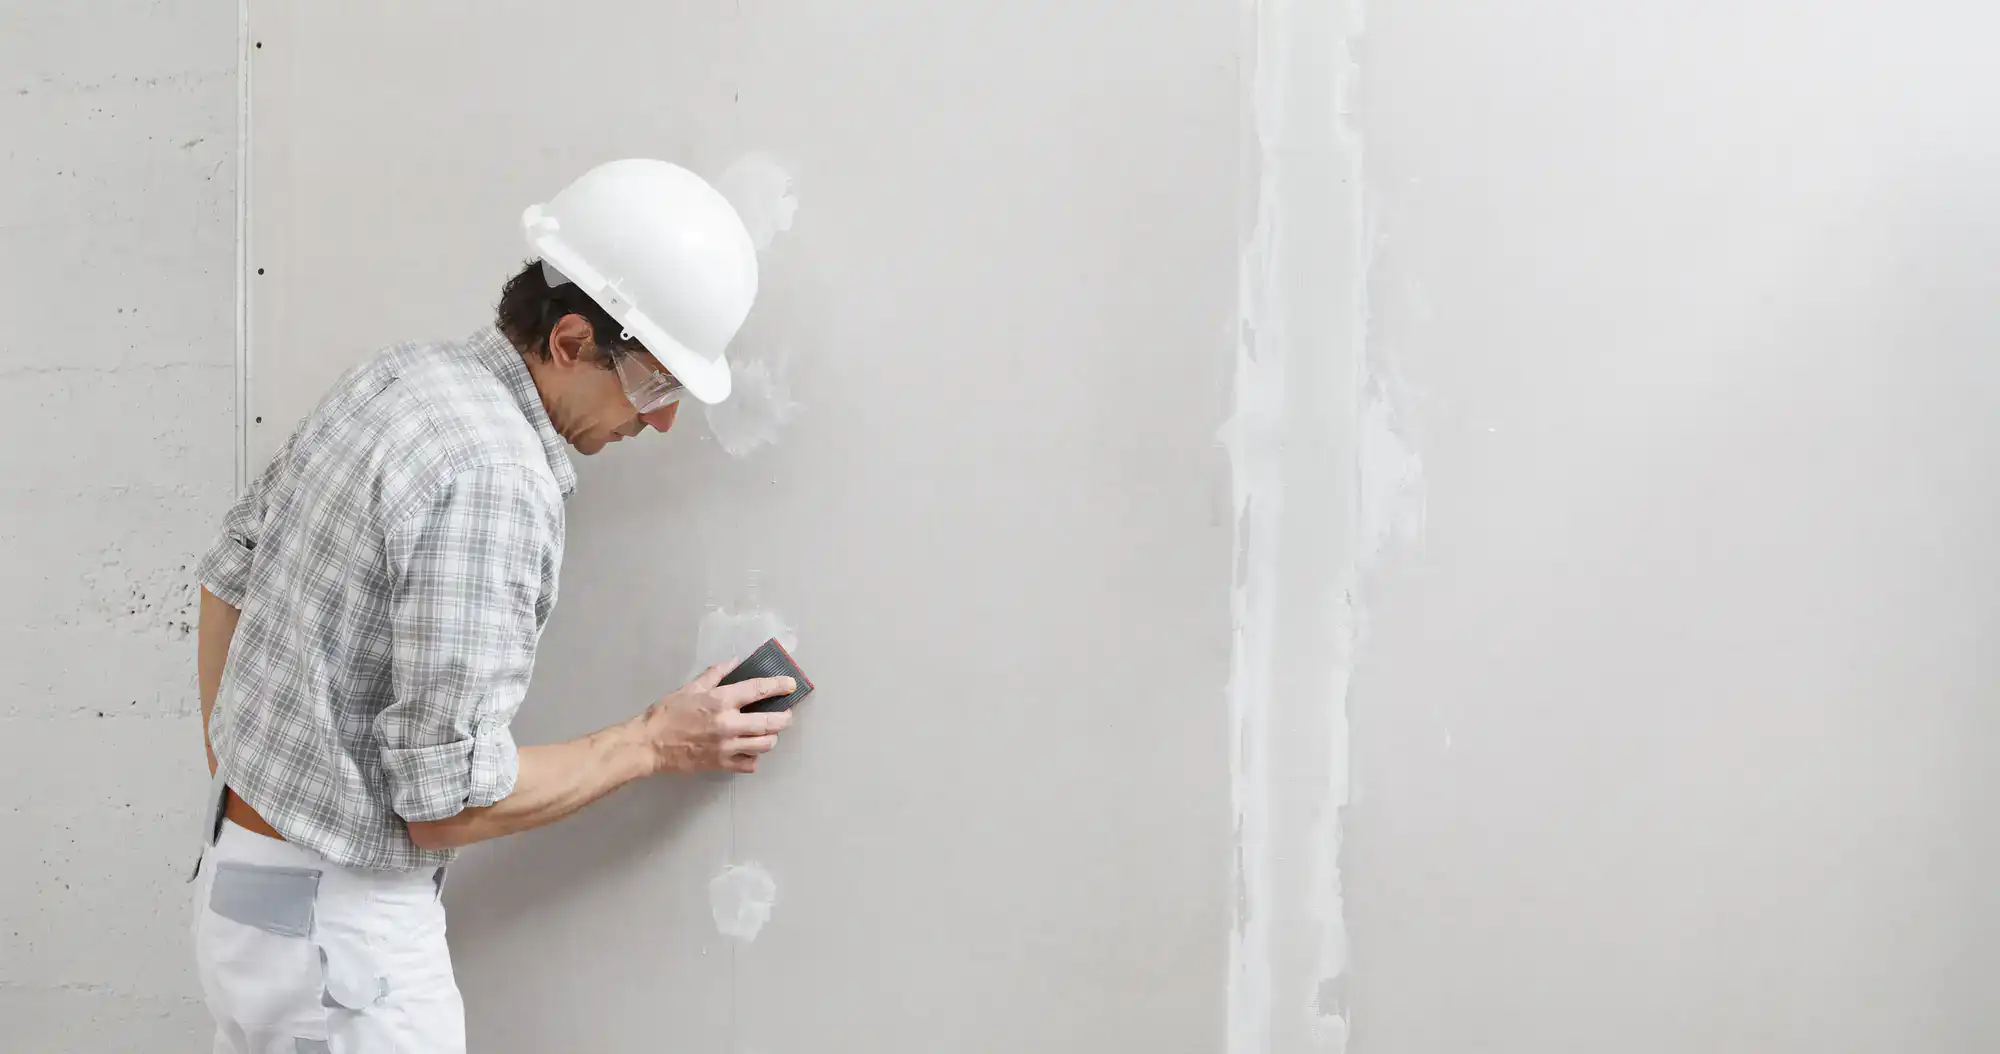
You’re not paying for drywall finishing in Fairhill, PA just to have mud on your walls. You’re paying to never think about those walls again.
When the job’s done right, your paint goes on smooth. No shadows where seams are. No texture differences between patches and original walls. No redoing sections because someone rushed through taping and mudding.
That’s what proper finishing looks like. Walls that disappear into the background because there’s nothing wrong to notice. Whether you’re selling, renting, or just tired of looking at damaged drywall, you want the problem solved once.
The difference between acceptable and professional drywall finishing comes down to technique and time. Rushing through coats, skipping proper sanding, using too little compound—these shortcuts show up the second paint hits the wall. You end up repainting or calling someone else to fix what should’ve been done correctly the first time.
Sharpe Drywall exists because homeowners in Fairhill, PA and throughout the region kept getting stuck with the same problems. Contractors who disappeared mid-job. Seams you could see from across the room. Crews who left dust everywhere and called it done.
We’re locally owned, and we’ve seen what happens when drywall work gets treated like a quick flip instead of actual craftsmanship. Fairhill has enough challenges without unreliable contractors adding to the list.
Our approach is straightforward. Show up when we say we will. Quote a price that doesn’t change halfway through. Finish the work so it actually looks finished. Clean up completely. That shouldn’t be remarkable, but in this market, it is.
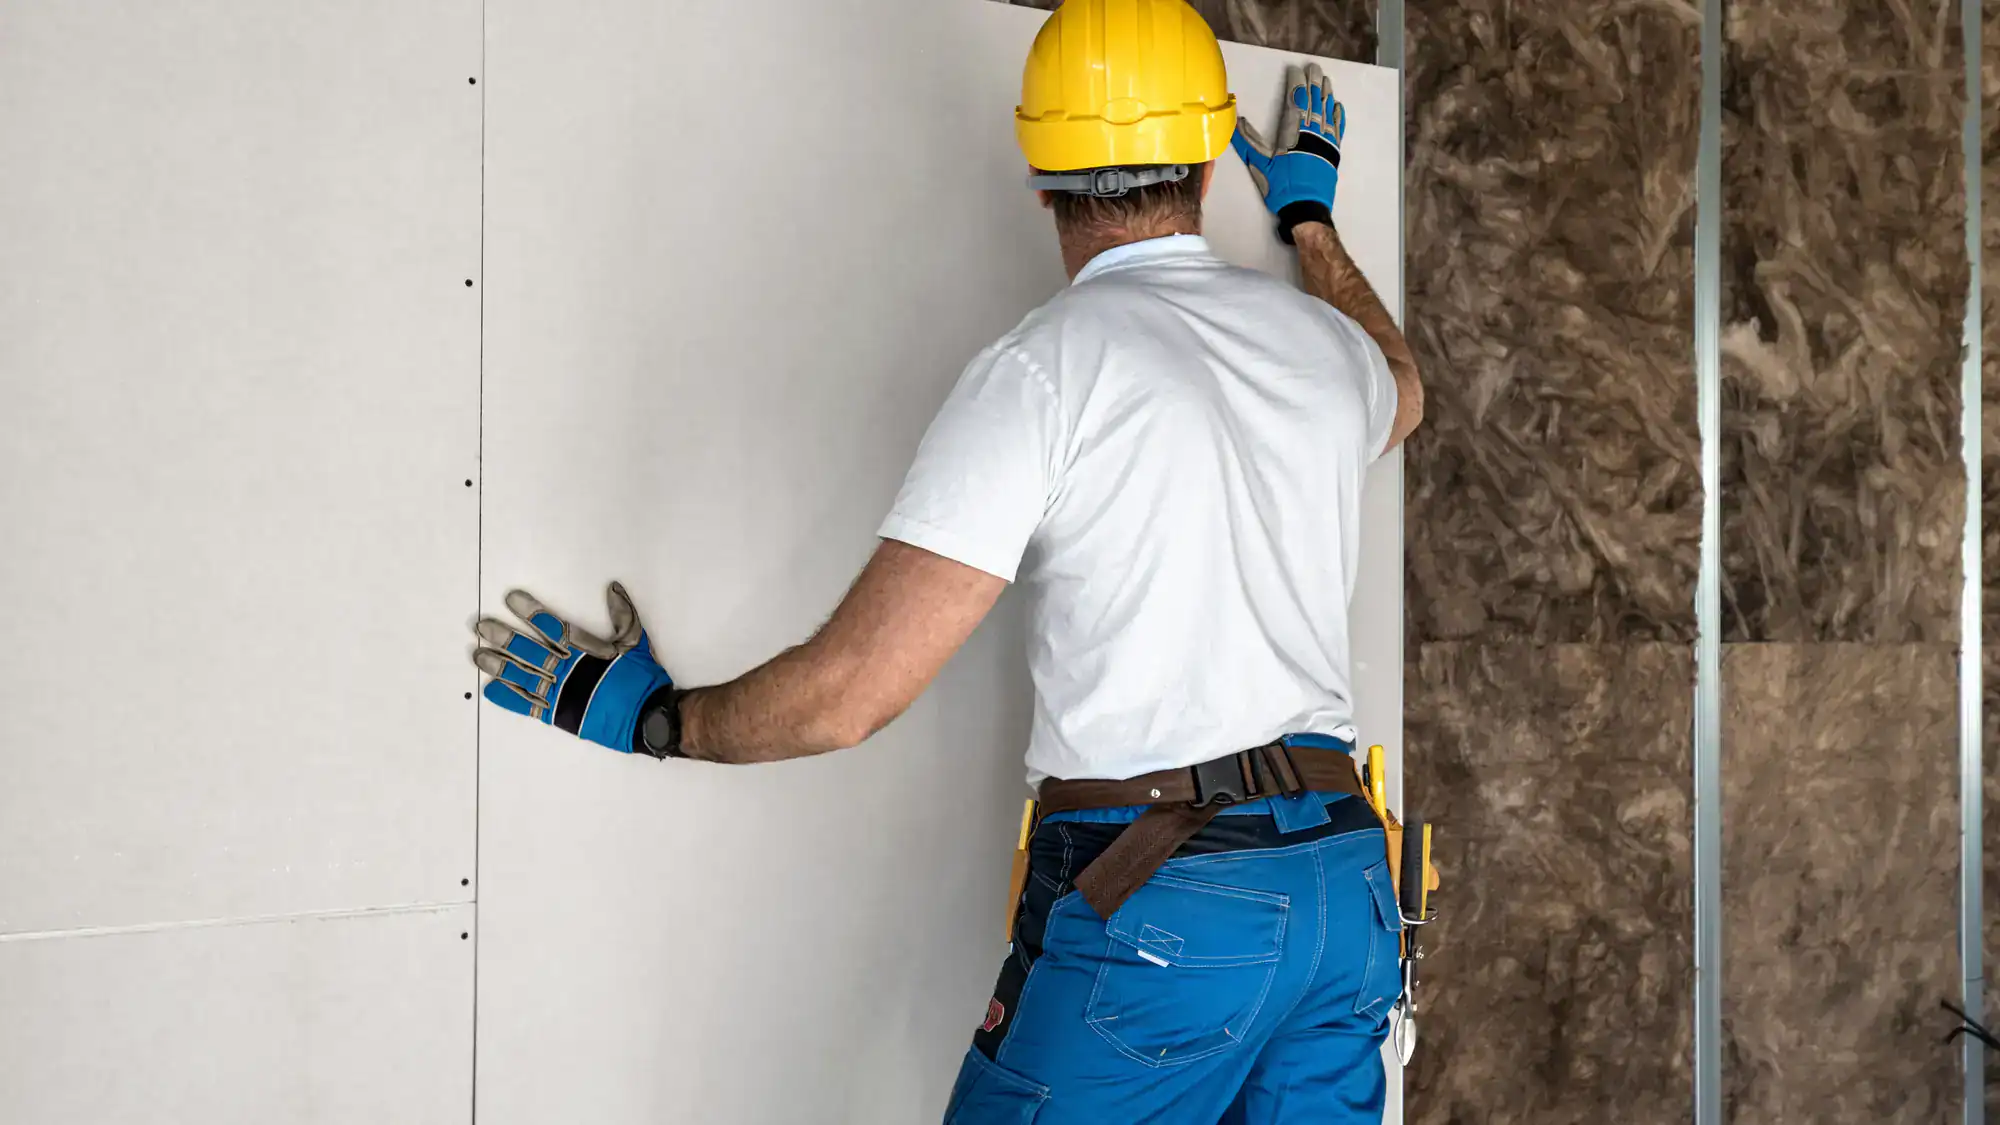
First, we look at what you’re dealing with. Water damage, cracks, new installation—whatever the situation is, we assess what prep work is needed and what level of finish makes sense for your space.
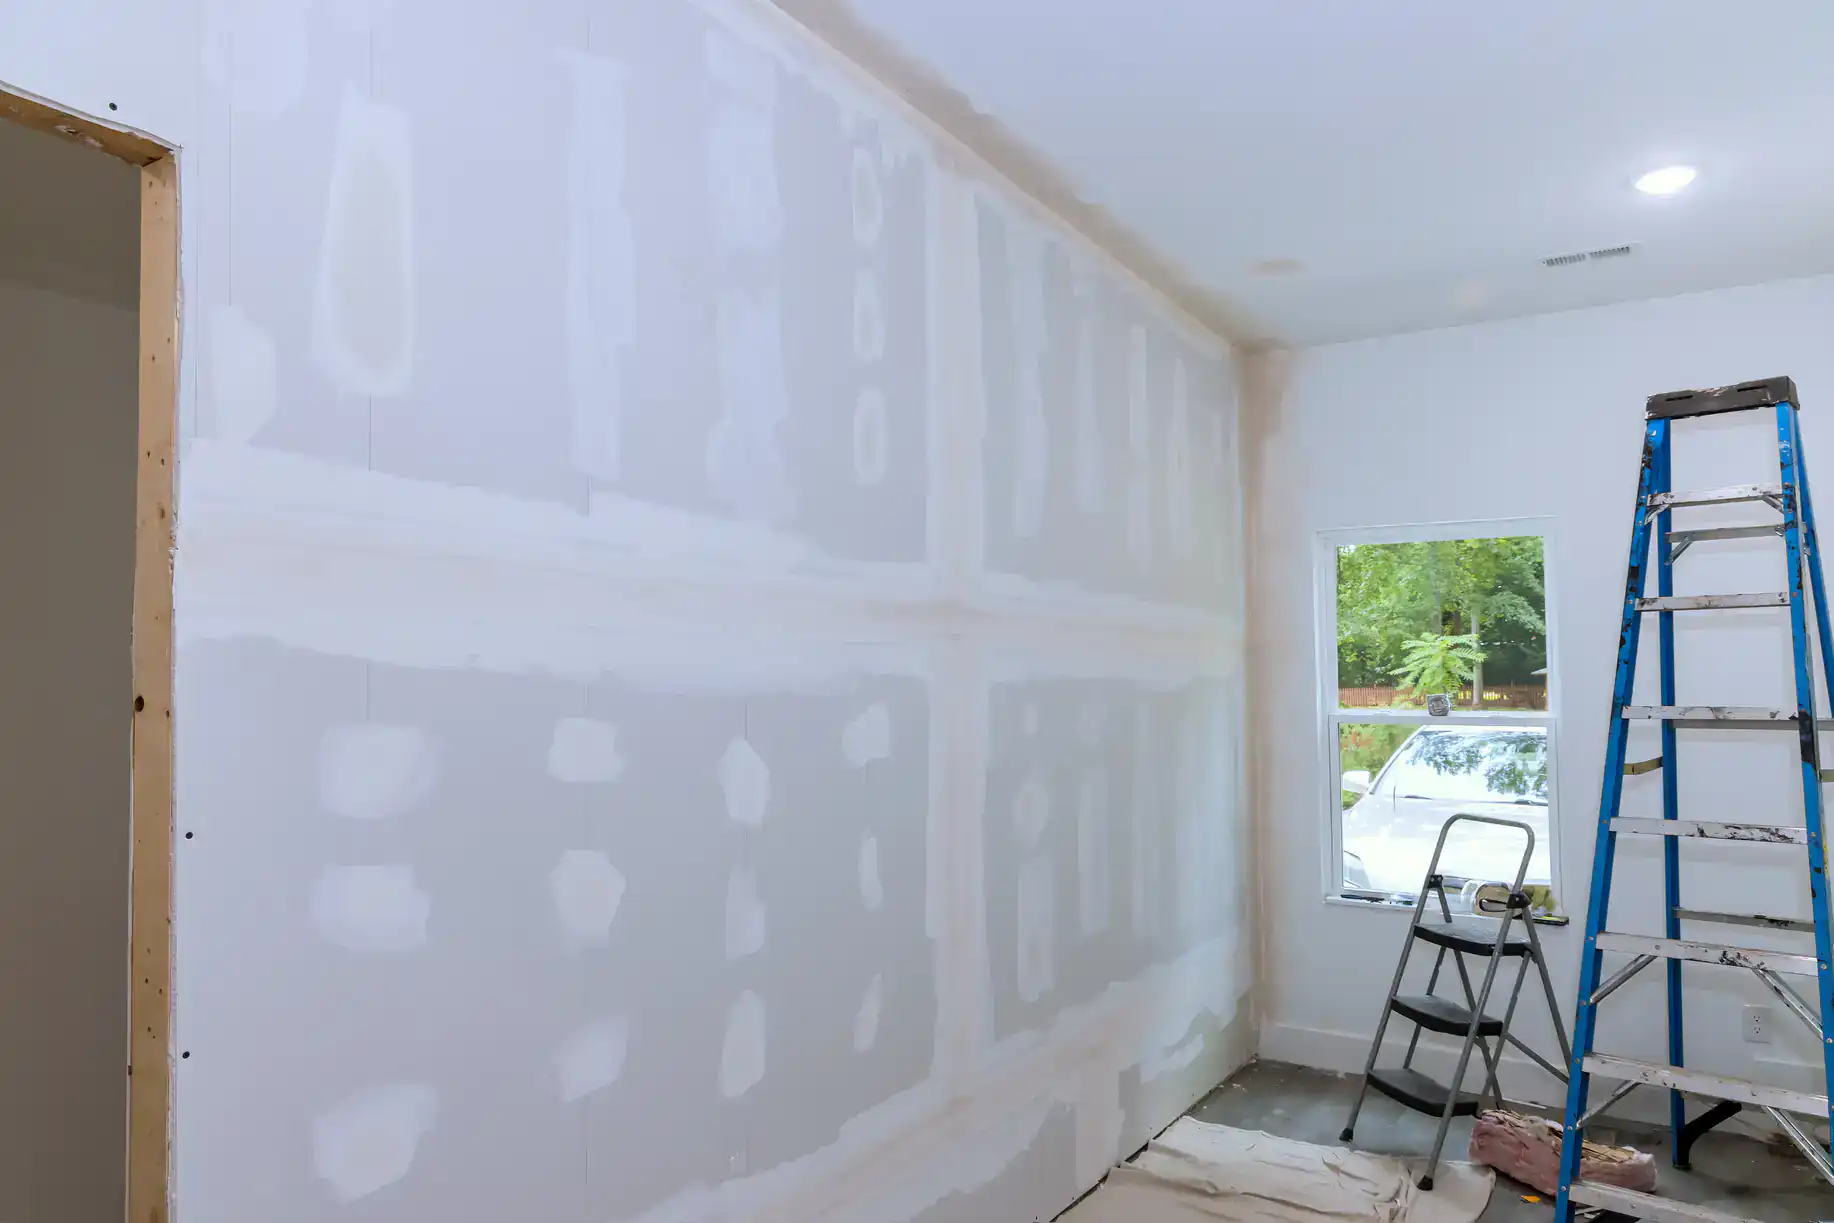
Then comes taping. This is where most problems start if it’s done poorly. We use the right tape for the application and make sure it’s embedded properly in the first coat of joint compound. No bubbles, no loose edges.
Next is mudding. This isn’t one coat and done. Each layer gets applied, dried completely, then sanded smooth before the next goes on. For standard finishes, that’s typically three coats. For Level 5 finishing—the highest standard—we add a skim coat over the entire surface to eliminate any texture variation.
Sanding happens between every coat. Not just hitting the high spots, but creating a truly flat surface. We use proper lighting to catch imperfections you’d never see until paint goes on.
Finally, cleanup. We contain dust as much as possible during the work, then remove all debris when we’re done. You shouldn’t need to clean up after your contractor leaves.
Ready to get started?
You get the full process—taping, multiple coats of joint compound, sanding between each coat, and final prep for paint. We’re not cutting corners to finish faster.
For Fairhill properties, water damage repair comes up frequently. The housing stock here means older plumbing, roof issues, and moisture problems that show up on your walls. We handle the drywall side of that repair, removing damaged sections, installing new material, and finishing it so you can’t tell where the repair happened.
Level 5 finishing is available when you need the smoothest possible surface. This is the gold standard—a skim coat over the entire wall that eliminates even minor imperfections. It’s not necessary for every job, but when you’re using flat paint or high-gloss finishes, or when lighting will hit walls at harsh angles, Level 5 prevents shadows and lines from showing.
We also handle texture matching. If you’re repairing one section of a textured wall, we match the existing pattern so the repair blends in. Same with older plaster repairs—we can replicate that finish so new drywall doesn’t stand out.
All work includes cleanup and debris removal. We protect your floors and furniture during the job, contain dust as much as possible, and haul away all materials when we’re finished.
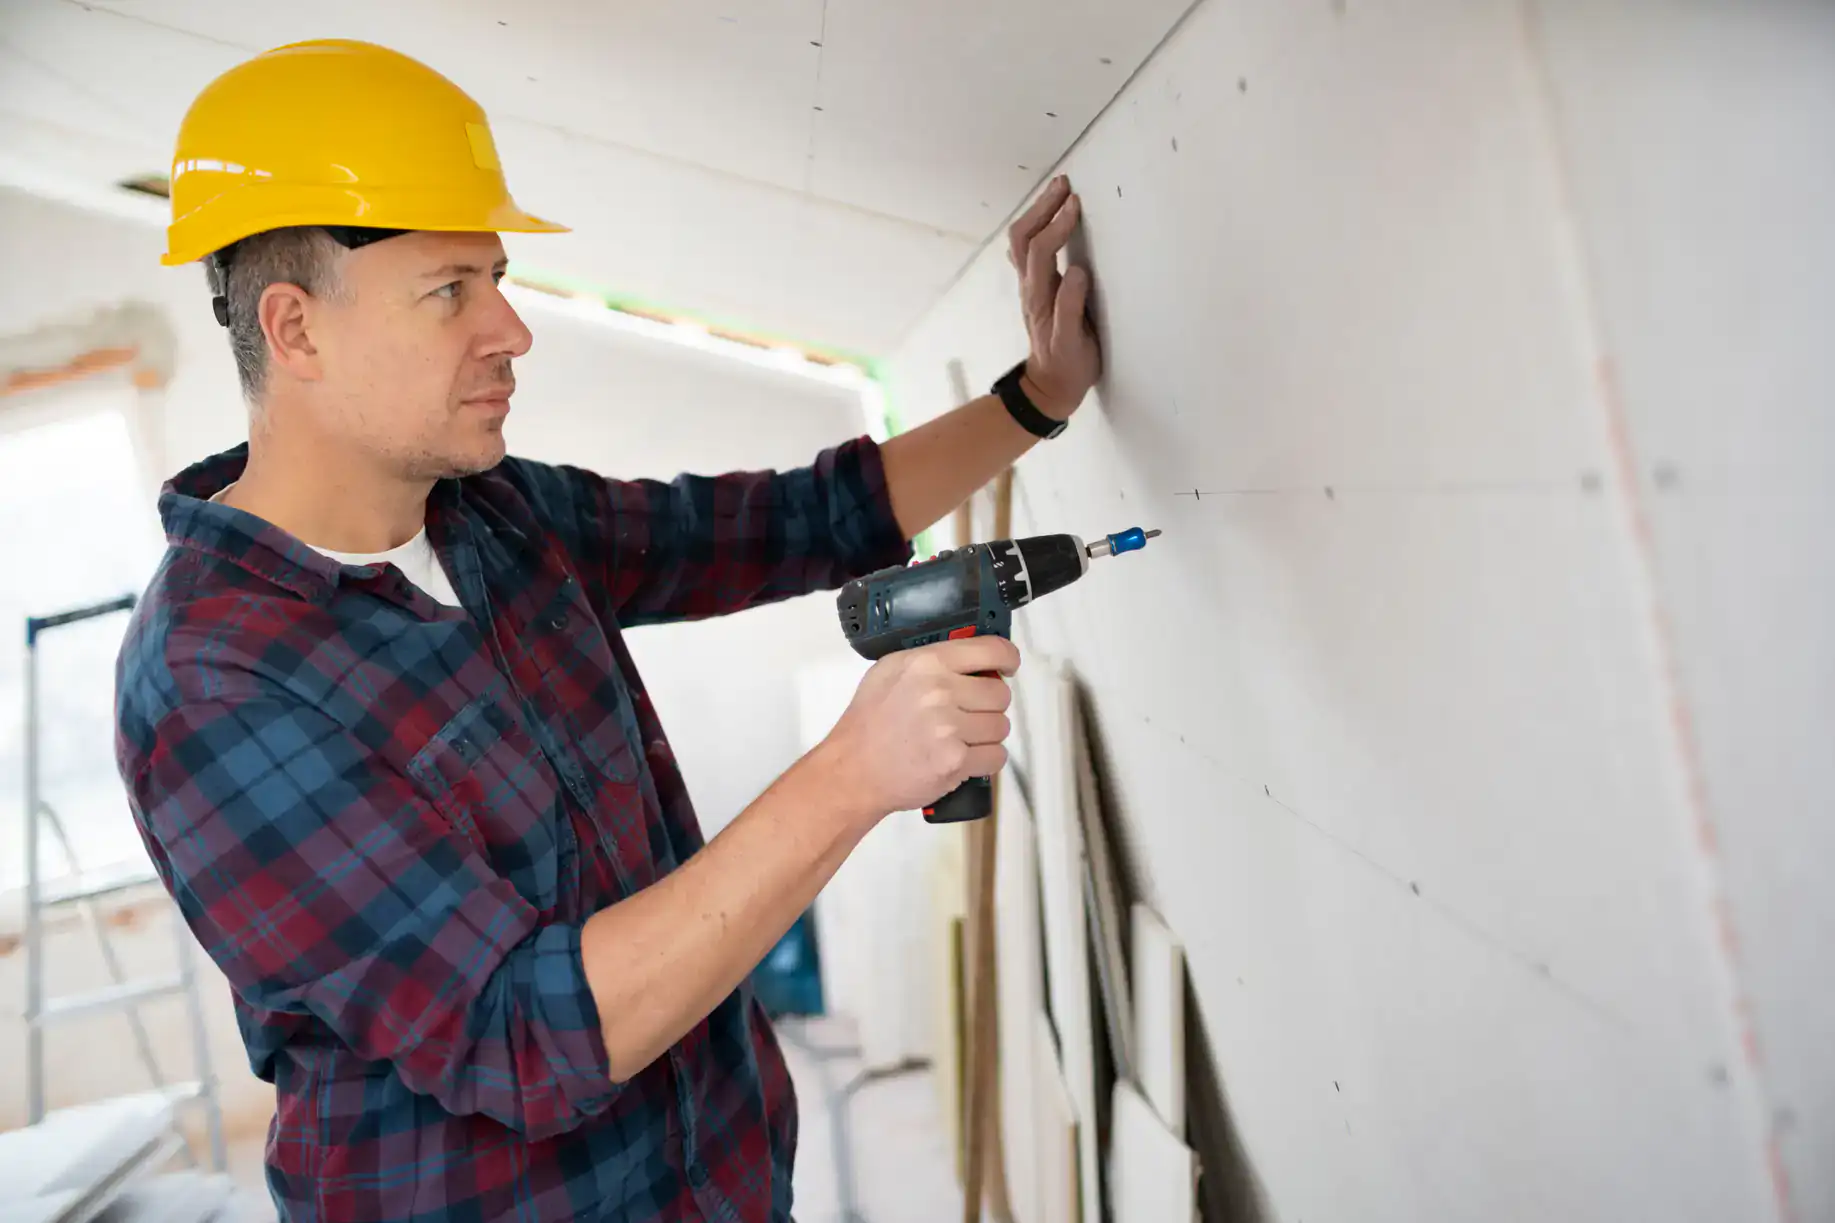
Most repairs finish in one day. That’s the physical work—taping, mudding, sanding.
But here’s what actually determines timeline: drying time between coats. Joint compound needs to dry completely before the next layer goes on. Rushing this creates problems—cracking, poor adhesion, uneven texture.
For a standard three-coat finish, you’re looking at about a day of work spread across several days of drying. We apply a coat, let it dry overnight, sand it the next day, apply the next coat. If you need Level 5 finishing with a full skim coat, add another day to that timeline.
Water damage repairs take longer because we’re removing damaged material first, possibly treating for mold, then installing new drywall before finishing begins. If your situation involves structural repairs or extensive damage, plan for a longer timeline.
Weather affects drying time too. High humidity slows everything down. We can’t control that, but we won’t move to the next step until the previous coat is actually ready.
Level 4 is the standard finish for most residential work. All joints and fasteners get taped and covered with joint compound, then sanded smooth. It’s ready for flat or eggshell paint and looks good under normal lighting.
Level 5 adds a skim coat of joint compound over the entire surface—not just joints and seams, but every inch of the wall. This creates a completely uniform surface with no texture variation whatsoever.
You need Level 5 in specific situations. If you’re using flat paint, it shows every imperfection—Level 5 prevents that. If you have harsh lighting hitting walls at angles, Level 5 eliminates shadows from minor texture differences. If you’re using high-gloss or semi-gloss finishes, Level 5 gives you the smooth base those finishes require.
Level 5 costs more because it’s more material and more labor. But if your paint choice or lighting conditions demand it, skipping Level 5 means you’ll see problems the moment paint goes on. Then you’re either living with it or paying to redo the work.
For most Fairhill homes with standard lighting and typical paint choices, Level 4 is sufficient. But we’ll tell you honestly if your situation calls for Level 5.
Small repairs—fixing a hole, patching water damage in one area—typically run $200 to $500 depending on size and complexity. That includes materials, labor, and finishing the repair to match surrounding walls.
Finishing an entire room varies based on size and condition. A standard bedroom might run $800 to $1,500 for complete finishing. Larger spaces or rooms requiring Level 5 finishing cost more because of additional material and labor time.
Water damage repairs cost more than standard finishing because we’re removing damaged material first, possibly treating affected areas, then installing new drywall before finishing begins. Extent of damage determines final cost.
We quote fixed prices upfront. That number doesn’t change unless you change the scope of work. No surprises, no “we found additional issues” upcharges halfway through.
Fairhill’s housing market means many properties are investment renovations or owner-occupied homes on tight budgets. We price accordingly—fair rates for quality work, not inflated quotes because we assume you won’t shop around. Get the quote in writing, make sure it includes all finishing coats and cleanup, and you’ll know exactly what you’re paying.
Yes, and this matters more than people realize. If you’re repairing one section of a textured wall, a smooth patch stands out immediately.
We match knockdown texture, orange peel, skip trowel, and most common residential textures. The process involves finishing the repair smooth first, then applying texture that matches the surrounding wall in both pattern and density.
Matching texture is part skill and part experience. Too heavy and the repair looks obvious. Too light and it doesn’t blend. We test the pattern on scrap material first to dial in the right technique before applying it to your wall.
Older homes in Fairhill sometimes have plaster walls with specific textures that are harder to replicate with modern drywall. We can get close, but perfect matching on historic plaster sometimes requires specialized plastering techniques beyond standard drywall finishing.
If your walls have been painted multiple times, texture can get softened or filled in over the years. We match what’s currently there, not what it originally looked like. That usually means a slightly smoother texture than the wall had when first installed.
The goal is making the repair invisible. When we’re done, you shouldn’t be able to find where the patch was without looking for it specifically.
Wait at least 24 hours after the final coat is sanded. That’s the minimum for joint compound to dry enough for paint.
But here’s the better answer: 48 to 72 hours. Joint compound can feel dry to the touch but still hold moisture deeper in the material. If you paint too soon, that moisture has nowhere to go except into your paint, causing problems like bubbling, peeling, or uneven sheen.
Humidity extends drying time. If it’s been raining or the space has poor ventilation, wait longer. You can speed things up with fans or dehumidifiers, but don’t rush it just to get paint on faster.
Primer goes on before paint—always. Primer seals the joint compound and creates a uniform surface for paint to adhere to. Skipping primer means your paint will look different over compound versus over drywall paper. You’ll see every patch and seam through the paint.
If we’re finishing your walls, we’ll tell you exactly when it’s safe to paint based on conditions in your space. Don’t go by a calendar—go by whether the compound is actually dry all the way through. Press your hand against it. If it feels cool or damp, it’s not ready.
We remove water-damaged drywall and install new material, but mold remediation itself requires specialized licensing we don’t carry. If you have active mold growth, you need a certified remediation company to handle that first.
Here’s how it works in practice: if your drywall got wet and you’re catching it quickly—within 48 hours—we can often remove the damaged section before mold establishes. We cut out the wet material, let the framing dry completely, then install and finish new drywall.
If mold is already growing, stop. Don’t cover it up with new drywall. Mold needs to be properly removed and the source of moisture fixed before any drywall work happens. Otherwise you’re just trapping the problem behind new walls.
Fairhill’s older housing stock means water damage is common—roof leaks, plumbing issues, poor ventilation in bathrooms. We see it constantly. The key is addressing it fast and completely, not just patching over the visible damage.
We’ll tell you honestly if what we’re looking at needs remediation first. It’s not our job, but we know what it looks like and we’re not going to install new drywall over a problem that will just come back. Fix the cause, remove the mold if present, then we handle the drywall replacement and finishing.
Other Services we provide in Fairhill