
When drywall installation is done right, you don’t think about it again. No seams showing through your paint six months later. No rounded corners that make your walls look amateur. No callbacks because the finish wasn’t smooth enough for your painter to work with.
You get walls ready for whatever comes next—paint, wallpaper, texture. The surface stays flat, the corners stay crisp, and the job holds up through humidity changes and settling that would expose poor workmanship.
That’s what happens when installing drywall isn’t rushed. When the right materials meet proper technique, you’re not paying twice to fix what should’ve been done correctly the first time. Your space looks finished, not “good enough,” and you’re not explaining visible flaws to every guest who walks through.
Sharpe Drywall has spent over a decade handling drywall installation in West Shore, PA and surrounding areas. We’re locally owned, fully licensed and insured, and we’ve seen what happens when contractors cut corners or overpromise timelines they can’t meet.
Most of our work comes from homeowners who hired the wrong crew the first time. They dealt with the dust everywhere, the no-shows, the “we’ll be back tomorrow” that turned into next week. We built our reputation by being the call people make when they’re done gambling on cheap quotes and vague promises.
West Shore homeowners are renovating older homes in a market where new construction can’t keep up with demand. That means you need drywall installers who understand how to work with existing structures, not just slap up panels in a new build. We know the difference, and it shows in the finish.
First, we measure and assess your space. If you’re dealing with an older home, we check for issues that’ll cause problems later—uneven studs, moisture concerns, structural quirks that need addressing before panels go up.
Then we hang the drywall. Panels are cut to fit your space, not forced into place. Fasteners are spaced correctly so nothing pops through your paint later. Corners get metal beading for crisp, durable edges that won’t chip or round out over time.
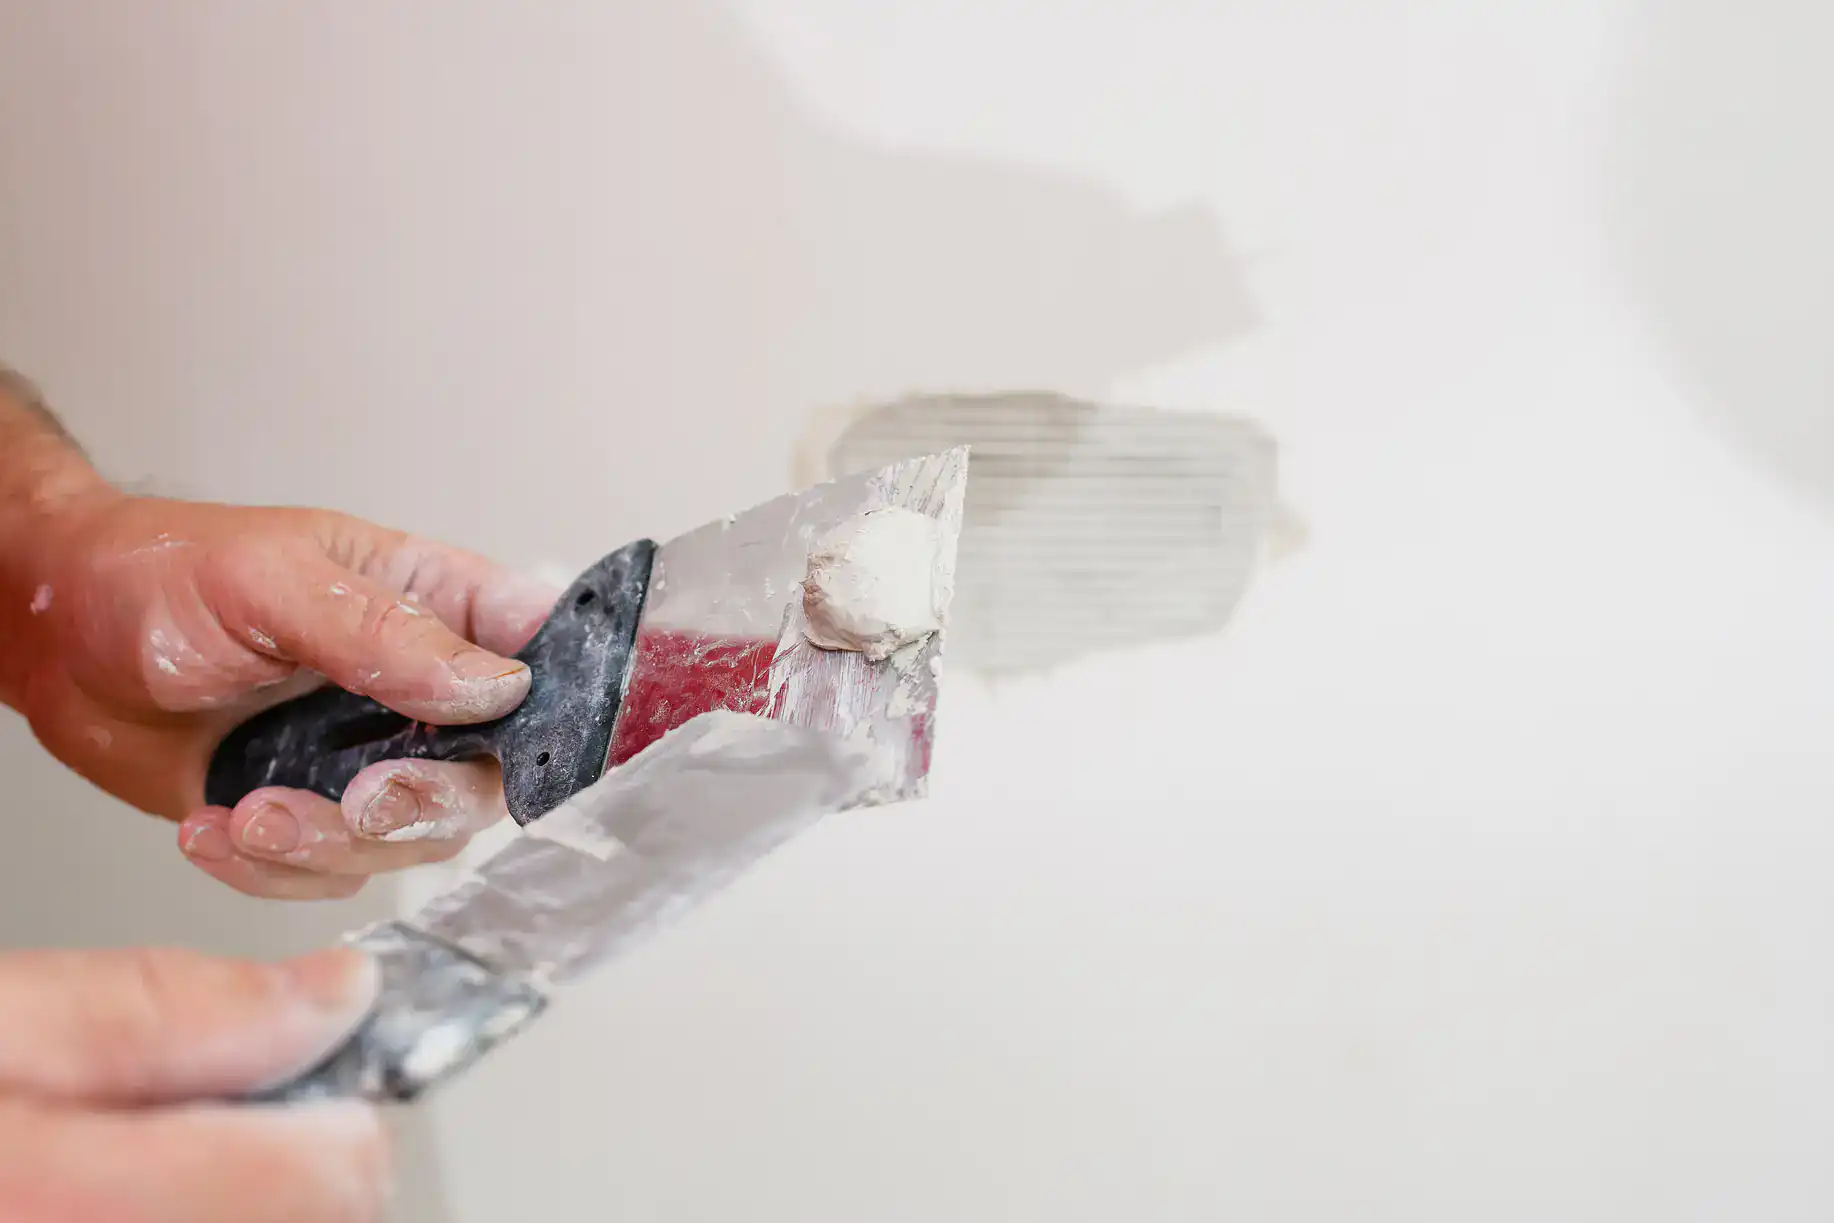
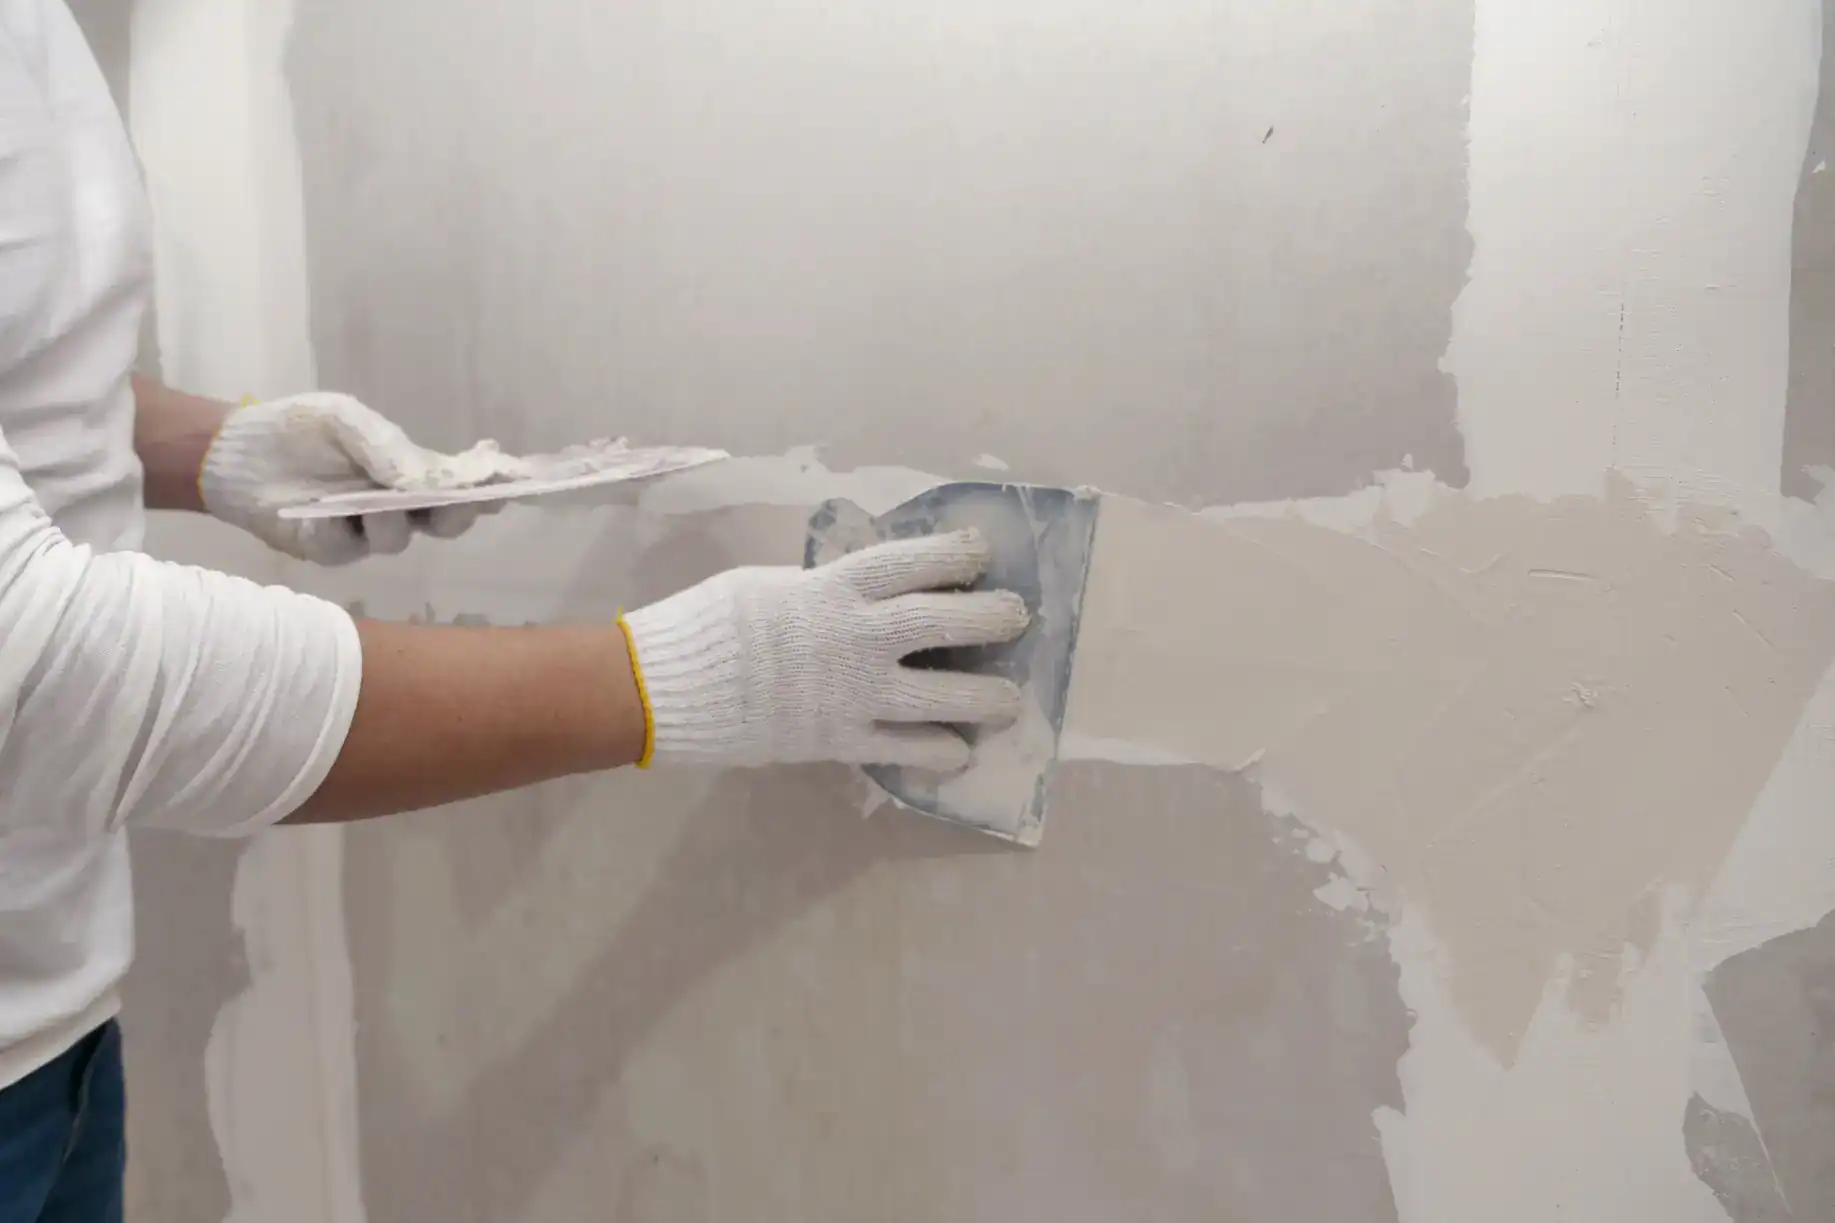
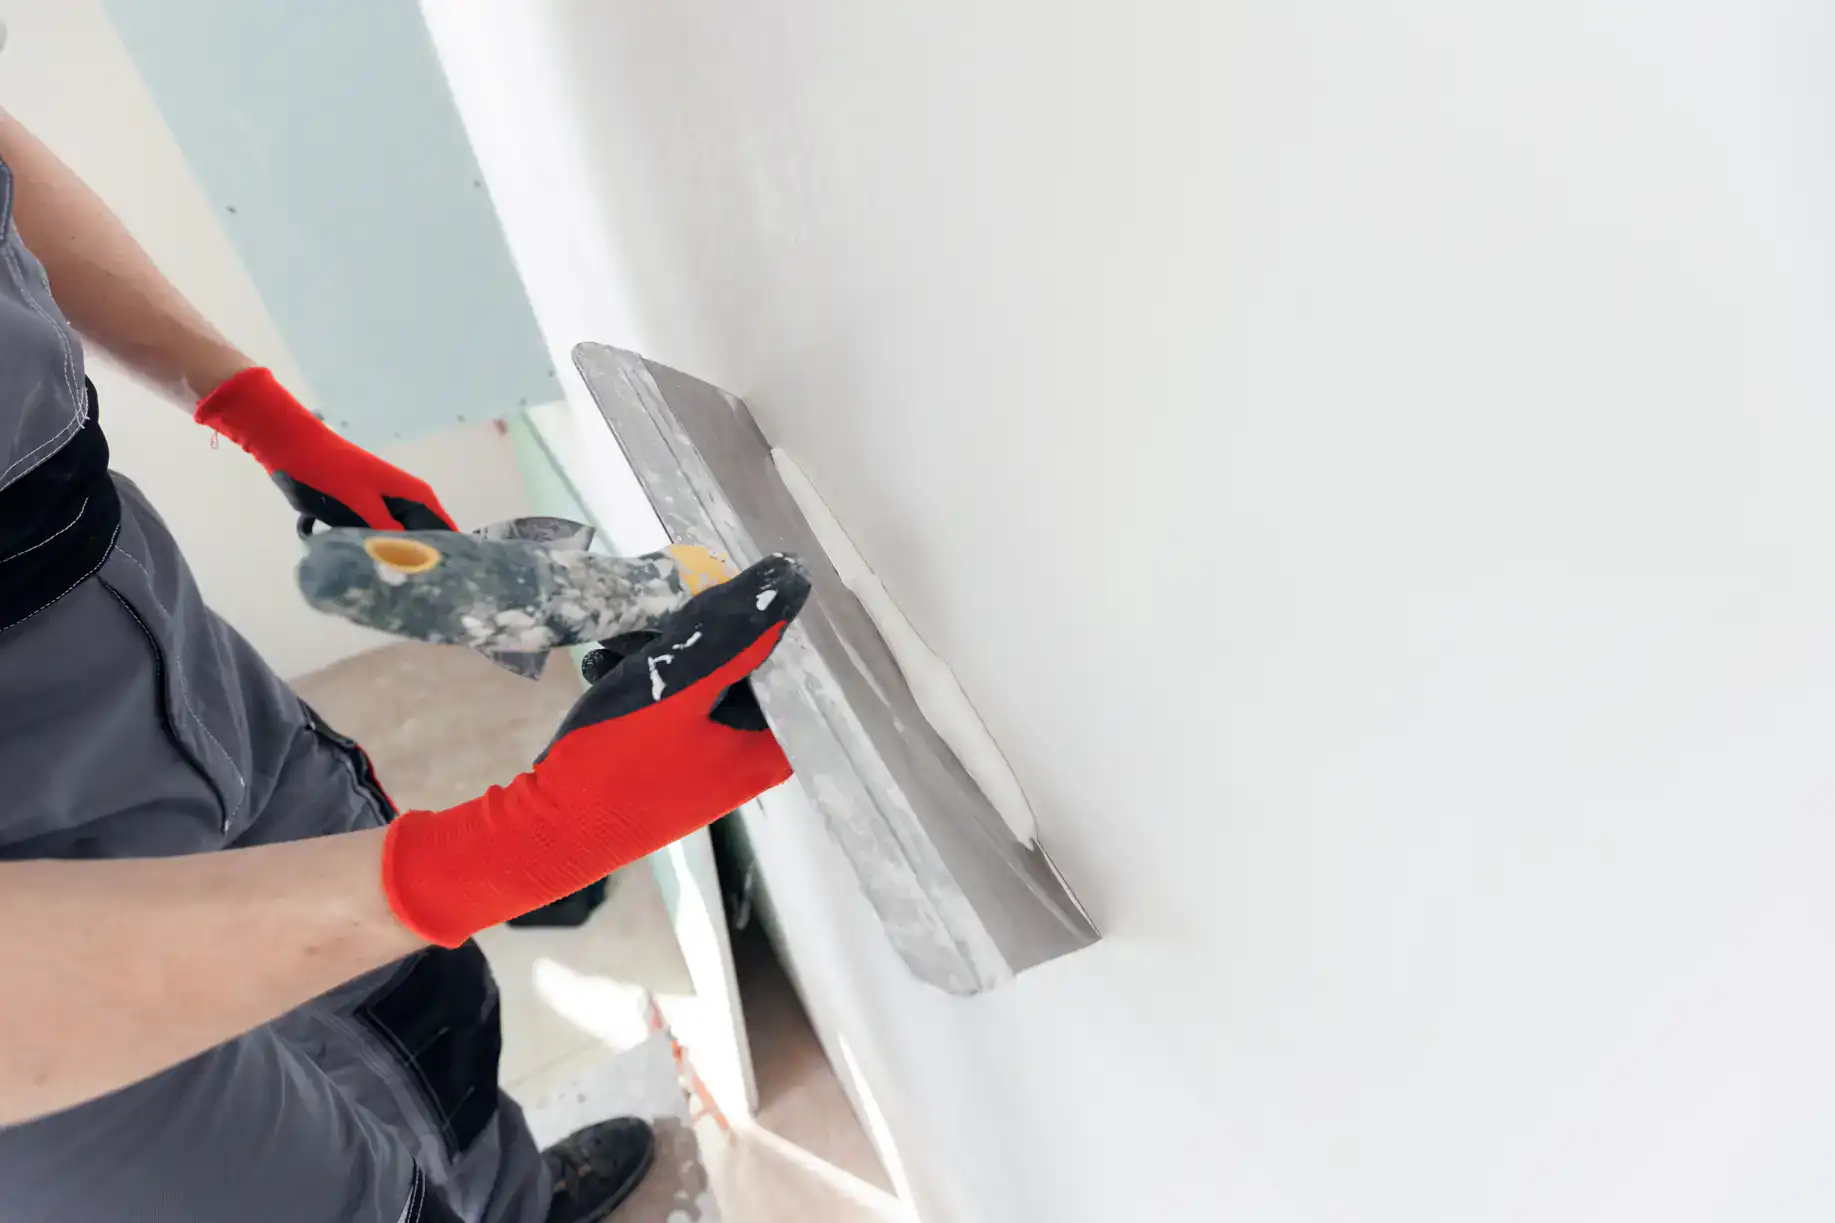
Next comes taping and mudding. This is where most bad drywall jobs fall apart. We apply joint compound in thin, even layers, letting each coat dry properly before the next goes on. Rushing this step is what causes bubbles, ridges, and seams that show through paint. We don’t rush it.
Finally, we sand everything smooth and clean up completely. You’re not sweeping drywall dust out of your vents for the next six months. When we leave, your space is ready for the next phase—no mess, no excuses, no callbacks.
Ready to get started?
The average cost to install drywall in the Philadelphia area runs between $1,968 and $2,143 for typical projects, with pricing influenced by square footage, finish level, and site conditions. Your quote reflects the materials, labor, and finish quality your project requires—not a lowball number that climbs once we’re halfway through.
In West Shore, PA, many homes are over 50 years old. That means drywall installation often involves working around plaster, outdated framing, or spaces that aren’t perfectly square. Those factors affect both time and material costs. We account for them upfront so your quoted price stays your final price.
You’re also paying for cleanup, licensing, insurance, and the kind of finish that doesn’t need fixing in six months. Cheaper drywall installers skip steps, use thinner mud coats, or leave your home looking like a construction zone. That’s not a deal—it’s a gamble. Our pricing reflects the reality of doing the job right the first time, with no surprise fees when we run into the challenges that come with real-world projects.
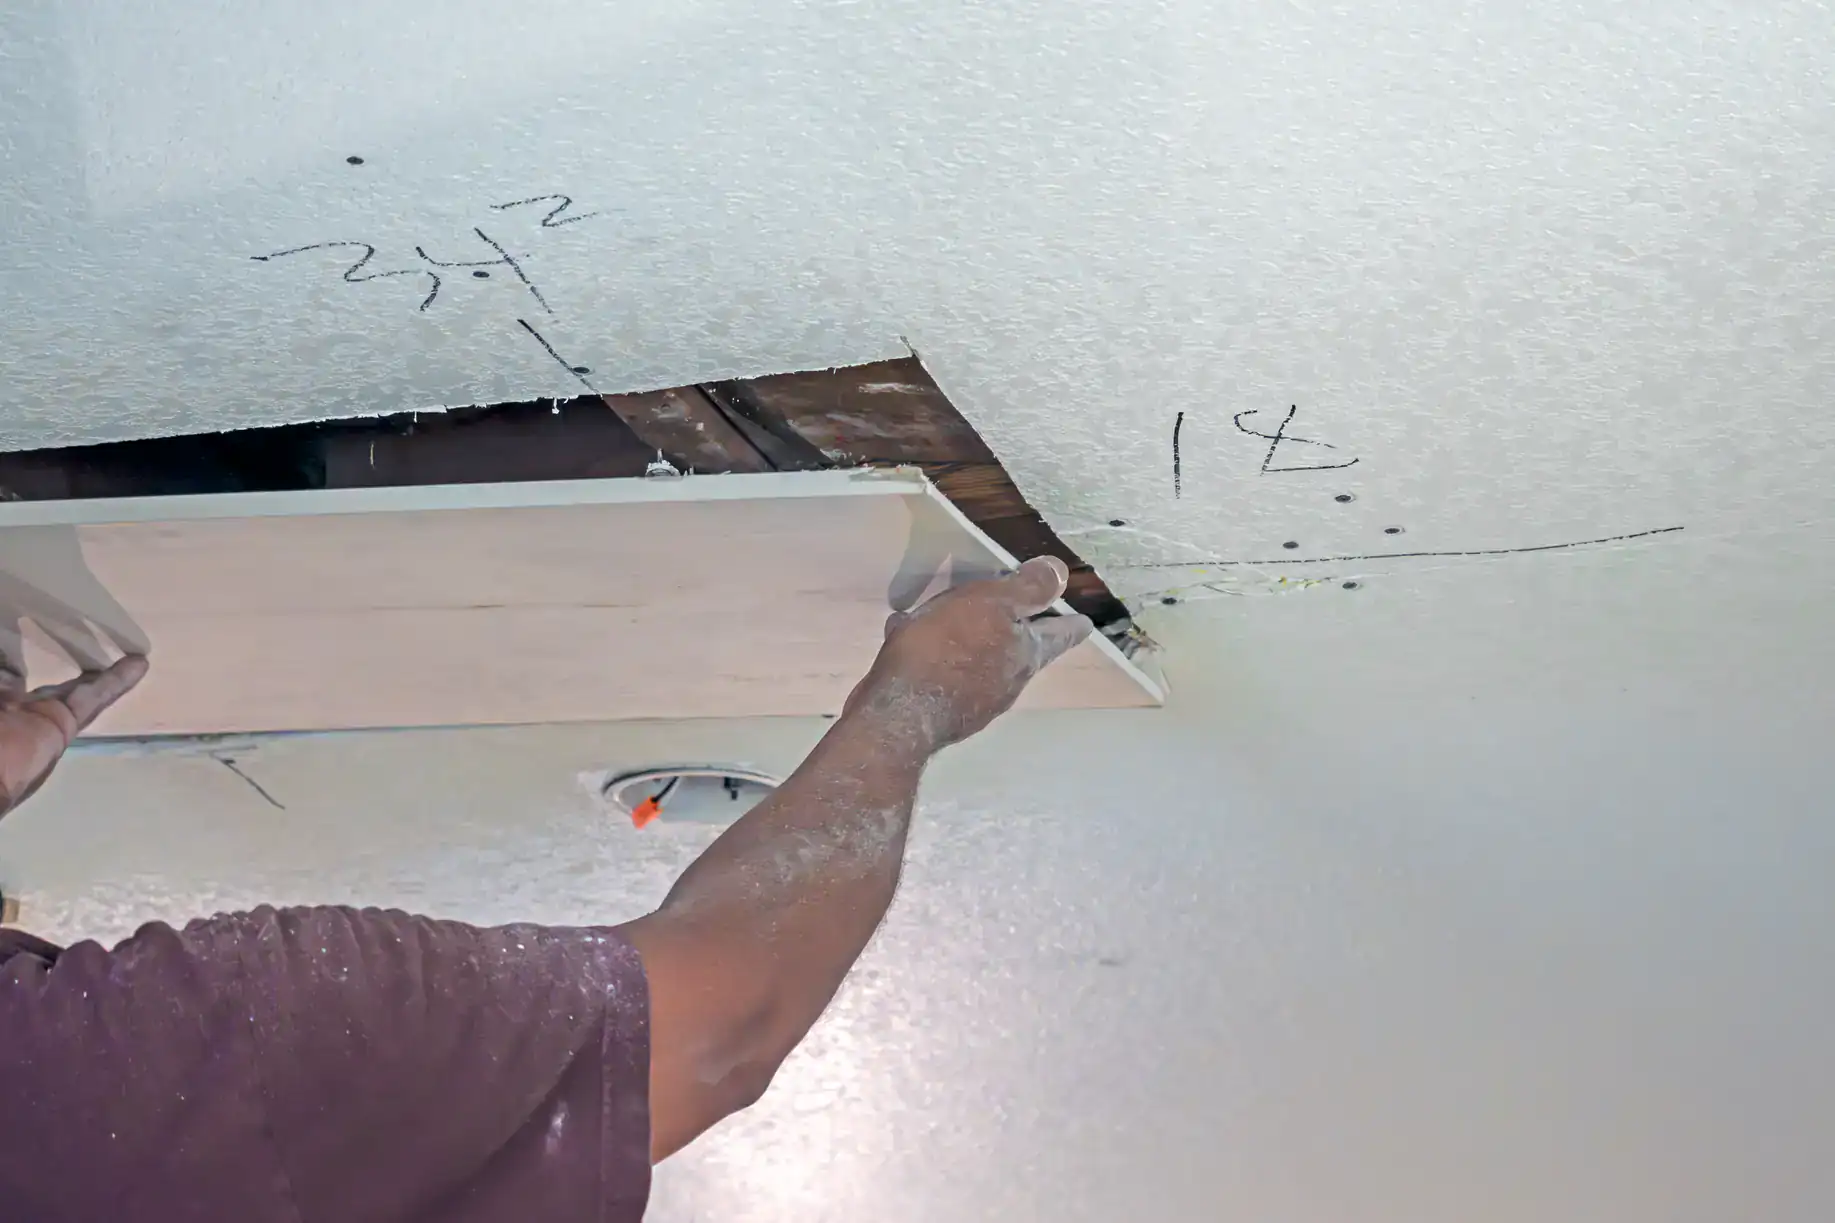
For a standard 12×12 room, hanging drywall takes about a day. Taping, mudding, and finishing take another three to five days because each coat of joint compound needs time to dry before the next layer goes on.
If someone tells you they can finish drywall in a day or two, they’re either skipping coats or not letting them dry properly. That’s how you end up with seams that crack or show through paint. Proper drywall installation in West Shore, PA means respecting dry times, not rushing them.
Weather and humidity affect drying times too. In Pennsylvania’s humid summers, compound takes longer to cure. We adjust our schedule based on conditions, not arbitrary deadlines that compromise quality. Most homeowners care more about getting it done right than getting it done fast, especially after they’ve already dealt with a bad contractor once.
Drywall finish levels range from Level 0 (no finishing at all) to Level 5 (a full skim coat over the entire surface). Most residential projects use Level 4, which gives you smooth joints and corners ready for flat or eggshell paint.
Level 5 is what you want if you’re using high-gloss paint, applying wallpaper, or dealing with critical lighting that’ll highlight every imperfection. It involves applying a thin skim coat over the entire wall, not just the seams. It costs more and takes longer, but it’s the only way to guarantee a completely uniform surface.
The finish level matters because it determines what your walls will look like after paint. If your painter is using a high-sheen finish and your drywall installer only did a Level 3, every seam and fastener will show. We talk through finish levels during the estimate so you’re not surprised by the result—or stuck paying a painter to fix what should’ve been handled during installation.
Yes. If your project involves tearing out old drywall, we handle removal, disposal, and any prep work needed before new panels go up. That includes checking the framing, addressing any mold or moisture issues, and making sure the space is ready for a clean install.
Drywall removal creates a massive amount of dust and debris. We contain it as much as possible, but it’s a messy process. The difference is we don’t leave that mess for you to deal with. Everything gets bagged, hauled out, and disposed of properly. You’re not filling your own trash cans or making dump runs.
For homeowners in West Shore, PA dealing with older homes, removal often uncovers issues that need fixing before new drywall goes up—outdated wiring, insufficient insulation, or framing that’s shifted over time. We flag those problems during demo so you can address them before we close everything back up. It’s better to know now than after the walls are finished.
Clear the room as much as possible. Move furniture, take down wall hangings, and remove anything you don’t want covered in dust. Even with containment measures, drywall work creates fine dust that gets everywhere.
If we’re working in a space connected to the rest of your home, expect some dust migration. Cover vents if you can, and plan on wiping down surfaces in adjacent rooms afterward. We do our best to contain the mess, but drywall dust is invasive. The more you can isolate the work area, the easier cleanup will be.
Also, make sure we have clear access to the work area and a place to stage materials. Drywall panels are large and awkward to move through tight spaces. If there’s an easier entry point or a room where we can stack materials without blocking your daily routine, point it out. Small logistics like that make the job go smoother and faster, which benefits everyone.
If the damage is localized—a small hole, a crack, or a dent—repair usually makes sense. But if you’re dealing with water damage, large sections of crumbling drywall, or widespread issues like mold or sagging, replacement is the better move.
Water-damaged drywall loses its structural integrity. Even if it looks okay on the surface, the gypsum core breaks down and won’t hold fasteners or paint properly. Trying to repair severely water-damaged drywall is like putting a bandaid on a broken bone. It might look better temporarily, but the problem’s still there.
Mold is another reason to replace, not repair. If you see mold on drywall, there’s likely more behind it. Cutting out the affected section, addressing the moisture source, and installing new drywall is the only way to actually solve the problem. Repairs might hide it for a while, but they won’t stop it from spreading. We assess the damage honestly during the estimate so you know what you’re dealing with before any work starts.
Because not everyone is pricing the same job. Some drywall installers quote based on hanging panels only—no taping, no mudding, no finishing. Others include everything but skip steps like proper sanding or cleanup. The cheapest quote usually leaves out something you’ll end up paying for later.
Material quality affects cost too. Thinner drywall is cheaper but dents easier and doesn’t soundproof as well. Lower-grade joint compound shrinks more as it dries, which means more coats and more labor to get a smooth finish. Contractors who use cheaper materials can bid lower, but you’re not getting the same end result.
Then there’s the finish level. A Level 3 finish takes less time and fewer coats than a Level 4 or 5. If one contractor quotes $2,000 and another quotes $3,000 for the same room, ask what finish level they’re pricing. You might be comparing a basic job to a premium one. Our quotes spell out exactly what’s included—materials, finish level, cleanup, everything—so you’re comparing apples to apples, not guessing what’s covered.
Other Services we provide in West Shore