
You’re not looking at your walls anymore. That’s the point.
When drywall finishing services in West Shore, PA are handled correctly, you don’t notice the seams between panels. You don’t see ridges under certain light. You’re not dealing with cracks six months later because someone rushed the mud or skipped a coat.
What you get instead is a surface that takes paint evenly, holds up over time, and doesn’t pull your attention every time you walk through the room. The work becomes invisible—which is exactly what it should be.
That’s what proper taping and mudding delivers. It’s not about making walls look “nice.” It’s about making them disappear so everything else in your space can show up the way you planned.
We’ve been handling drywall installation and finishing in West Shore, PA and the surrounding areas for years. We’re licensed, insured, and we’ve seen what happens when finishing gets rushed or done by someone learning on the job.
Most homes in the West Shore area—whether you’re in a newer build near the Susquehanna or an older property closer to Camp Hill—have similar drywall challenges. Temperature swings, settling foundations, and humidity all affect how joints hold up. We account for that during every phase of the process.
You’re trusting someone inside your home during what’s usually a bigger project. We show up when we say we will, protect your floors, and clean up each room when we’re done.
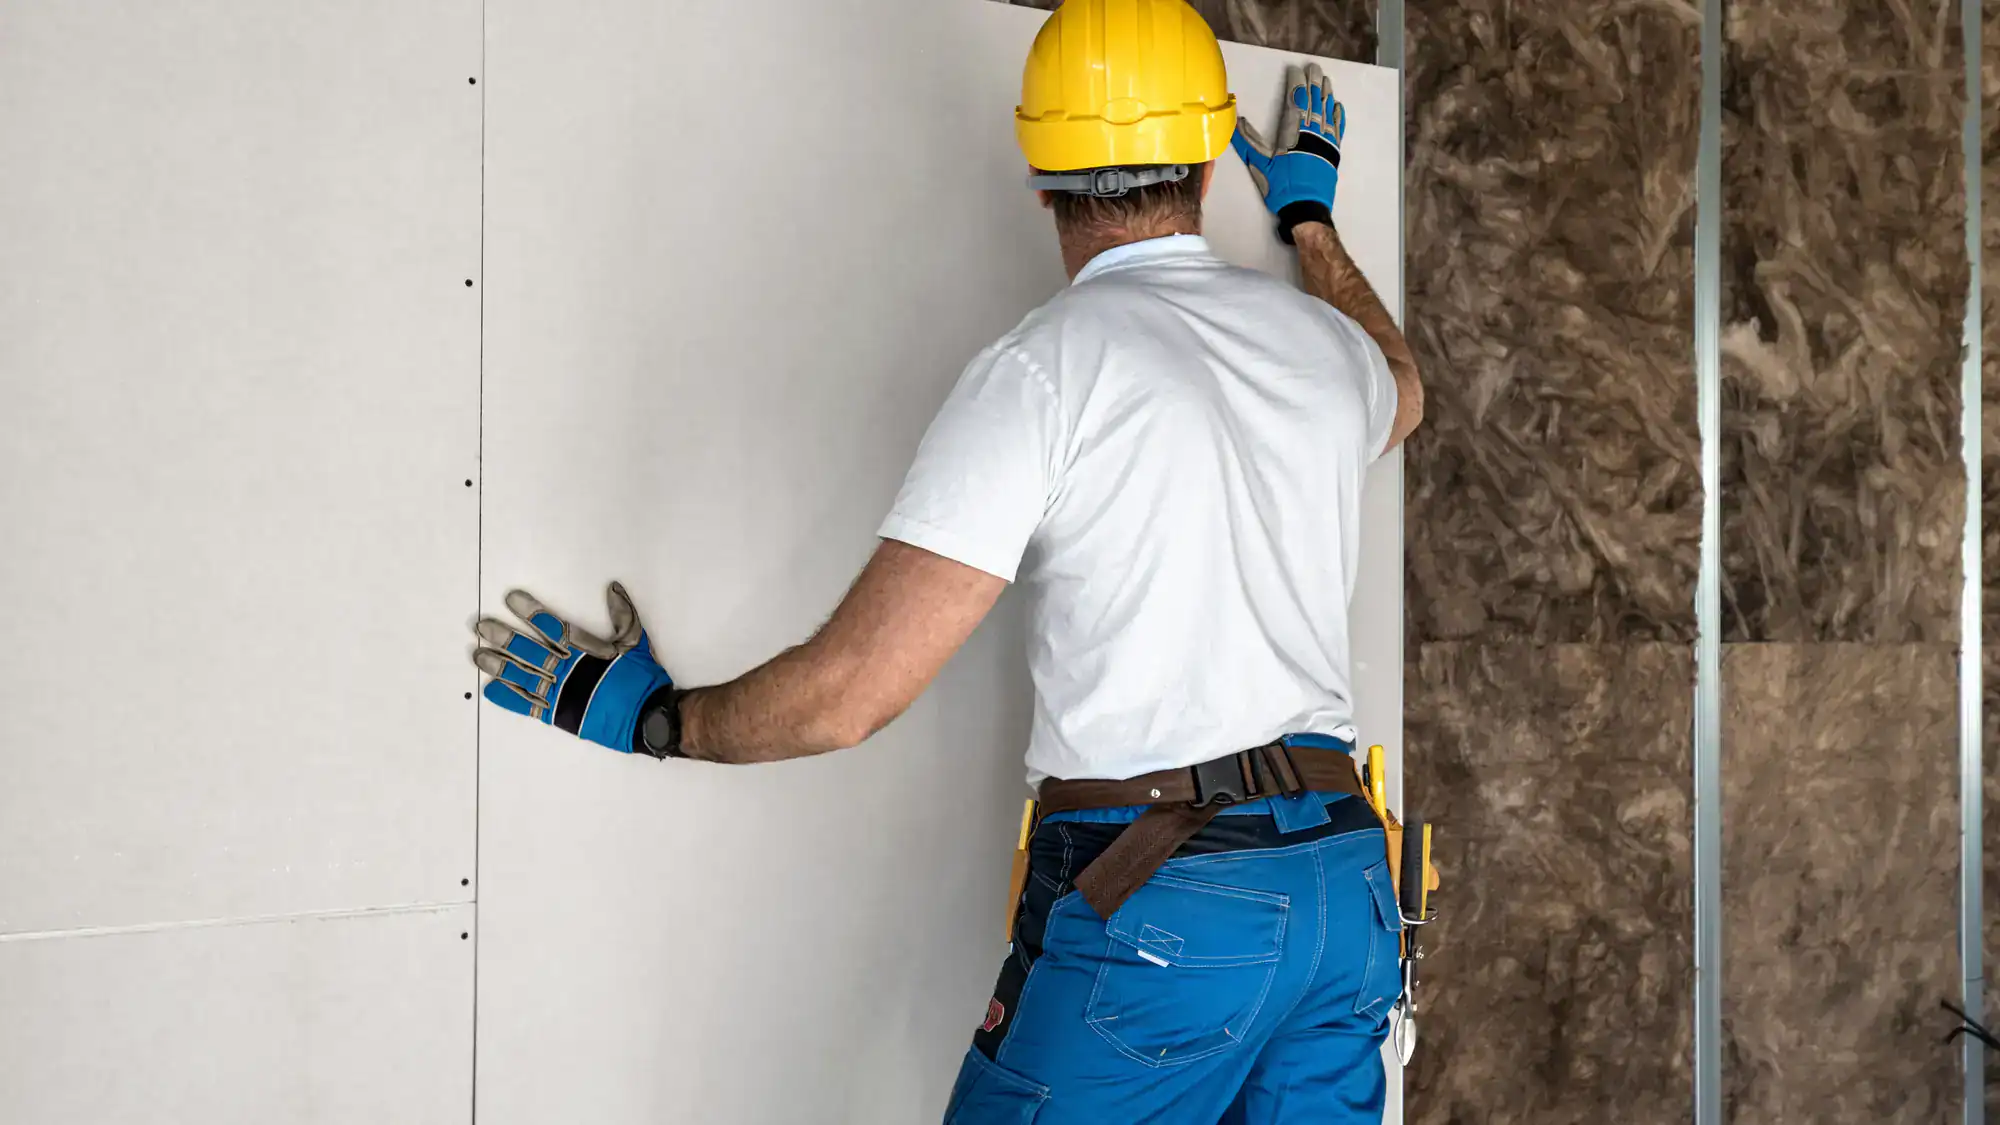
First, we tape the joints. This isn’t just slapping paper over seams—it’s about embedding the tape into a base coat of joint compound so there’s no air, no bubbles, and no weak spots that’ll crack later.
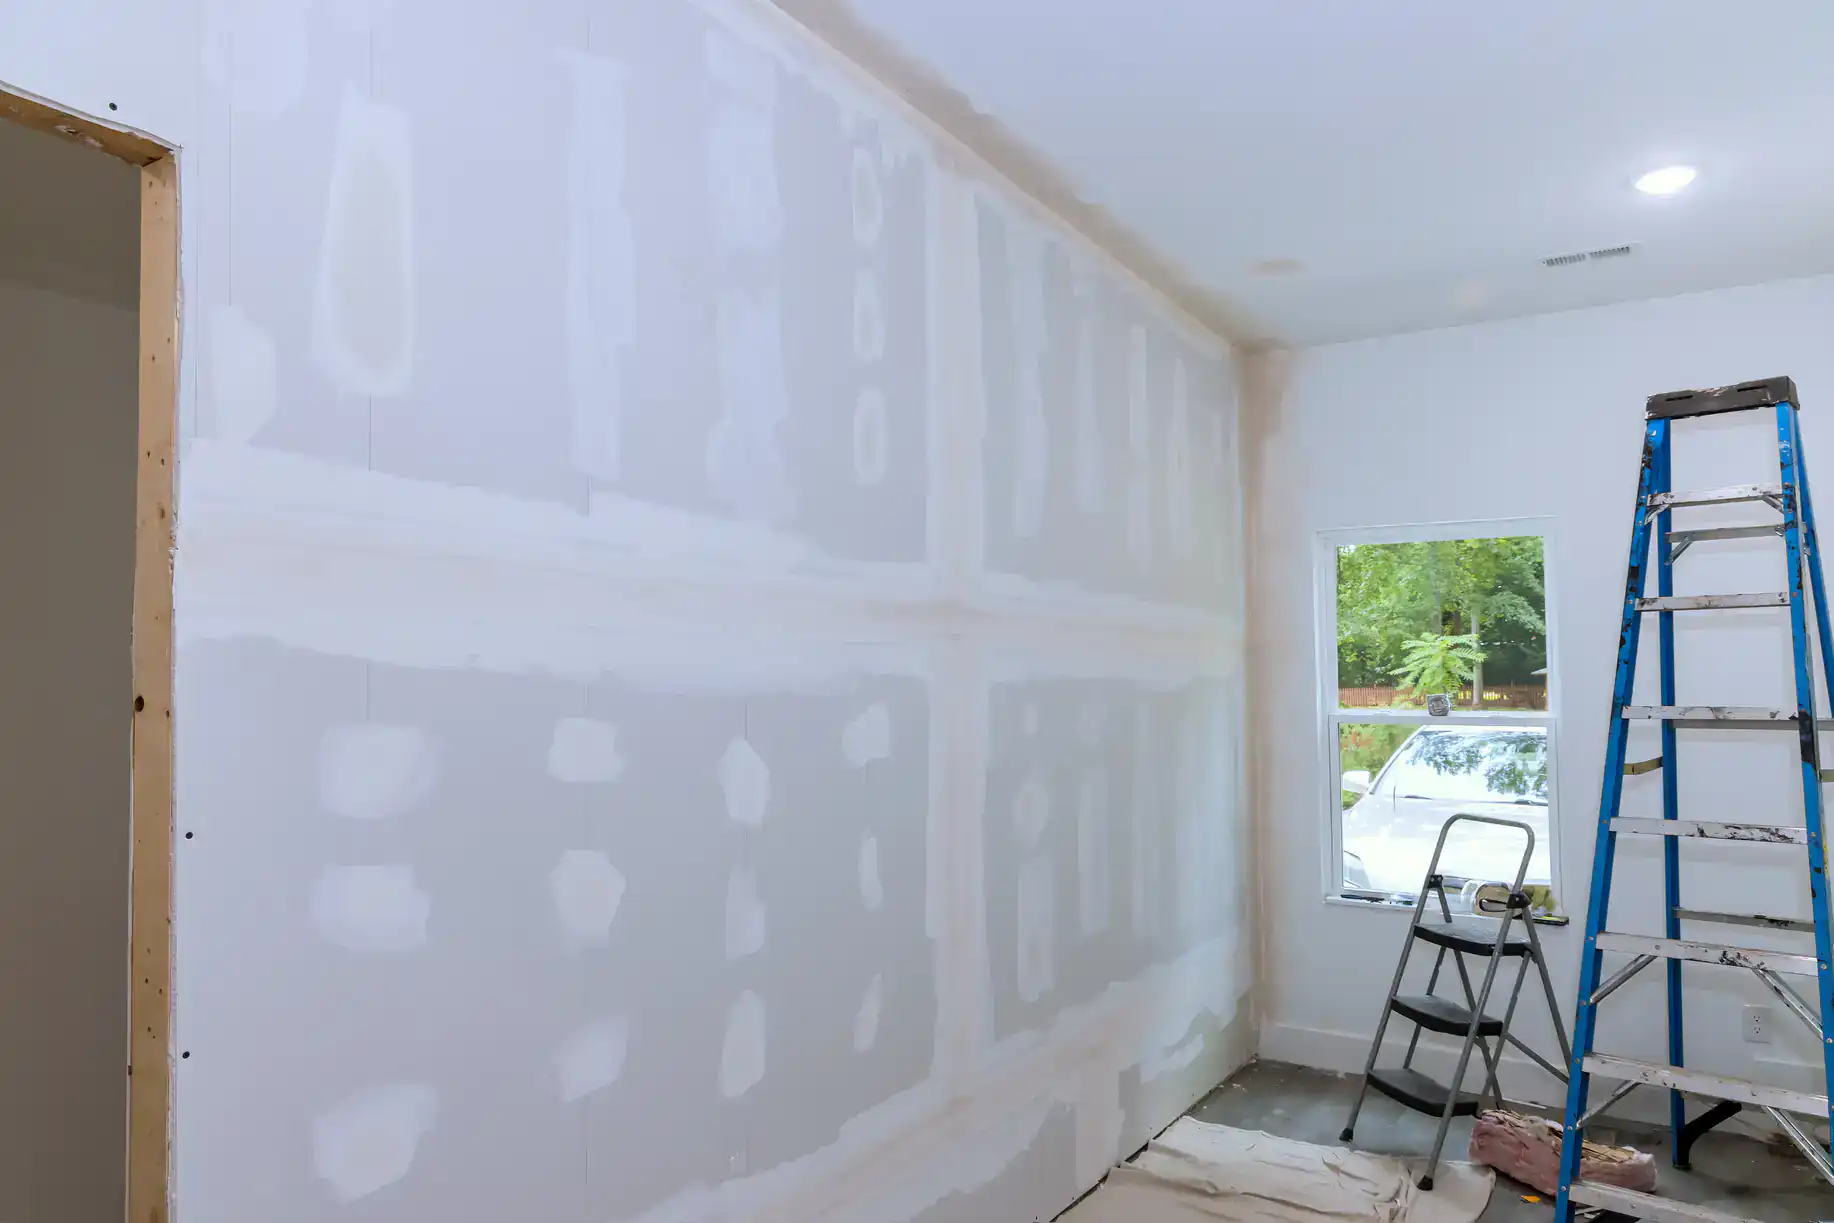
Then comes the mud. We apply multiple coats of joint compound, letting each one dry completely before the next. This builds up the surface gradually so transitions stay smooth and invisible. Rushing this step is where most problems start.
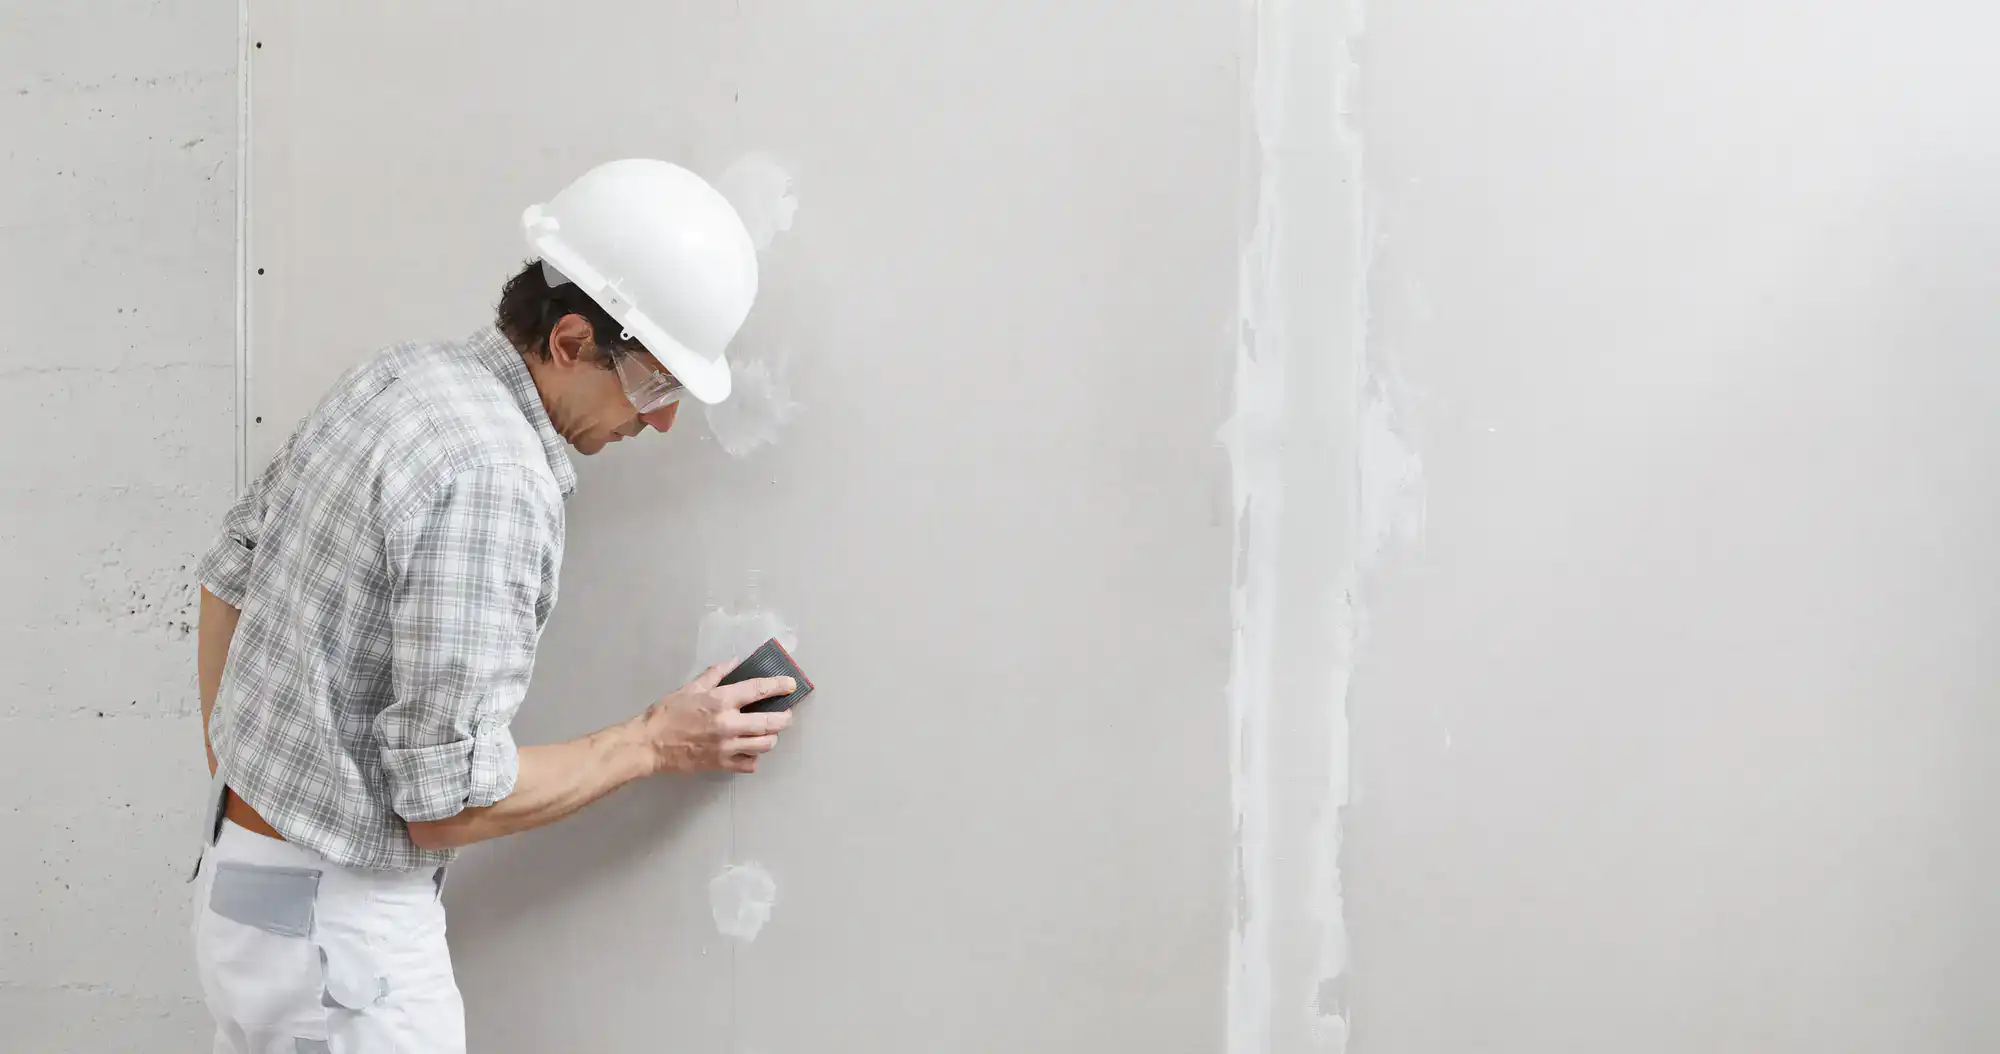
After that, we sand. Not until it’s “good enough,” but until the wall is actually flat. We check under different lighting because that’s when imperfections show up. If you’re going for a Level 5 finish—the kind you need under flat paint or in rooms with lots of natural light—we add a skim coat over the entire surface.
Finally, we prime if that’s part of your scope. If not, the walls are ready for your painter. Either way, you’re getting a surface that’s structurally sound and visually clean.
Ready to get started?
You’re getting full joint treatment—taping, multiple coats of mud, sanding, and a final check under lighting that mimics what you’ll actually live with. We’re not skipping corners, literally or figuratively.
If you’re in West Shore, PA, you’re likely dealing with one of two scenarios: new construction that needs full finishing, or renovation work that requires texture matching and repairs. Both need different approaches. New work is straightforward—we’re building the finish from scratch. Repairs and renovations mean matching existing texture, which takes more time and a trained eye.
We also handle popcorn ceiling removal if that’s on your list. A lot of homes in the area still have it, and getting it off without damaging the drywall underneath is its own process. Once it’s gone, we can finish the ceiling smooth or apply a new texture that actually fits the rest of your home.
You’ll also get protection for your floors and furniture, plus a thorough cleanup. Drywall dust gets everywhere if you’re not careful. We are.
Level 4 is the standard finish for most residential projects. It means all joints are taped, mudded, and sanded smooth, and the surface is ready for flat or textured paint. You’ll see this in most homes—it’s clean, professional, and handles typical lighting without showing imperfections.
Level 5 adds a skim coat of joint compound over the entire wall or ceiling. This creates an ultra-smooth surface with no texture variation between the drywall paper and the joint areas. You need this if you’re using flat paint, if the room gets a lot of natural light, or if you’re applying a high-gloss finish.
Most people don’t need Level 5 everywhere. But in primary bedrooms, living rooms with big windows, or anywhere you’re doing a high-end finish, it’s worth it. The difference shows up in how light hits the wall—Level 4 can still show slight shadows or texture under harsh angles, while Level 5 stays completely uniform.
Each coat of joint compound needs at least 24 hours to dry fully, sometimes longer depending on humidity and temperature. If it’s winter and your heat is running, it might dry faster. If it’s summer and humid, it’ll take longer.
Rushing this is where most DIY jobs and cheap contractors fall apart. If you apply the next coat before the previous one is completely dry, you’ll get cracking, shrinking, or soft spots that sand unevenly. That means more coats, more sanding, and a finish that still doesn’t look right.
For a typical room, you’re looking at three to four coats minimum—base coat with tape, then two or three finish coats depending on the level of finish you need. That’s three to four days just for drying, not counting the actual work time. If someone tells you they can finish drywall in a day or two, they’re either skipping coats or not letting things dry. Both will cost you later.
Yes, but it takes experience. Matching existing texture isn’t something you can fake—it requires knowing how the original texture was applied, what tools were used, and how to replicate the pattern and depth.
Most homes in West Shore, PA have one of a few common textures: orange peel, knockdown, or smooth. Orange peel is sprayed on and left as-is. Knockdown is sprayed and then lightly flattened with a trowel. Smooth means no texture at all, just flat drywall finish. Each one requires a different technique to match correctly.
We bring samples of your existing texture, test our application on scrap or in a hidden area first, and adjust until it blends. The goal is that once it’s painted, you can’t tell where the repair ends and the original wall begins. If the texture is outdated or you’re tired of it, we can also skim coat the entire wall smooth and start fresh. That’s often easier than trying to match something that was poorly done the first time.
Cracks that keep coming back usually mean one of three things: the house is settling, there’s movement in the framing, or the joint wasn’t reinforced properly in the first place.
Settling happens in newer homes or after foundation work. As the structure shifts, drywall joints—especially at corners and ceiling transitions—take the stress. If the tape wasn’t embedded correctly or if only one coat of mud was used, that joint has no strength. It’ll crack as soon as any pressure hits it.
The fix isn’t just patching the crack. You need to reinforce the joint with proper tape (paper or mesh depending on the location), apply multiple coats of compound to build thickness, and in some cases, add blocking behind the drywall to reduce movement. If it’s a corner, we use metal corner bead or paper-faced bead for extra support. Just smearing mud over the crack and repainting might look fine for a month, but it’ll come back. Fixing it right means addressing what’s causing the movement, not just covering the symptom.
No, but it depends on the scope of the project and your tolerance for dust and activity. Drywall finishing creates dust—especially during sanding—but it’s manageable if the crew knows what they’re doing.
We seal off the work area with plastic sheeting to contain dust, and we use floor protection to keep your space clean. Most of the mess happens during sanding, which is usually one or two days depending on the size of the job. If you’re sensitive to dust or have respiratory issues, you might want to stay elsewhere during that phase. Otherwise, you can be home—we just ask that you keep kids and pets out of the work area for safety.
The other consideration is timing. Drywall finishing isn’t loud like demolition, but there will be people in your home for several days as coats dry between applications. If that’s disruptive to your routine, plan accordingly. We’ll give you a clear timeline upfront so you know what to expect and when we’ll be in and out.
It depends on the size of the job, the level of finish you need, and whether it’s new construction or repair work. A single room with standard Level 4 finishing will cost less than a whole-house job with Level 5 smooth finish and texture matching.
Most contractors price by square footage, but that doesn’t always tell the full story. A room with high ceilings, lots of corners, or intricate angles takes more time and material than a basic square room. Repairs are usually priced per patch or by the hour, depending on complexity.
What matters more than the cost is whether the job is done right. Cheap finishing looks fine until you paint it—then every missed spot, every ridge, every poorly sanded joint shows up. You’ll either live with it or pay someone else to fix it, which costs more than doing it correctly the first time. We give you a clear estimate based on your specific project, and we don’t lowball the number just to get the job. You’re paying for work that lasts and looks the way it should.
Other Services we provide in West Shore