

Your walls look smooth under any light. No visible seams where sheets meet. No ridges telegraphing through your paint job.
That’s what you’re paying for when you hire professional drywall contractors in Richboro, PA who know the difference between slapping mud on a joint and actually finishing it. The right taping and mudding process means your painter isn’t fighting texture issues. It means you’re not seeing shadows or lines six months later when the sun hits at a certain angle.
Homes in Richboro average nearly $700,000. You’re not cutting corners on the finish work that protects that investment. Proper drywall installation and finishing prevents the seasonal cracking that comes with temperature swings. It eliminates the joint separation that happens when someone rushes the dry time between coats.
You get walls that stay smooth. Paint that looks even. A finish that lasts as long as you own the home.
We’ve spent more than ten years handling drywall finishing services in Richboro, PA and throughout Montgomery and Bucks Counties. We’re licensed, insured, and we show up when we say we will.
Most of our work comes from homeowners who tried someone cheaper first. They’re dealing with visible seams, texture that doesn’t match, or dust that’s still settling weeks later. We fix those problems, but we’d rather you skip that step entirely.
Richboro homeowners expect quality that matches their property values. You’re not interested in callbacks or excuses. Neither are we.
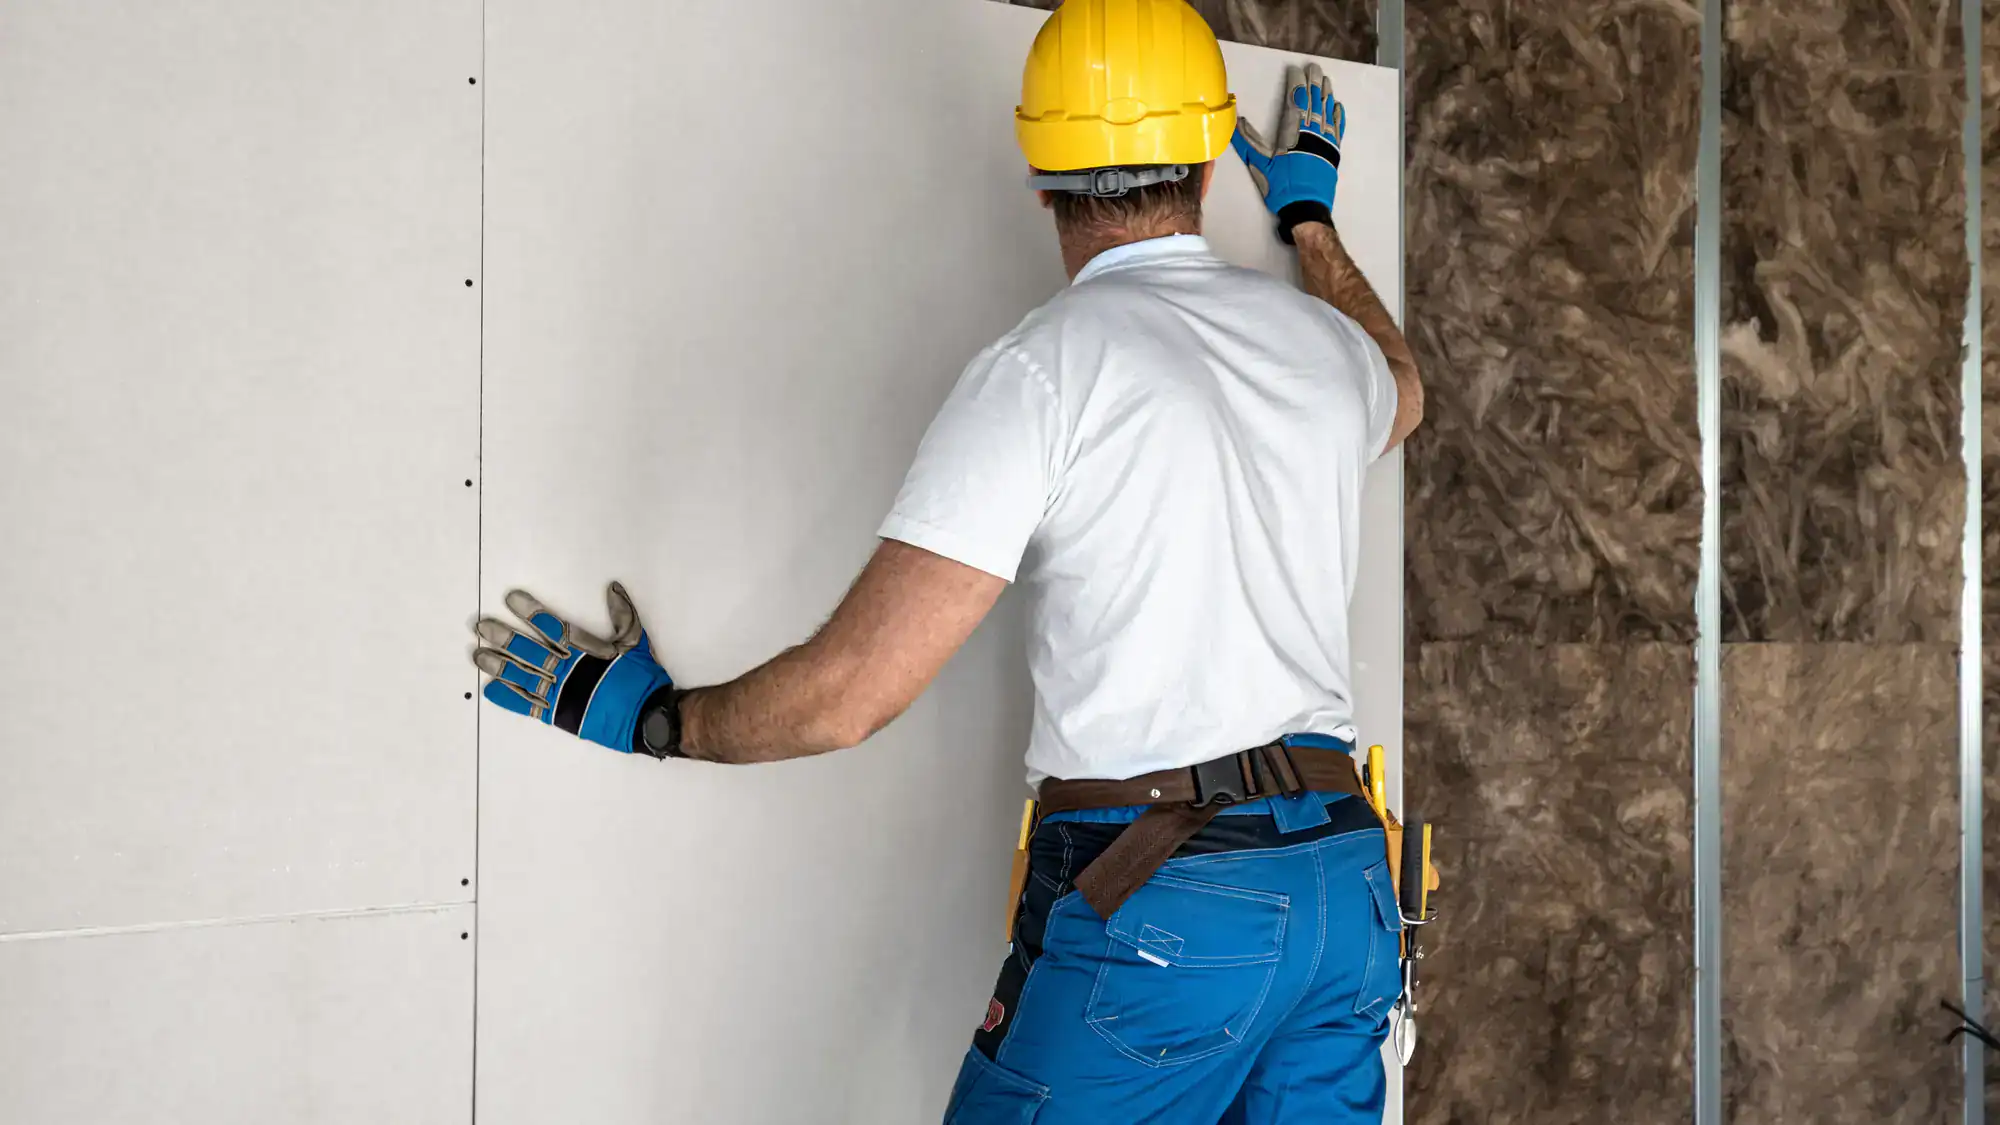
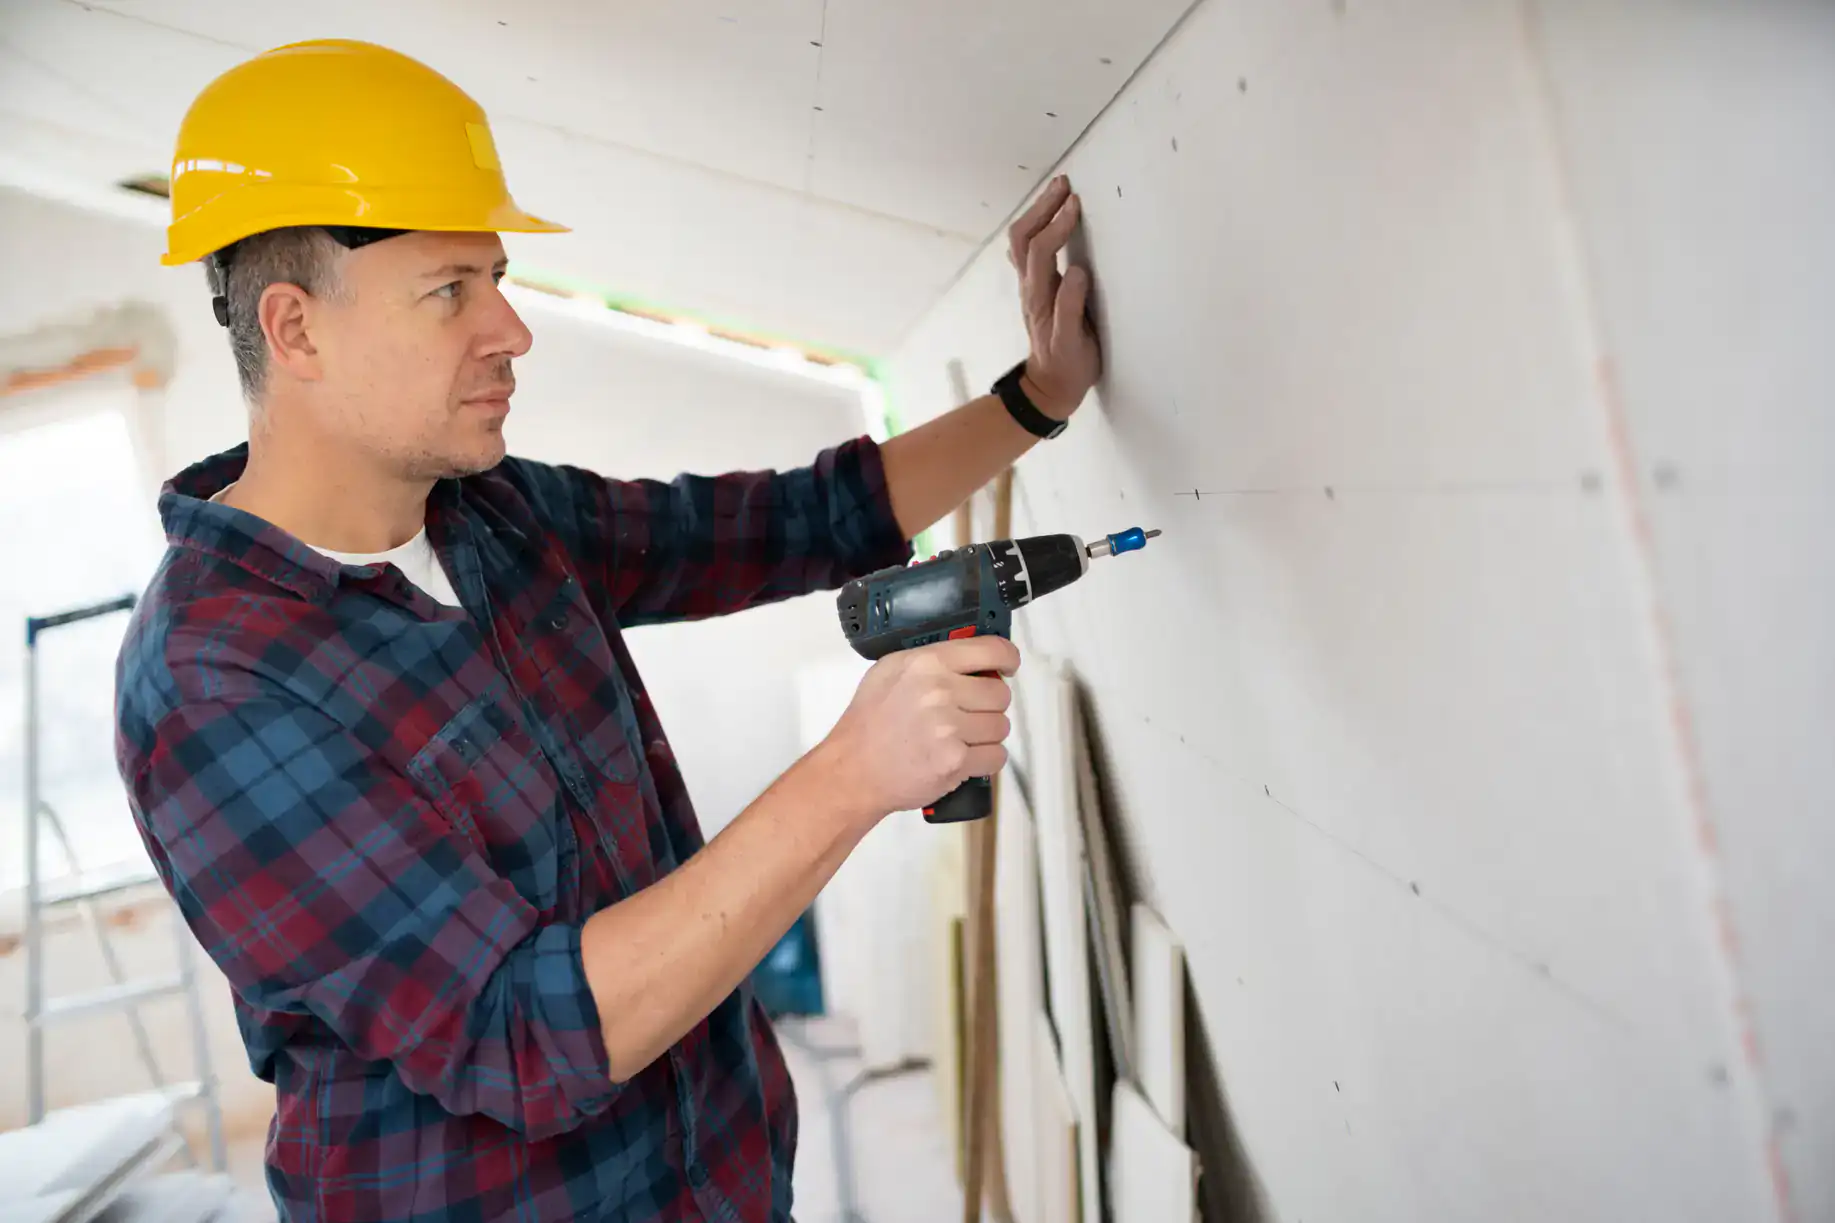
We start by inspecting the drywall installation. Screws need to be flush, edges properly aligned, gaps addressed before any tape goes up. If something’s off, we handle it before it becomes your problem.
Taping comes next. We embed paper tape in a thin layer of joint compound, making sure there are no bubbles or wrinkles that’ll show later. First coat goes on to cover the tape. Then we feather the edges so there’s no ridge.
Second and third coats get progressively wider. Each layer dries completely before the next goes on. Rushing this is where most problems start. We don’t.
Sanding happens with dust-control equipment. We’re not leaving a layer of fine powder on your floors and furniture. Final inspection uses critical lighting to catch anything the naked eye might miss.
You’re left with walls that are ready for paint. No surprises. No callbacks.

Ready to get started?
You’re getting complete drywall taping and mudding in Richboro, PA. That means all joints taped with proper embedding technique. Multiple coats of compound applied and feathered. Full sanding to eliminate any ridges or imperfections.
We handle Level 4 finishes for standard paint applications and Level 5 finishes when you’re using high-gloss paint or dealing with critical lighting conditions. Level 5 involves a skim coat across the entire surface. It’s the smoothest finish available, and it’s what prevents paint from flashing differently across taped joints versus field areas.
Texture matching is included when you’re doing repairs. Orange peel, knockdown, skip trowel—whatever’s already on your walls, we recreate it so the repair disappears. That takes the right tools and actual experience, not YouTube tutorials.
Cleanup is part of the job. Dust containment during sanding. Protective coverings on floors. All debris removed. You shouldn’t know we were there except for the fact that your walls are now ready for the next step.
Richboro homes often feature high-end finishes and updated interiors. Your drywall finishing needs to match that standard, not undercut it.
Level 4 finishing means all joints are taped, mudded with multiple coats, and sanded smooth. It’s the standard for most residential applications, especially when you’re using flat or eggshell paint. The joint compound is feathered out so there’s no visible ridge, and the surface is ready for paint or texture.
Level 5 adds a skim coat of joint compound across the entire wall surface, not just the joints. This creates the most uniform texture possible. You need this when you’re using high-gloss or semi-gloss paint, which shows every imperfection. You also need it in rooms with severe lighting angles—like walls with large windows or strong directional lighting—where even small texture differences become visible.
The cost difference typically runs $0.50 to $1.00 more per square foot for Level 5. It’s worth it in the right situations, but it’s not always necessary. We’ll tell you which finish level makes sense for your specific application and lighting conditions.
Most residential drywall finishing projects in Richboro, PA take three to five days from start to final sanding. That’s not three days of work—it’s three days of dry time between coats.
Here’s the realistic timeline: Day one is taping and first coat. Day two is second coat after the first has dried completely. Day three is the final coat. Day four is sanding and inspection. If you’re getting a Level 5 skim coat, add another day for that application and dry time.
Humidity and temperature affect dry times. Winter projects in unheated spaces take longer. Summer projects with good airflow move faster. Trying to rush the dry time between coats causes problems—bubbling, cracking, poor adhesion. We don’t do it.
Some contractors claim same-day completion. They’re either working on very small repairs or they’re not letting coats dry properly. You’ll pay for that shortcut later when joints start cracking or tape starts peeling.
Yes, but it requires the right equipment and actual practice. Texture matching isn’t something you figure out on the customer’s wall.
Orange peel texture is the most common in Richboro homes. It’s created with a spray hopper and air compressor, adjusting pressure and nozzle settings until the pattern matches what’s already there. Knockdown texture adds a troweling step after spraying. Skip trowel is hand-applied with specific trowel techniques.
The challenge isn’t just recreating the pattern—it’s blending it so there’s no visible line between old and new. That means feathering the edges, matching the density, and sometimes adjusting the mixture consistency to match aged texture that’s been painted over multiple times.
We bring samples of your existing texture to test our mix before applying it to the repair area. Most texture matching problems happen because someone eyeballs it or uses the wrong application method. You end up with a repair that’s technically complete but visually obvious. That’s not acceptable on a $700,000 Richboro home.
Cracking happens for three main reasons: improper taping technique, insufficient dry time between coats, or structural movement that wasn’t accounted for.
If tape wasn’t embedded properly in the first coat, it can separate from the drywall as the compound dries and shrinks. If someone applied coats too quickly, moisture trapped between layers causes problems as it escapes. If the drywall wasn’t fastened correctly or the framing is moving, no amount of quality finishing will prevent cracks.
Seasonal temperature and humidity changes cause drywall to expand and contract slightly. Richboro sees cold winters and humid summers—that cycle stresses joints. Proper taping with paper tape and multiple properly-dried coats handles normal movement. But if someone used mesh tape incorrectly, applied compound too thin, or didn’t address loose fasteners, you’ll see cracks within months.
The other common cause is settling in newer homes or additions. The structure is still adjusting, and that movement telegraphs through to the drywall. In those cases, you might need to wait for settling to complete before doing final finishing, or use specific techniques designed for high-movement areas.
Professional drywall finishing in Richboro, PA typically runs $1.50 to $3.50 per square foot, depending on the finish level and project complexity. Level 4 finishing falls on the lower end. Level 5 with full skim coating costs more.
A standard 12×12 bedroom with 8-foot ceilings has roughly 384 square feet of wall space. At $2.00 per square foot, that’s around $768 for complete finishing. Larger rooms, vaulted ceilings, or extensive repairs increase the cost. Texture matching on repairs adds to the price because it requires additional materials and time.
Those numbers include all labor, materials, and cleanup. They don’t include drywall installation itself—just the finishing work after sheets are hung. If you’re getting quotes significantly below $1.50 per square foot, ask what’s being skipped. Usually it’s dry time between coats, proper sanding, or adequate cleanup.
The cheapest quote rarely delivers the best result. You’re not just paying for joint compound and labor. You’re paying for walls that don’t need fixing in six months, paint that goes on smoothly, and a finish that matches the quality of your home. In a market where homes average nearly $700,000, cutting corners on finishing doesn’t make financial sense.
Yes. Drywall sanding creates extremely fine dust that gets everywhere if it’s not controlled. We use vacuum-equipped sanders that capture most of the dust at the source, and we seal off work areas with plastic sheeting and zipper doors.
Even with dust control equipment, some fine particles escape. That’s why we also use floor protection and cover any furniture or fixtures that can’t be removed. After sanding is complete, we vacuum the entire work area with HEPA-filtered equipment and wipe down surfaces.
The difference between controlled and uncontrolled sanding is dramatic. Without proper equipment, you’re finding dust on window sills, in air vents, and on surfaces two rooms away for weeks afterward. It affects your paint job because painters are working in dusty conditions. It’s unprofessional and unnecessary.
Some contractors skip dust control because the equipment costs money and slows the work slightly. But you’re living in this home. You shouldn’t need to deep-clean your entire house because someone didn’t want to invest in proper tools. We handle it correctly from the start.
Other Services we provide in Richboro