
You’re not paying for drywall installation just to have sheets hung on your walls. You’re paying for surfaces that look seamless, corners that stay sharp, and ceilings that don’t develop cracks every time the temperature shifts.
When the job’s done right, you shouldn’t see tape lines through your paint. You shouldn’t feel ridges when you run your hand across a seam. And you definitely shouldn’t be calling someone back in six months because nail pops are showing up or joints are cracking.
Proper installation in Woodbourne means understanding how homes built between the 70s and 90s settle differently than newer construction. It means knowing which compounds work in basements versus second floors. It means your walls are ready for whatever finish you want without needing extra prep work that costs you more time and money.
We work throughout Woodbourne and the surrounding Bucks County area. We’re the team you call when you want straight answers about what your project actually needs, not an inflated estimate padded with work you don’t.
Most drywall installation projects in Woodbourne run between $1,000 and $3,000 depending on square footage, ceiling height, and finish level. We give you that number upfront with a detailed breakdown so you know exactly where your money goes.
We’ve worked in enough homes around here to know the common issues: older homes with plaster that needs careful demo, additions that don’t quite match the original texture, basements that need moisture-resistant board. You’re not getting a crew learning on your dime.
First, we walk the space with you and measure everything. You tell us what you’re dealing with and what you want the end result to look like. We give you a detailed estimate that breaks down materials, labor, and timeline so there’s no confusion about what you’re paying for.
Once we start, we protect your floors and furniture with drop cloths and plastic sheeting. Then we hang the drywall, making sure every sheet is secured properly and seams fall where they should. Corners get metal beading for crisp, durable edges that won’t chip or dent easily.
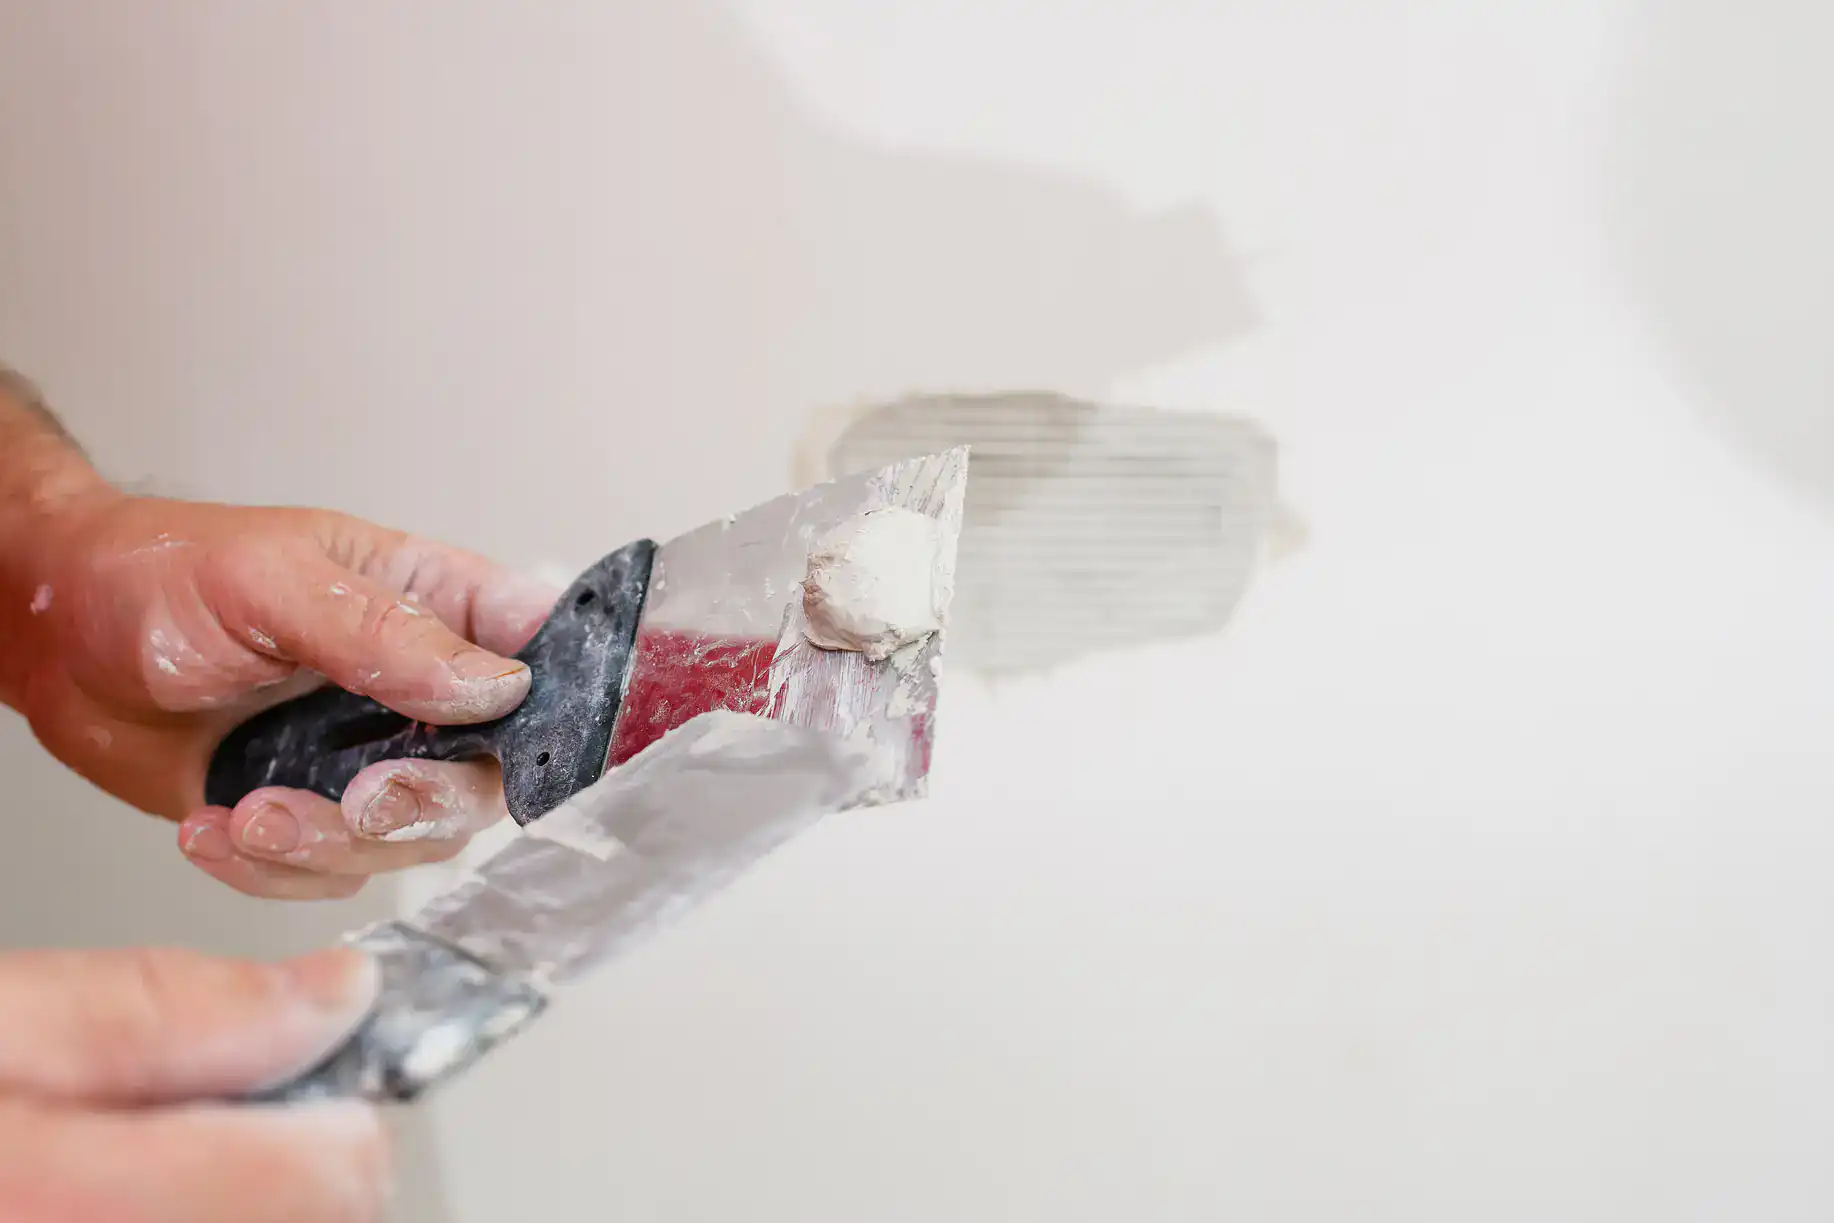
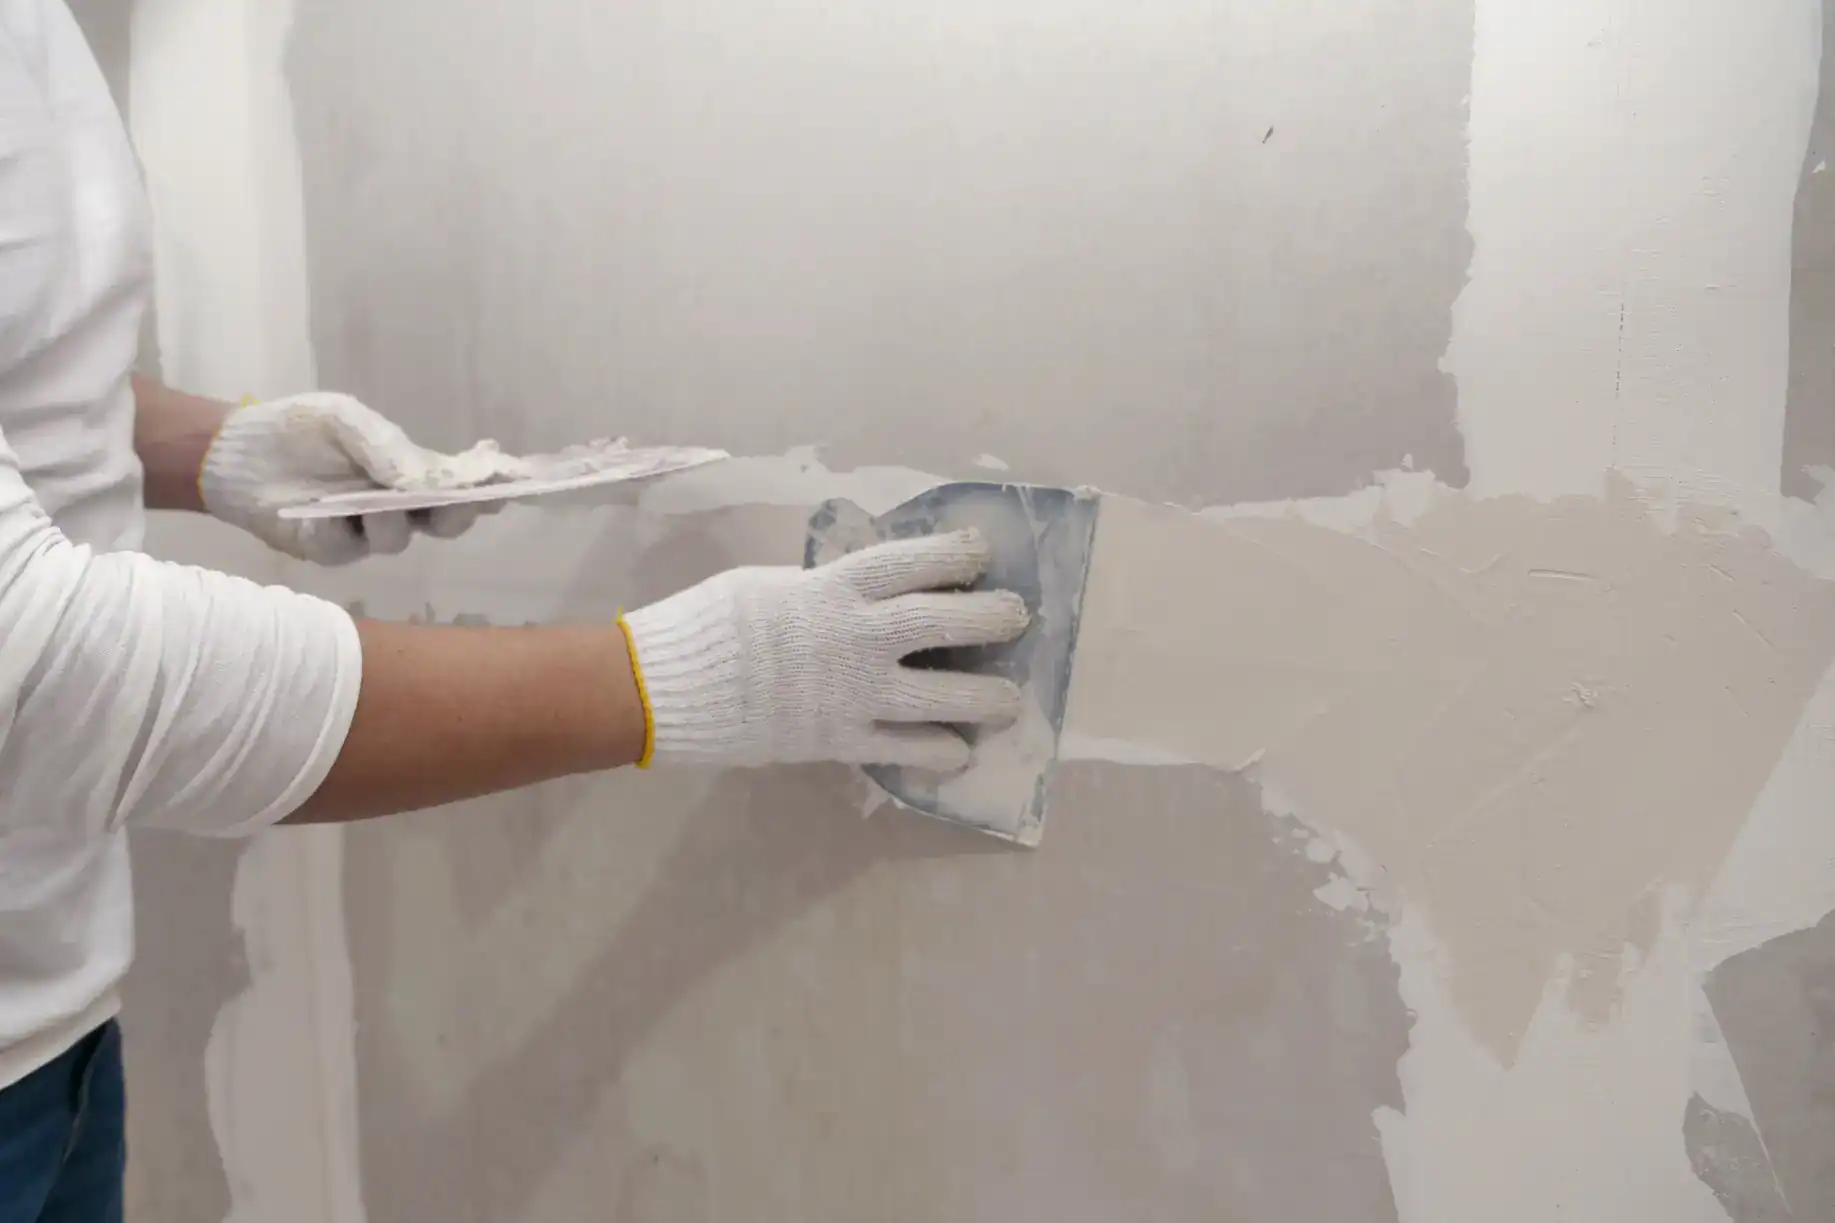
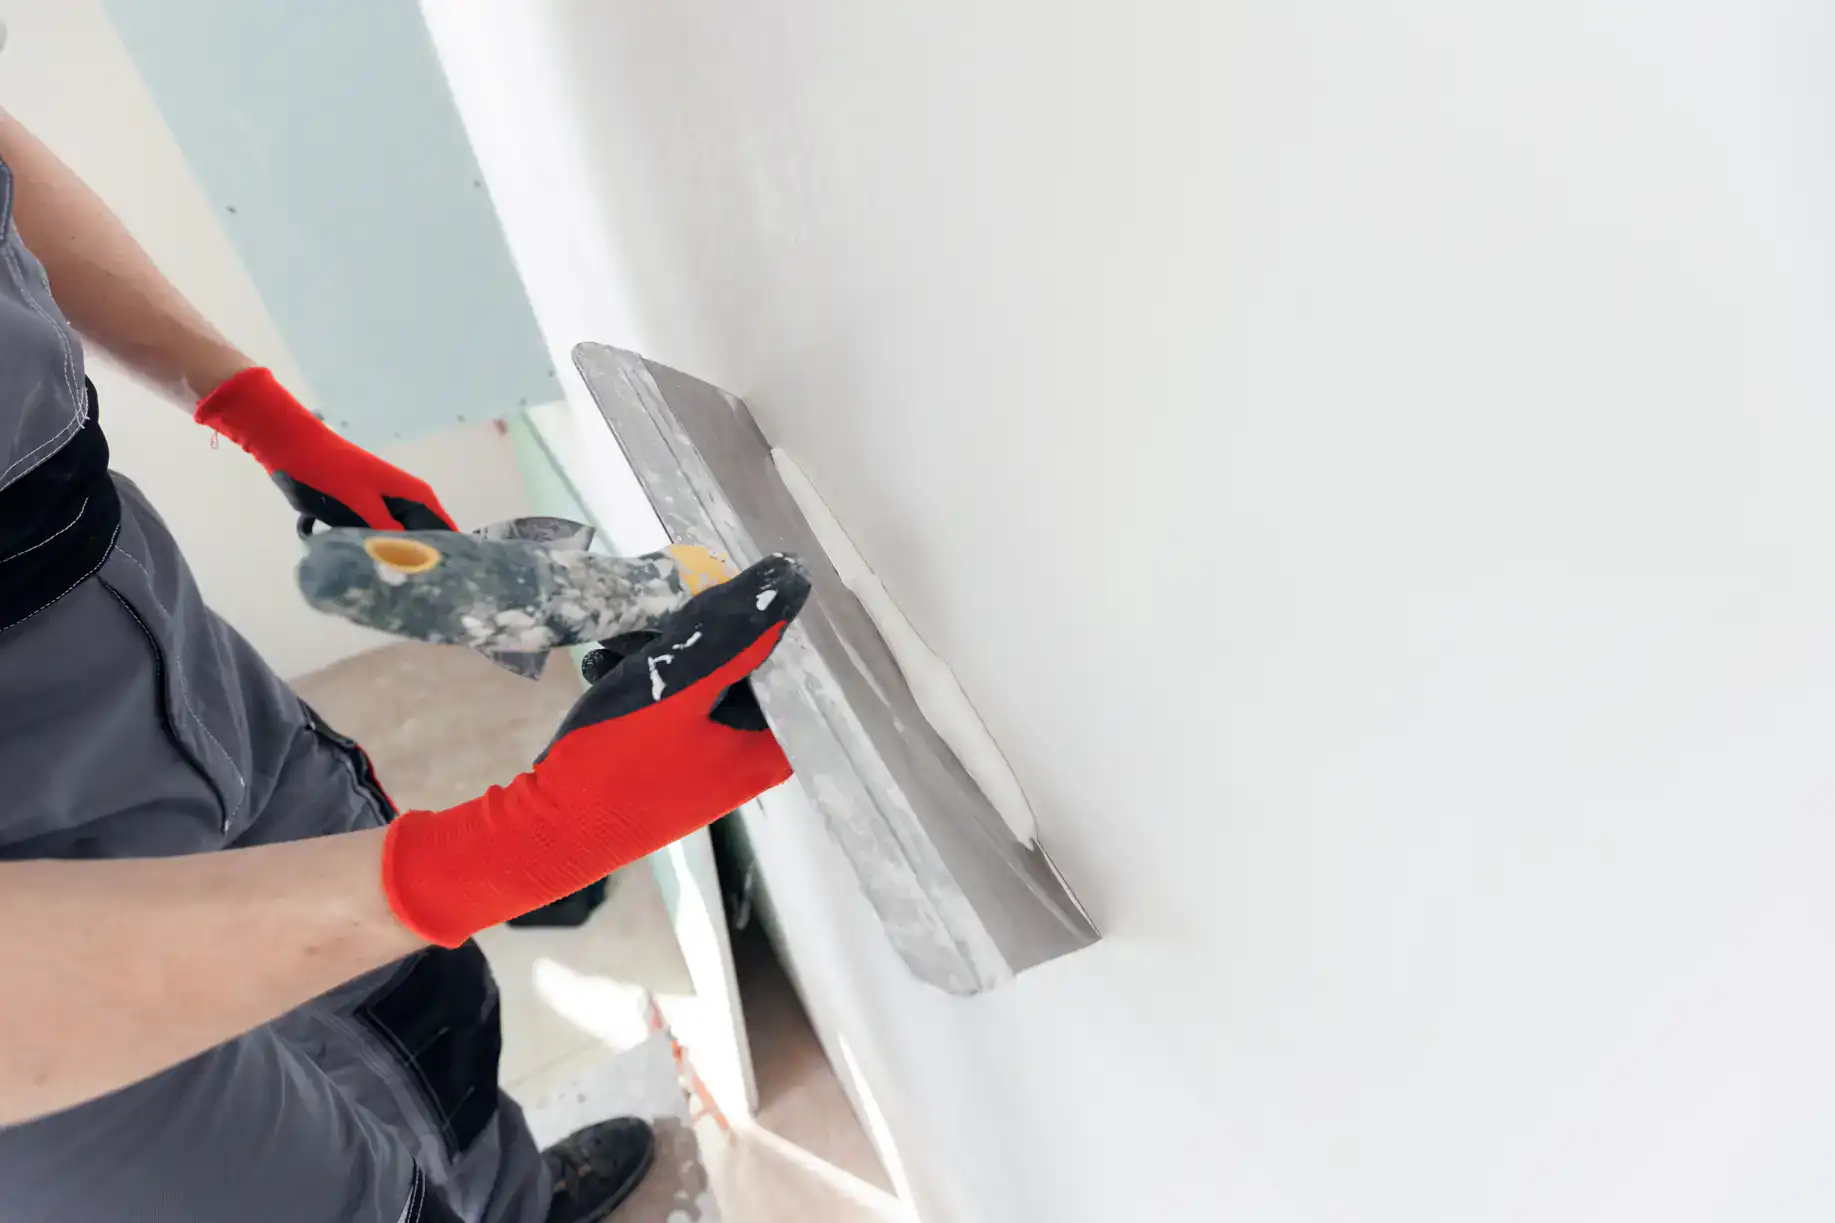
After hanging comes taping and mudding. This is where most of the skill shows up. We apply multiple coats of joint compound, letting each one dry completely before sanding smooth. The goal is invisible seams that disappear under paint.
Final sanding creates dust, but we use vacuums and containment to keep it from spreading through your house. Then we do a final walkthrough, clean up completely, and haul away all the scrap. You’re left with walls ready for primer and paint.
Ready to get started?
Every drywall installation in Woodbourne includes proper surface prep, whether that’s cleaning studs, checking for level, or addressing any framing issues that could cause problems later. You’re not getting drywall slapped over problems that’ll show through.
We use premium materials designed for the specific area we’re working in. Moisture-resistant board for bathrooms and basements. Standard board for living areas and bedrooms. The right screws at the right spacing to prevent pops and sagging.
Finishing includes all taping, multiple coats of mud, and complete sanding to your specified level. Level 4 is standard for most painted walls. Level 5 adds an extra skim coat for flawless surfaces under critical lighting or high-gloss finishes.
Texture matching is part of the service when you’re doing repairs or additions. We can recreate orange peel, knockdown, skip trowel, or smooth finishes so new work blends seamlessly with existing walls. In Woodbourne’s higher-end homes where finishes matter, this attention to detail makes the difference between obvious patchwork and invisible repairs.
Cleanup isn’t an afterthought. We vacuum all surfaces, wipe down surrounding areas, and remove every piece of scrap drywall and packaging. Your home should look cleaner after we leave than when we arrived, just with better walls.
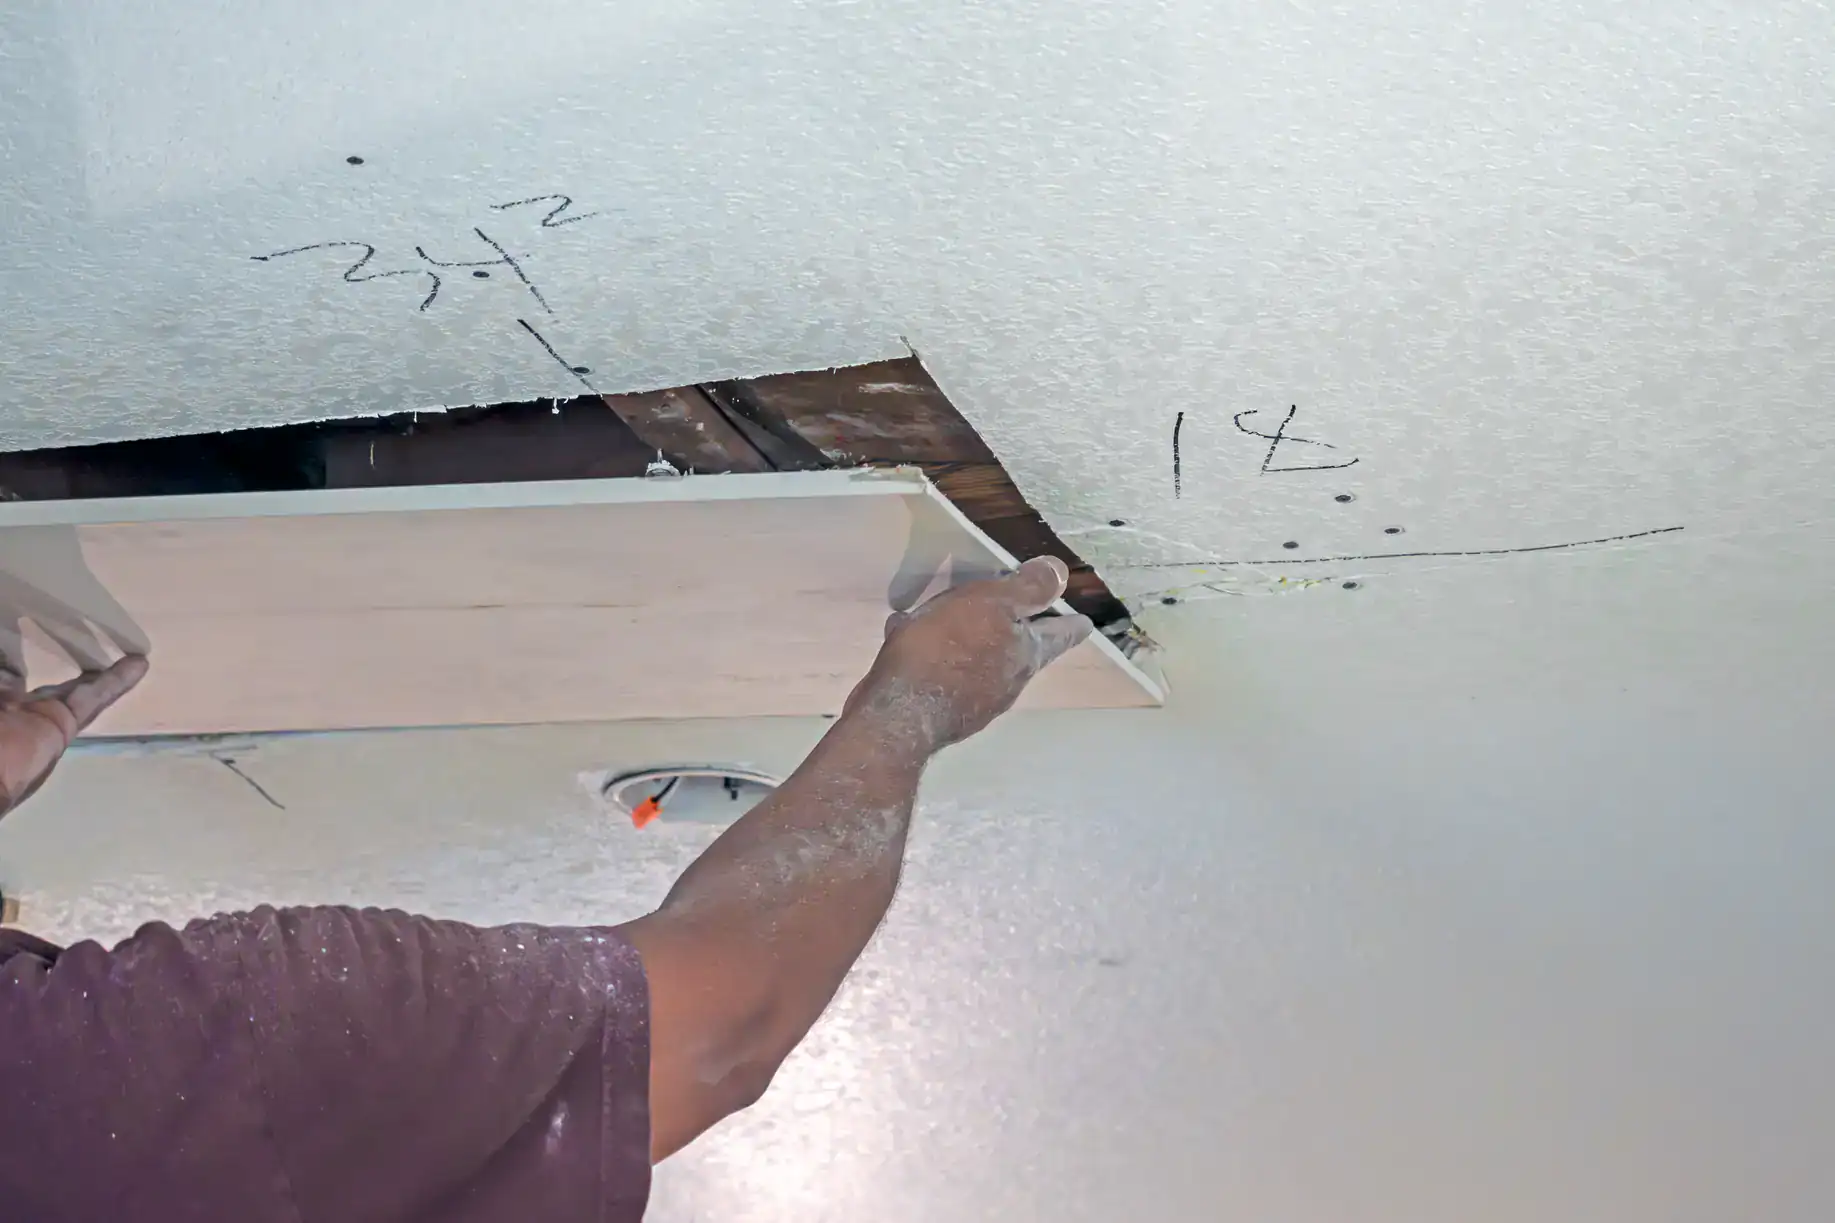
Most residential drywall installation projects in Woodbourne run between $1,000 and $3,000, though your actual cost depends on square footage, ceiling height, and finish level. The current going rate for professional installation sits around $2.26 to $2.69 per square foot, which includes materials, labor, finishing, and cleanup.
A standard 12×12 bedroom with 8-foot ceilings typically costs $800 to $1,200 for complete installation. Larger projects like finishing a 600-square-foot basement run $1,800 to $2,400. Add about 15-20% if you need moisture-resistant drywall for bathrooms or lower levels.
The finish level affects your final price too. Level 4 finish works for most painted walls and costs less than Level 5, which adds a full skim coat for flawless surfaces under harsh lighting. If you’re matching existing texture, that’s additional work but necessary for seamless results.
We give you a detailed, written estimate before any work starts so you know exactly what you’re paying for. No surprise charges for “unforeseen issues” that should’ve been caught during the initial walkthrough.
A single room usually takes one to three days depending on size and finish requirements. Hanging the drywall itself is the quick part, often done in a few hours. The finishing work is what takes time because joint compound needs to dry completely between coats.
Day one covers hanging all the sheets, installing corner bead, and applying the first coat of mud. Day two is the second coat after the first has dried overnight, followed by sanding. Day three handles the final coat, final sanding, and cleanup.
Larger projects take longer but follow the same rhythm. A full basement might take a week. Multiple rooms could take two weeks. Weather affects drying time too, especially in humid summer months when compound takes longer to cure.
You can speed things up slightly with fast-drying compounds, but there’s a limit to how much you can rush proper drying without compromising quality. Anyone promising same-day finished walls is either using subpar techniques or setting you up for cracks and failures down the road.
Yes, absolutely. Basements in this area deal with humidity and occasional moisture issues, especially in homes built before modern waterproofing standards. Regular drywall absorbs moisture, which leads to mold, sagging, and eventual failure.
Moisture-resistant drywall (the green or purple board) has a treated core and face paper that resists water absorption. It costs about 20% more than standard drywall but saves you from having to rip out and replace failed walls in a few years.
Even if your basement feels dry now, humidity levels fluctuate seasonally. Spring thaws and summer humidity can push moisture through foundation walls. Moisture-resistant board gives you a buffer against those conditions.
For bathrooms, moisture-resistant drywall is code in most areas and non-negotiable. Behind tile, you want cement board or a waterproof membrane system. But for bathroom ceilings and walls that won’t get direct water exposure, moisture-resistant drywall works fine and costs significantly less than cement board.
Yes, texture matching is part of what we do regularly. Woodbourne homes span several decades of construction, which means you’ll find everything from smooth plaster finishes to heavy knockdown textures to orange peel sprays.
Matching texture takes skill and the right tools. Orange peel requires a hopper gun with the correct tip size and air pressure. Knockdown needs proper timing between spraying and knocking. Skip trowel and hand-troweled finishes require technique that only comes from experience.
We bring samples of your existing texture to match off-site before applying anything to your walls. This lets us dial in the exact pattern, density, and depth without experimenting on your finished surfaces.
Perfect matches are possible on most textures. Some older plaster finishes or custom hand-troweled work might show slight variation under certain lighting, but we get close enough that you won’t notice unless you’re specifically looking for differences. The goal is making repairs and additions disappear into the existing walls.
Level 4 is the standard finish for most residential walls and ceilings. It includes three coats of joint compound over all seams and fasteners, sanded smooth and ready for paint. Under normal lighting with flat or eggshell paint, Level 4 looks perfectly smooth.
Level 5 adds a final skim coat of compound over the entire surface, not just the seams. This creates an absolutely uniform texture across the whole wall, eliminating any slight variations between the drywall paper and the joint compound.
You need Level 5 in specific situations: walls with critical lighting (like large windows or track lighting that rakes across the surface), high-gloss or semi-gloss paint that highlights imperfections, or anywhere you want a glass-smooth finish. It costs more because it’s significantly more labor and material.
Most Woodbourne homes do fine with Level 4 in bedrooms, living areas, and standard spaces. Bathrooms with glossy paint, feature walls with dramatic lighting, or high-end finishes benefit from Level 5. We’ll tell you honestly which level makes sense for your specific situation and budget.
Small holes, cracks, and isolated damage usually need repair, not replacement. Anything smaller than a fist can be patched effectively. Nail pops, hairline cracks, and minor dings are simple fixes that cost a fraction of full replacement.
You’re looking at replacement when you have widespread water damage, extensive cracking across multiple seams, sagging ceilings, or mold growth behind the drywall. If more than 30% of a wall is damaged, replacement often makes more sense than trying to patch everything.
Water damage is tricky because you can’t always see the full extent. If drywall got soaked, it needs replacement even if it looks okay after drying. The paper facing and gypsum core lose structural integrity once saturated, and mold can grow inside the wall cavity where you can’t see it.
Age matters too. If you’re in an older Woodbourne home with original drywall from the 70s or 80s, and you’re seeing multiple issues, replacement might be the smarter long-term investment. Patching old, failing drywall just delays the inevitable and costs more in repeated repairs than doing it right once.
Other Services we provide in Woodbourne