
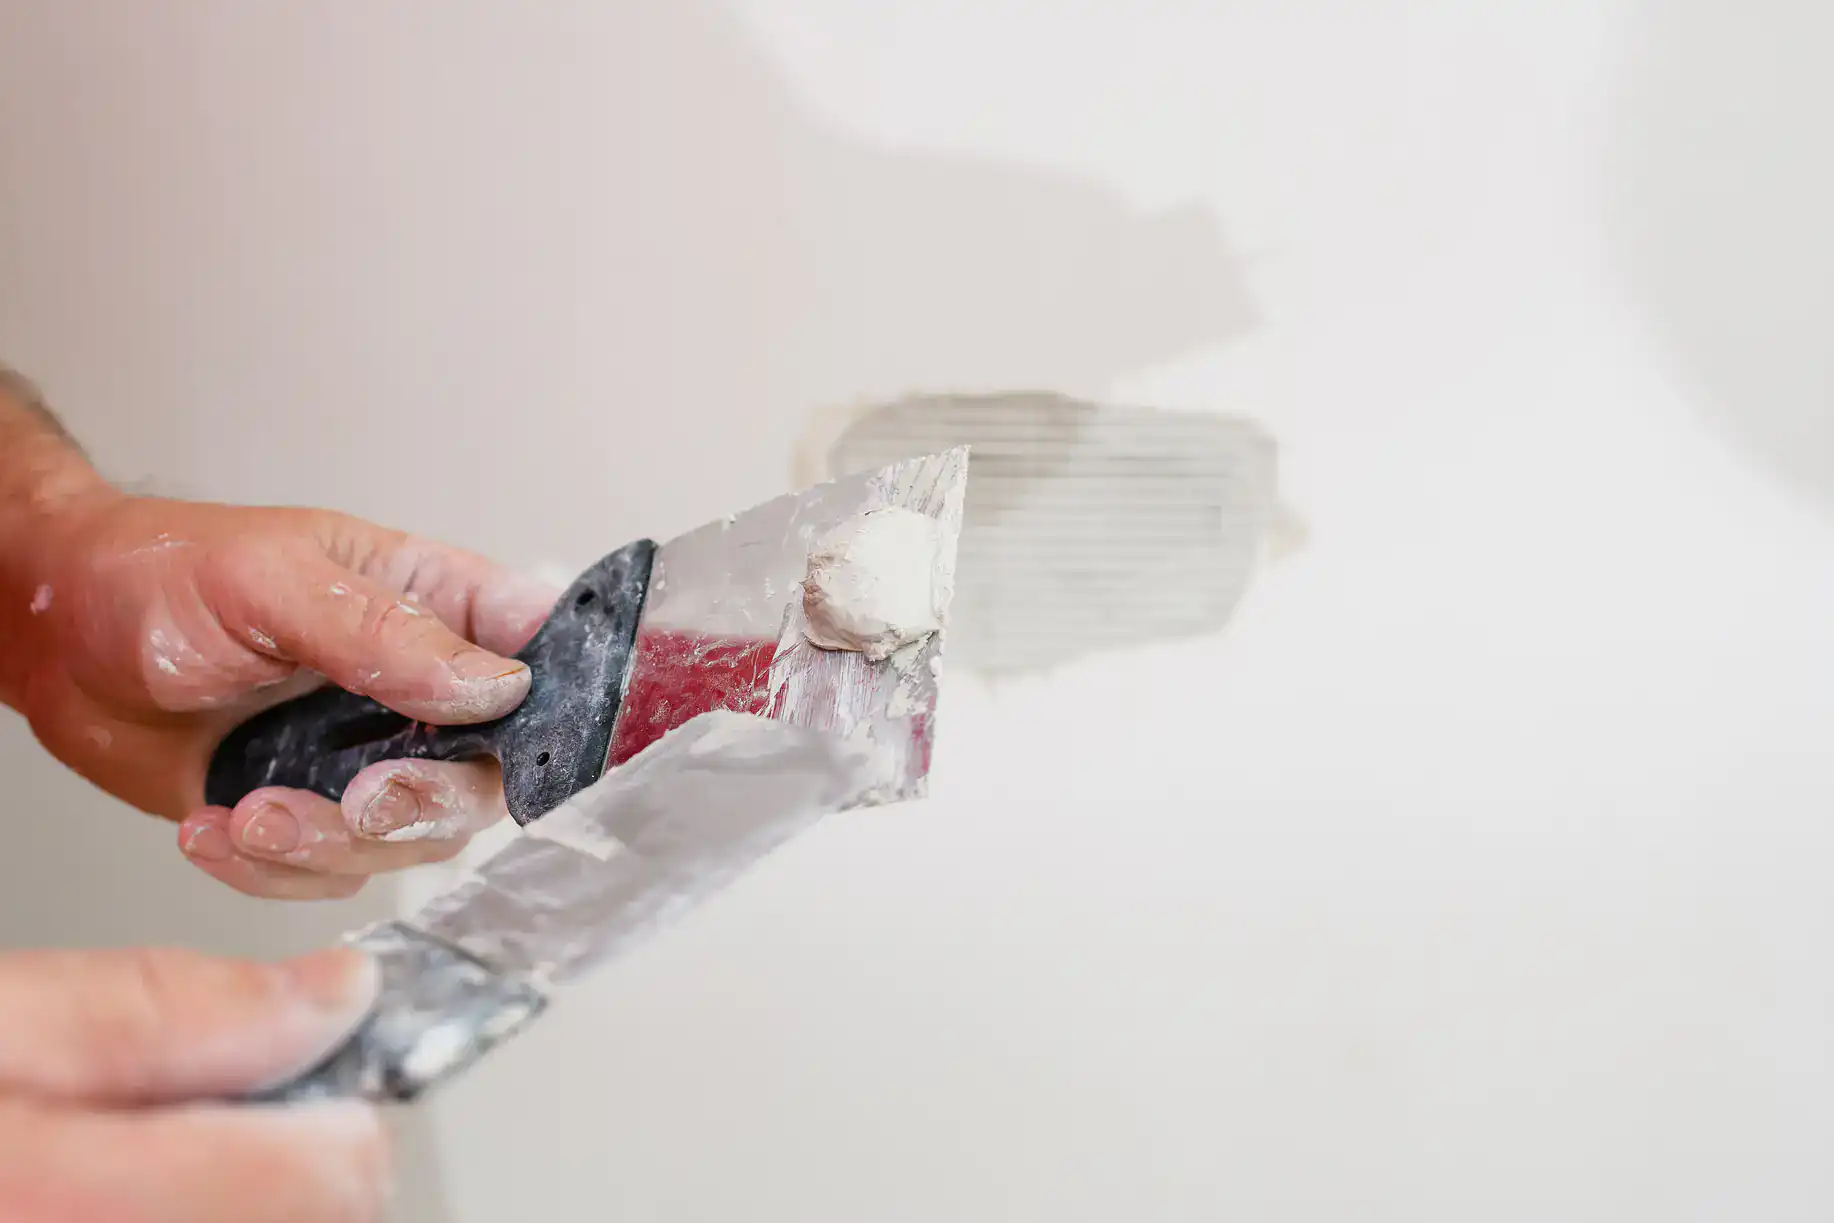
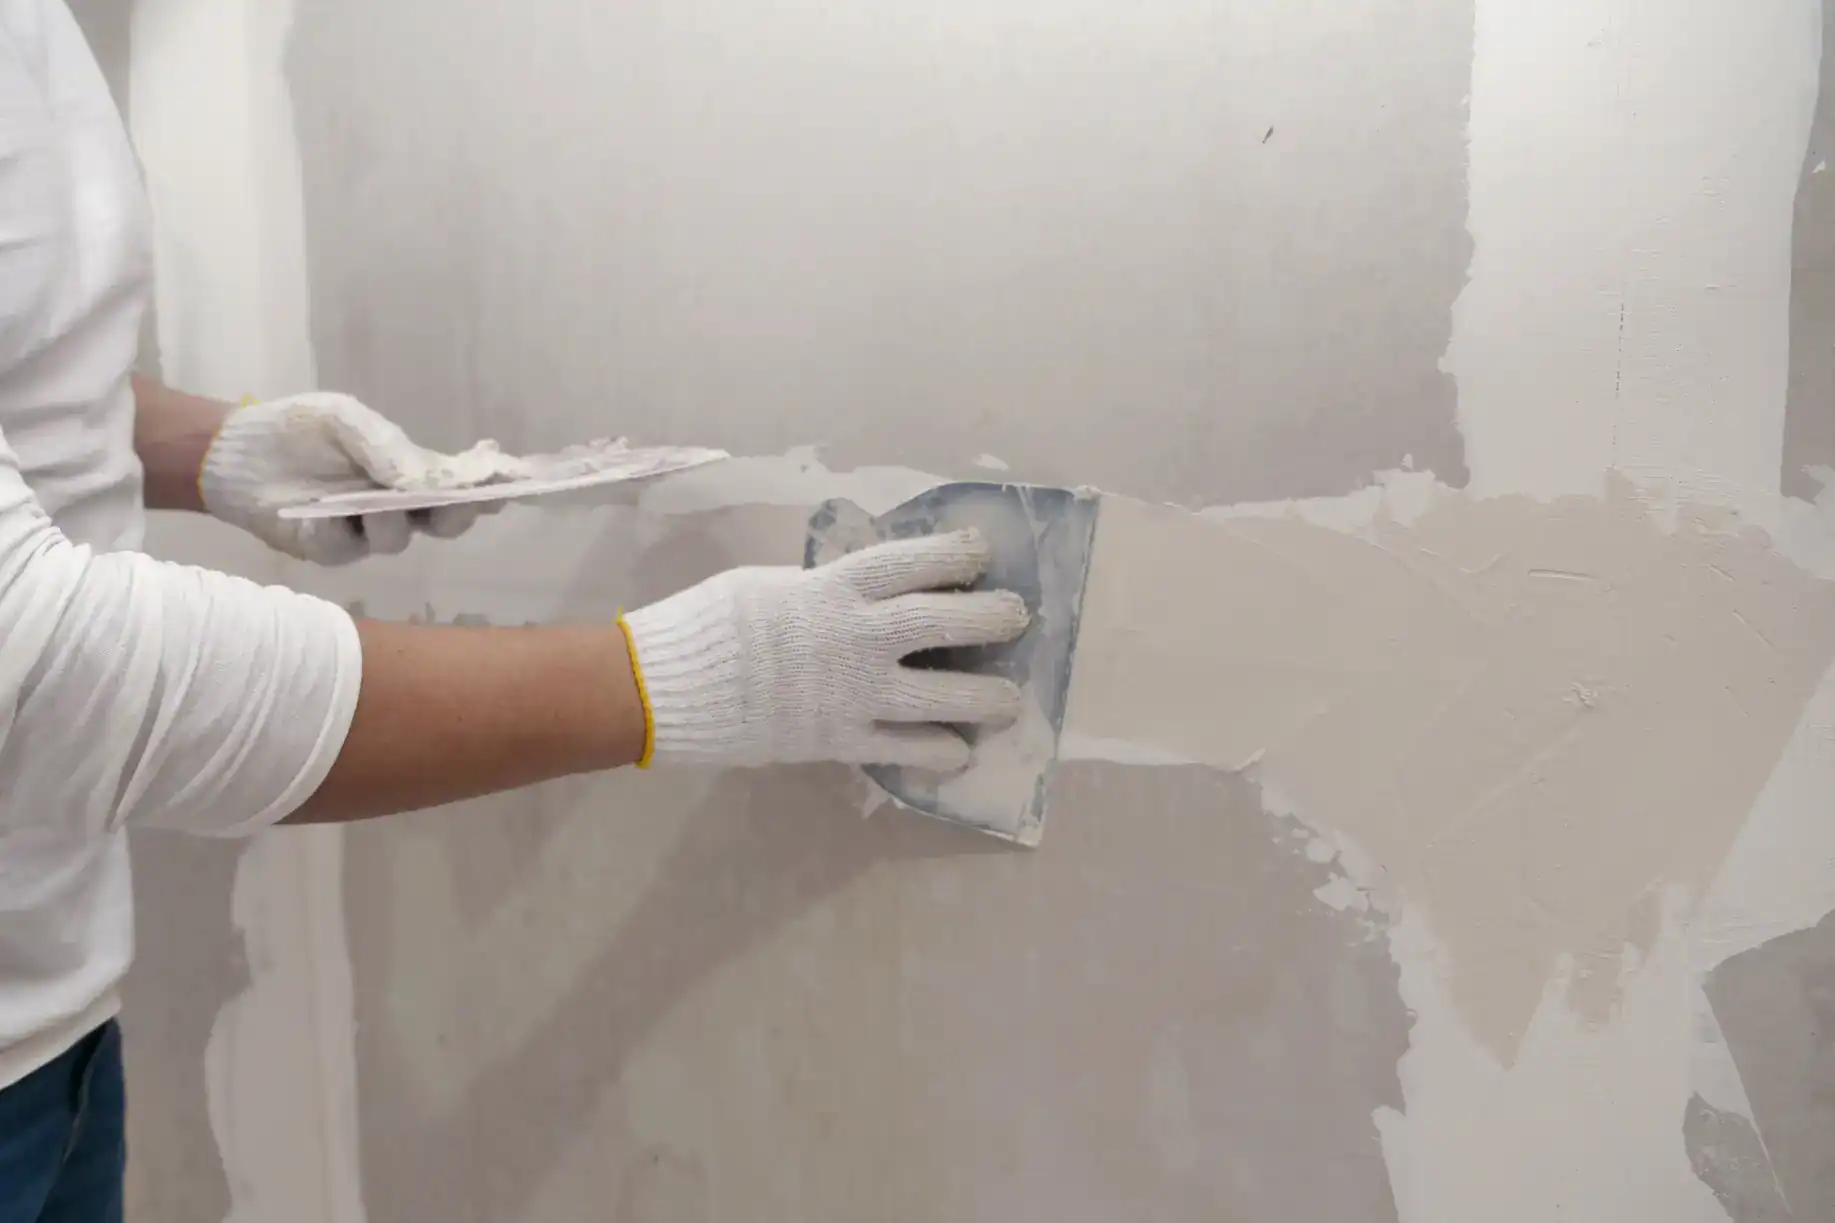
You’re not looking for the cheapest bid. You’re looking for walls that don’t show seams through the paint six months later. Corners that are actually straight. A crew that shows up when they say they will and cleans up before they leave.
That’s what proper drywall installation in Wissahickon, PA looks like. No gaps you could slide a credit card through. No bumps that catch the light at the wrong angle. No callbacks because the mud wasn’t applied right the first time.
Most homes in Wissahickon were built around 1961, which means you’re likely dealing with plaster walls, outdated materials, or spaces that need a complete refresh. Whether you’re finishing a basement, repairing damaged sections, or renovating an entire room, the quality of the installation determines how your walls look for the next decade. We handle the full scope—hanging, taping, mudding, sanding, and finishing—so you’re not coordinating three different crews or dealing with finger-pointing when something goes wrong.
You get one team, one timeline, and one standard: done right.
Sharpe Drywall has been serving homeowners across Montgomery and Bucks County for over a decade. We’re not a crew that disappears halfway through the job or leaves you chasing down answers. We’re local, licensed, insured, and we’ve built our reputation on doing what we say we’ll do.
Wissahickon homeowners deal with unique challenges—older housing stock, tight spaces, and high expectations for quality. We’ve worked in enough homes here to know what it takes to match existing finishes, work around original architecture, and deliver results that hold up under scrutiny. You’re not our first rodeo, and we’re not learning on your dime.
When you hire us for drywall installation in Wissahickon, PA, you’re hiring a team that knows the difference between a Level 3 and Level 5 finish, understands why moisture-resistant board matters in certain applications, and won’t cut corners to save fifteen minutes.
First, we assess the space. We measure, identify any structural concerns, and determine what materials and finish level make sense for your project. If you’re installing drywall over old plaster or dealing with uneven framing, we address it upfront—not after the sheets are already hung.
Next, we hang the drywall. Sheets are cut to fit, secured properly, and positioned to minimize seams in high-visibility areas. We’re not rushing through this step because it sets the foundation for everything that follows.
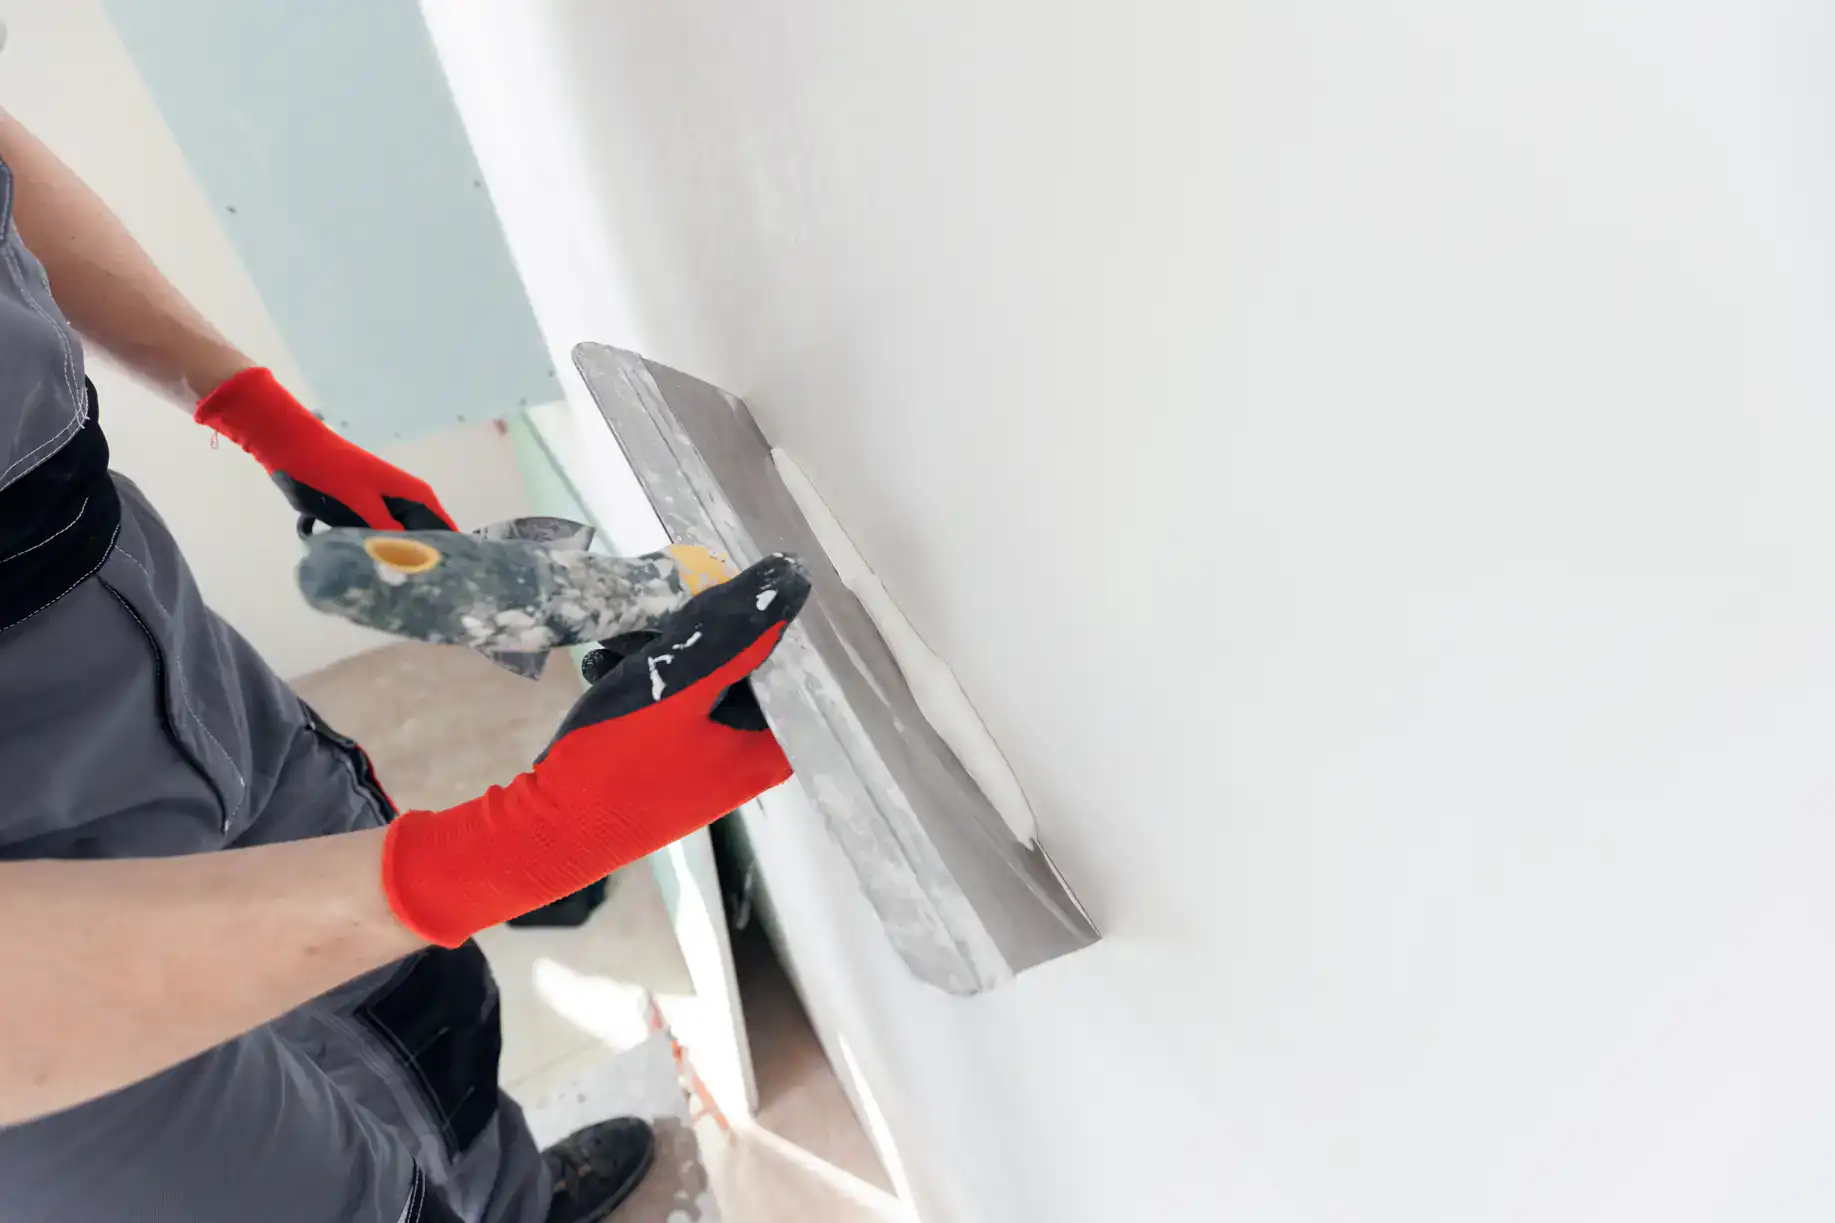
Then comes taping and mudding. This is where most bad drywall jobs fall apart. We apply joint compound in multiple coats, letting each layer dry completely before sanding and adding the next. Corners get reinforced. Seams get feathered out. Every surface gets checked under different lighting conditions to catch imperfections before they become permanent.
Finally, we sand, prime if needed, and clean up completely. You’re left with smooth, paint-ready walls and zero dust or debris. Most projects wrap in a few days depending on size and complexity, but we’ll give you a realistic timeline upfront—not an optimistic guess that falls apart by day two.
Ready to get started?
The cost to install drywall in Wissahickon typically runs between $1.50 and $3.50 per square foot, depending on the scope, finish level, and site conditions. That includes materials, labor, taping, mudding, and sanding. Ceiling work can push toward the higher end of that range because it’s more physically demanding and requires extra precision.
For context, the average drywall project in the Philadelphia area costs around $2,095, with most homeowners spending between $1,077 and $3,118 depending on room size and complexity. If you’re finishing a basement, expect to budget for moisture-resistant drywall in areas prone to humidity. If you’re doing a high-end renovation with critical lighting, a Level 5 skim coat finish adds cost but eliminates any chance of visible imperfections.
Here’s what separates a $1.50 job from a $3.50 job: attention to detail, experience, and accountability. Cheaper bids often mean fewer coats of mud, less sanding, and corners cut—literally. You’ll pay for those shortcuts later in repaints, repairs, and frustration. We price our work based on doing it right the first time, which means proper prep, quality materials, and a finish that doesn’t need a do-over six months down the line.
With a median home value in Wissahickon sitting around $275,400, your walls are part of a significant investment. Treat them that way.
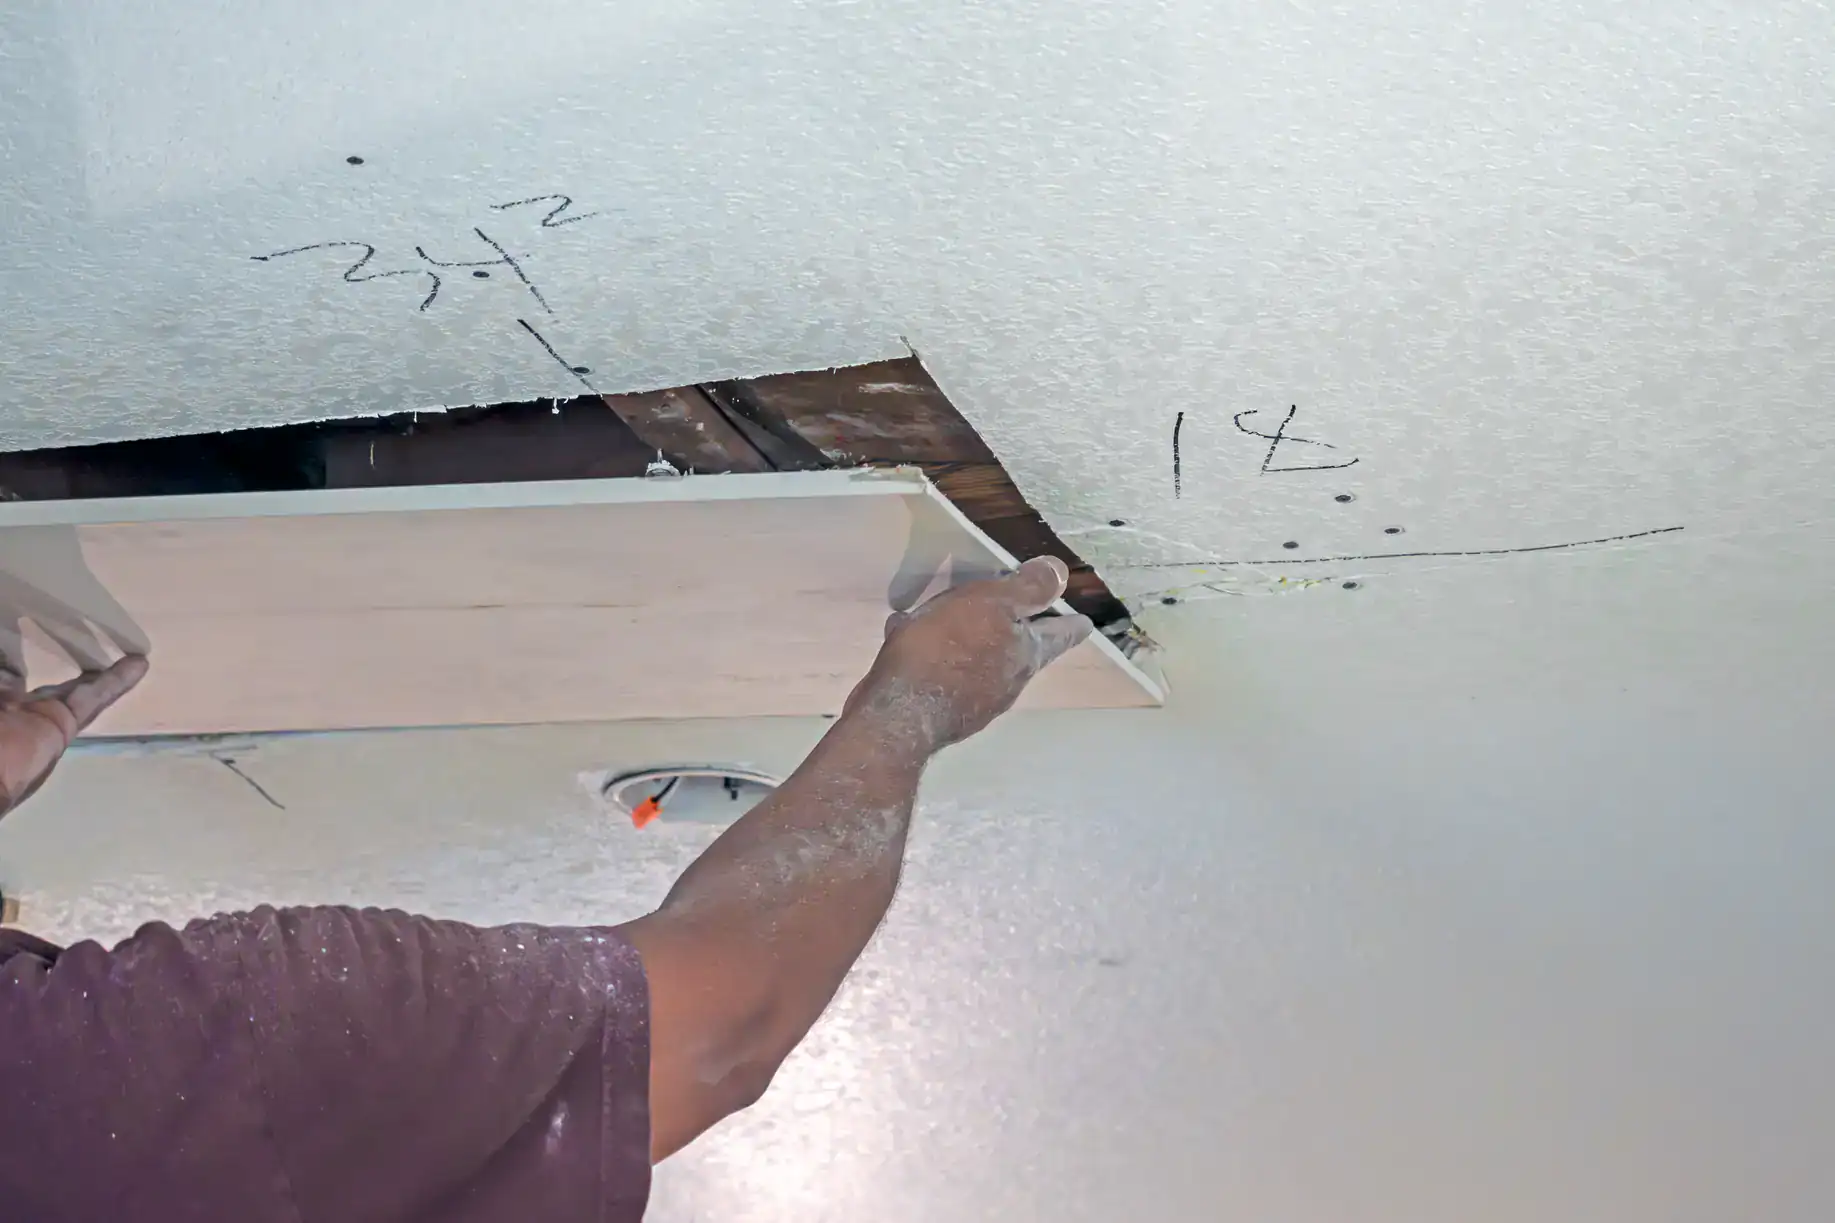
Most single-room installations take two to four days from start to finish, depending on the size of the space and the level of finish you’re after. Day one is usually hanging the drywall. Day two involves the first coat of mud and tape. Day three is the second coat, sanding, and touch-ups. Day four, if needed, handles final sanding, priming, or any detail work.
Larger projects—like finishing an entire basement or multiple rooms—can stretch into a week or more. The timeline also depends on drying conditions. Humid weather or poor ventilation can slow down the mud curing process, which is why we don’t rush it. A finish that looks smooth today but cracks next month isn’t a finish worth doing.
We’ll give you a clear timeline during the estimate so you know what to expect. No vague “we’ll get to it when we can” answers.
Drywall finishes range from Level 0 (no finishing at all) to Level 5 (a full skim coat over the entire surface). Most residential projects use Level 4, which involves multiple coats of joint compound, sanding, and a smooth finish that’s ready for paint or texture. It’s the standard for walls and ceilings in living spaces, bedrooms, and kitchens.
Level 5 is reserved for areas with critical lighting—like hallways with large windows or spaces where harsh light will highlight every imperfection. It involves applying a thin skim coat over the entire wall, not just the seams, to create an ultra-smooth surface. It costs more and takes longer, but it’s the only way to guarantee a flawless appearance in high-scrutiny areas.
If you’re unsure which level makes sense for your project, we’ll walk you through it during the estimate. There’s no point paying for Level 5 in a basement storage room, and there’s no point skimping on finish quality in your main living areas.
We handle both. Repairs are a big part of what we do—whether it’s patching a hole from a doorknob, fixing water damage, or blending in a repair so it’s invisible after paint. Most repairs can be completed in a single visit, depending on the extent of the damage and how many coats of mud are needed to match the surrounding texture.
The key to a good repair is making it disappear. That means feathering out the edges, matching the existing texture, and sanding it smooth so there’s no visible transition between the patch and the original wall. Bad repairs stand out because the contractor didn’t take the time to blend properly or used the wrong materials.
If you’ve got a small repair or a full wall that needs replacing, we’ll assess it and give you a straightforward answer on what it’ll take to fix it right. No upselling a full replacement when a patch will do the job.
Clear the room as much as possible. Move furniture, take down wall hangings, and cover anything you don’t want dusty. Even though we contain dust as much as we can and clean up thoroughly, drywall work generates fine particles that can travel. If you’ve got HVAC vents in the room, consider covering them temporarily or turning off the system while we’re sanding.
If we’re working in a basement or unfinished space, make sure we have clear access to the area and that any electrical or plumbing work is completed before we start hanging drywall. We can’t sheet over outlets or fixtures that aren’t in place yet, and trying to retrofit around drywall after the fact creates unnecessary complications.
We’ll do a walkthrough before we start so you know exactly what to expect. If there’s anything that needs attention before we begin, we’ll flag it upfront—not three days into the job.
Finishing costs typically run between $1 and $2.10 per square foot for labor, depending on the finish level and complexity. That covers taping, mudding, sanding, and preparing the surface for paint. If you’re adding a Level 5 skim coat or dealing with difficult textures, expect to be on the higher end of that range.
Some contractors will give you a rock-bottom price to hang the drywall, then hit you with finishing costs that double the budget. We price the entire job upfront—hanging and finishing—so there’s no sticker shock halfway through. You’ll know what the total cost is before we start, and that number doesn’t change unless you change the scope.
For reference, the average cost to install drywall in the Philadelphia area, including finishing, is around $2,095 for a typical project. Smaller repairs or single rooms will cost less. Larger renovations or whole-home projects will cost more. We’ll give you a detailed estimate based on your specific space and needs.
Yes, but it depends on the texture. Smooth finishes are the easiest to match because there’s no pattern to replicate. Knockdown, orange peel, or custom textures require more skill and sometimes a bit of trial and error to get right. We’ll assess the existing texture during the estimate and let you know if it’s something we can match seamlessly or if there might be slight variation.
In some cases, the best approach is to re-texture the entire wall rather than trying to blend a patch into an older, inconsistent texture. It costs a bit more, but it guarantees a uniform appearance. If you’re particular about how it looks—and you should be—this is the route that makes sense.
We’ve matched plenty of textures over the years, and we know when it’s doable and when it’s not. You’ll get an honest assessment, not a promise we can’t deliver on.
Other Services we provide in Wissahickon