
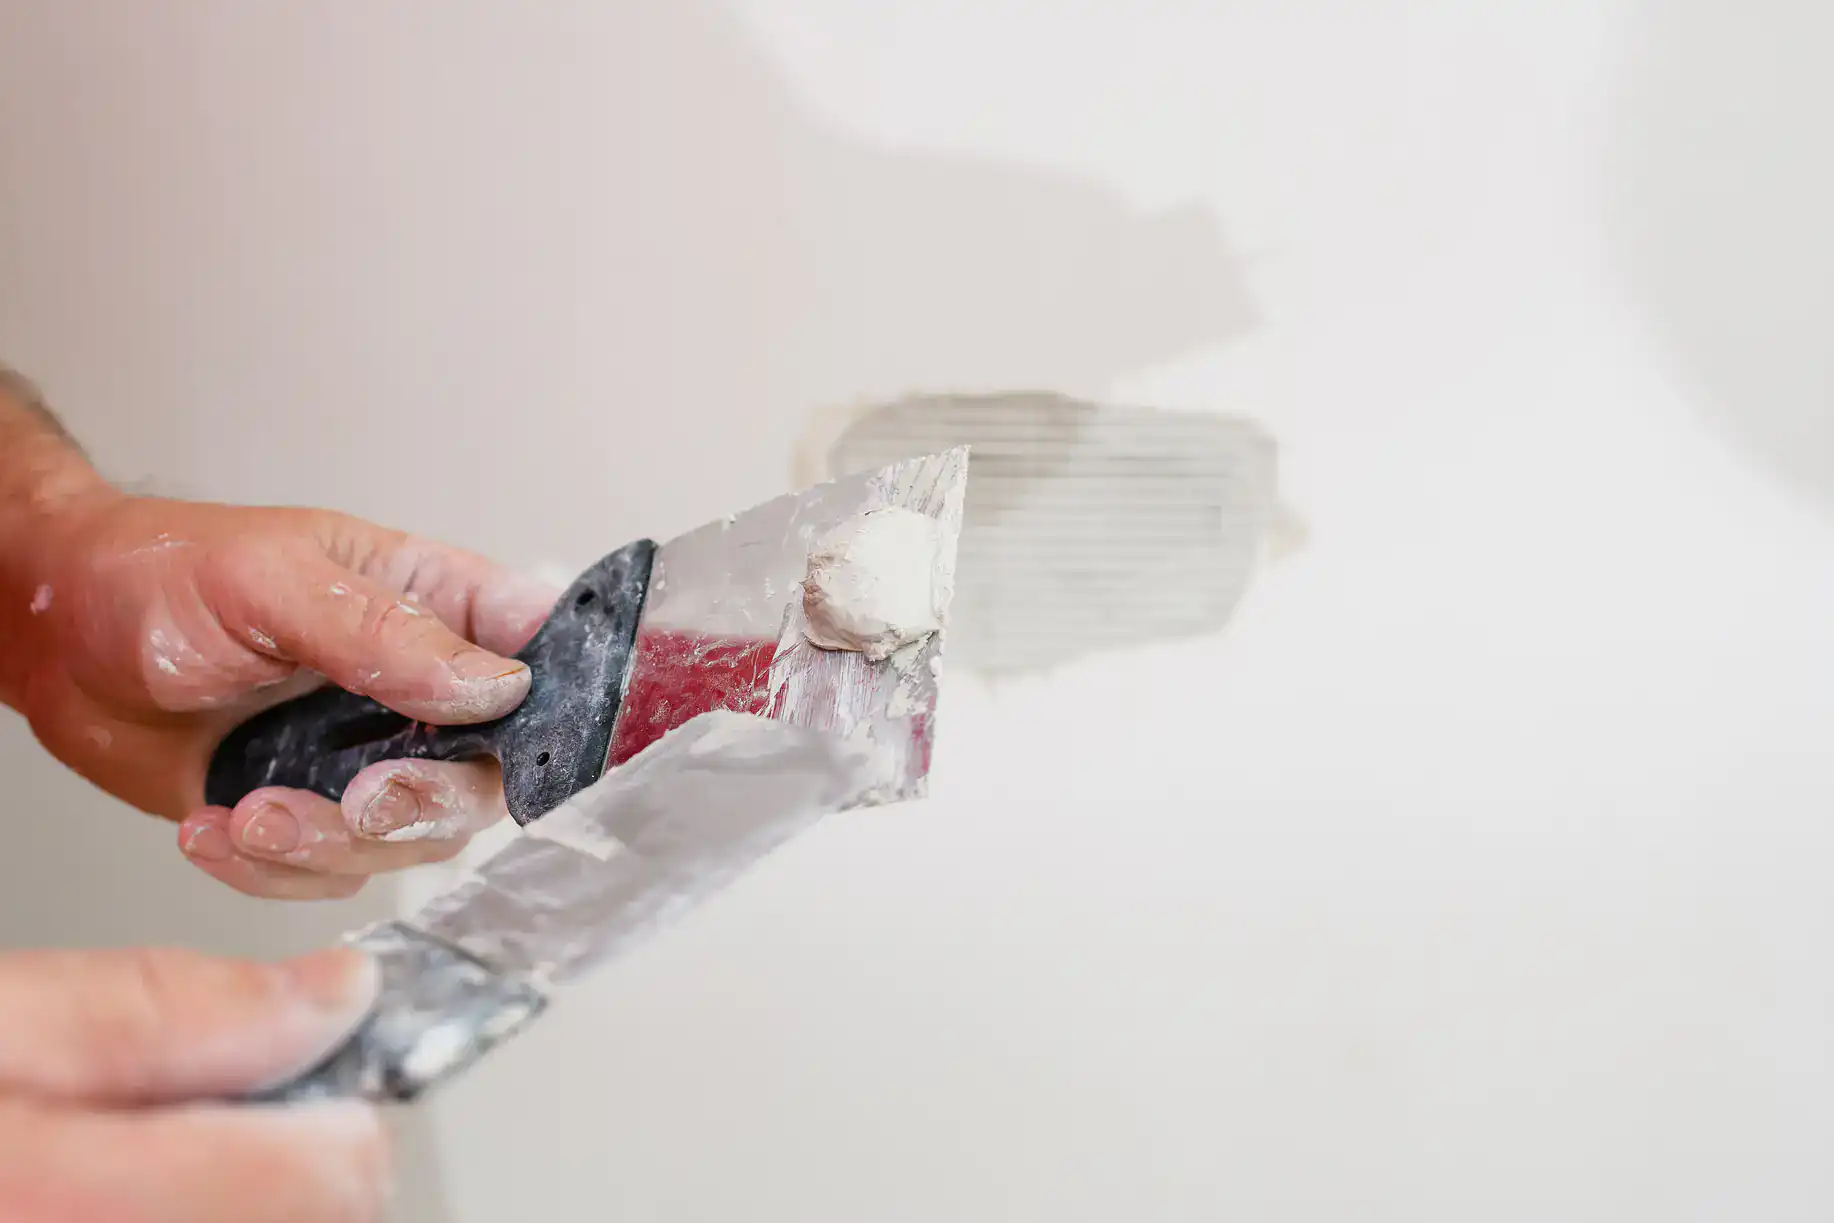
You get walls ready for paint without extra prep work. No ridges showing through. No seams you can feel when you run your hand across the surface. No callbacks because something wasn’t done right.
When drywall installation in Overbrook, PA is done correctly, your painter doesn’t need to fix our mistakes. Your walls don’t crack after the first winter. You’re not repainting every few years because the finish wasn’t smooth enough to begin with.
Most homes in Overbrook were built before 1950. That means plaster walls, settling foundations, and spaces that don’t always cooperate. Installing drywall in older rowhomes takes more than hanging sheets and slapping mud on seams. It takes knowing how these houses move, where moisture shows up, and what actually holds up long-term.
You’re not paying for the cheapest drywall installer you can find. You’re paying for work that doesn’t need fixing six months later.
We’ve been handling residential drywall installation across Montgomery, Bucks, and Philadelphia counties for years. We’re not a franchise. We’re local contractors who live in the same communities we serve.
Most of our work comes from Overbrook, PA rowhomes and older single-family properties where the walls have seen better days. We know what it takes to match existing plaster, work around radiators, and deal with the quirks that come with pre-war construction.
You’ll work with licensed, insured installers who clean up after themselves and quote you a price that doesn’t change halfway through the job. That’s not a selling point—it’s just how this should work.
First, we look at the space. We measure, check for moisture or structural issues, and talk through what you’re trying to accomplish. If you’re replacing plaster or repairing damage, we’ll tell you what makes sense and what doesn’t.
Then we prep. Furniture gets moved or covered. Floors get protected. If there’s old material coming down, we handle removal and disposal. Installing drywall creates dust—we contain it as much as possible, but it’s part of the process.
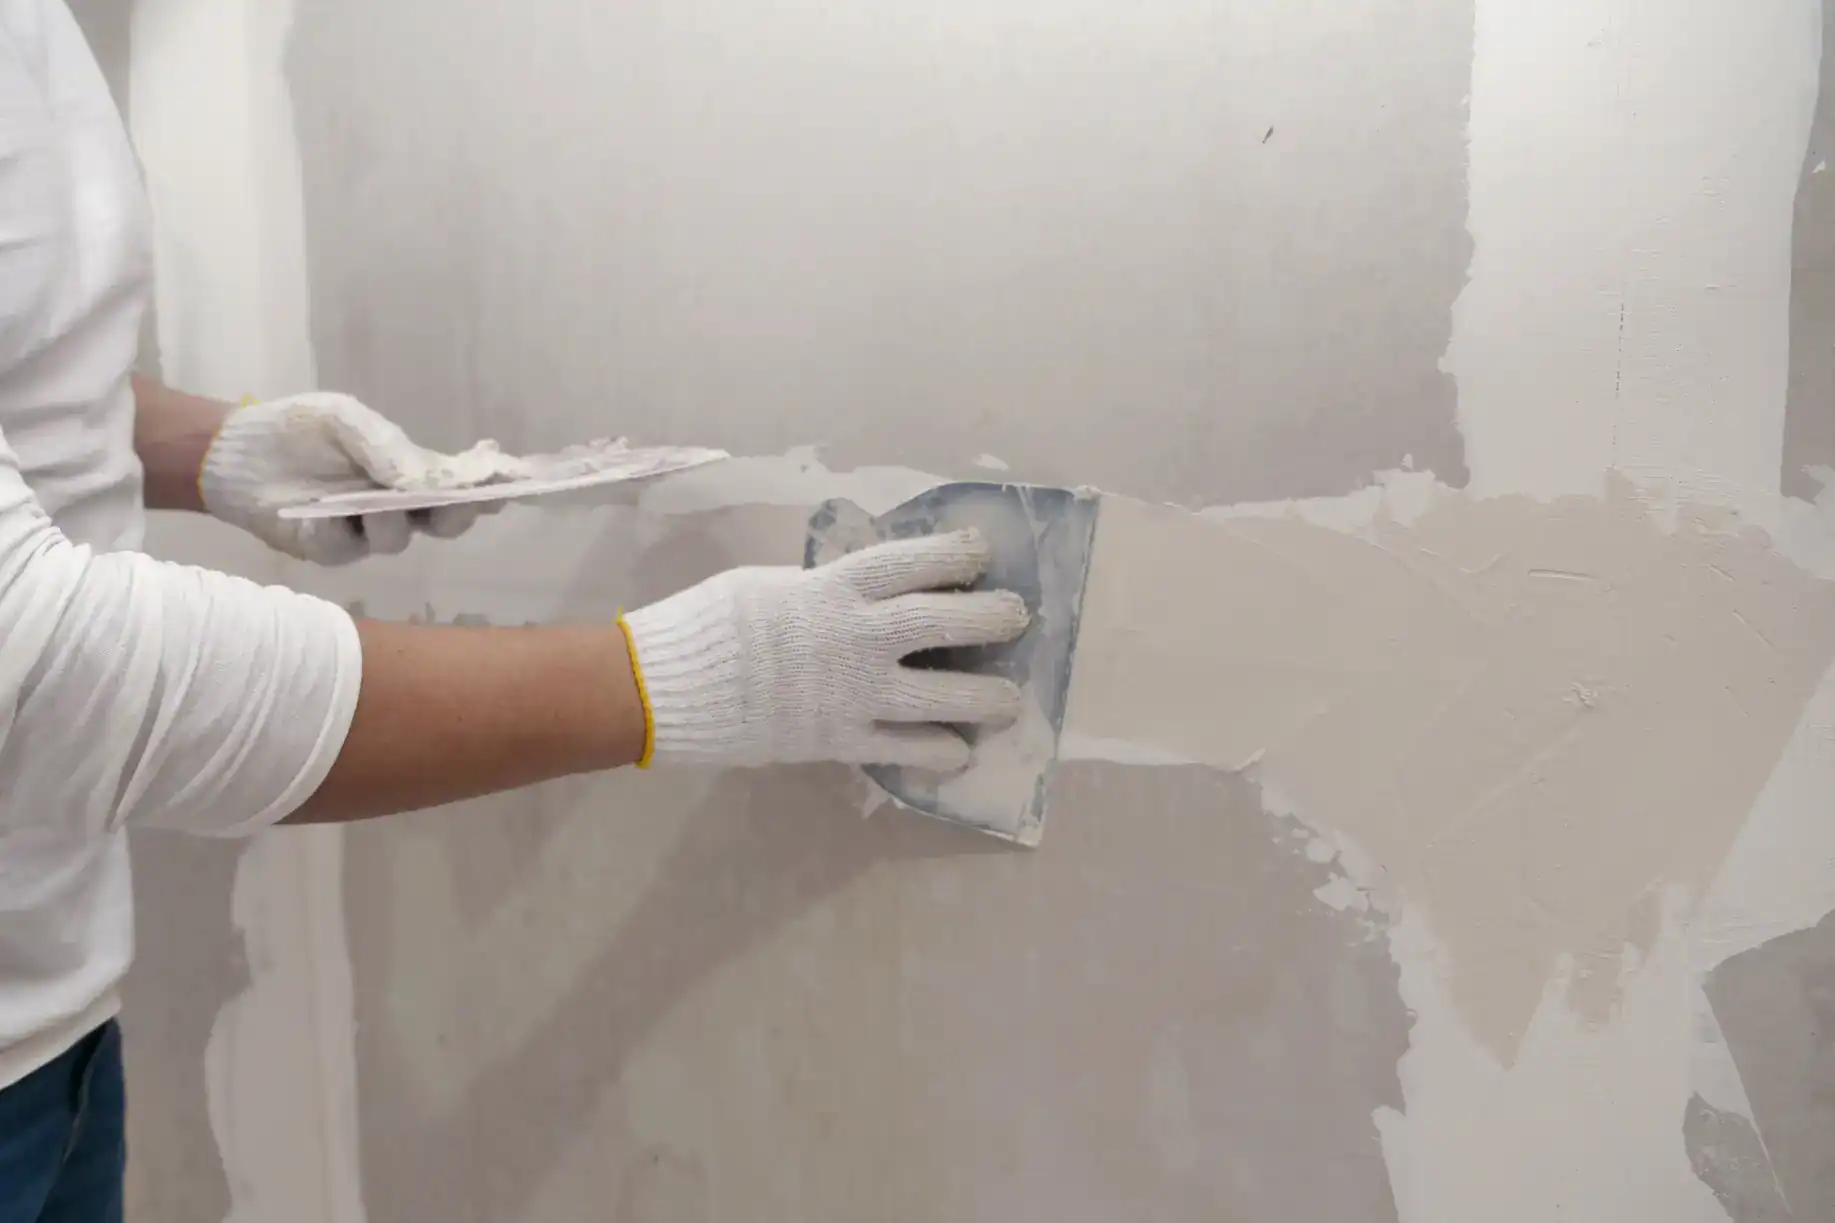
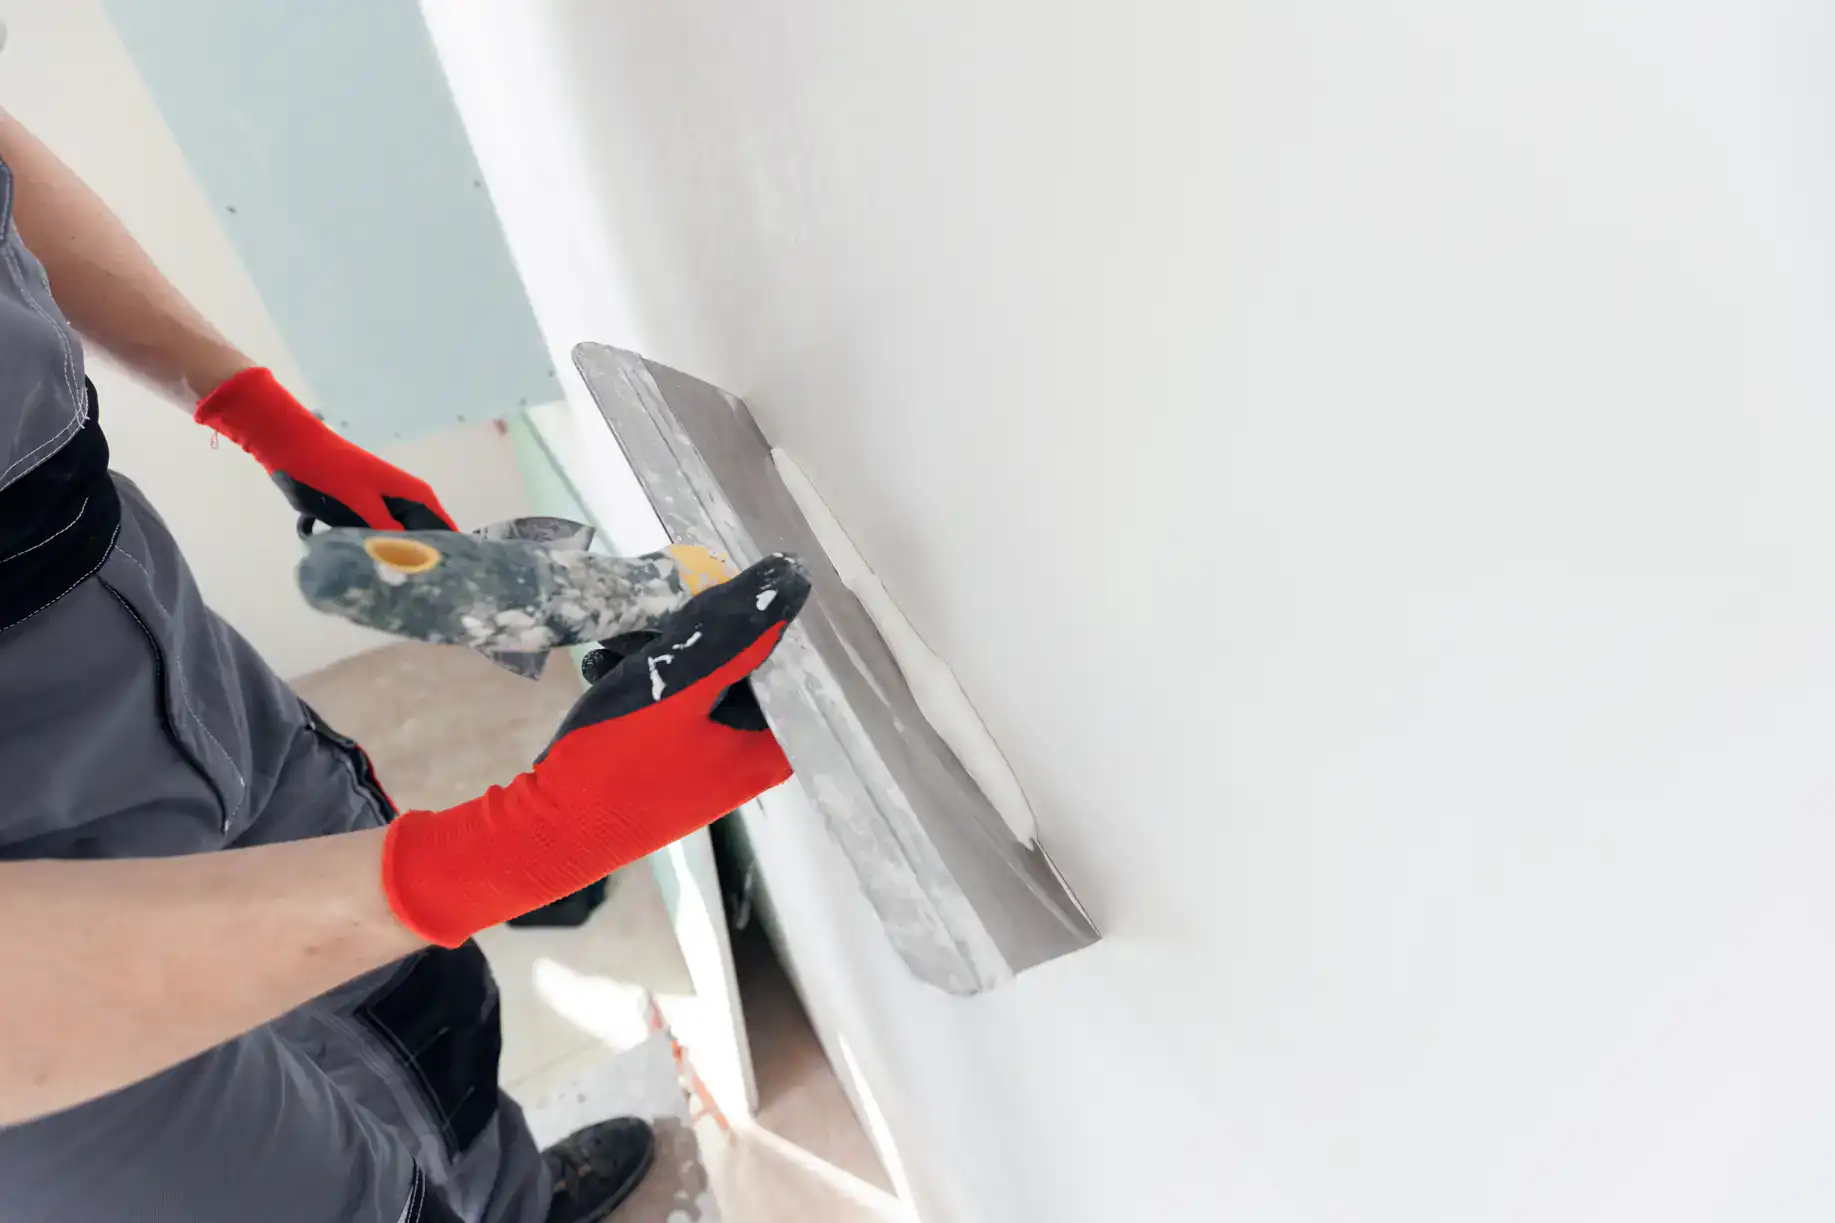
The actual installation depends on the job. New walls get framed, insulated if needed, then sheet rock goes up. We hang, tape, mud, and sand to whatever finish level the job requires. Most residential work gets a Level 4 finish, which is smooth enough for paint or texture.
After the final sanding, we clean. That means vacuuming dust, wiping down surfaces, and getting debris out of your house. You shouldn’t need to spend the next week cleaning up after us.
Ready to get started?
The average cost to install drywall in Overbrook, PA runs between $1,077 and $3,118 depending on square footage, finish level, and site conditions. Most residential jobs fall somewhere in the middle. You’re looking at roughly $0.90 to $2 per square foot for materials and labor combined.
That price includes hanging the drywall, taping seams, applying joint compound, sanding, and cleanup. It doesn’t include painting, trim work, or fixing structural problems we find once the old walls come down.
Overbrook’s housing stock—mostly attached rowhomes built in the 1940s or earlier—means you’re often dealing with plaster removal, uneven framing, and spaces that weren’t built to modern standards. That adds time. It also adds value, because a drywall installer who knows how to work with older homes will save you money in the long run.
We quote fixed prices. What we estimate is what you pay unless you change the scope of work. No surprise fees for “unforeseen complications” that any experienced contractor should have spotted during the walkthrough.
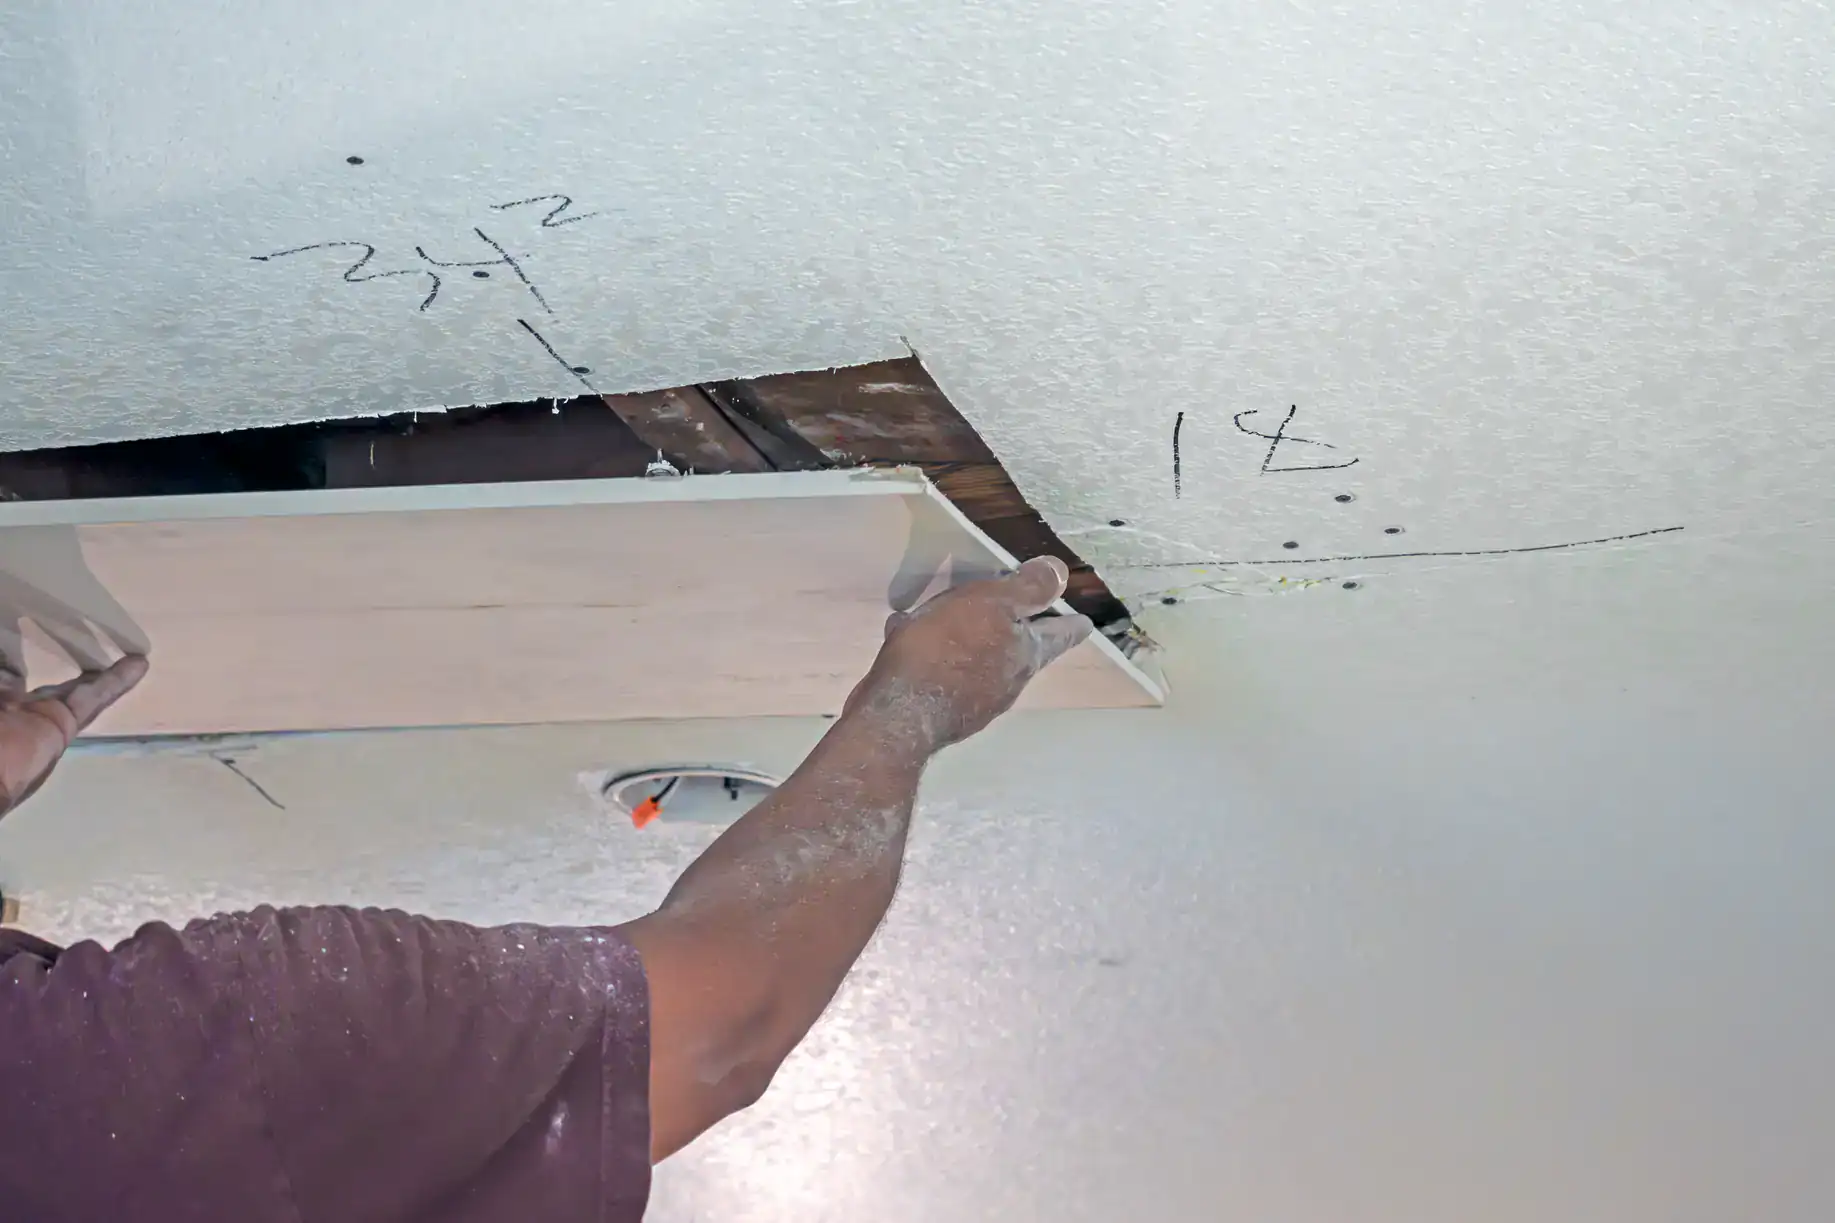
Most single-room jobs take one to two days depending on size and finish requirements. A full basement or multiple rooms can stretch to a week or more once you factor in drying time between coats of joint compound.
The actual hanging goes fast. It’s the finishing that takes time. Each coat of mud needs to dry before you can sand and apply the next layer. Rushing that process shows up in the final result—you’ll see ridges, rough spots, or seams that telegraph through paint.
Overbrook rowhomes add variables. Tight staircases, narrow doorways, and limited workspace slow things down. If we’re matching existing plaster thickness or working around old radiators and piping, that adds time too. We’ll give you a realistic timeline upfront, not the fastest possible scenario.
Finish levels run from 0 to 5. Level 0 is just hanging sheets with no taping. Level 5 is a skim coat over the entire surface for a glass-smooth finish. Most homes get Level 4, which means all joints and fasteners are covered, sanded smooth, and ready for paint.
You need Level 4 for any wall you’re painting with flat or eggshell paint. Level 5 makes sense if you’re using high-gloss paint or if the wall gets hit with strong side lighting that would show imperfections. It costs more because it’s an extra coat over the entire surface, not just seams and screws.
For Overbrook homes, Level 4 handles most situations. If you’re doing a high-end renovation or your painter specifically requests Level 5, we can do that. But don’t pay for Level 5 if your walls don’t need it—Level 4 done right looks excellent under normal lighting and standard paint finishes.
Yes, but it takes extra work and the match won’t be perfect. Plaster has a different texture and hardness than drywall. We can get close by building up joint compound and using specific trowel techniques, but under certain light you’ll see a difference.
The better question is whether matching matters for your project. If you’re doing one wall in a room that’s otherwise plaster, matching makes sense. If you’re eventually planning to redo the whole room, don’t pay extra for texture matching that you’ll cover up later.
Most Overbrook rowhomes have some combination of original plaster and previous drywall repairs. Unless the walls are in pristine condition, a full drywall replacement often makes more sense than trying to patch and match decades of different repairs. You end up with a consistent surface that’s easier to maintain going forward.
Not always, but usually yes in Overbrook homes. If the plaster is solid, flat, and firmly attached to the lath, you can sometimes drywall over it. But most plaster in homes from the 1940s has cracks, loose sections, or areas where it’s separated from the lath behind it.
Hanging drywall over bad plaster just hides problems temporarily. You’ll end up with walls that sound hollow when you knock on them, screws that don’t hold properly, and an uneven surface that shows through paint. Removing the plaster adds cost upfront but gives you a solid base that actually lasts.
The other issue is thickness. Plaster walls are typically thicker than drywall. If you go over the plaster, your new wall surface will stick out past door casings, window trim, and baseboards. You’ll need to extend all that trim or accept a lip where old meets new. Removing the plaster keeps everything flush and clean.
Standard half-inch drywall works for most interior walls and ceilings. You want five-eighths inch for ceilings if the joists are spaced 24 inches apart, or anywhere you need better sound control or fire resistance between units in a rowhome.
Moisture-resistant drywall (green board or purple board) makes sense in bathrooms, kitchens, and basements. Overbrook’s older homes weren’t built with vapor barriers or modern moisture management. Bathrooms especially tend to have humidity issues. Spending a bit more on moisture-resistant drywall in wet areas prevents problems down the road.
For shared walls between rowhomes, fire-rated drywall (Type X) is code in most cases and just smart regardless. It’s denser, resists fire spread longer, and provides better sound dampening. You don’t want to hear everything happening next door, and your neighbors don’t want to hear you.
Basement drywall installation in Overbrook, PA typically runs $2,500 to $6,000 depending on square footage, ceiling height, and how much mechanical work (pipes, ducts, wiring) we need to work around. Finished basements with clean framing and few obstructions cost less. Unfinished basements with low ceilings and lots of utilities cost more.
Overbrook basements often have moisture concerns. Before installing drywall, you need to address any water issues, seal foundation walls, and make sure you’re not trapping moisture behind new walls. We use moisture-resistant drywall in basements as standard practice, but that only helps if the underlying space is dry.
The other cost factor is ceiling access. If you have a drop ceiling now and want drywall, that’s straightforward. If you want to drywall around existing pipes and ducts while maintaining access panels, that takes more time and planning. We’ll walk through options during the estimate so you know what you’re paying for and why.
Other Services we provide in Overbrook