
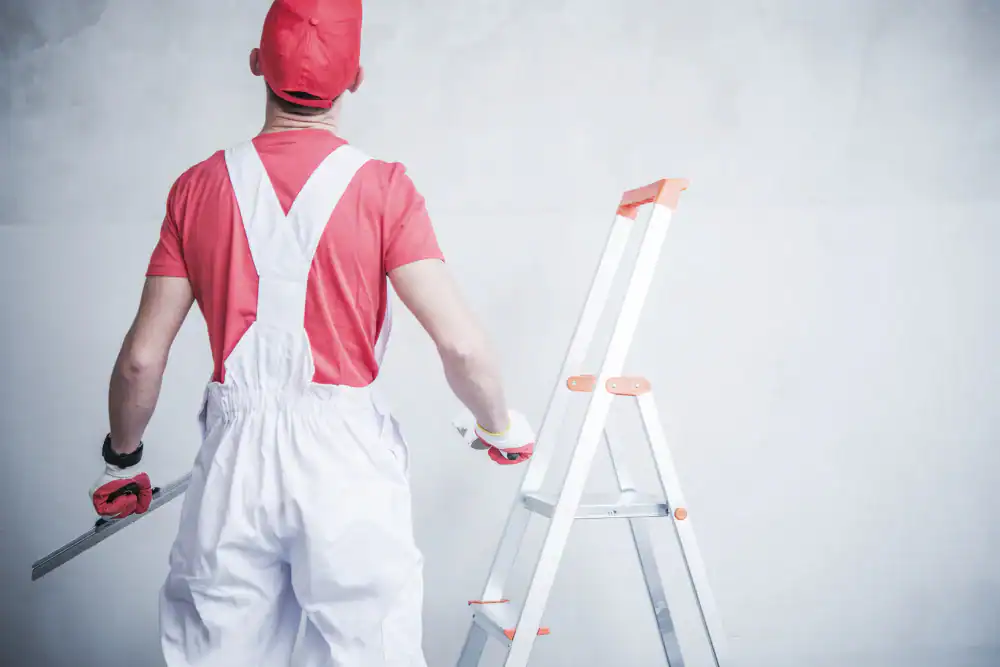
You’re looking at a hole in your wall and wondering if you should try fixing it yourself or call someone. The hardware store makes it look easy—grab some spackle, a putty knife, maybe some sandpaper. But you’ve probably seen how those DIY patches turn out. Lumpy spots that catch the light wrong. Texture that doesn’t match. A repair that’s more obvious than the original damage.
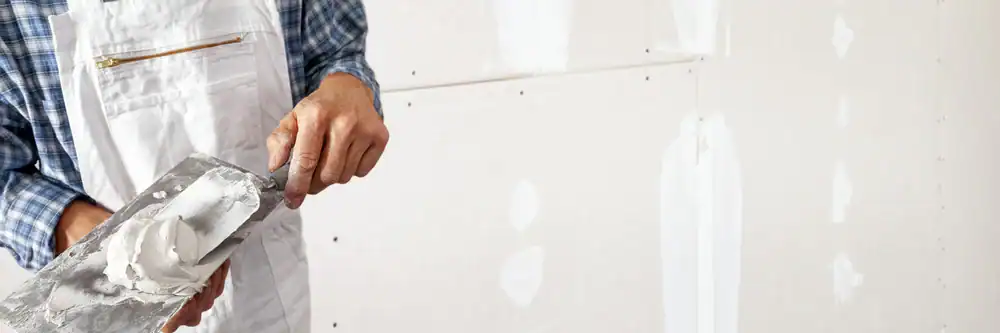
That’s because drywall patching in St. Hugh, PA isn’t just about filling a hole. It’s about feather the edges so the repair blends seamlessly, applying the first coat thin enough to avoid buildup, and matching the existing texture so you can’t tell where the damage was. Most homeowners don’t have the tools or the time to do that properly.
When the repair is done right, you get your wall back. No visible patch. No reminder every time you walk past it. Just a clean surface ready for prime and paint, finished the same day in most cases.
Sharpe Drywall exists because too many people in St. Hugh, PA were dealing with contractors who didn’t show up, didn’t finish, or left a mess behind. We built this business around the opposite approach—show up when we say we will, work clean, and don’t leave until the job’s actually done.
We’re fully licensed and insured, and we only do drywall work. That specialization means we have the right tools, the right materials, and enough repetition to handle texture matching on older homes built in the 1950s and 1960s that dominate neighborhoods around here. We’re not trying to be a general handyman service. We’re focused on doing one thing well.
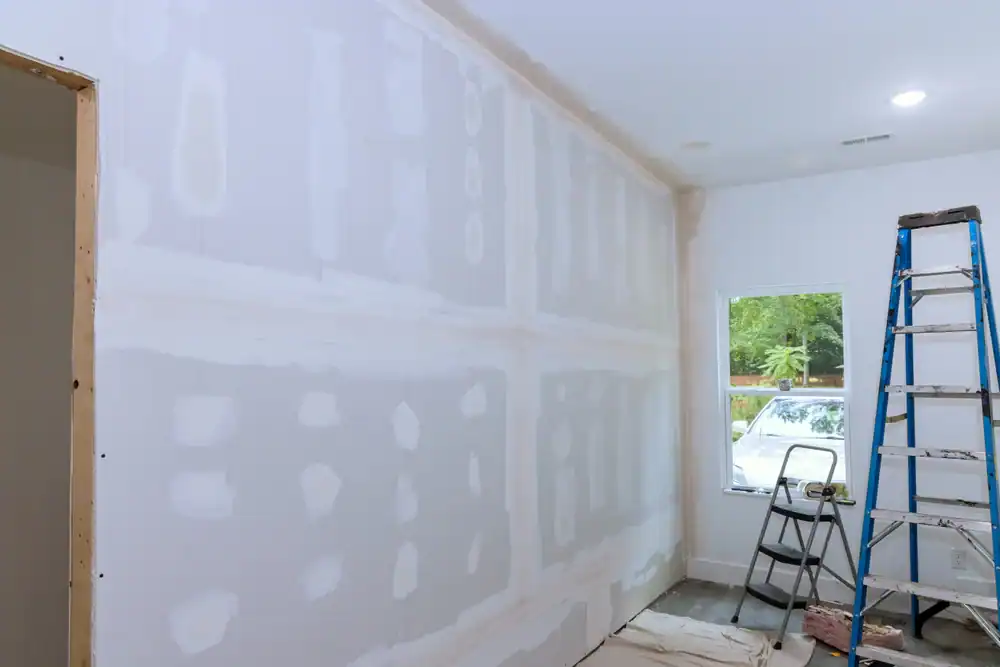
First, we assess the damage to understand what caused it. If it’s water damage, we need to know the source is fixed before we patch anything. Otherwise, you’re just covering up a problem that’ll come back. For nail pops or impact damage, we check the surrounding area to make sure the repair will hold.
Next comes the actual patching. We cut out any damaged drywall, install backing if needed, and secure a new piece that fits flush with the existing wall. Then we apply joint compound in thin layers—the first coat bonds everything together, and subsequent coats build up the surface gradually. Rushing this with thick applications just creates more sanding work later and a worse finish.
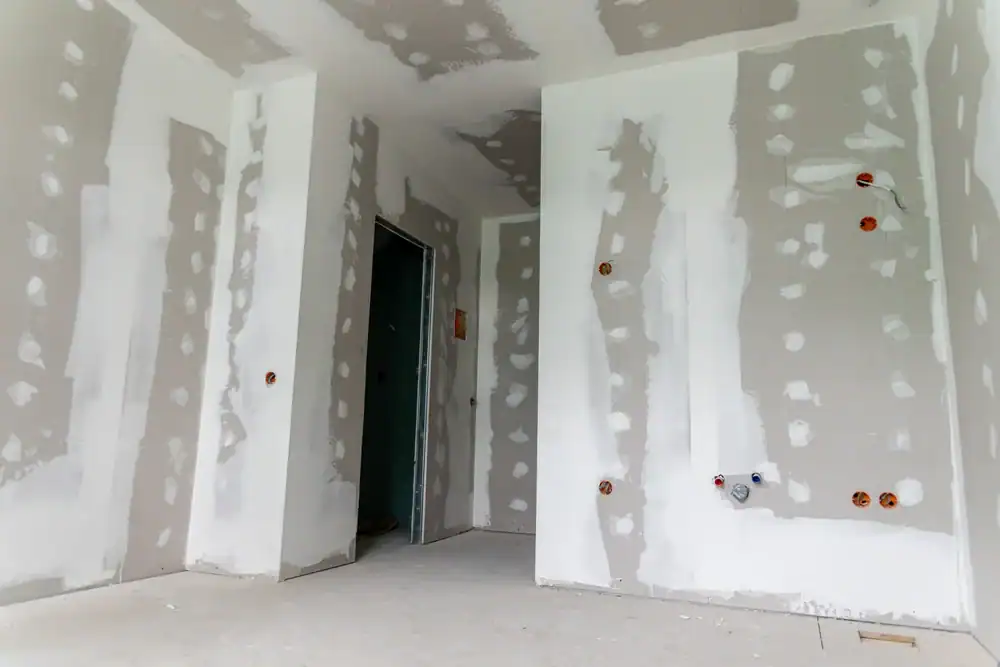
The key step most people skip is proper feathering. We spread each coat of drywall mud slightly wider than the last, blending the edges so there’s no visible ridge where the repair meets the original wall. After the final coat dries, we sand it smooth, match your existing texture, and make sure the surface is ready for finishing. You get a wall that’s structurally sound and visually invisible.
Ready to get started?
Every drywall patching job in St. Hugh, PA includes full floor protection and furniture covering before we start any work. You’re not cleaning up drywall dust for a week after we leave. We contain the mess, handle all the sanding and cleanup, and haul away any debris.
You also get proper texture matching, which matters more than most people realize until they see a bad patch job. Homes in this area have everything from smooth finishes to knockdown and orange peel textures. We replicate what’s already there so the repair blends completely. That includes the final prime and paint prep—we don’t just patch and leave you with a white spot on your wall.
The other piece that sets this apart from a handyman approach is the timeline. Most repairs are completed in a single day because we’re set up specifically for this type of work. Small holes take a few hours. Larger damage might need a follow-up visit for final sanding and texture after the joint compound fully cures, but we’re not dragging the job out over multiple weeks. You get a clear timeline upfront, and we stick to it.
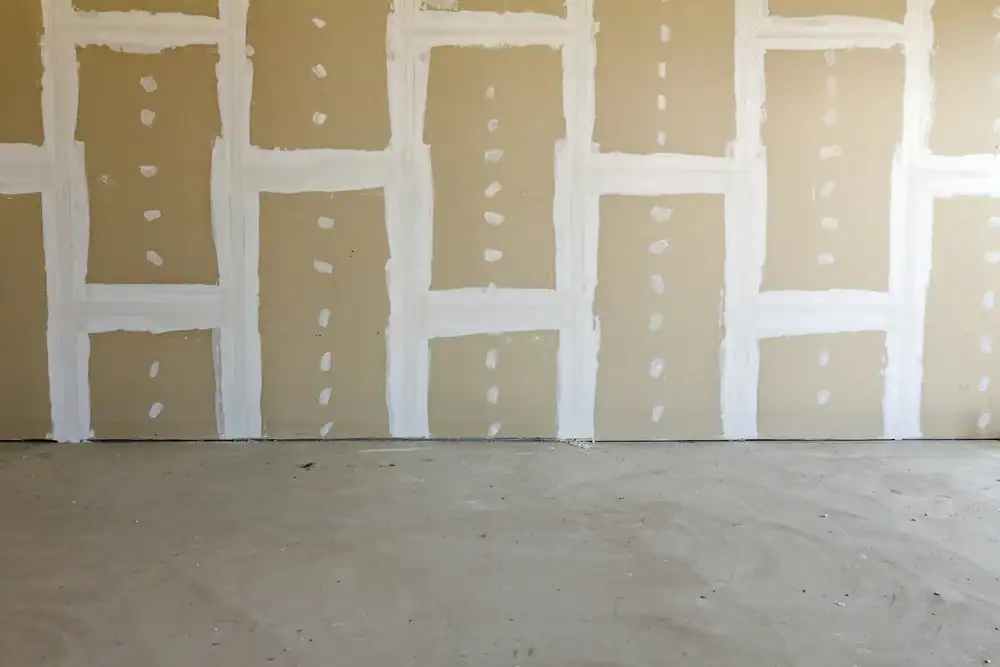
Dry time for joint compound depends on thickness, humidity, and airflow, but you’re typically looking at 24 hours between coats for a proper cure. You can find “fast-setting” compounds that harden in 20-90 minutes, but those are harder to work with and sand, and they don’t give you much room for error.
For most residential drywall patching in St. Hugh, PA, we use standard all-purpose joint compound and apply thin coats that dry overnight. Rushing this process by applying thick layers or not waiting for full cure just leads to cracking, shrinking, and a repair that fails within months. The compound needs time to release moisture and harden properly.
If you’re in a hurry, we can use hot mud (setting-type compound) for the base coats and switch to regular compound for finishing. That speeds things up without sacrificing quality. But for most jobs, patience during the dry time phase is what separates a repair that lasts from one that needs to be redone next year.
Yes, and that’s one of the most important parts of making a repair invisible. Older homes in St. Hugh, PA—especially those built in the 1950s and 1960s—have textures that aren’t used much anymore. Matching them requires the right tools and enough experience to know what technique was originally used.
We keep different texture applicators and spray equipment specifically for replicating older finishes. Knockdown, skip trowel, stomp brush, orange peel—each one has a specific look and application method. We test the texture on scrap material first to dial in the pattern, then apply it to your patched area so it blends with the surrounding wall.
The texture also has to be applied at the right stage. Too early and it sinks into wet compound. Too late and it doesn’t bond properly. Getting that timing right, along with the actual pattern, is what makes the difference between “you can kind of see where we patched it” and “I can’t even tell where the hole was.”
Cracks around patches usually come from one of three issues: the patch wasn’t secured to solid backing, the joint compound was applied too thick, or there’s movement in the structure that the repair can’t flex with.
If you’re patching a hole and there’s nothing behind the drywall to screw into, the patch will eventually work loose as the house settles or as temperature and humidity change. That movement creates stress at the edges where the new piece meets the old wall, and you get cracks. Proper backing—whether it’s a wood cleat, a drywall clip, or an existing stud—gives the patch something solid to anchor to.
Thick applications of joint compound also crack as they dry and shrink. That’s why we apply multiple thin coats instead of trying to build up the surface in one pass. Each layer bonds to the previous one and cures without the internal stress that causes cracking. For homes with ongoing settling issues or moisture problems, we sometimes need to address the root cause before the patch will hold long-term. A good repair starts with understanding why the damage happened in the first place.
Yes, and skipping this step is why a lot of DIY repairs end up looking blotchy even after painting. Bare joint compound and raw drywall absorb paint differently than the surrounding painted wall, so if you roll paint directly over a patch, it shows through as a dull spot or a texture difference.
Primer seals the porous surface of the drywall mud and creates a uniform base for your paint. It also helps the paint adhere properly and covers in fewer coats. We use a PVA primer for new drywall and patches because it’s specifically designed to seal that type of surface without raising the texture or creating adhesion issues.
You can use a paint-and-primer-in-one product, but those don’t seal as effectively as a dedicated primer, especially on larger patches. If you’re repainting the whole wall anyway, you’ll get better results with a proper prime and paint process. For small patches, you can sometimes get away with spot-priming just the repair area, then feathering your finish paint out to blend it. But if you want the patch to truly disappear, don’t skip the primer.
Cost depends on the size of the damage, how many patches you need, and whether there’s any underlying issue like water damage that needs addressing first. Small holes from doorknobs or wall anchors are straightforward and inexpensive. Larger holes that require cutting out damaged sections, installing backing, and multiple coats of joint compound cost more because of the labor and materials involved.
We provide free estimates so you know the exact cost upfront before any work starts. No surprise charges, no hourly rates that creep up as the job goes on. You get a flat price based on what actually needs to be done.
For context, trying to DIY a repair might save you the labor cost, but if it doesn’t turn out right, you’re paying someone to fix both the original damage and the failed repair attempt. That usually costs more than just hiring a professional from the start. The value in professional drywall patching in St. Hugh, PA isn’t just the repair itself—it’s the time you save, the mess you avoid, and the confidence that it’s done right the first time.
Nail pops happen when the wood framing behind your drywall shrinks or shifts, causing the nail to push out and create a bump in the wall. Just hammering the nail back in and covering it with spackle doesn’t fix the problem—it’ll pop again as soon as the framing moves.
The proper fix is to drive a drywall screw an inch or two above and below the popped nail, then remove or countersink the original nail so it’s no longer pushing against the drywall. The screws hold the drywall tight to the stud and don’t back out the way nails do. Then we cover the screw heads and the old nail hole with joint compound, feather the edges, and texture to match.
This approach actually addresses why the nail popped instead of just hiding it temporarily. Homes settle over time, and lumber continues to dry out and shrink for years after construction. That’s especially common in older homes around St. Hugh, PA. Once the drywall is properly secured with screws, those spots stay flat. You’re not dealing with the same nail pops every few years.
Other Services we provide in St. Hugh