
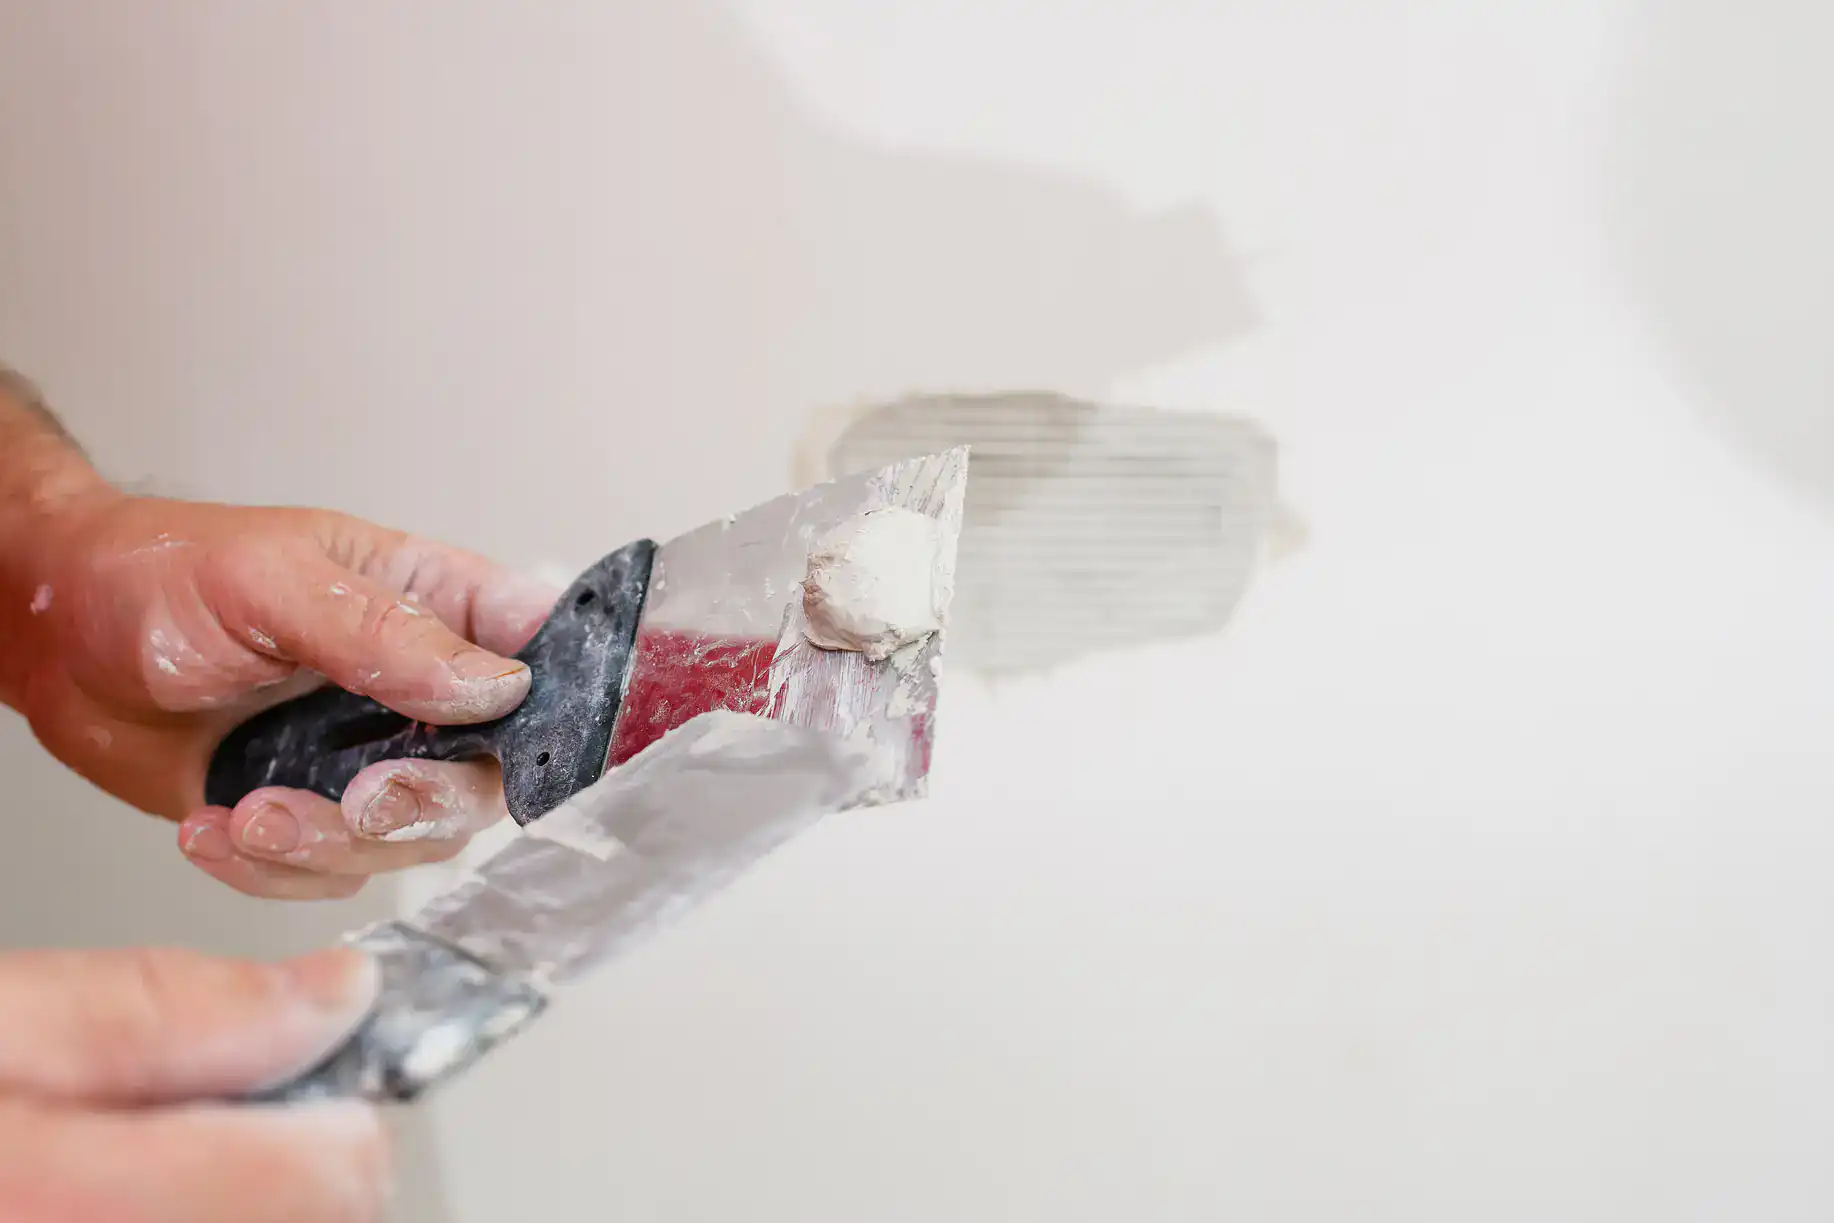
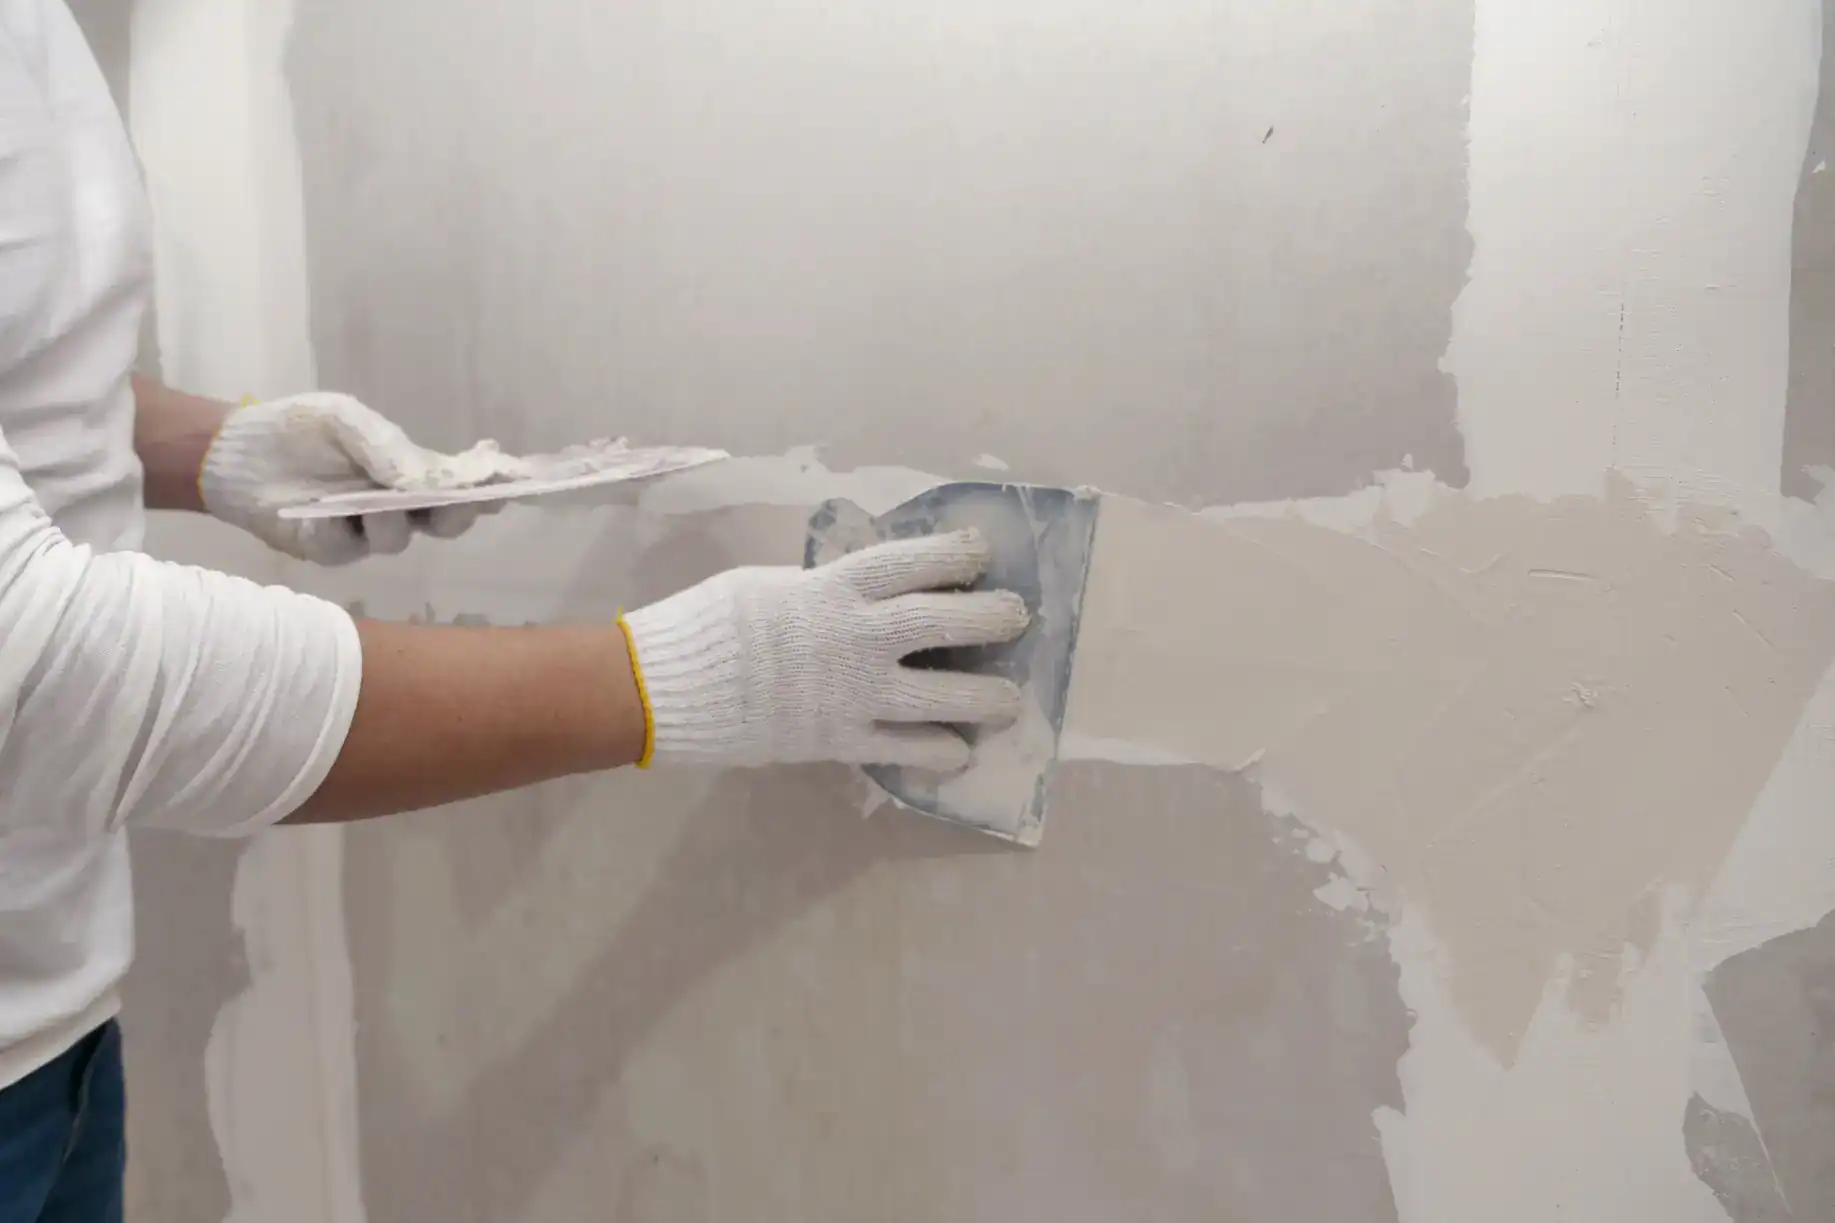
You’re not paying for drywall. You’re paying to avoid the headaches that come from doing it wrong.
Visible seams that catch the light. Cracks that show up six months later. Uneven surfaces that make painting a nightmare. These aren’t just cosmetic problems—they’re signs of rushed work, skipped steps, or someone learning on your dime.
Proper drywall installation in Grays Ferry means joints that disappear completely. It means walls that stay smooth through humidity changes and settling. It means you paint once and move on with your life, not circle back every year to fix new cracks.
Most residential projects finish in one to three days. Single rooms typically wrap up same-day. You’re not looking at weeks of disruption—just a focused crew that knows how to hang, tape, mud, and finish without turning your home into a construction zone.
The difference between acceptable and professional shows up in how long your walls look new. That’s what you’re actually paying for.
We handle drywall installation across Grays Ferry and the surrounding Philadelphia area. We’re licensed, insured, and familiar with the specific challenges that come with Pennsylvania homes—older construction, humidity fluctuations, settling foundations.
Grays Ferry properties often need more than cookie-cutter solutions. Row homes have different requirements than standalone houses. Basements need moisture-resistant materials. Older plaster conversions require extra attention to framing and fastening.
We’ve seen what happens when installers skip steps or use the wrong materials for the application. That’s why we don’t. You get the right drywall type for each space, proper fastening intervals, multiple coats where they matter, and cleanup that doesn’t leave dust in your vents for months.
First, we measure and assess the space. Ceiling height, room layout, existing conditions—all of it affects material selection and installation approach. You’ll get a detailed estimate that breaks down materials, labor, and finishing work. No surprises.
Installation starts with hanging sheets in the right sequence. Proper spacing between fasteners matters. Staggered joints matter. Leaving the correct gap at floor level matters. These aren’t optional steps—they prevent cracks and weak spots down the road.
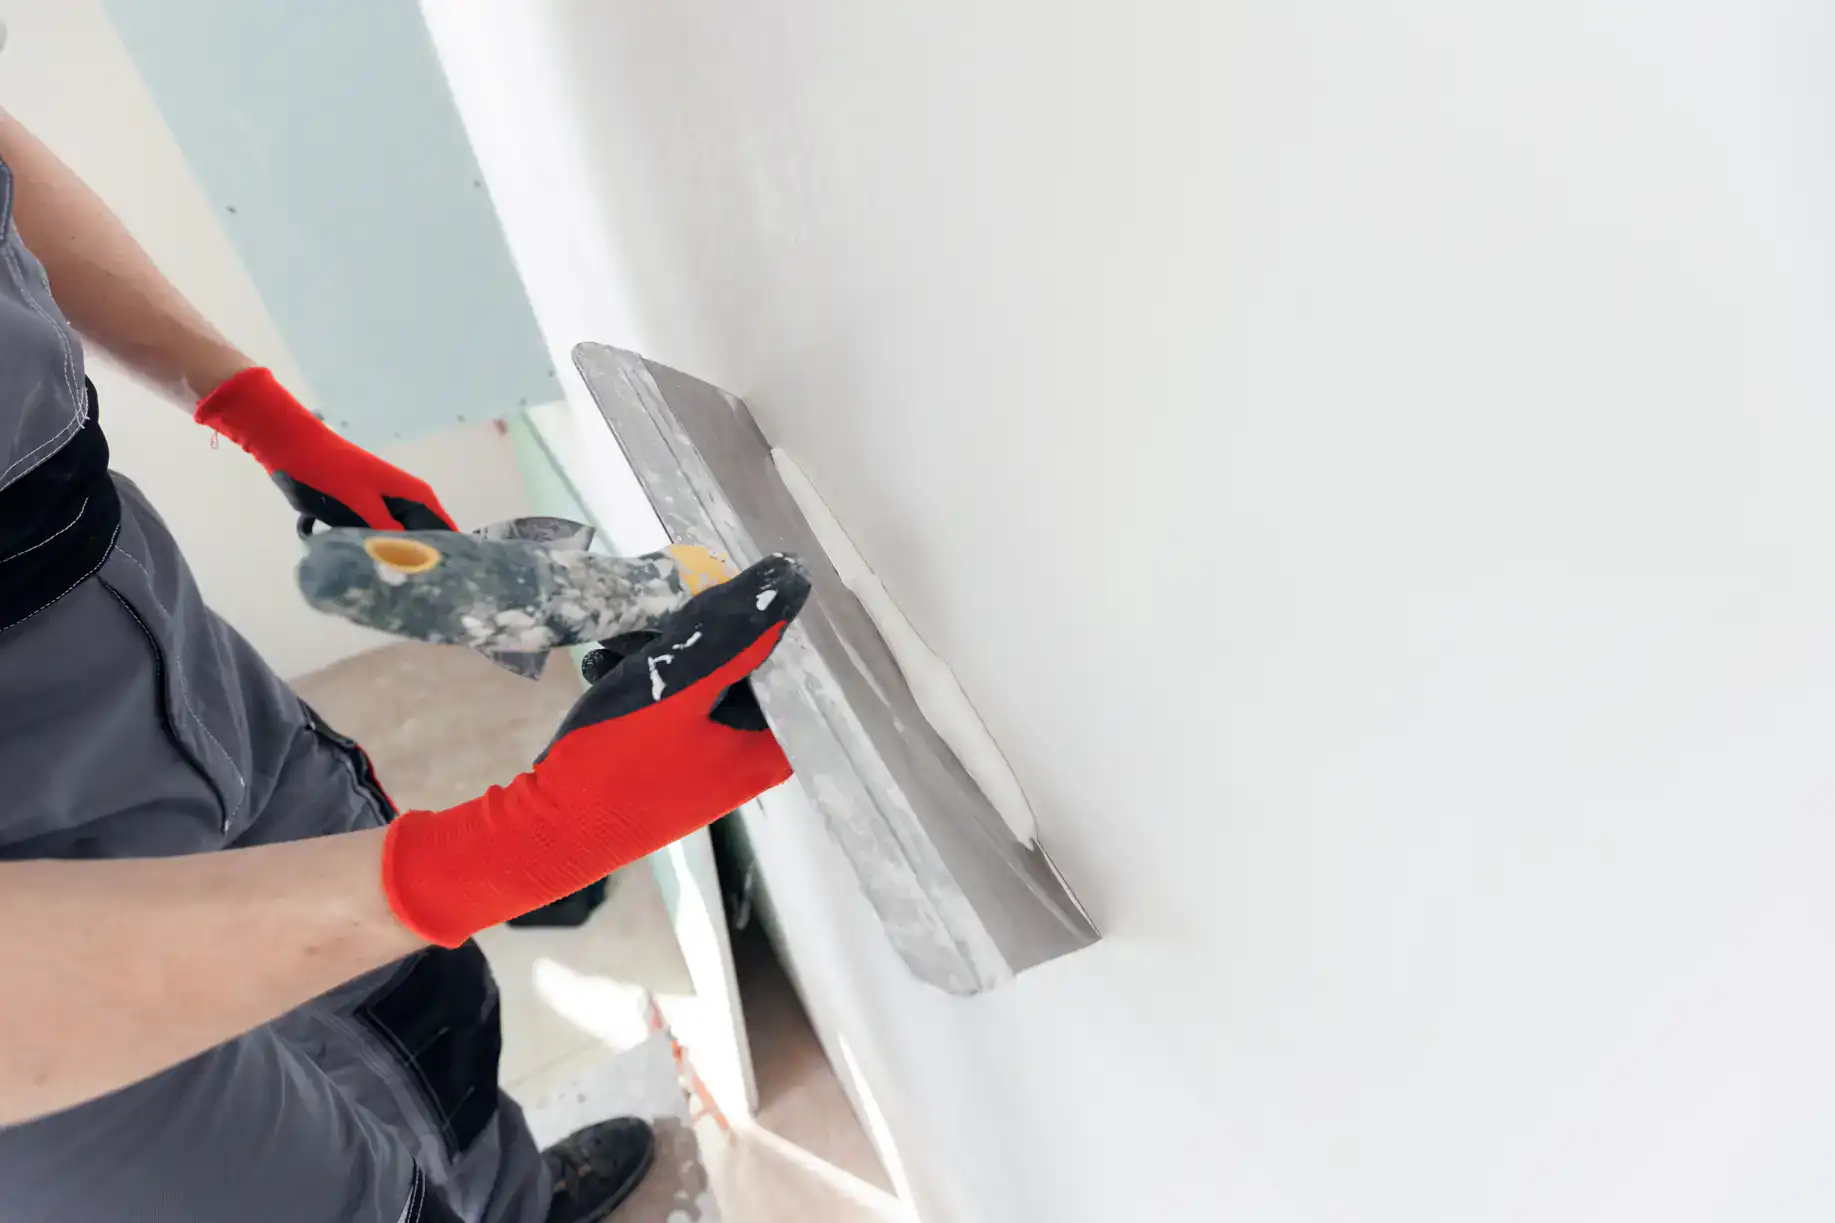
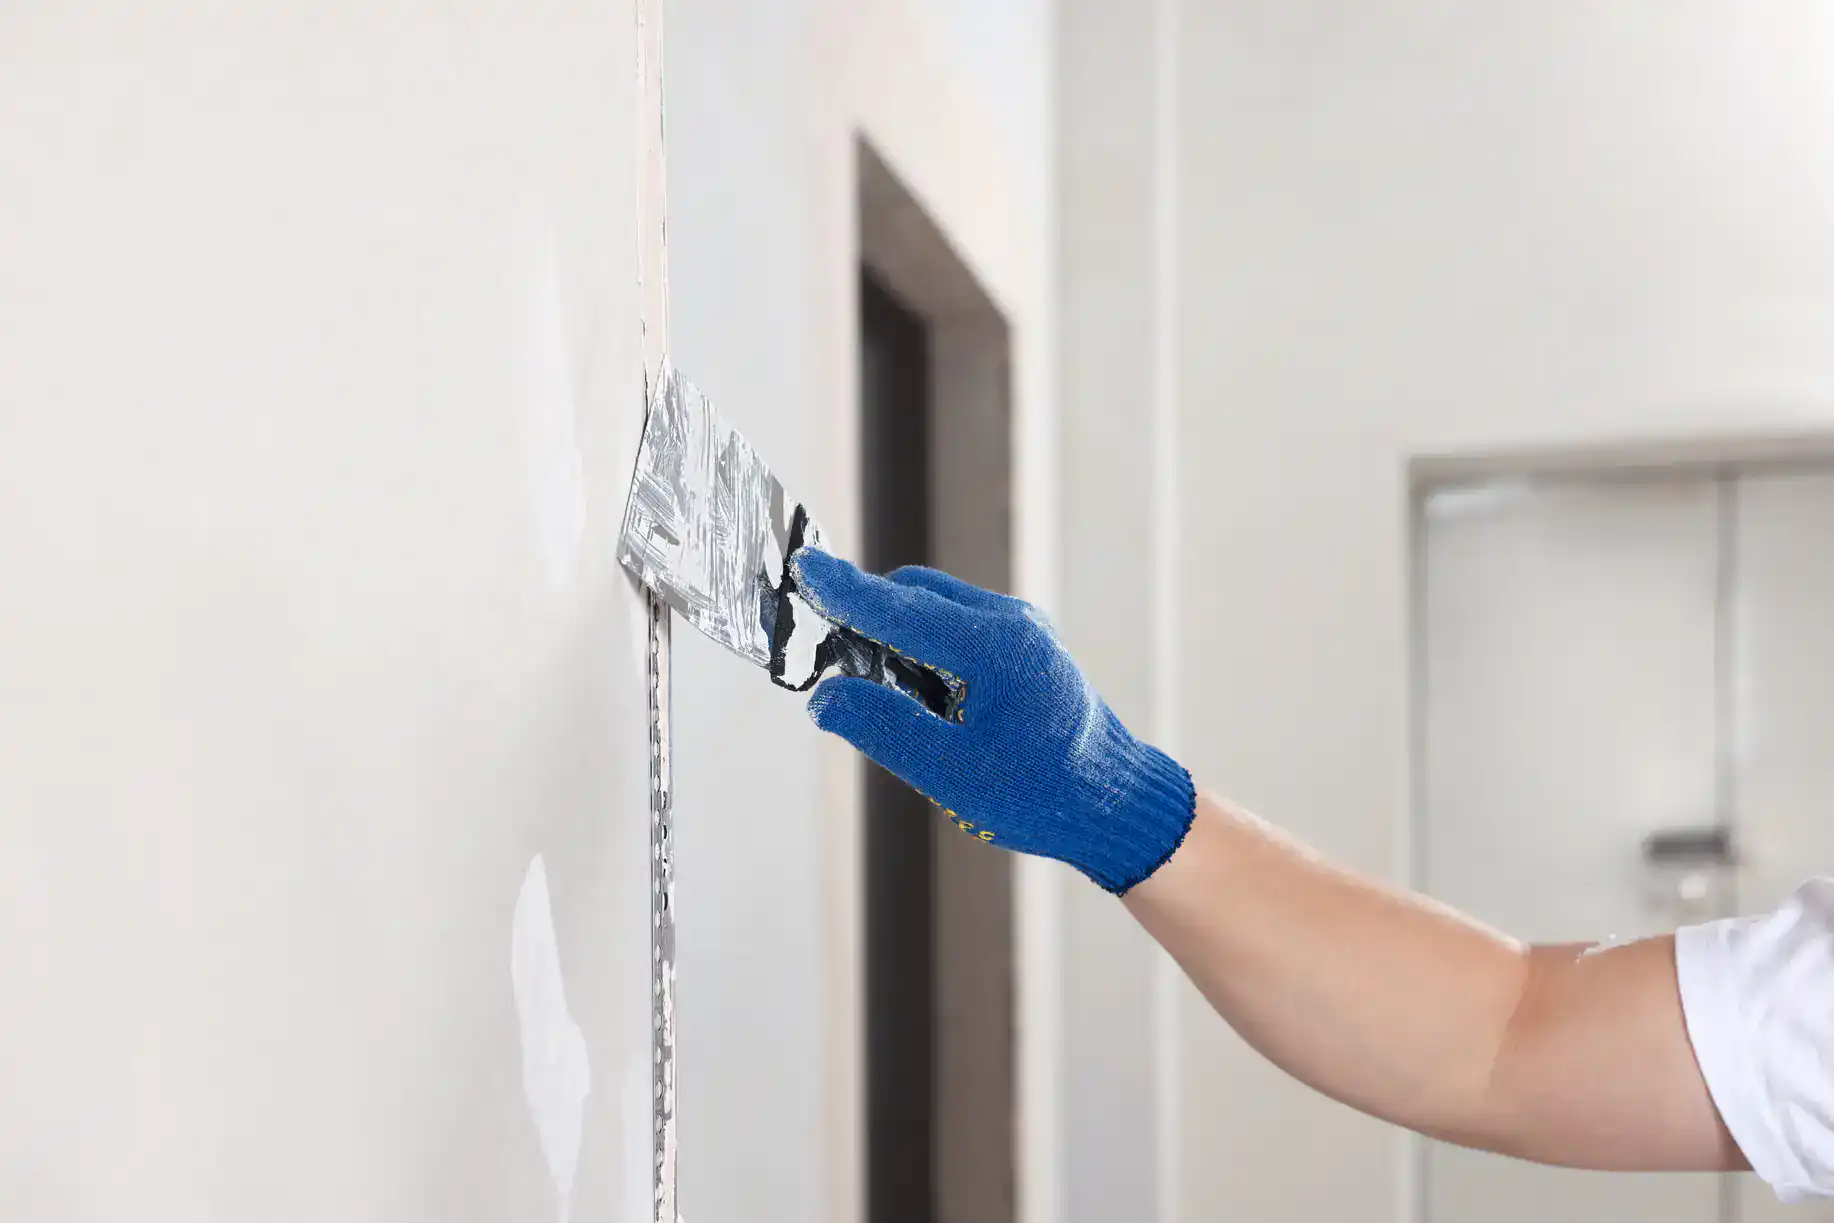
Taping and mudding comes next. This is where most problems show up in amateur work. We apply multiple coats, let each one dry completely, and sand between applications. The goal is joints that vanish under paint. That takes time and technique, not just slapping compound in the seams.
Final sanding and inspection happen before we call it done. We’re checking for imperfections in raking light because that’s when they’re most visible. If we see them, you’ll definitely see them after paint. Better to catch them now.
Cleanup is part of the job, not an afterthought. Drywall dust gets everywhere if you’re not careful. We contain it during sanding and remove it completely before we leave. Your HVAC system will thank you.
Ready to get started?
The average cost to install drywall in Grays Ferry runs between $1,077 and $3,118 for most residential projects, with typical jobs landing around $2,095. Small bathrooms start around $400-$650. Large living rooms run $1,500-$3,000. These ranges include materials, labor, taping, mudding, and finishing.
Philadelphia adds 8% combined tax on materials—6% state plus 2% local. That’s already factored into estimates, along with proper licensing and insurance costs. Pennsylvania requires contractors to carry minimum $1 million general liability. We do, because it protects you if something goes wrong.
Material selection affects both cost and performance. Standard drywall works for most interior walls. Moisture-resistant green board goes in kitchens and bathrooms. Fire-rated Type X is required by code in certain applications like garage walls and multi-family separations. Using the right type prevents problems later.
Grays Ferry’s older housing stock sometimes needs additional prep work. Uneven framing, outdated electrical, plaster removal—these add time and cost, but skipping them leads to poor results. We’ll tell you upfront if your project needs extra work and why it matters.
Finishing level also impacts price. Level 4 finish works fine under flat paint. Level 5 is necessary for glossy finishes or critical lighting conditions. Most homeowners don’t need Level 5 everywhere, but knowing the difference helps you make informed decisions about where to invest.
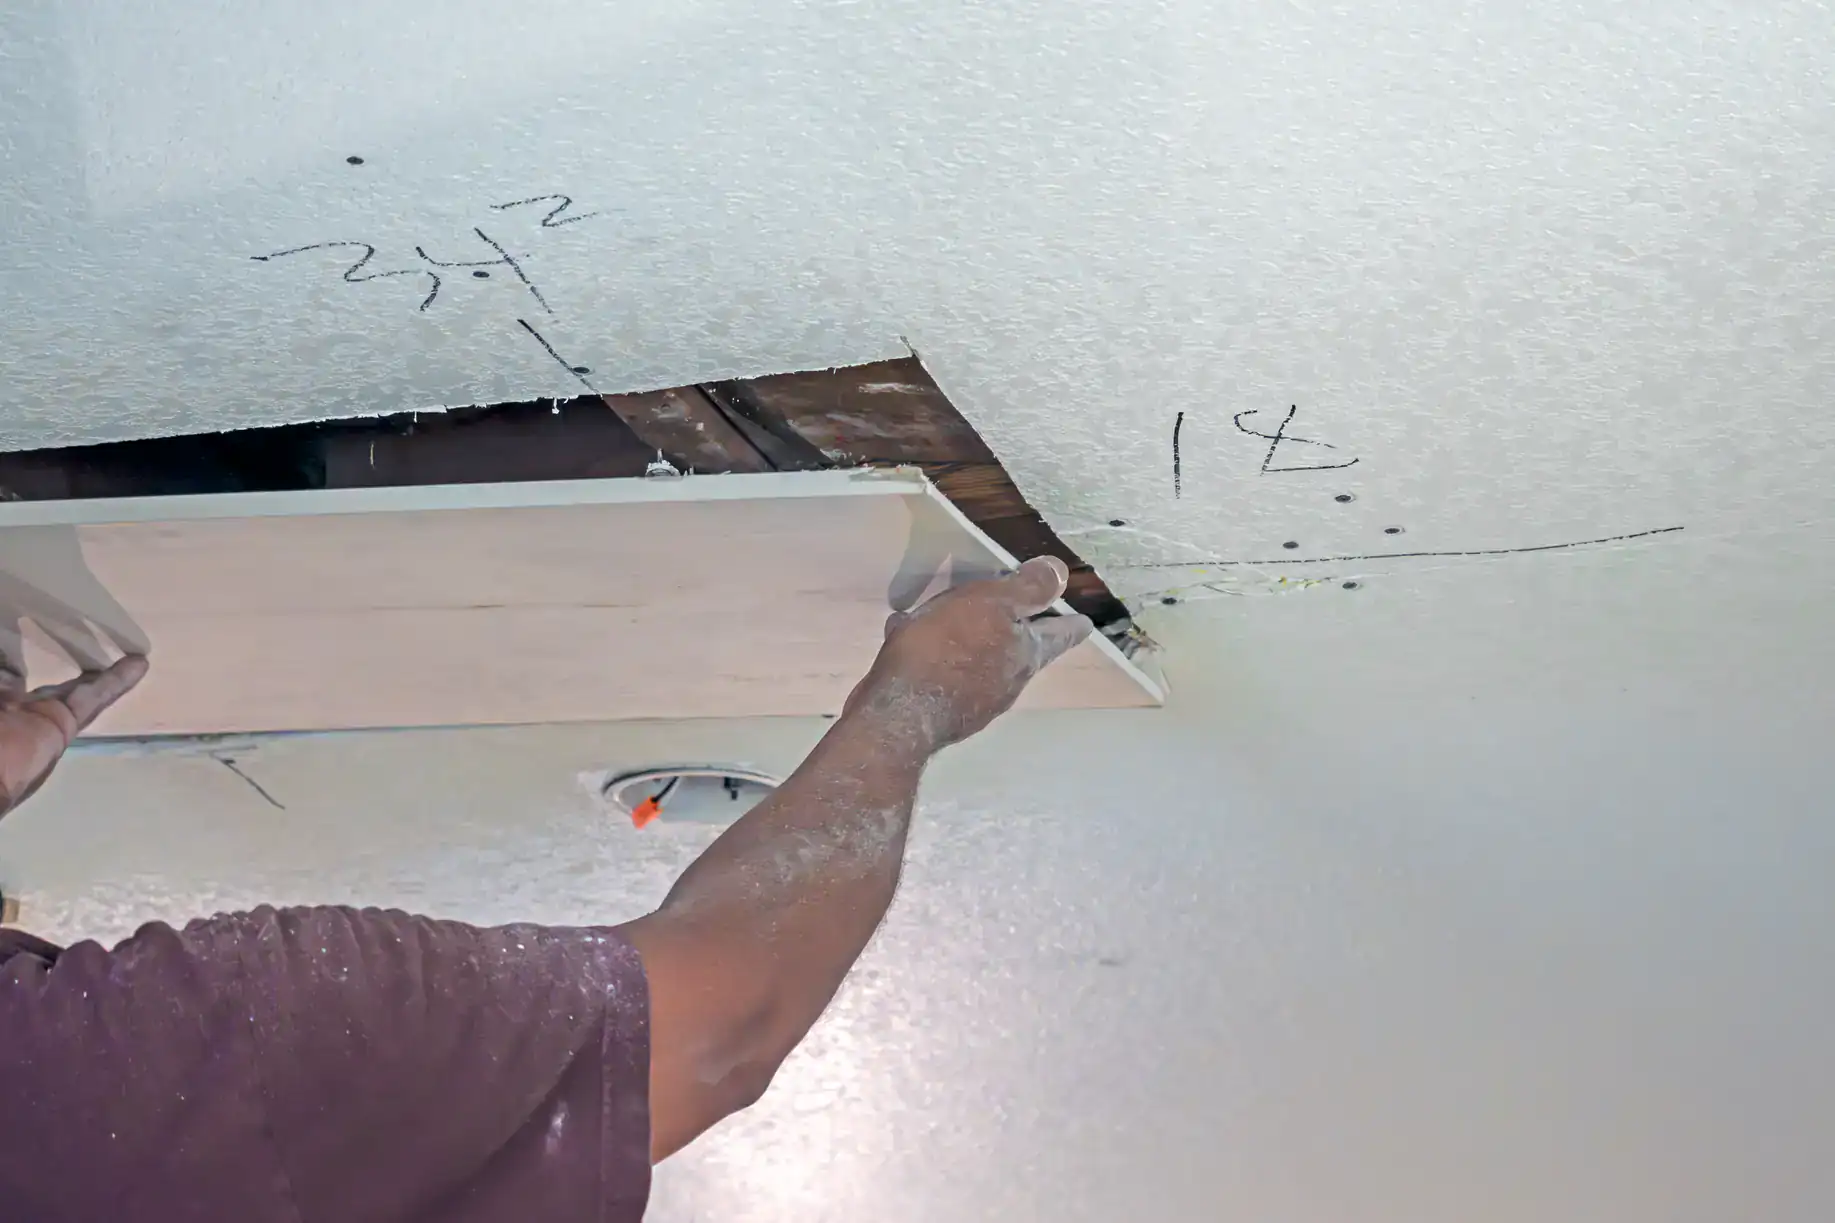
Most single rooms finish in one day. That includes hanging, taping, and first coat of mud. Full completion with final coats and sanding typically takes two to three days because each mud coat needs 24 hours to dry properly.
Trying to rush drying time causes problems. Wet mud that gets sanded too early creates rough texture and weak joints. Pennsylvania’s humidity affects drying time, especially in basements or during summer months. We schedule around weather and conditions, not arbitrary deadlines.
Larger projects like whole-floor renovations or basement finishing take longer—usually three to five days depending on square footage. But even then, most of the work happens in concentrated bursts. You’re not looking at weeks of daily disruption, just a few days of focused installation followed by drying time between coats.
Cracks come from three main sources: structural movement, improper installation, or rushed finishing. Houses settle. Foundations shift slightly. Temperature and humidity cause expansion and contraction. You can’t prevent all movement, but you can install drywall in ways that accommodate it.
Proper installation means using the right fastener spacing—typically 16 inches on center for walls, 12 inches for ceilings. It means not overdriving screws, which weakens the hold. It means staggering seams so you don’t create continuous weak lines. These techniques let the drywall flex slightly without cracking.
The taping and mudding process is equally important. Skimping on joint compound or applying it too thick in one coat causes cracks as it dries and shrinks. We use multiple thin coats with proper drying time between each. Paper tape embedded in the first coat adds strength at seams. Mesh tape works for repairs but paper tape is stronger for new installation. Getting this right the first time means your walls stay smooth for years, not months.
We minimize dust significantly, but “dust-free” is misleading marketing. Sanding drywall compound creates fine dust—that’s unavoidable. What matters is how you contain and remove it.
We use vacuum sanders that capture most dust at the source. We seal off work areas with plastic barriers to prevent dust from spreading through your home. We cover HVAC vents so dust doesn’t circulate through your system. These steps reduce airborne dust by about 90% compared to traditional sanding methods.
After sanding, we vacuum all surfaces, wipe down surrounding areas, and remove debris completely. The goal is leaving your home cleaner than most drywall jobs, not pretending dust doesn’t exist. If you have specific concerns about dust—allergies, respiratory issues, or sensitive equipment in the home—tell us upfront. We can take extra containment measures, but there’s always some cleanup involved in finishing drywall properly.
Yes, especially in shower surrounds, near tubs, and anywhere that sees regular moisture exposure. Standard drywall absorbs water, which leads to mold growth, sagging, and eventual failure. Moisture-resistant drywall (green board or purple board) has treated paper facing and moisture-resistant core that holds up better in humid environments.
That said, moisture-resistant drywall isn’t waterproof. It buys you time if water gets behind tile or if humidity levels stay high, but it’s not a substitute for proper waterproofing membranes in wet areas. You still need correct installation, good ventilation, and appropriate tile backer in shower areas.
Grays Ferry’s older homes often have ventilation challenges—small bathrooms, limited windows, older exhaust fans that don’t move enough air. Using moisture-resistant drywall helps, but addressing ventilation prevents bigger problems. A bathroom that stays humid after showers will eventually damage any drywall, even the moisture-resistant type. We’ll point out ventilation concerns during the estimate if we see them.
Matching existing texture is possible but not always perfect, especially with older or hand-applied textures. Smooth finishes are easiest to match—we feather new compound into existing surfaces until the transition disappears. Knockdown and orange peel textures are harder but doable with the right tools and technique.
The challenge is that texture changes over time. Paint buildup, settling dust, and age affect how existing texture looks. New texture next to old sometimes shows a slight difference even when application technique is identical. We get it as close as possible, and after paint, most people can’t tell where the repair happened.
Popcorn ceiling texture is the hardest to match because original application methods and materials have changed. Modern popcorn products don’t always match vintage texture exactly. If you’re repairing popcorn ceilings, you might need to scrape and retexture the entire ceiling for uniform appearance, not just patch the damaged section. We’ll be straight with you during the estimate about what’s realistic for texture matching in your specific situation.
Level 4 finish includes tape embedded in all joints, three coats of compound, and smooth sanding. It’s the standard finish for most residential applications and works perfectly under flat or eggshell paint with typical lighting. Most rooms in your home only need Level 4.
Level 5 adds a final skim coat of compound over the entire surface, not just joints and fasteners. This creates absolutely uniform texture and hides even minor imperfections that might show under harsh lighting or glossy paint. You need Level 5 in specific situations: rooms with large windows creating raking light, walls getting high-gloss or semi-gloss paint, or anywhere critical lighting will highlight imperfections.
Level 5 costs more because it’s more material and labor. You’re coating entire walls, not just seams. For most Grays Ferry homeowners, Level 4 is plenty. Save Level 5 for feature walls, rooms with challenging light, or spaces where you’re using paint finishes that show every flaw. We’ll recommend Level 5 when it matters, but we won’t upsell you on it for rooms where Level 4 does the job perfectly fine.
Other Services we provide in Grays Ferry