
You’re not looking for the cheapest bid. You’re looking for walls that don’t crack in six months, seams you can’t see through two coats of paint, and a crew that shows up when they say they will.
That’s what proper drywall installation in Andorra, PA looks like. Sheets hung level, taped clean, and finished smooth enough that your painter won’t call you with bad news. No gaps wide enough to slide a coin through. No lines that catch the light at the wrong angle. Just walls that look like walls should.
The difference shows up after we leave. Your floors stay clean because we don’t track mud through your house. Your timeline holds because we finish when we say we will. And your walls stay smooth because we use materials designed to last, not whatever’s on sale that week.
You get a quote that doesn’t change halfway through the job. You get a crew that treats your home the way they’d want theirs treated. And you get walls ready for whatever comes next—paint, wallpaper, or just living in a space that finally feels finished.
We operate throughout Montgomery County, including Andorra and the surrounding communities. We’re not a franchise or a crew passing through—we’re local contractors who know these neighborhoods because we live in them.
That matters when you’re choosing who to let into your home. We’re licensed, insured, and accountable to the people we see at the grocery store. Our reputation isn’t built on marketing—it’s built on finished basements, repaired ceilings, and walls that still look good years later.
We’ve worked in enough Andorra homes to know what older plaster looks like behind the surface, how moisture moves through these properties, and what it takes to match existing textures. That’s not something you learn from a manual.
First, we measure and assess the space. That includes checking for moisture issues, uneven framing, or anything else that’ll cause problems down the line. If something needs addressing before we hang drywall, you’ll know upfront—not after we’ve already started.
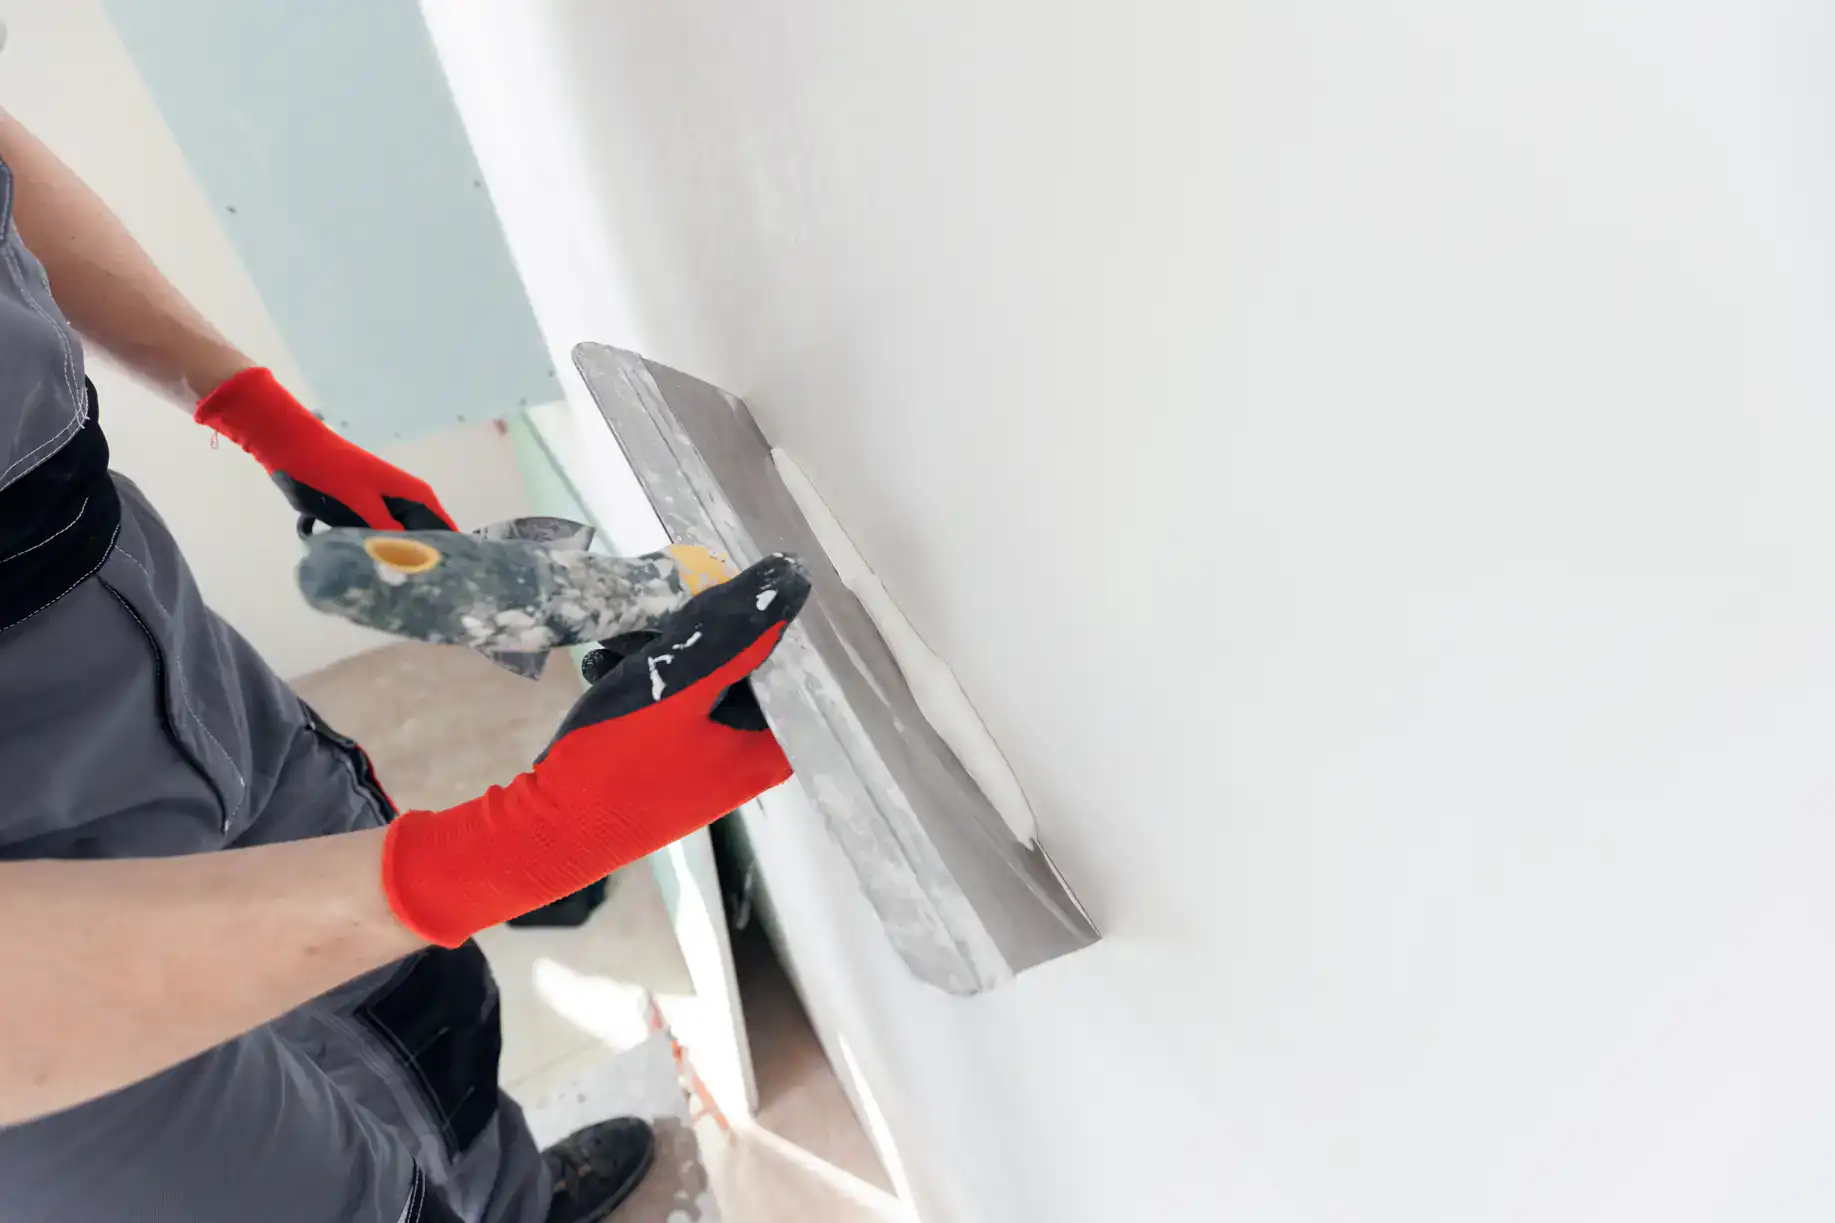
Next, we hang the sheets. They’re cut to fit, secured properly, and positioned so seams land where they’re least visible. We’re not rushing to get to the next job. We’re making sure each sheet sits flush and every screw sits just below the surface without tearing the paper.
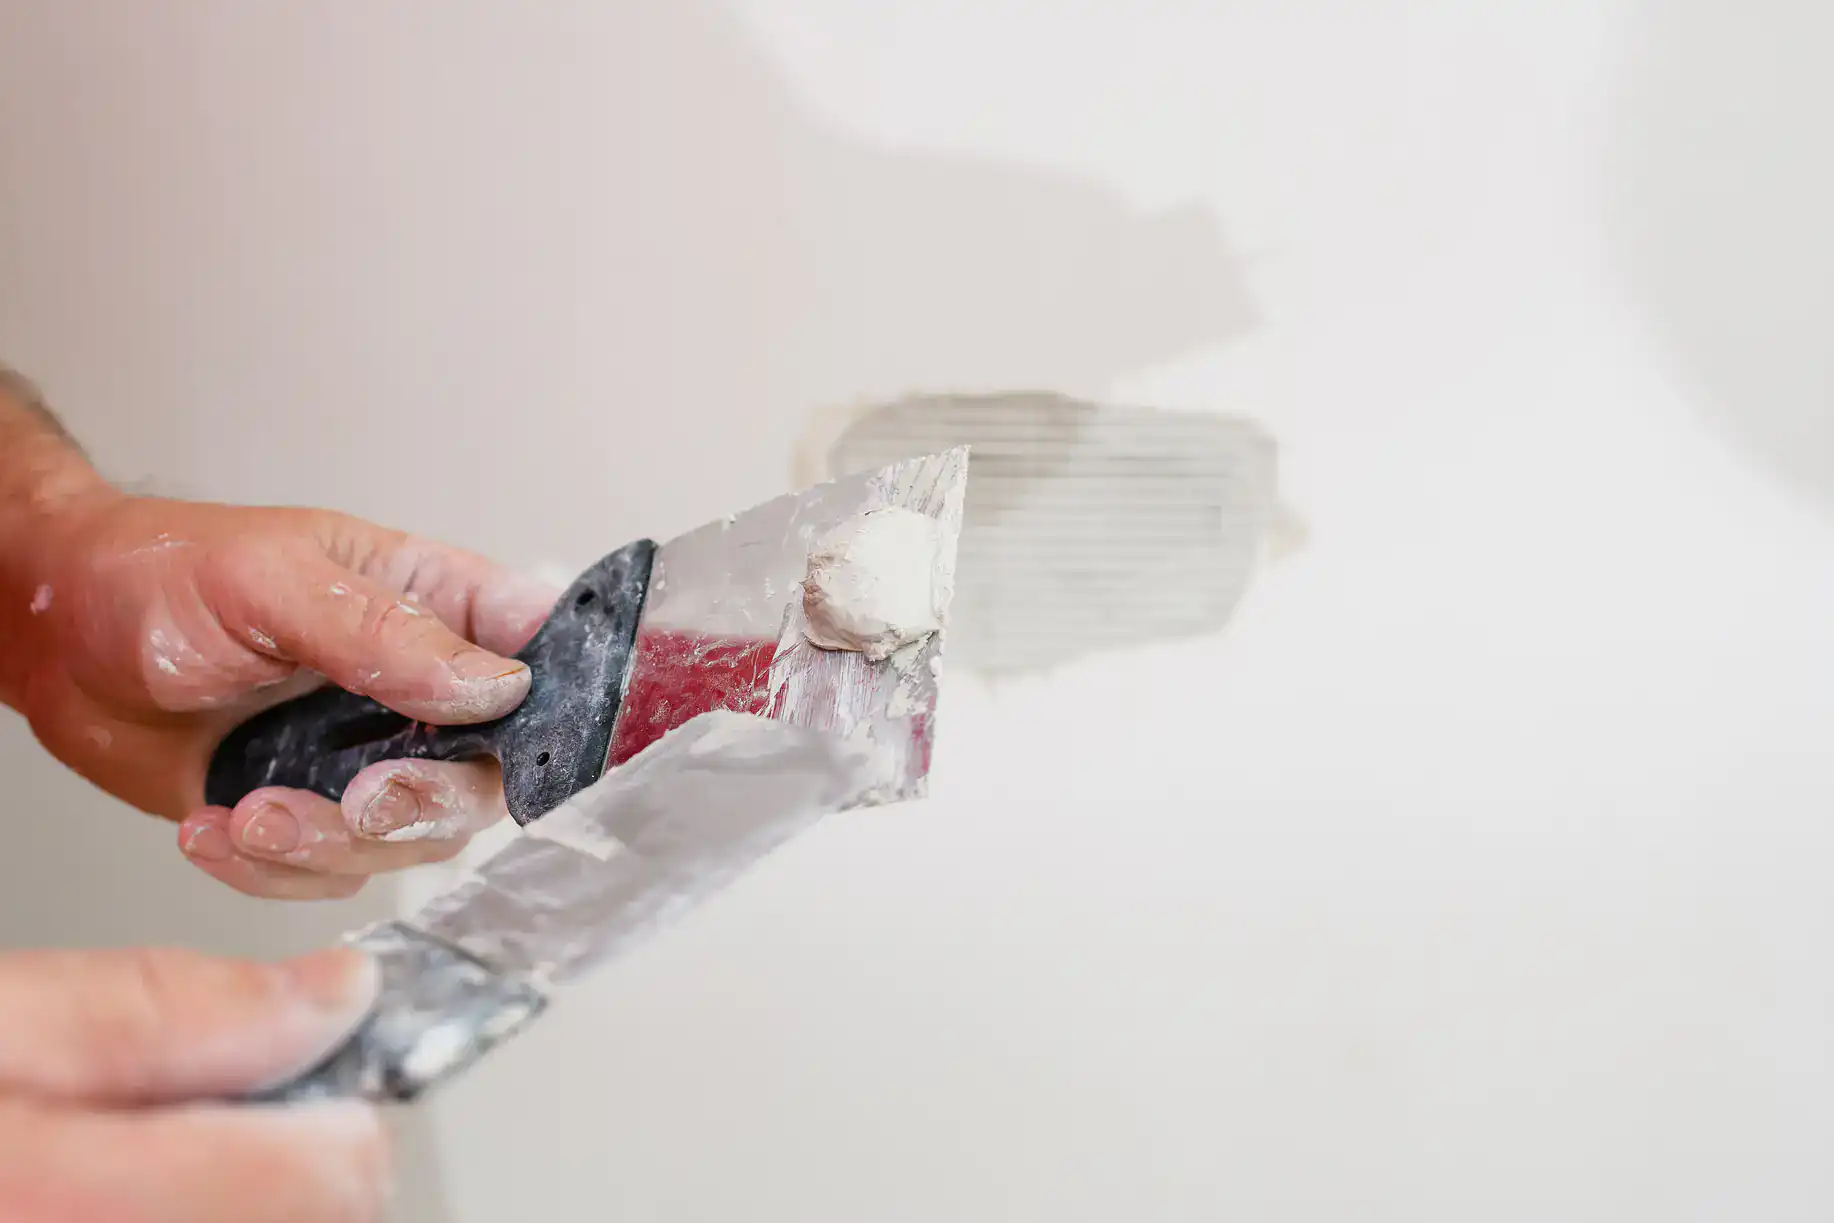
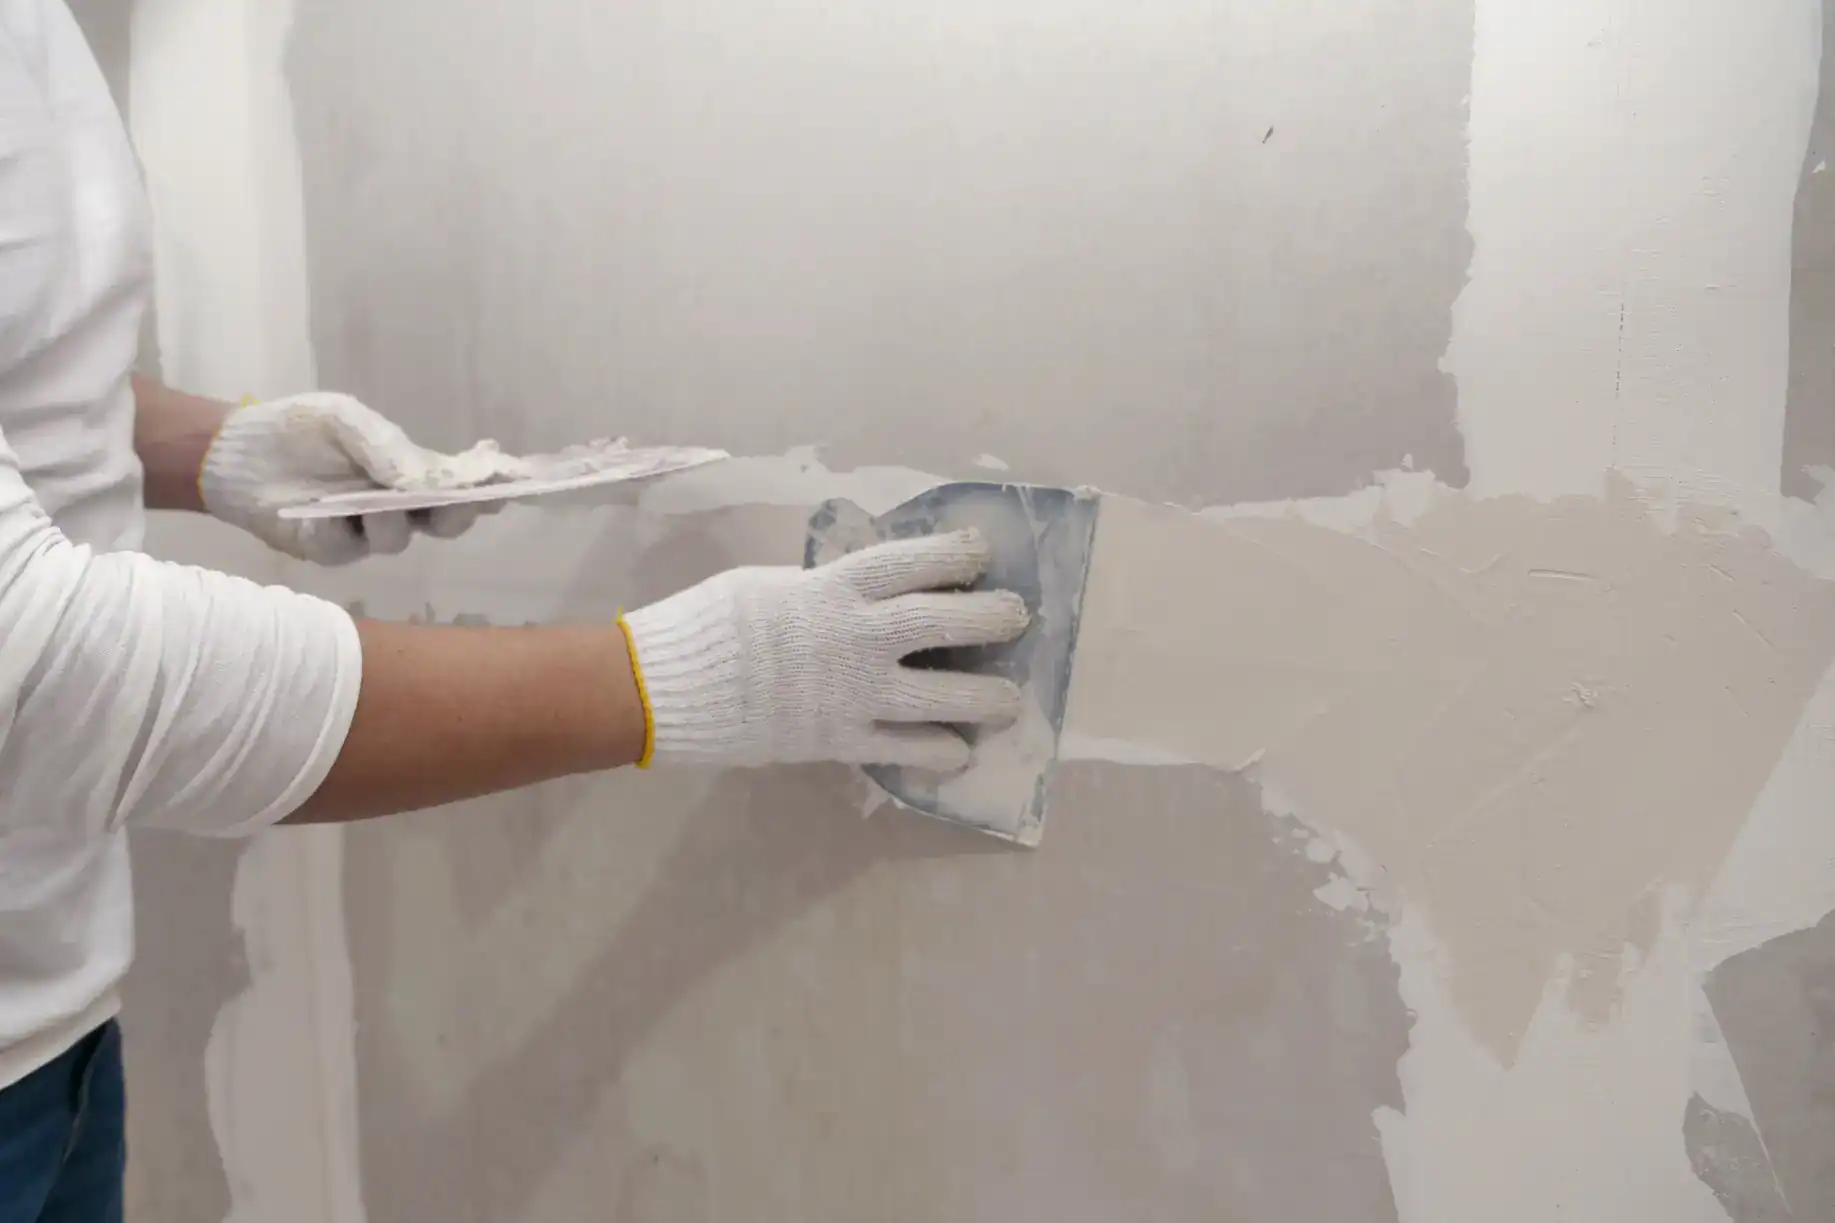
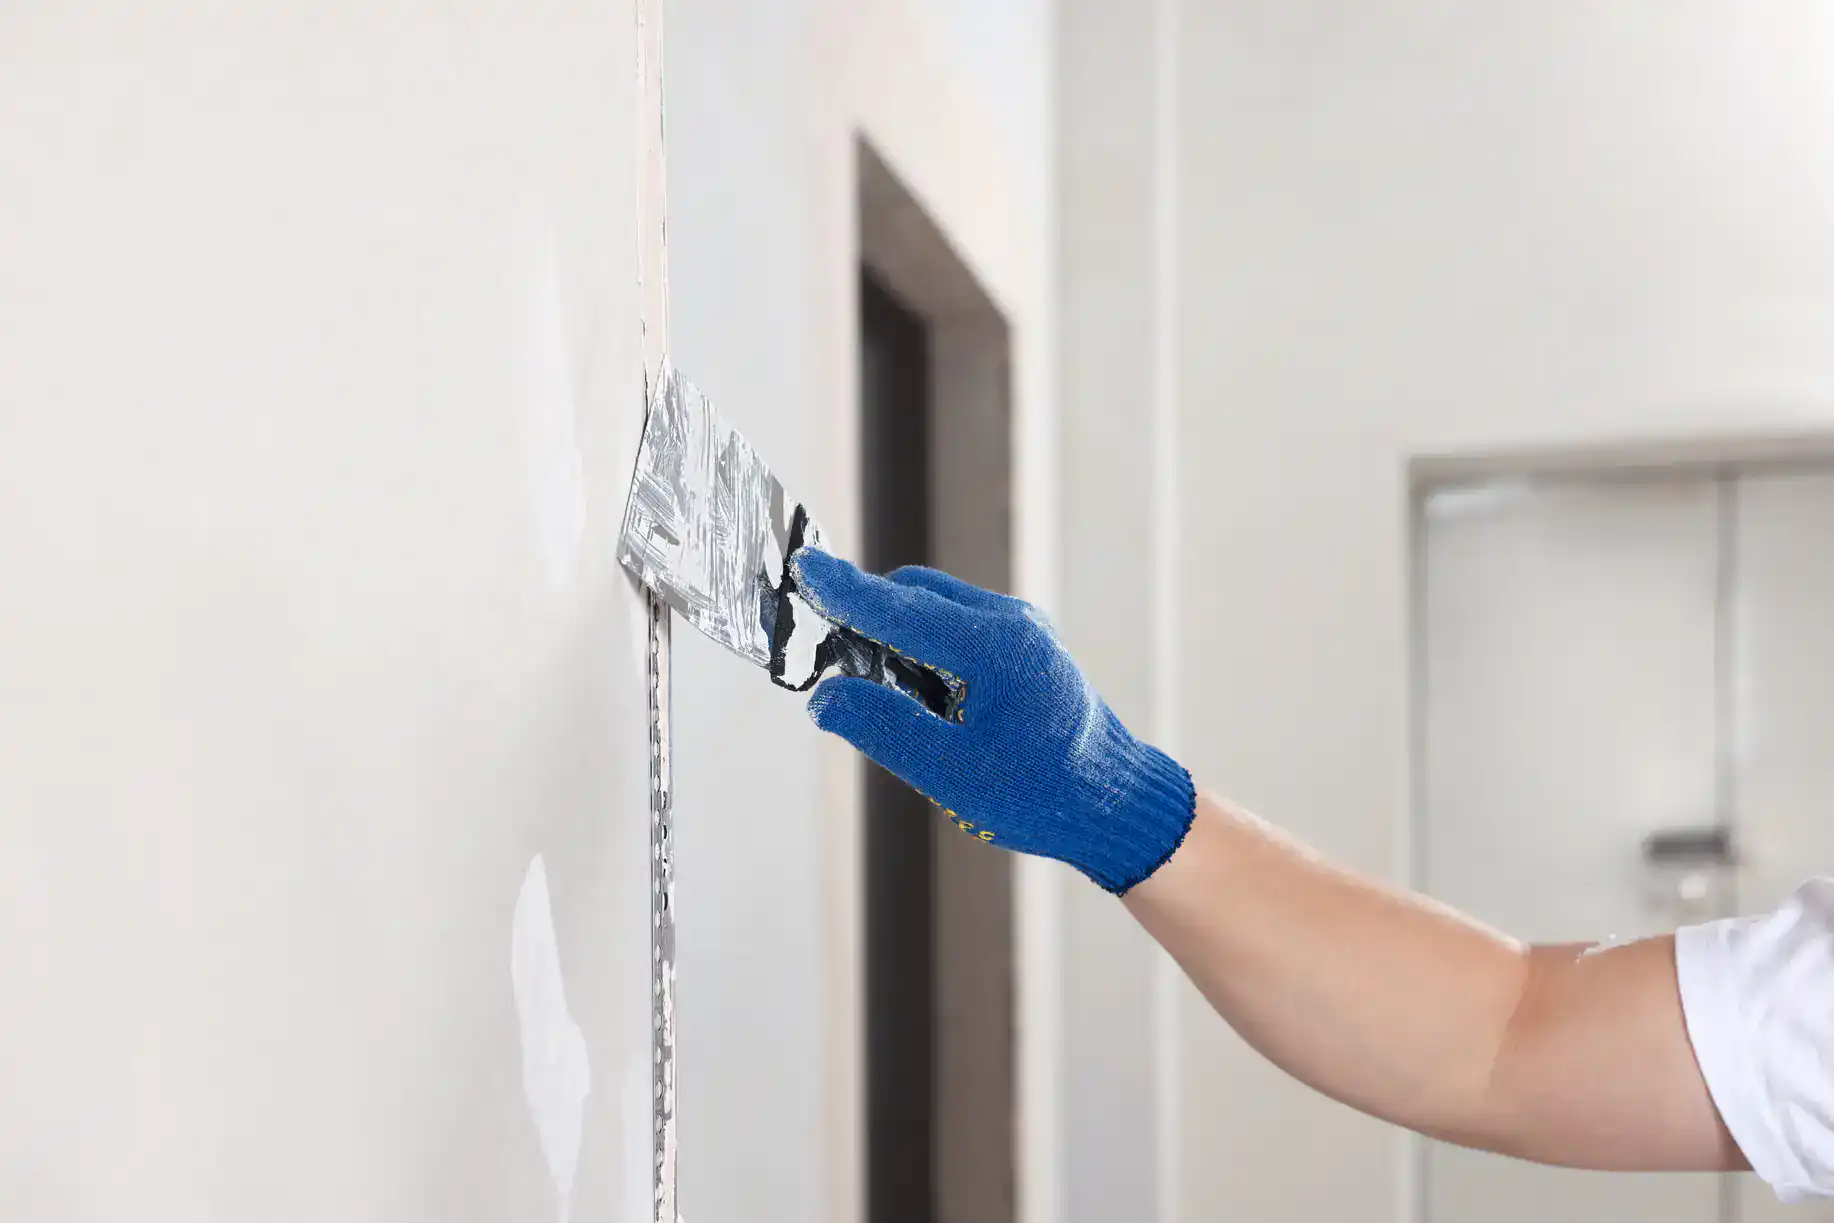
Then comes taping and mudding. This is where most shortcuts show up, and it’s where we don’t take any. Multiple coats, proper drying time between each one, and sanding that leaves the surface smooth enough to pass your hand across without feeling a ridge.
Finally, we clean up. Completely. That means dust, scraps, and any mess we made getting the job done. You shouldn’t have to sweep drywall dust out of your vents for the next three months.
Ready to get started?
Your drywall installation cost in Andorra, PA covers more than just hanging sheets. It includes materials—quality drywall, not builder-grade junk—plus all the taping, mudding, and finishing work needed to get walls paint-ready. It also includes complete cleanup, which shouldn’t be optional but often is with other crews.
Labor makes up about 70% of the total cost to install drywall, and that’s because proper installation takes time. Rushing through taping or skipping a coat of mud might save an hour, but it costs you a wall that looks wrong the moment the paint goes on. We don’t skip steps.
Most residential projects in Andorra fall between $1.50 and $3 per square foot, depending on ceiling height, room layout, and whether we’re working around existing fixtures. Your quote is fixed—no surprise fees when we hit a stud that’s slightly off-center or find old plaster that needs extra prep.
The average cost to install drywall in a standard room runs between $980 and $3,200 depending on size and complexity. But you’re not paying for average work. You’re paying for walls that don’t need a second crew to come fix them three months later.
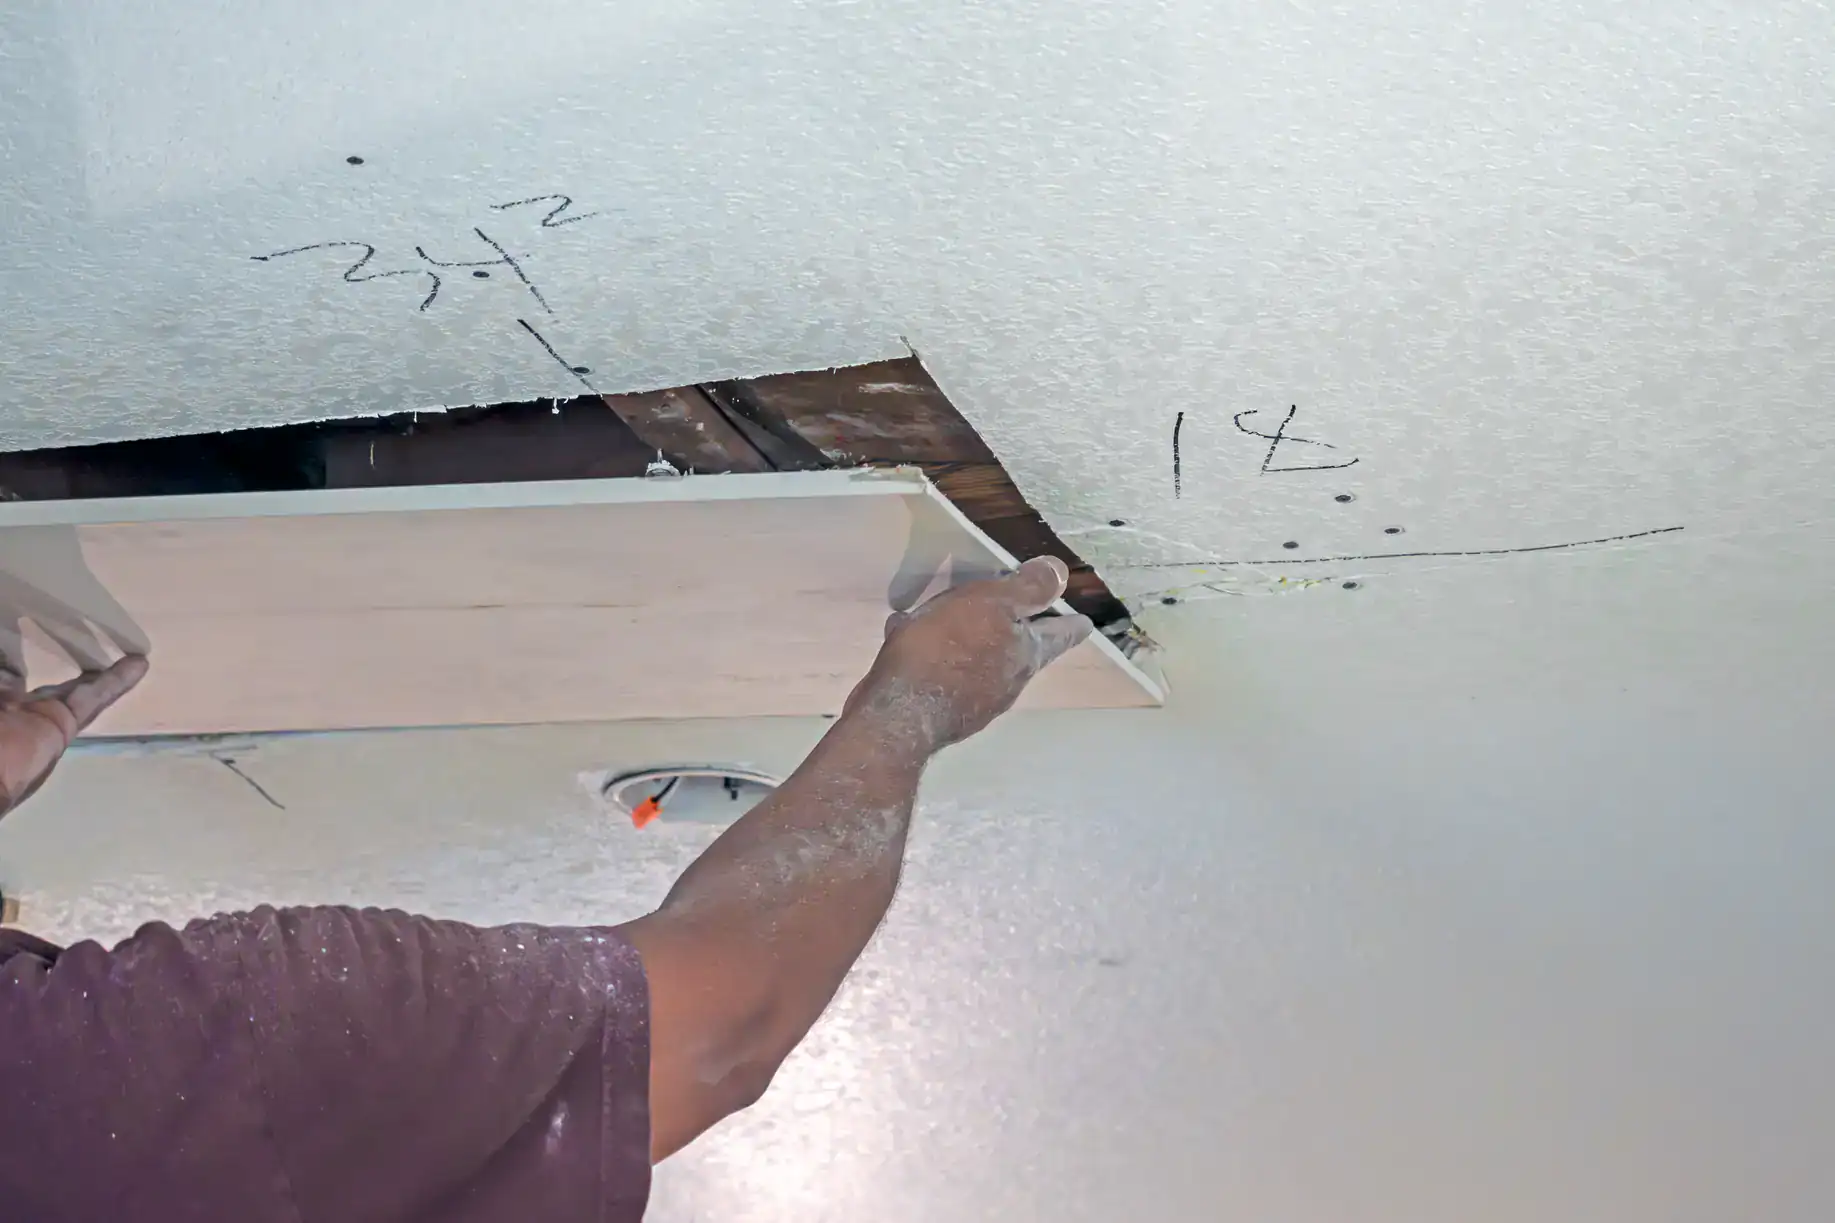
Most drywall installation in Andorra, PA runs between $1.50 and $3 per square foot, which includes materials, labor, taping, mudding, finishing, and cleanup. A typical 12×12 room with 8-foot ceilings costs between $980 and $1,850 depending on the condition of the framing, whether you need insulation behind the drywall, and how many outlets or fixtures we’re working around.
Labor makes up roughly 70% of that cost because proper installation isn’t fast—it’s methodical. Hanging sheets takes a few hours. Taping, applying multiple coats of mud, sanding between coats, and getting the surface smooth enough for paint takes days.
Your quote from us is fixed. If we find something unexpected—old plaster that needs more prep, framing that’s slightly out of level—we talk to you before adjusting anything. No surprise charges halfway through the job.
Hanging the drywall usually takes a day or less, depending on room size. A standard bedroom can be hung in a few hours. Larger spaces like basements or open-concept areas take longer, especially if we’re working around ductwork, electrical, or plumbing.
But hanging is just the start. Taping and mudding require multiple coats with drying time between each one. First coat goes on, dries overnight. Second coat the next day, dries overnight. Then sanding, touch-ups, and final sanding. Most rooms are fully finished and ready for paint within four to five days.
We don’t rush the drying process. Mud that hasn’t fully cured will crack or shrink, and that means callbacks and repairs. You’d rather wait an extra day than repaint in six months because we hurried through the finish work.
Yes, and it’s included in every job. Drywall work creates dust—lots of it—and we don’t leave that for you to deal with. We vacuum, sweep, and wipe down surfaces before we leave. Scraps get hauled away, not left in a pile in your driveway.
Dust from sanding is the worst part. It gets everywhere—vents, baseboards, window sills. We use dust barriers when possible and run air filtration when we’re sanding in occupied homes. After final sanding, we vacuum with HEPA filters and do a full wipe-down of the work area.
You shouldn’t need to clean drywall dust out of your home for weeks after we leave. If the space is clean enough that you’d feel comfortable putting furniture back the same day, we did our job right.
Yes, but it takes experience. Many older homes in Andorra have plaster walls with specific textures—knockdown, orange peel, skip trowel—that need matching when you’re adding new drywall or repairing sections. Matching texture isn’t about slapping mud on the wall and hoping it blends. It’s about understanding how the original texture was applied and replicating the technique.
We’ve worked in enough Montgomery County homes to recognize common textures and know how to recreate them. That includes mixing the mud to the right consistency, using the right tools, and applying it with the same hand pressure and motion as the original installer.
If we’re patching a small section, we’ll often texture a slightly larger area and feather it out so there’s no hard line where old meets new. If we’re doing a full wall, we’ll match the surrounding walls so the room feels cohesive. You shouldn’t be able to tell where the repair ends and the original wall begins.
Yes, the room needs to be clear before we start. Drywall sheets are large, heavy, and awkward to maneuver. We need space to work safely and efficiently, and we need access to every wall and ceiling area we’re covering.
If you’re doing a single wall repair, you can usually just move furniture to the center of the room and cover it. But for full room installations, empty is better. It protects your belongings from dust and gives us room to set up scaffolding or lifts if we’re working on ceilings.
We can help move larger items if needed, but we’re not a moving company. The clearer the space before we arrive, the faster we can start and the less risk there is of damaging something while we’re maneuvering 4×8 sheets through doorways. If you’re unsure what needs moving, we’ll walk the space with you before the job starts and talk through it.
Plaster is what you’ll find in most Andorra homes built before the 1950s. It’s applied wet over wood or metal lath and dries into a hard, dense surface. It’s durable, soundproof, and thick—usually three coats totaling about 3/4 inch. But it cracks over time as houses settle, and repairing it properly requires specific skills.
Drywall replaced plaster in most construction after the 1950s because it’s faster and cheaper to install. It’s gypsum sandwiched between two sheets of paper, comes in 4×8 panels, and gets screwed directly to studs. It’s not as dense as plaster, but it’s easier to repair and replace when damaged.
If you’re renovating an older Andorra home, you’ll often end up with a mix—original plaster in some rooms and drywall in additions or renovated spaces. We work with both. When we’re adding drywall next to existing plaster, we make sure the thickness matches so you don’t have a visible step between surfaces. And when we’re repairing plaster, we know when it makes sense to patch it and when it’s better to remove it and install drywall instead.
Other Services we provide in Andorra