You’re not paying for drywall installation just to have walls. You’re paying to avoid the headache of fixing someone else’s shortcuts six months from now.
When the job’s done right, your painter doesn’t call you with bad news. Your walls don’t show seams through the first coat. You don’t see nail pops by winter or gaps wide enough to feel a draft.
You get smooth, tight surfaces that take paint well and stay that way. No callbacks. No dust ground into your floors. No half-finished corners or seams that catch the light wrong. Just clean work that holds up and looks like it should—which is exactly what you’re paying for.
Sharpe Drywall has been handling drywall installation across Montgomery and Bucks County for years. We’re not a crew passing through Oxford Valley on the way to the next job. We’re local, licensed, and insured—and we’ve seen what happens when contractors cut corners in this area.
Oxford Valley homeowners deal with the same issues everywhere else in Bucks County: older homes that need careful prep, additions that don’t always line up perfectly, and weather that tests every seam. We’ve worked in enough basements, additions, and remodels here to know what holds up and what doesn’t.
When we finish a job, we clean up completely. That’s not a bonus—it’s part of the work. You shouldn’t have to sweep drywall dust off your counters or scrape mud off your trim after we leave.
We start by measuring and assessing the space. If there’s old drywall that needs to come down, we handle that first. If framing needs attention or insulation needs adjusting, we’ll tell you before we hang anything.
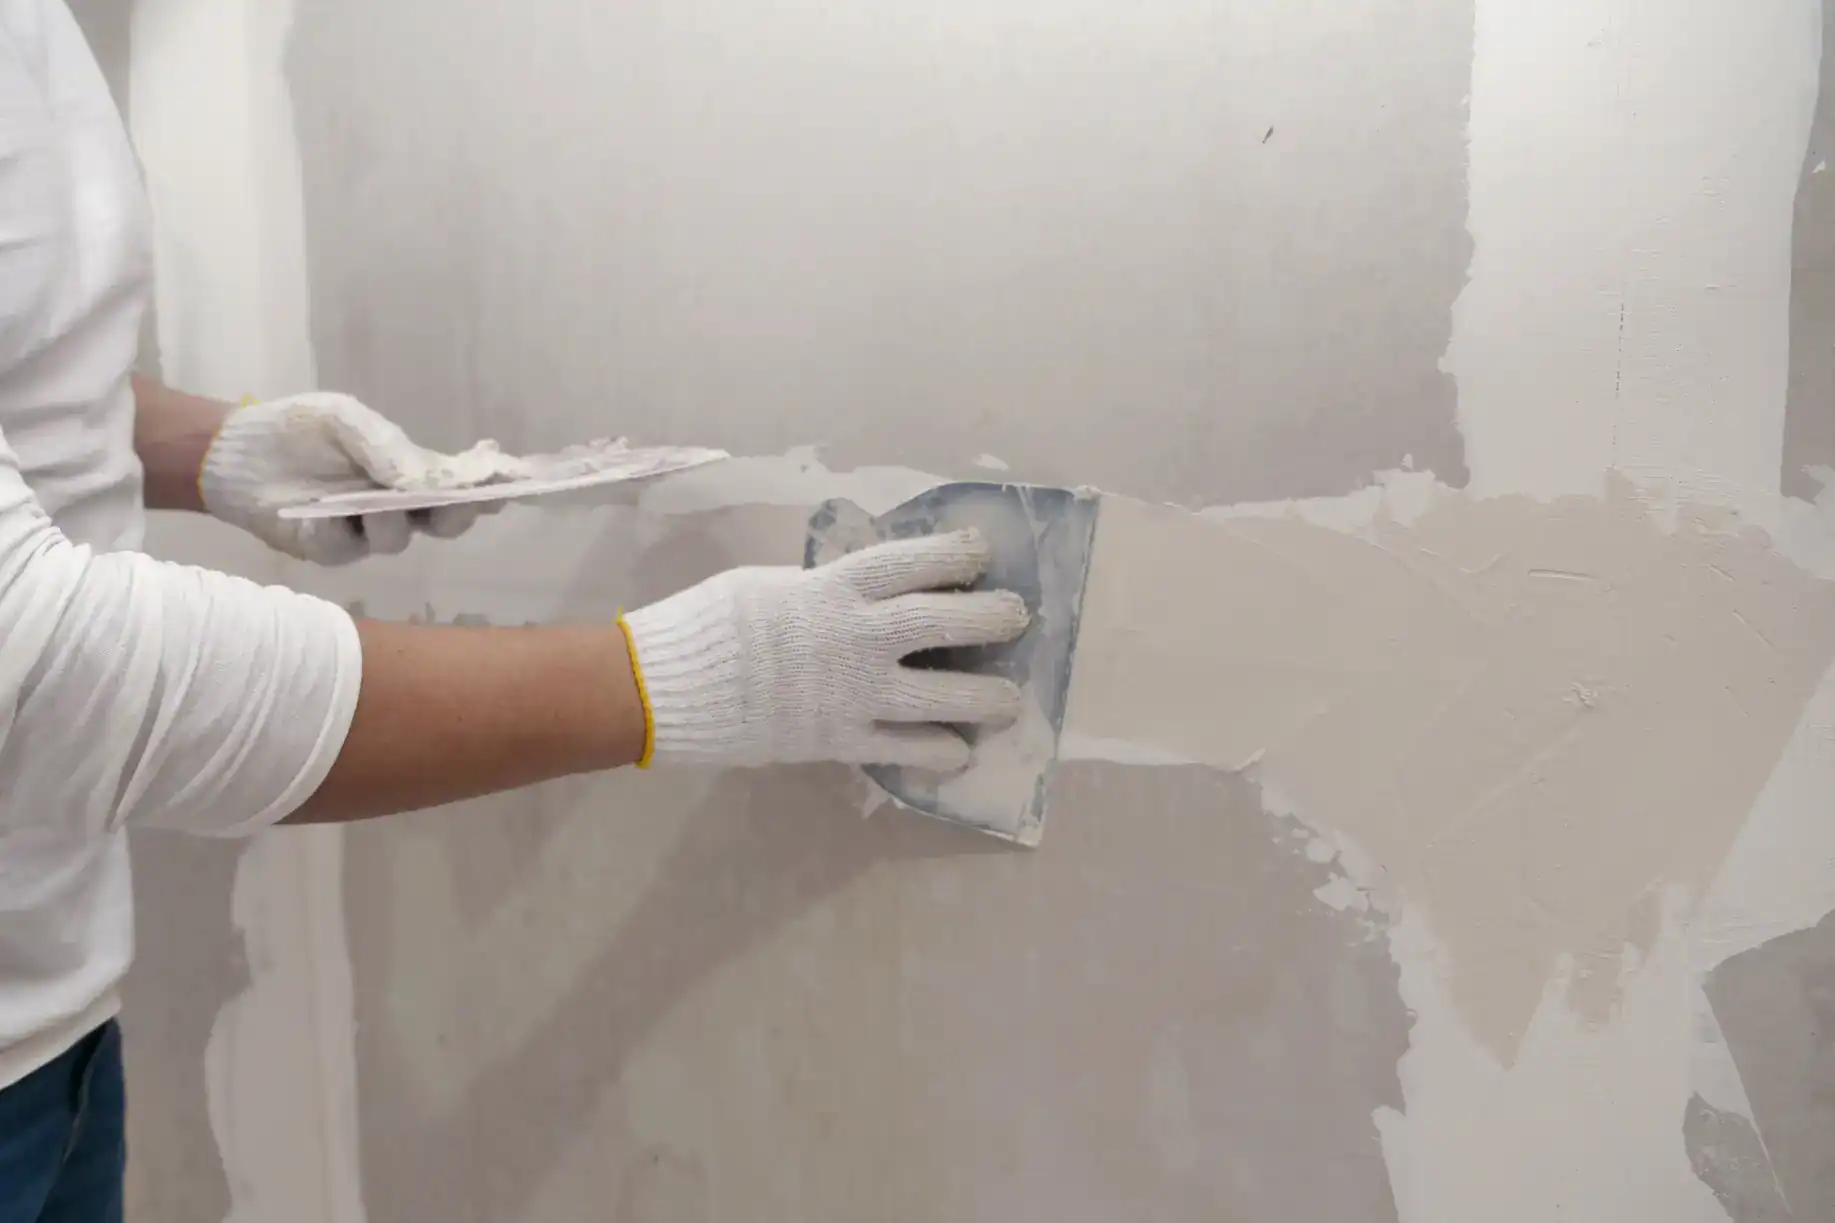
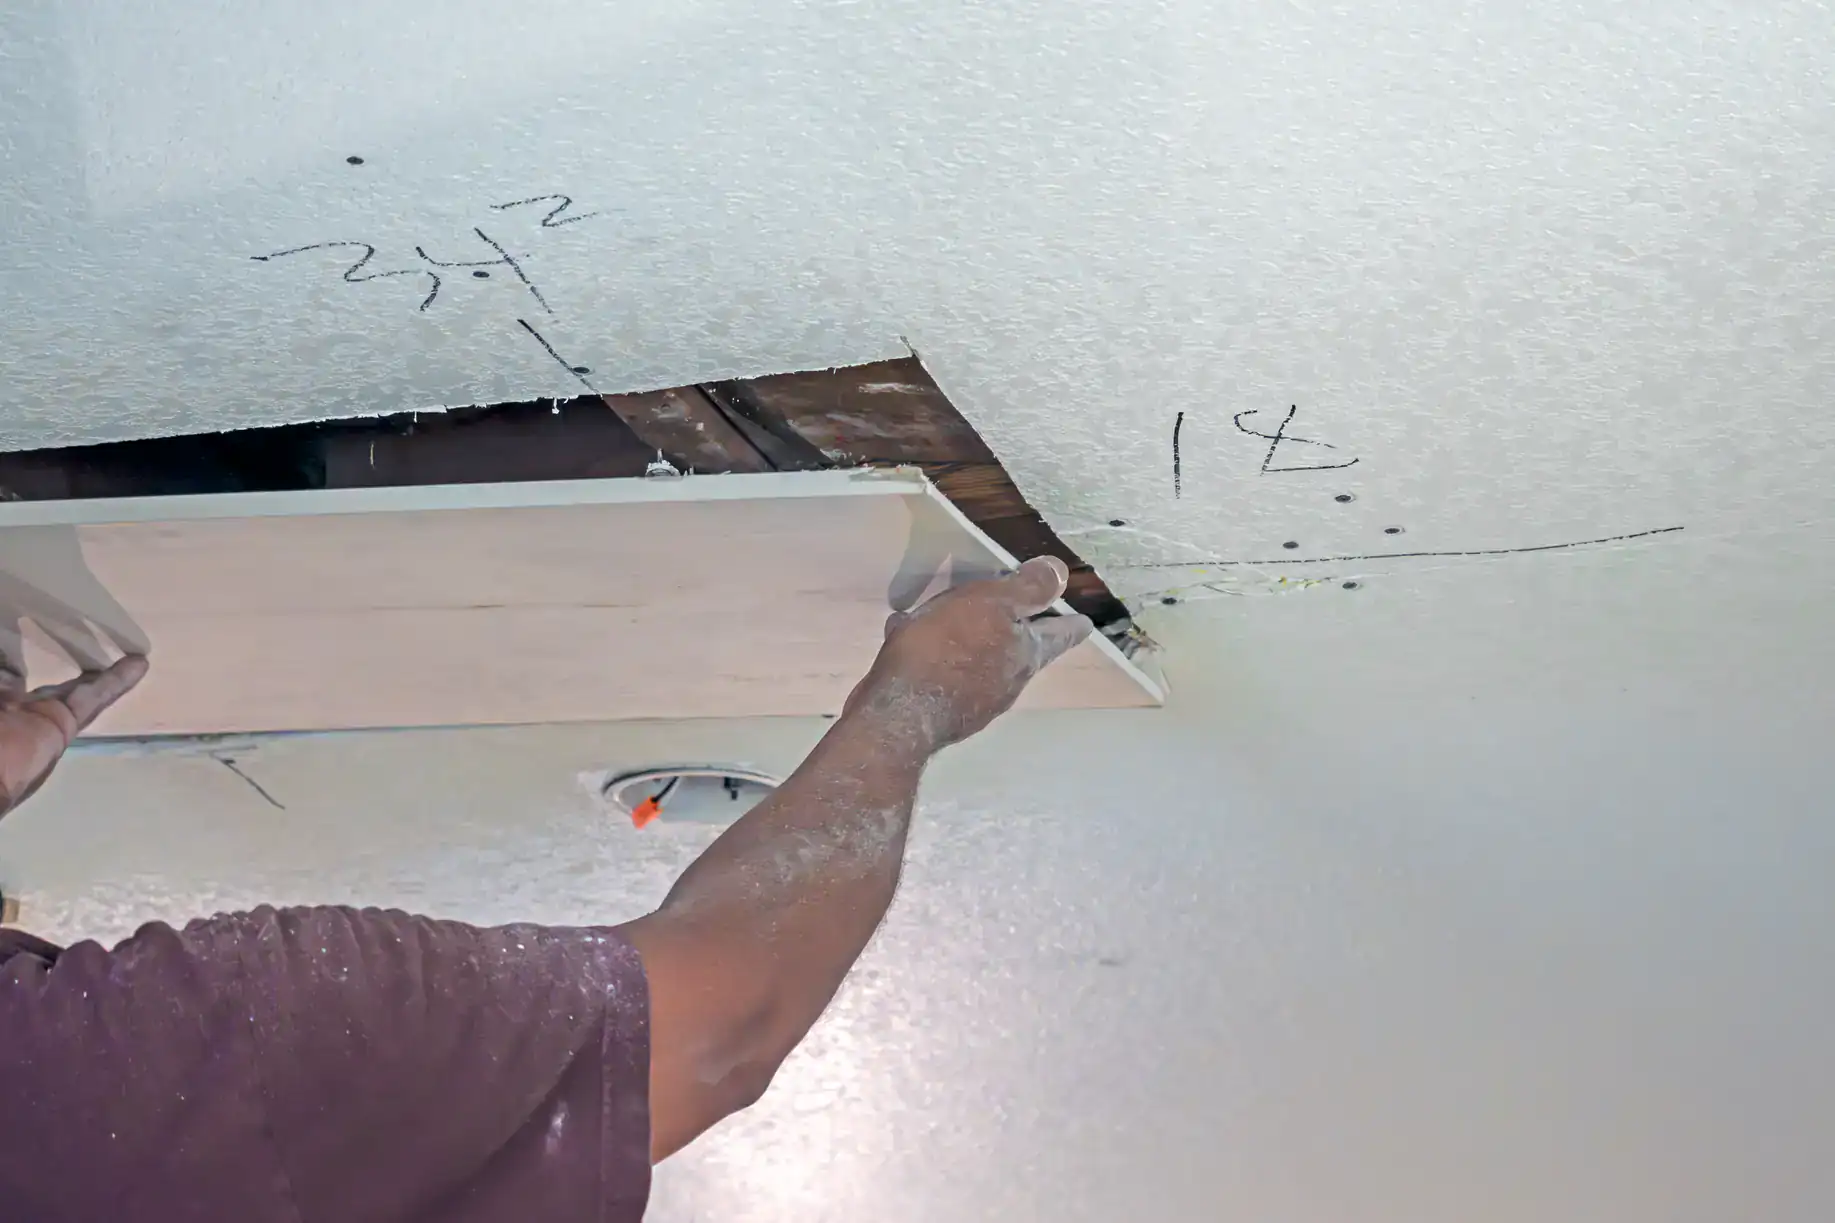
Once the space is prepped, we hang the drywall. Panels get cut to fit tight, fastened correctly, and positioned so seams land where they should—not where they’re easiest. Corners get reinforced. Everything gets checked before we move to mud and tape.
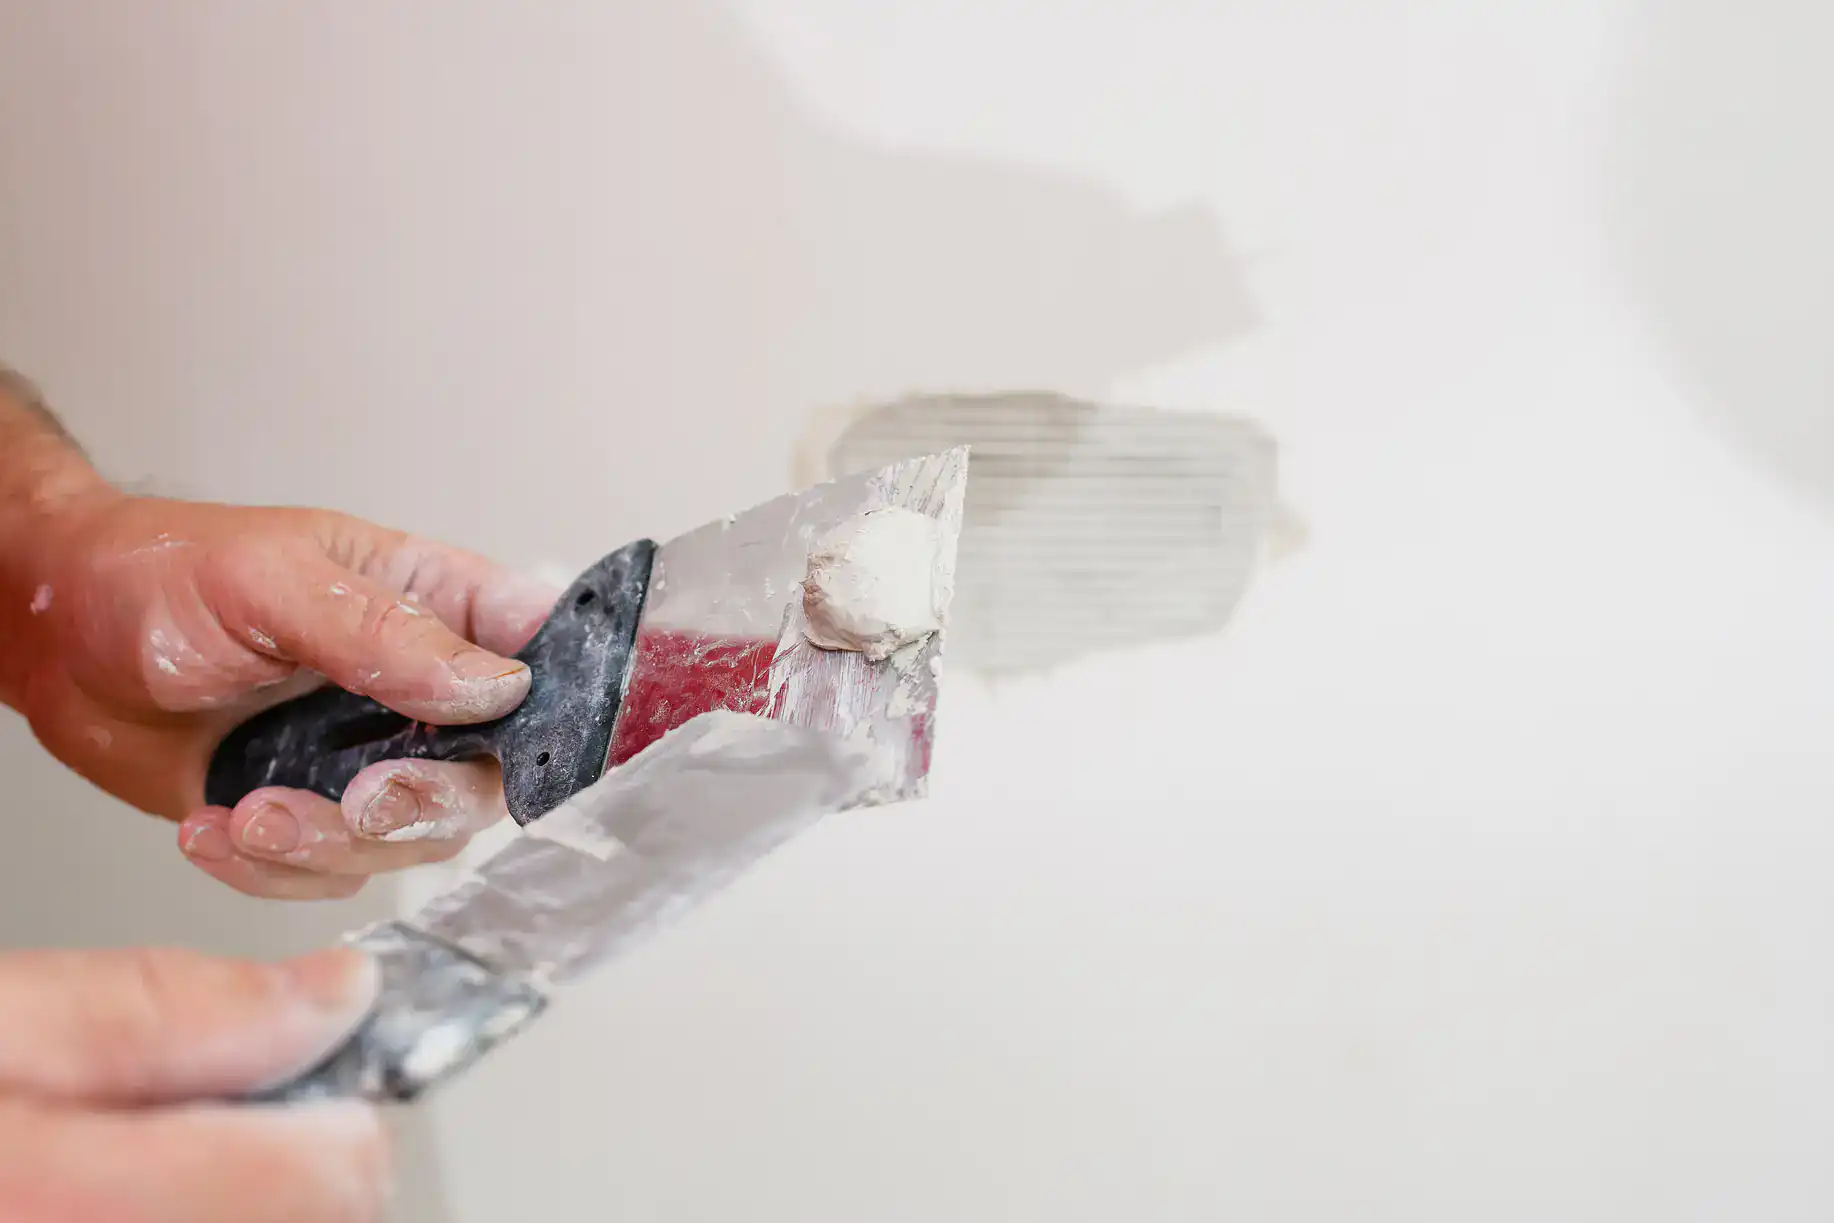
Taping and mudding takes multiple passes. We don’t rush this part. Each coat dries fully before the next goes on. Seams get feathered out so they disappear under paint. Fasteners get covered. Corners get finished clean.
After the final coat dries, we sand everything smooth. Then we clean up—completely. Dust gets vacuumed, floors get swept, and trim gets wiped down. What’s left is a ready-to-paint surface and a workspace that doesn’t look like a construction zone.
Ready to get started?
The cost to install drywall in Oxford Valley typically runs between $1.50 and $3.50 per square foot depending on the scope, ceiling height, and finish level you need. That’s the going rate for professional work in Bucks County—not the cheapest bid you’ll get, but the one that doesn’t cost you more later.
Our pricing covers the full process: hanging, taping, mudding, sanding, and cleanup. You’re not getting charged separately for corner bead, fasteners, or the time it takes to prep. The quote we give you is what you pay. No surprise fees when we’re halfway done.
Oxford Valley homes—especially older ones near the Neshaminy area—often need more prep than new construction. Framing isn’t always perfectly straight. Old plaster needs careful removal. We account for that upfront so you’re not getting change orders after we’ve started. If something’s going to add time or material, we’ll tell you during the estimate, not after the drywall’s already up.
Professional drywall installation in Oxford Valley runs between $1.50 and $3.50 per square foot. That range depends on the finish level, ceiling height, and how much prep work the space needs before we can start hanging.
A standard room with 8-foot ceilings and minimal prep will land on the lower end. A larger space with vaulted ceilings, multiple corners, or old material that needs removing will cost more. If you’re working with an older home in Oxford Valley, expect to be closer to the higher end—older framing and plaster removal add time.
We give you a fixed price upfront. That includes hanging, taping, mudding, sanding, and complete cleanup. If there’s something during the estimate that’ll add cost—like framing repair or extra finish passes—we’ll tell you then, not after we’ve started.
A typical room takes three to five days from start to finish. That includes hanging, multiple coats of mud, drying time between coats, sanding, and cleanup.
Drying time is what stretches the timeline. Each coat of joint compound needs to dry completely before the next one goes on. Rushing that process causes cracks, soft spots, and seams that show through paint. We don’t skip drying time to finish faster—it’s not worth the callbacks.
Larger projects or spaces with high ceilings, complex angles, or significant prep work take longer. If we’re tearing out old drywall or dealing with framing issues, add another day or two. We’ll give you a realistic timeline during the estimate based on what your specific project involves.
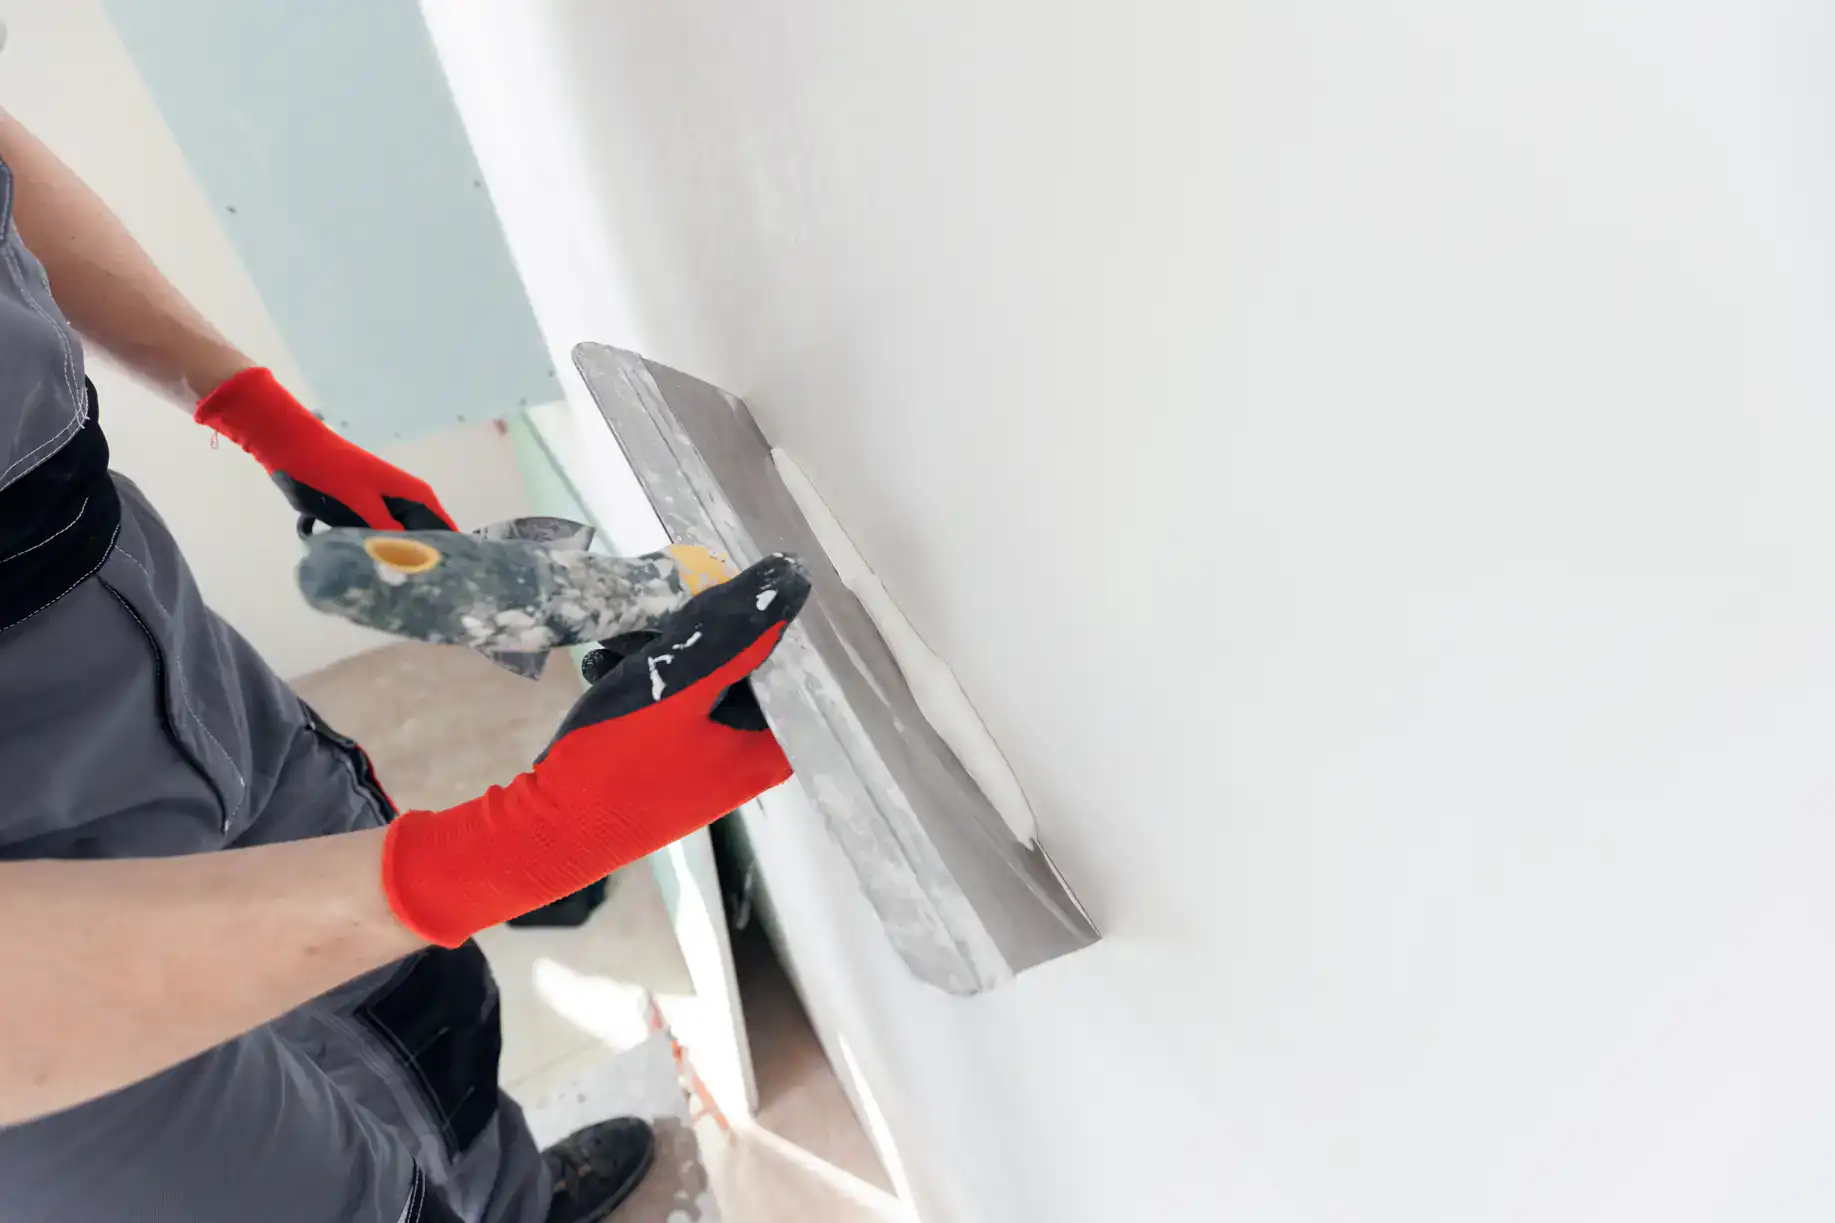
Finish levels range from Level 0 (no taping or finishing) to Level 5 (the smoothest possible finish). Most residential projects in Oxford Valley use Level 4, which is what you need before painting.
Level 4 means all joints and fasteners are taped, coated with multiple layers of compound, and sanded smooth. It’s the standard for walls and ceilings that’ll be painted with flat or eggshell paint. You won’t see seams or fasteners through the finish.
Level 5 adds a skim coat over the entire surface for ultra-smooth results. You’d use this if you’re applying high-gloss paint, using harsh lighting, or want zero texture variation. It costs more and takes longer, but it’s necessary in certain situations. We’ll recommend the right level based on your paint choice and lighting—not upsell you on a finish you don’t need.
Yes. If old drywall needs to come out before we install new material, we handle the demo, haul-out, and disposal.
Removing old drywall creates dust and debris. We contain the mess as much as possible, bag the material, and haul it off-site. You’re not left with a dumpster in your driveway or a pile of broken drywall in your garage.
Demo also gives us a chance to inspect the framing and address any issues before new drywall goes up. If there’s mold, water damage, or framing that’s out of plumb, we’ll catch it during removal and let you know what needs fixing. It’s better to handle that before we hang new material than to cover up a problem that’ll come back later.
Clear the room of furniture, wall hangings, and anything breakable. Drywall work creates dust, even with good containment, so the less you have in the space, the better.
If we’re working in a finished area of your home, we’ll use plastic sheeting to separate the work zone from the rest of the house. But dust is fine and gets everywhere, so covering nearby furniture or moving it to another room helps. We’ll handle floor protection and cleanup, but prep work on your end makes the process smoother.
Make sure we have clear access to the work area and a place to stage materials. Drywall sheets are large and heavy, so we need a path from the truck to the room that’s not blocked by tight corners or narrow doorways. If there’s anything about your home’s layout that might complicate access, mention it when we schedule—we’ll plan accordingly.
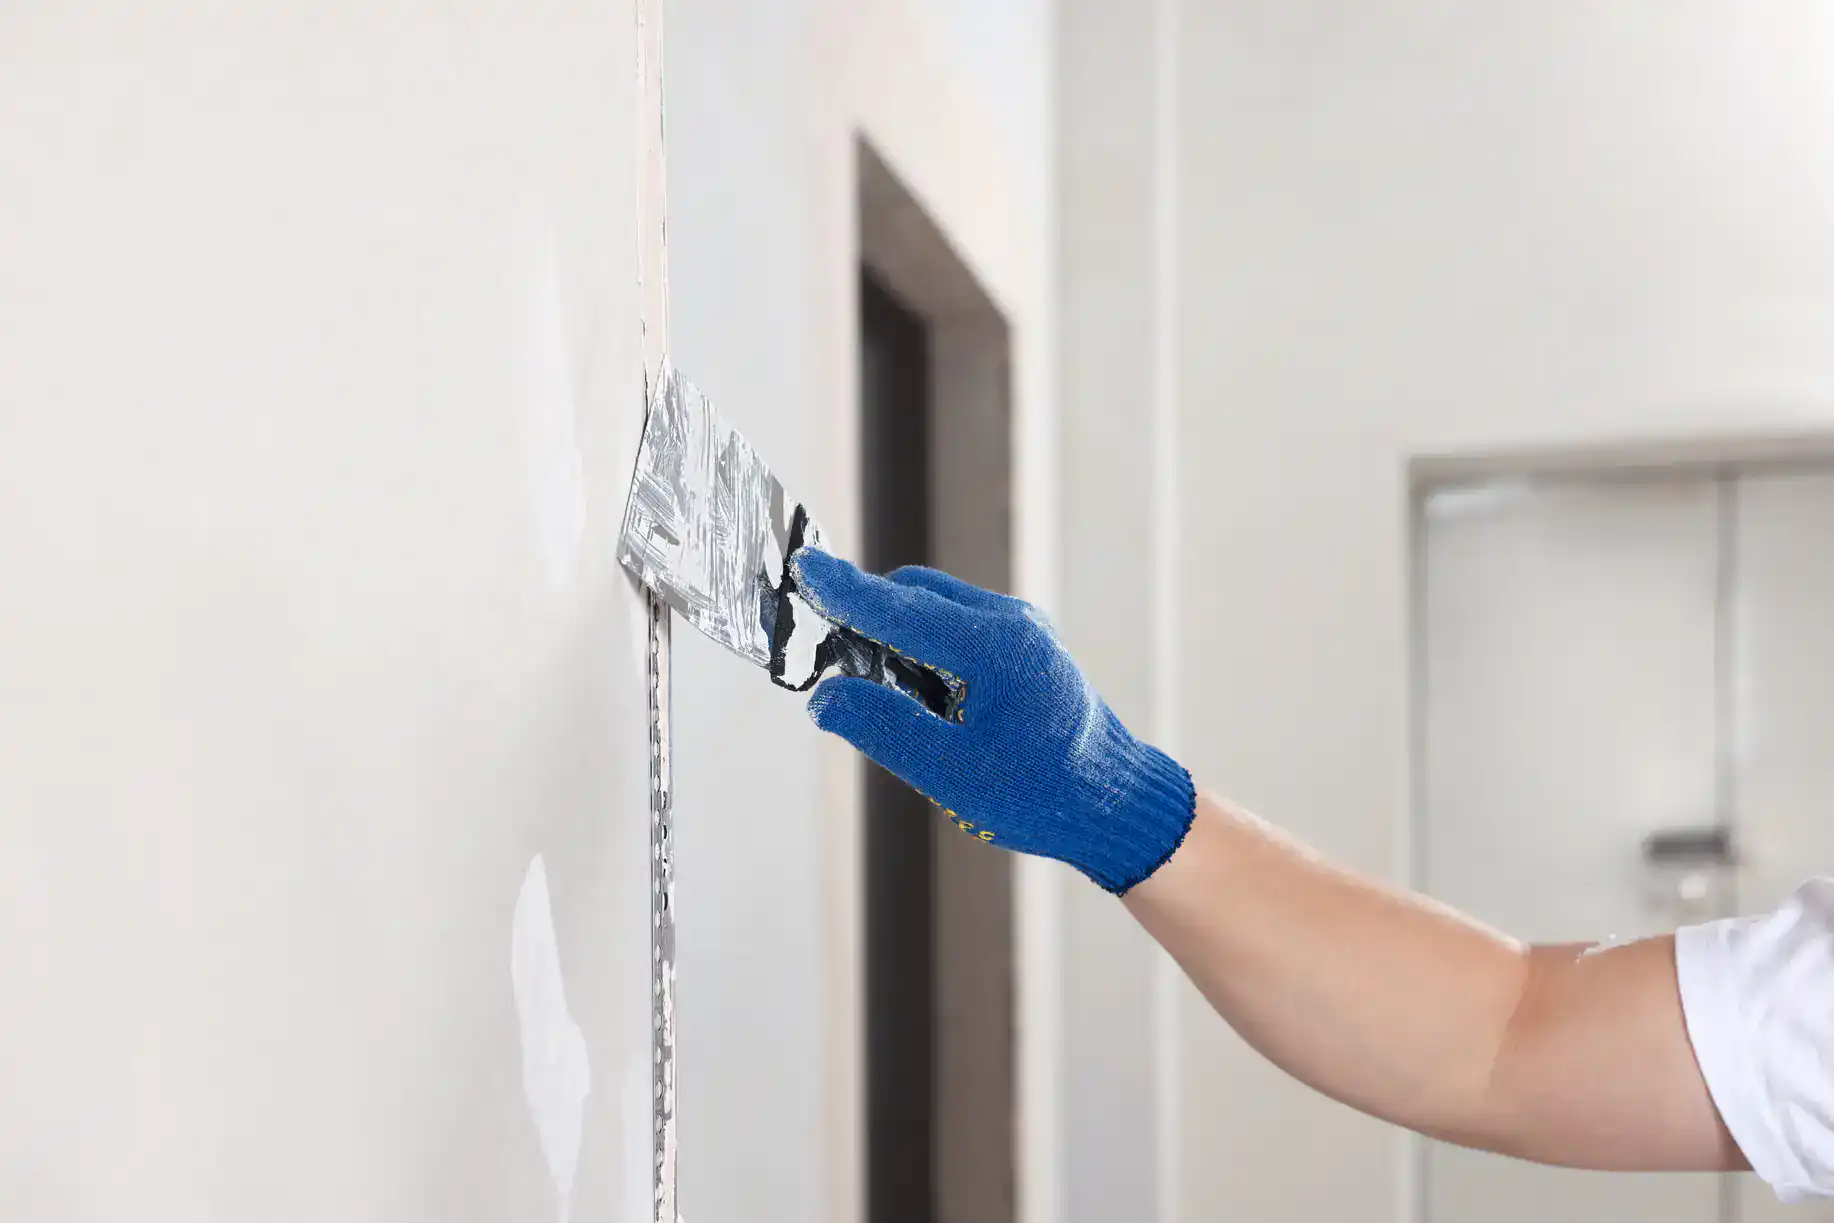
Quality drywall work comes down to three things: tight seams, smooth finishes, and no visible fasteners after paint.
Walk the room after installation and look at the seams in natural light. You shouldn’t see ridges, gaps, or lines where panels meet. Run your hand along the joints—if you feel bumps or dips, the mudding wasn’t done right. Check corners for clean, straight lines without cracks or gaps.
Fasteners should be dimpled slightly below the surface and covered completely with compound. If you see screw heads or nail pops, the work’s not finished. Sanding should leave the surface smooth without gouges or rough patches. If the installer rushes through sanding or skips a coat of mud, you’ll see it after the first coat of paint—and fixing it then costs more than doing it right the first time.
Other Services we provide in Oxford Valley